Plush Snail Amigurumi Pattern
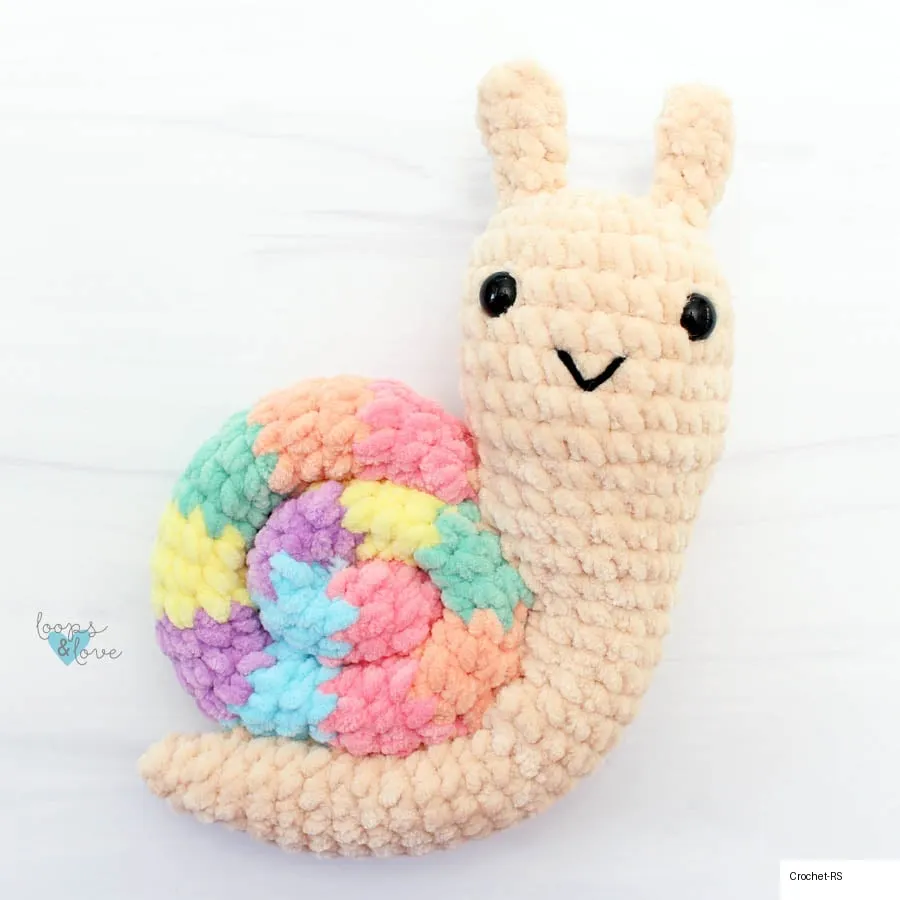
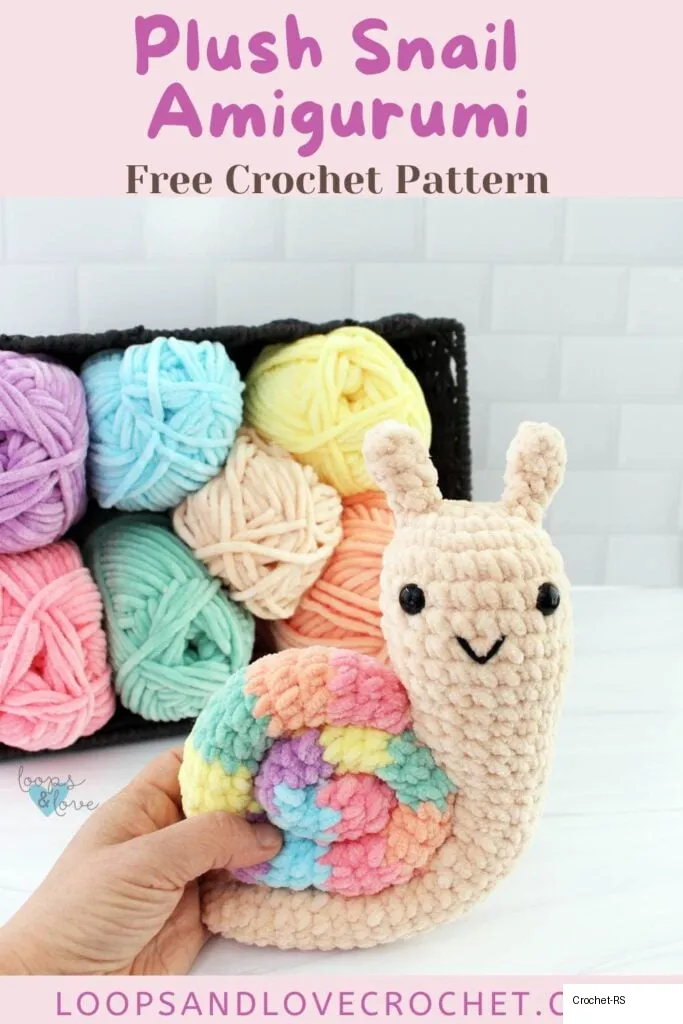
This plush snail amigurumi is such a fun and cuddly project, with its soft texture and playful spiral shell. It works up in simple shapes and pieces and comes together easily into a cute, squishy make that’s perfect for gifting or adding to your collection.
One of the most fun parts of this plush snail amigurumi is customizing the shell. I chose to use multiple colors and create a bright, playful spiral because I love vivid colors. Whether you choose many colors, just a couple colors, a solid yarn, or variegated yarn, your snail is going to turn out beautiful.
Materials Needed
- Super Bulky (#6) yarn – Approximately 100 yards of super bulky plush polyester yarn was used for the plush snail amigurumi pictured. Roughly 55 yds of the main head/body color and 45 yds for the shell (solid or split between colors). Hobbii Toucan yarn was used here.
- 5mm crochet hook
- Safety eyes – 12mm safety eyes.
- Stuffing – any fiber-based stuffing.
- Yarn needle – for sewing pieces together.
- Scissors – for cutting yarn.
Pattern Details & Notes
Stitches Used
- Ch – chain
- Sl St – slip stitch
- SC – single crochet
- INV DEC – invisible single crochet decrease
Size & Pattern Notes
- Size: When finished, this snail measures approx 8.5” tall from bottom of body to top of antennae, and 6.5″ wide.
- Continuous Rounds: Worked up in continuous rounds without joining. Use a stitch marker.
- Color Changes: For the shell, work the last stitch until the last yarn over, pull through with new color. Make the first stitch of the new color a slip stitch to make it less noticeable.
Step-by-Step Instructions
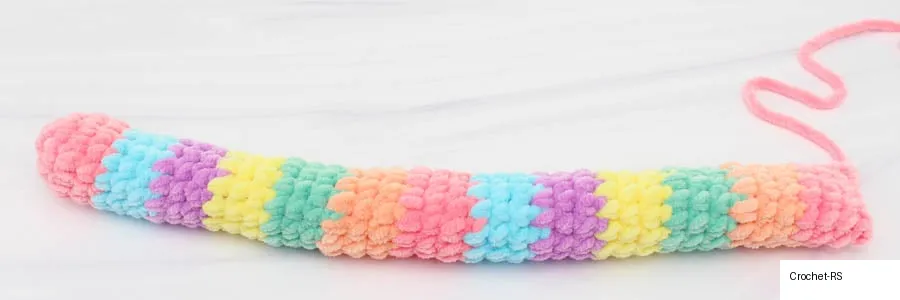
1. Shell Tube
Stuff the shell tube as it is worked up. Only gently stuff the tube to keep it soft with a bit of structure.
- Round 1: Magic circle, ch 1, 6 SC into ring (6)
- Round 2: 2 SC in each st around (12)
- Rounds 3-40: SC in each st around (12)
Fasten off, leave a long enough tail for sewing. Flatten the end and sew closed by passing your yarn needle through the tops of the stitches.
2. Head and Body
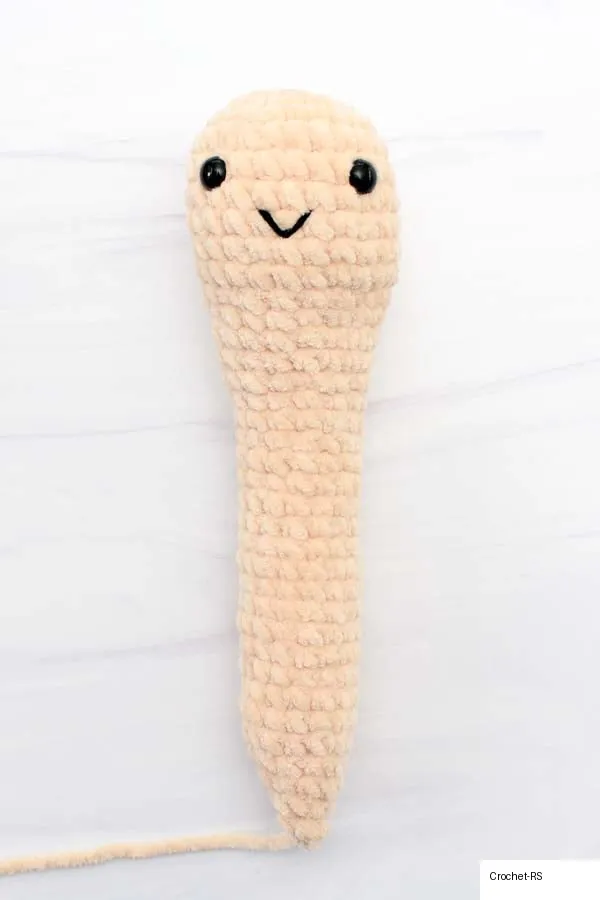
Worked from the top of the head to the bottom of the body.
- Round 1: In body color, magic circle, ch 1, make 6 SC into ring (6)
- Round 2: 2 SC in each st around (12)
- Round 3: *2 SC in first st, SC in next st, repeat from * around (18)
- Round 4: *2 SC in first st, SC in next 2 sts, repeat from * around (24)
- Rounds 5-10: SC in each st around (24)
Insert safety eyes between rounds 6 and 7 approximately 5-6 stitches apart. Use black yarn to stitch on a “V” shaped mouth.
Stuff the head fully and then gently stuff the rest of the body section as it is worked up.
- Round 11: *INV DEC, SC in next 2 sts, repeat from * around (18)
- Rounds 12-14: SC in each st around (18)
- Round 15: *INV DEC, SC in next 4 sts, repeat from * around (15)
- Rounds 16-32: SC in each st around (15)
- Round 33: *INV DEC, SC in next st, repeat from * around (10)
- Round 34: SC in each st around (10)
Make sure to add enough stuffing.
- Round 35: INV DEC around (5)
Fasten off, use yarn needle to close bottom.
3. Antennae (Make 2)
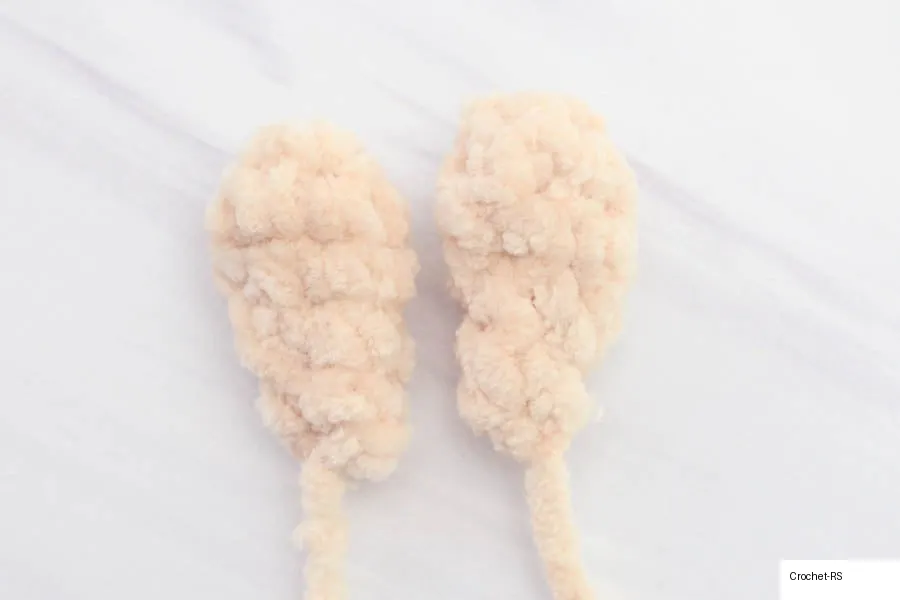
- Round 1: In main body color, magic circle, ch 1, make 6 SC into ring (6)
- Rounds 2-3: SC in each st around (6)
- Round 4: INV DEC, SC next 4 sts (5)
- Round 5: SC in each st around (5)
Fasten off with a slip stitch. Leave tail for sewing.
4. Assembly
- Roll the Shell: Beginning with the starting end, tightly roll up the tube until you get to the end. Use yarn needle to sew through layers of spiral to secure it in place.
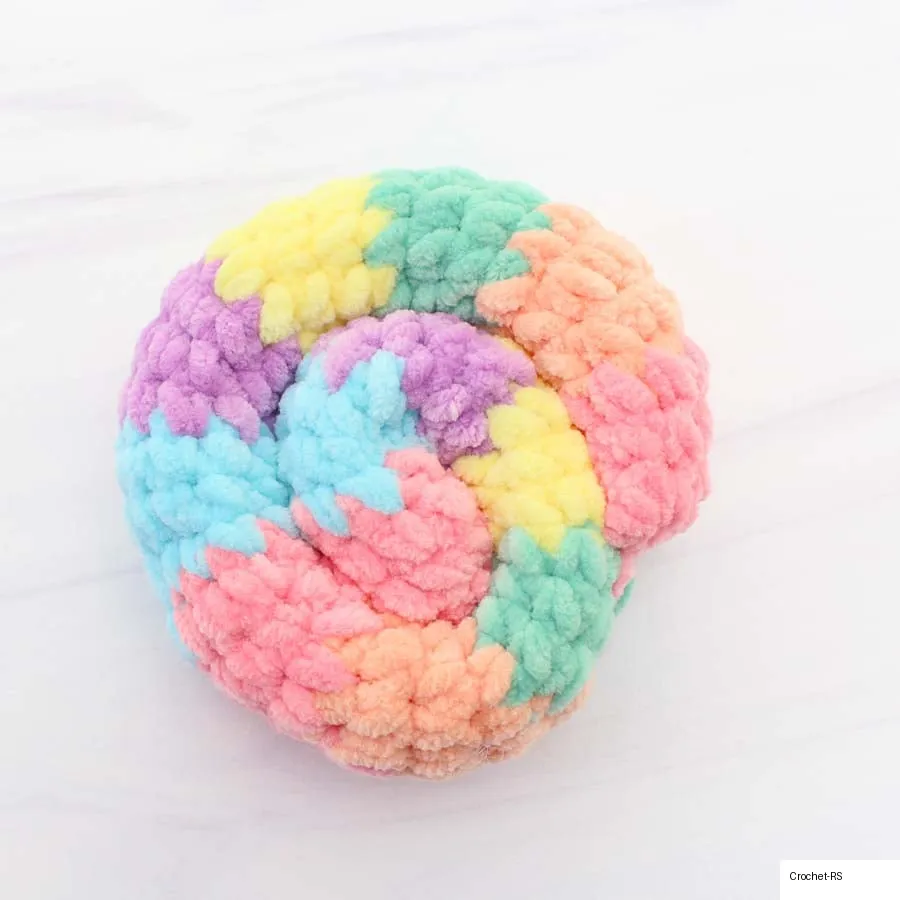
- Sew Shell to Body: Line shell up on body, with end of spiral tightly against side of body approx 2-3 rounds below mouth. Curl body around and under the shell. Pass yarn needle through stitch on shell and then stitch on body, securing them closer together. Continue down one side and up the other.
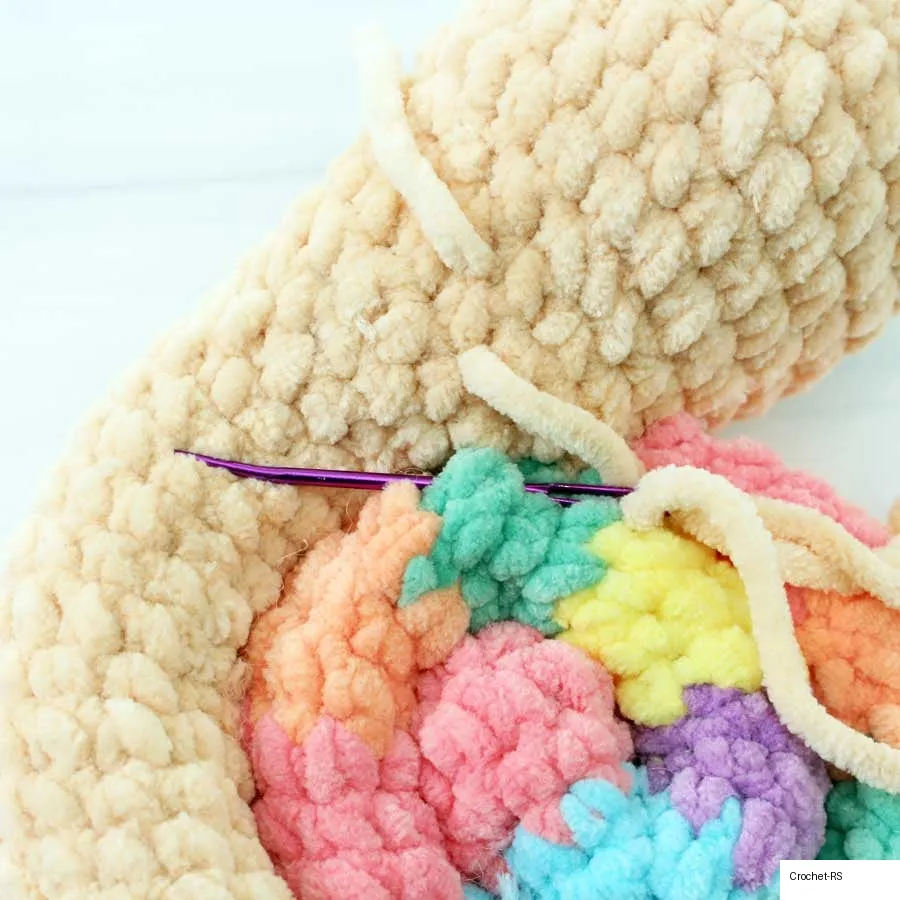
- Sew on Antennae: Line up antennae on top of head in second and third round from top. Sew securely.
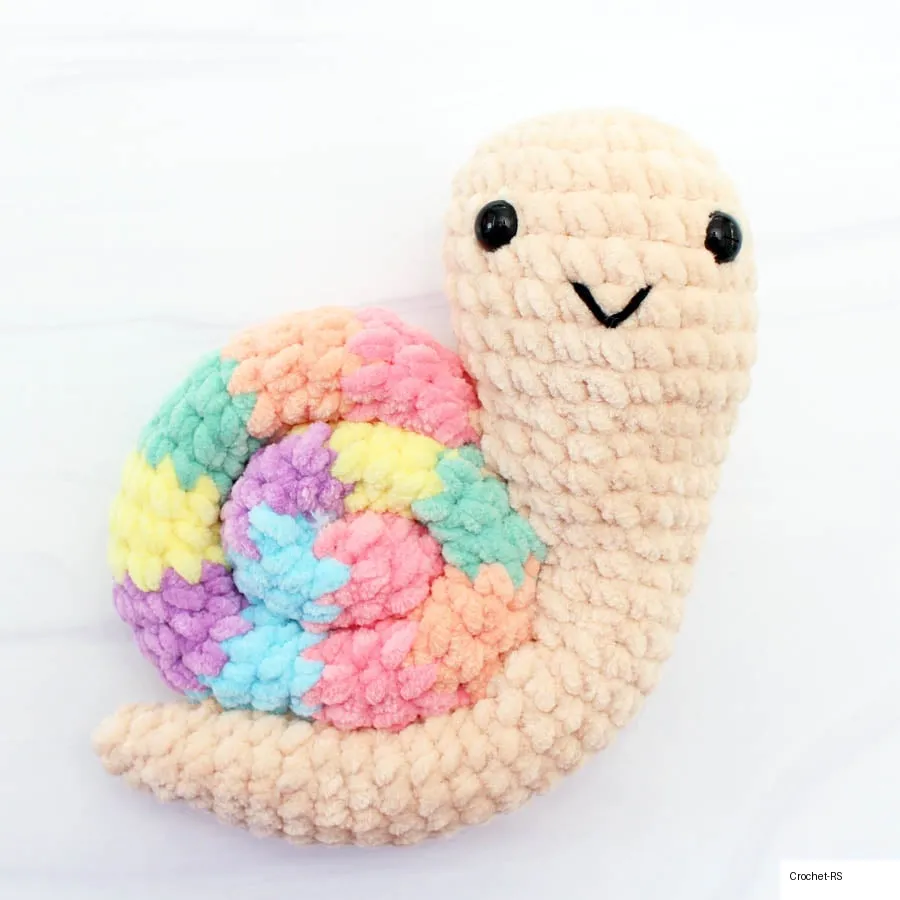
You’re all finished your soft and cuddly snail amigurumi!