How to Crochet Couple Heart Keychain Tutorial for Beginners
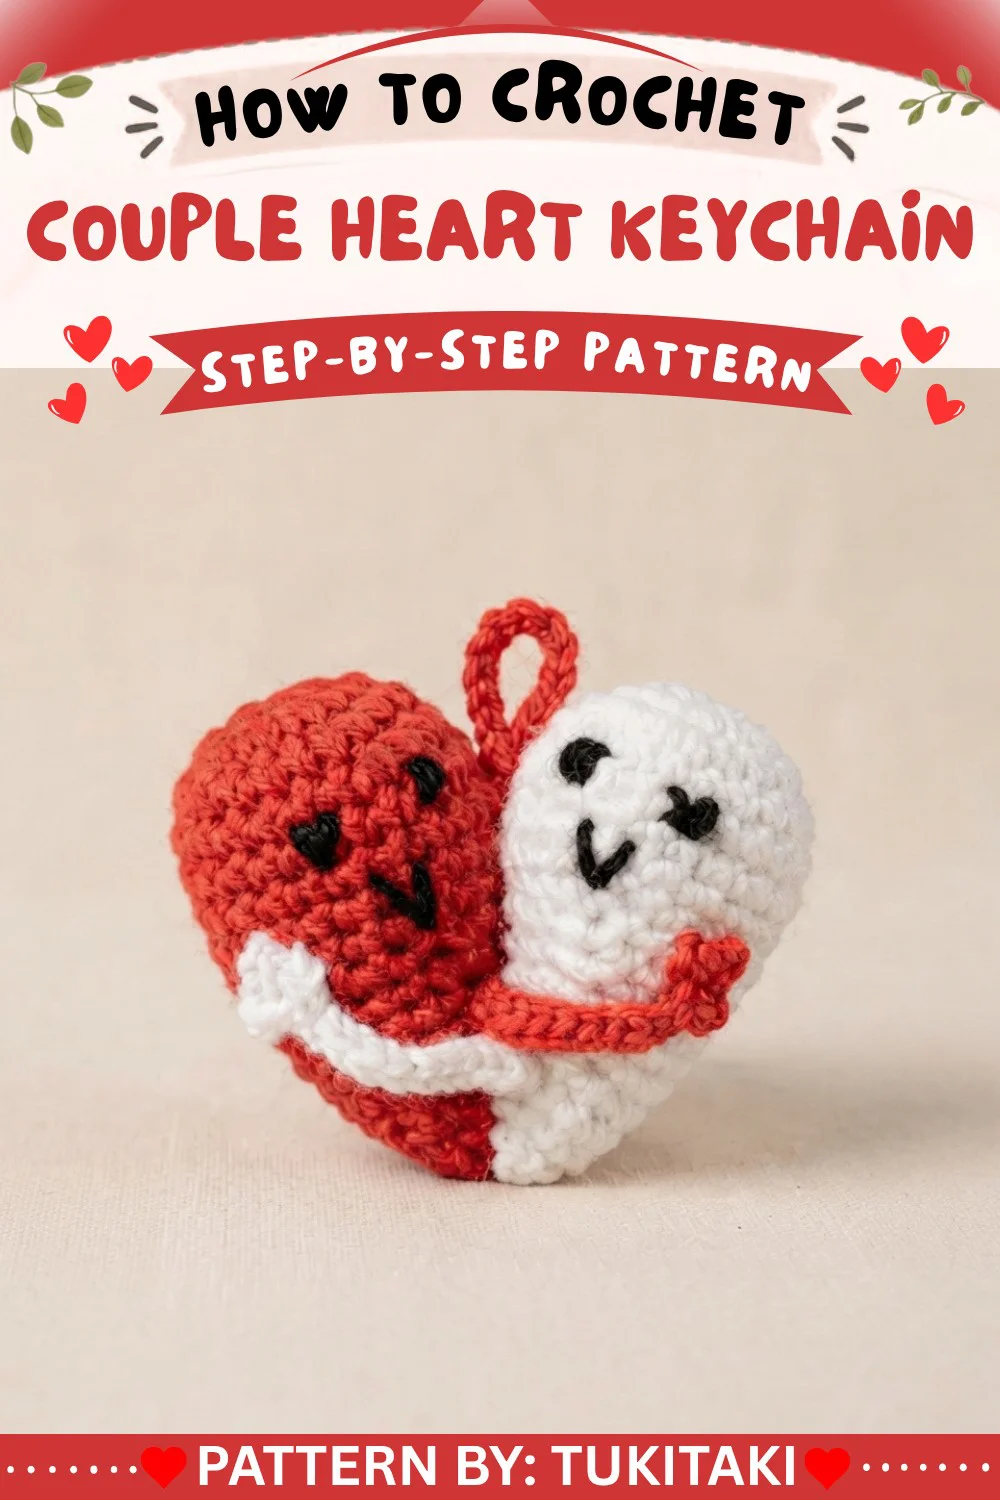
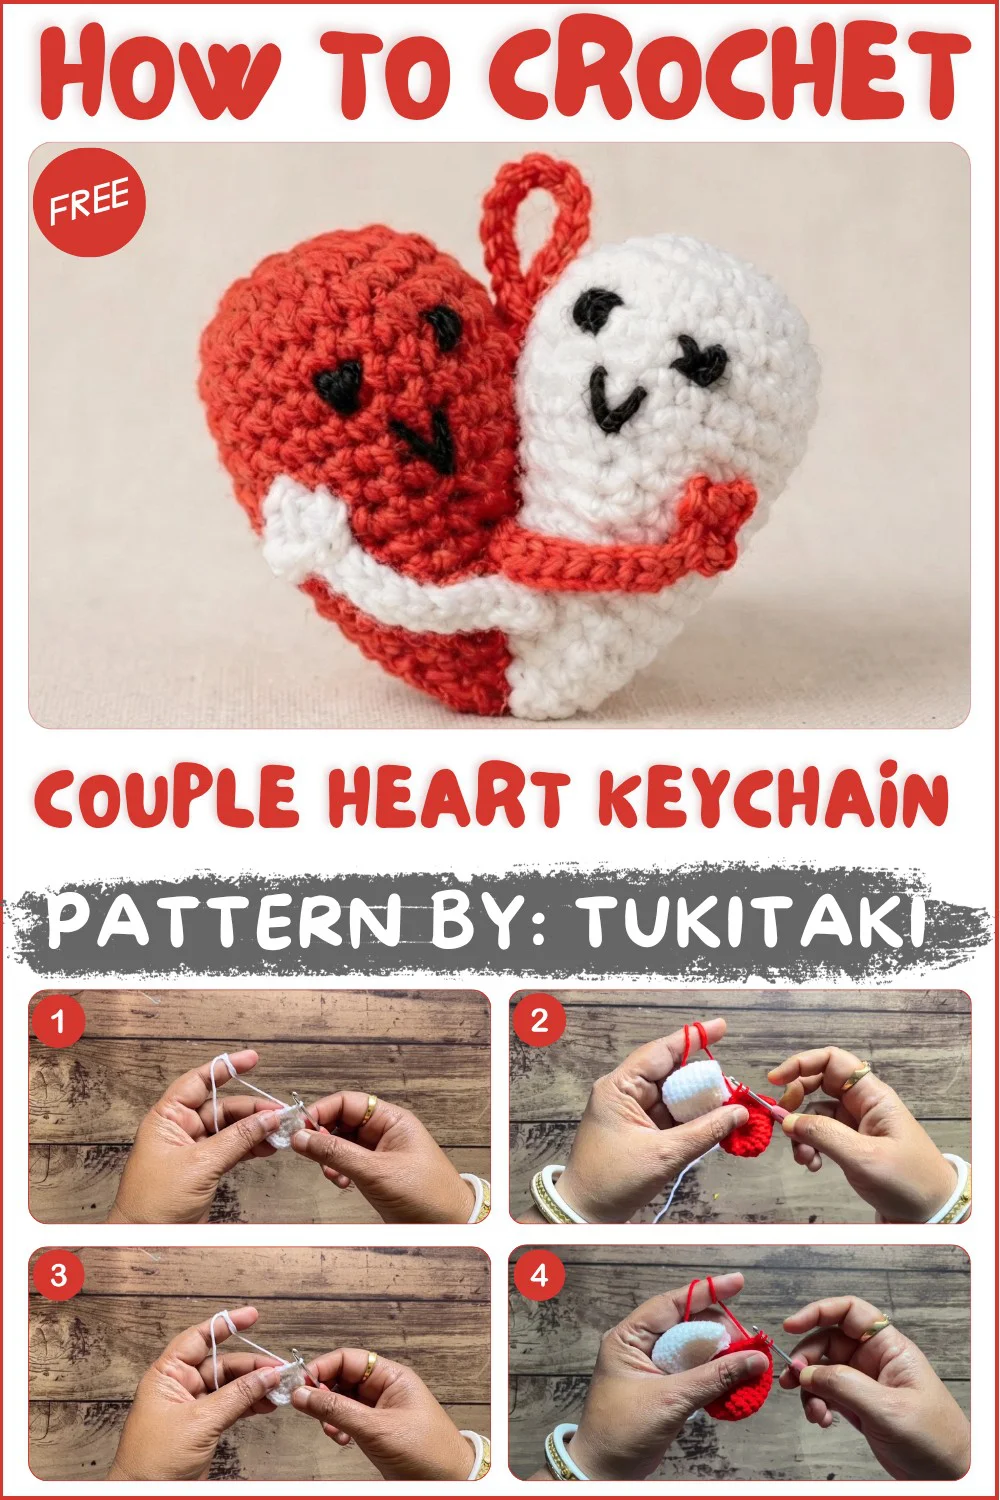
Welcome back to another delightful crochet project! Today, we have an absolutely adorable, wonderfully quirky, and perfectly charming amigurumi pattern for you to try: the sweetest Couple Heart Keychain! If you love crafting beautiful handmade toys that perfectly capture classic plush charm while offering a beautifully detailed, lovable design to keep you engaged, this gorgeous little set is going to be your next favorite make.
This fantastic amigurumi pattern is wonderfully adaptable and perfect for unforgettable handmade gifts, allowing you to whip up beautiful, lovable companions in no time that will be cherished as family keepsakes for years! While the instructions highlight a specific beautiful, vibrant look, you can easily adjust the color variations depending on the worsted weight yarn used—swap out classic heart colors for magical brights, soft neutrals, or vibrant bold hues to create a whimsical, personalized plush! Grab your hooks, settle into your favorite crafting spot, and let’s dive into making these wonderfully cuddly, completely adorable crochet Couple Heart Keychains!
Skill Level
Adventurous Beginner to Intermediate
Crocheters should be comfortable with single crochet, magic ring, increases, decreases, basic embroidery, and following a shape-decreasing pattern.
Materials
- Cotton yarn
- Red or pink (for hearts)
- Skin tone (for body)
- Black (for facial features)
- 3.5 mm crochet hook
- Keychain ring
- Scissors
- Tapestry needle
- Stitch markers
- Stuffing material (polyester fiberfill)
- Optional: Blush, felt pieces, ribbon for accents
Measurements / Sizing
- Completed size: Approx. 6–8 cm (2.5–3.25″) across and tall, depending on yarn, hook, and stuffing.
- Ideal for attaching to standard key rings, purse zippers, or using as a bag charm.
Gauge
- Gauge is not critical but aim for firm, even stitches so stuffing doesn’t show.
Stitch Abbreviations
- MR – Magic ring
- ch – Chain
- sc – Single crochet
- sl st – Slip stitch
- inc – Increase (2 sc in one st)
- dec – Decrease (single crochet 2 together)
- st(s) – Stitch(es)
Special Stitches
- Invisible decrease (sc2tog): Recommended for closing rounds smoothly: Insert hook into front loops of next two sts, yarn over, pull through two loops, yarn over, pull through two loops.
- Crocheted hands: Chain and slip stitch pattern with small “fingers” created by chaining and skipping stitches.
Detailed Pattern
1. Base – Heart and Body Sides (Make 2)
Repeat this section twice: Once in your chosen heart color (red/pink) and once in body color (skin tone).
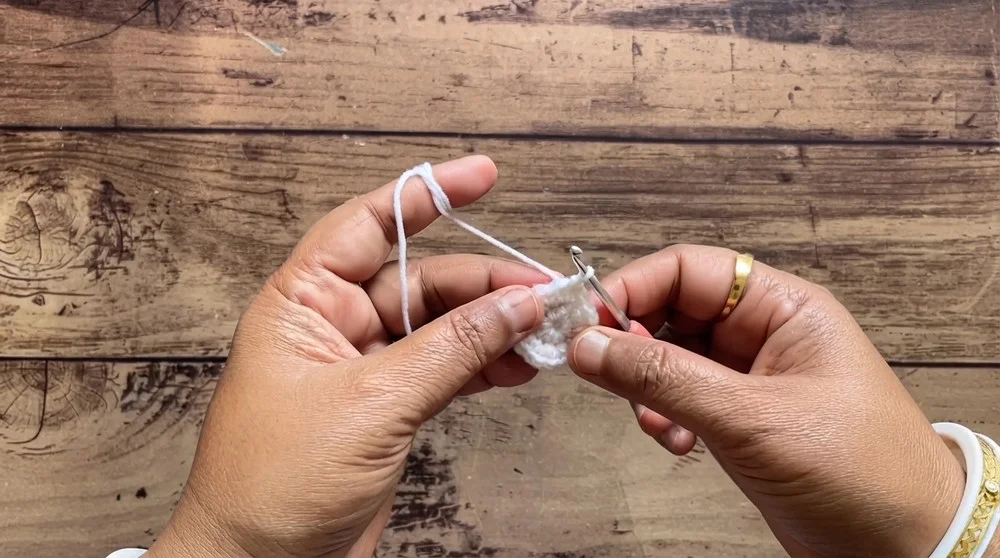
- Row 1:
- Make a magic ring (MR).
- Ch 1.
- Work 10 sc into ring.
- Sl st to join (10 sts).
- Row 2:
- Ch 1.
- 2 sc in every st around (increase in each st – 20 sts).
- Sl st to join.
- Rows 3-7:
- Ch 1.
- 1 sc in each st around (20 sts per row).
- Sl st to join at end of each row.
(Fasten off after the second piece.)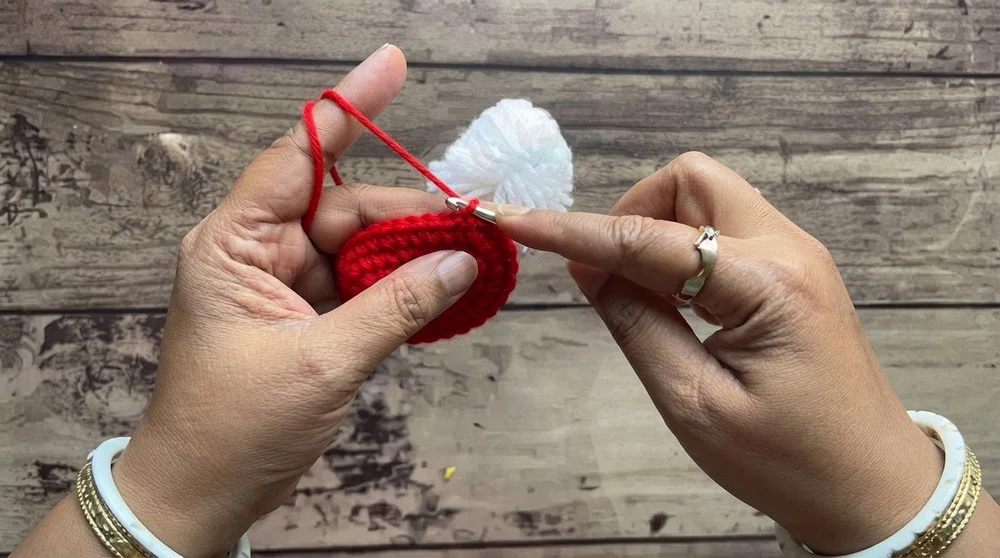
2. Joining & Shaping the Form
- Hold the two pieces together with right sides facing out.
- Attach working yarn, matching respective colors (or continue from last fasten-off).
Round 8 (Joining):
- Work into both pieces at once.
- 20 sc into original body color piece,
- 20 sc into heart color piece (40 sts total).
Round 9:
- (2 sc, 1 dec, 12 sc, 1 dec, 2 sc); repeat for each color side. (36 sts total)
Round 10:
- (2 sc, 1 dec, 10 sc, 1 dec, 2 sc); repeat as established. (32 sts)
Round 11:
- (2 sc, 1 dec, 8 sc, 1 dec, 2 sc); repeat. (28 sts)
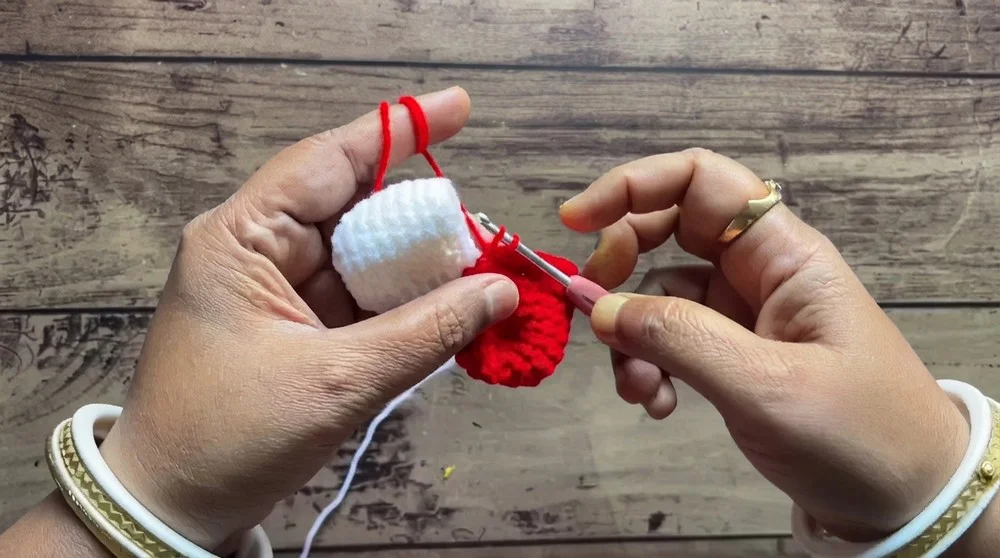
Round 12:
- (2 sc, 1 dec, 6 sc, 1 dec, 2 sc); repeat. (24 sts)
Round 13:
- (2 sc, 1 dec, 4 sc, 1 dec, 2 sc); repeat. (20 sts)
3. Lower Body & Finishing Shaping
Before the next rows, add stuffing firmly to the inside to desired fullness.
Row 14:
- (4 sc, 1 dec, 4 sc) (stitch count reduces with each decrease as you go).
Row 15:
- (3 sc, 1 dec, 3 sc).
Row 16:
- (2 sc, 1 dec, 2 sc).
Row 17:
- (1 sc, 1 dec, 1 sc).
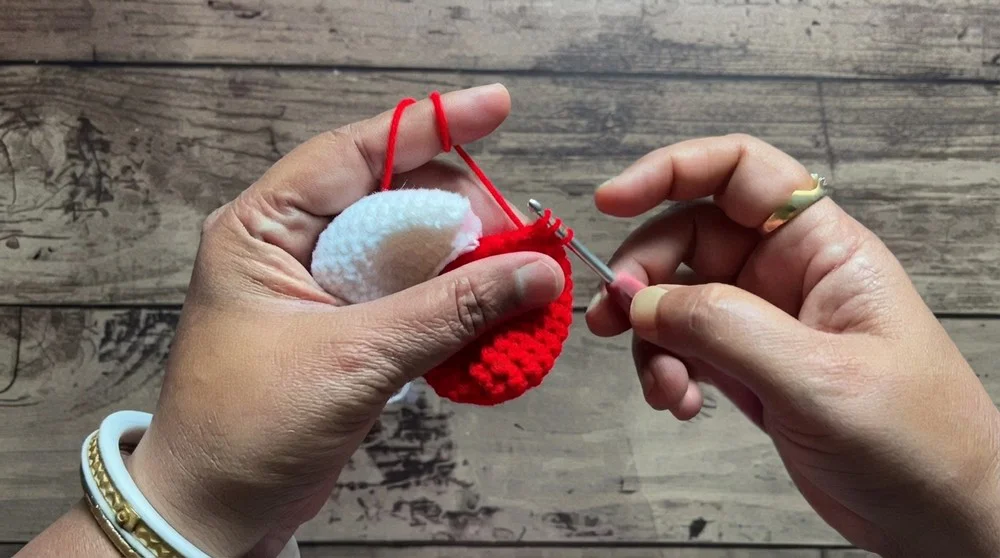
Finishing:
- Cut yarn with long tail.
- Using a tapestry needle, weave tail through remaining stitches and pull tight to close.
- Hide the tail by weaving it into the body.
4. Features
- Use black yarn and tapestry needle:
- Eyes: Embroider two small oval or ‘v’ shapes on the 5th row midpoint (cheek distance apart).
- Nose: Stitch or French knot centered between the eyes.
5. Hands
- With heart or body color:
- Chain 11.
- Skip first chain from hook.
- Sl st into next chain,
- (Ch 2, skip 1 ch, sl st in next); repeat until end.
- This creates a little “finger” and curve effect for the hands.
- Make two hands.
- Sew or attach each hand to the body sides.
Assembly & Finished Size
- Ensure all parts are stuffed and shaped to satisfaction.
- Sew the hands to each side of the body/heart, adjusting the position naturally.
- Finish facial features and tidy all ends inside the body.
- Add a keyring (use a strong loop of yarn, or stitch through key loop and body top).
- Weave in all extra yarn ends with a tapestry needle for a neat finish.
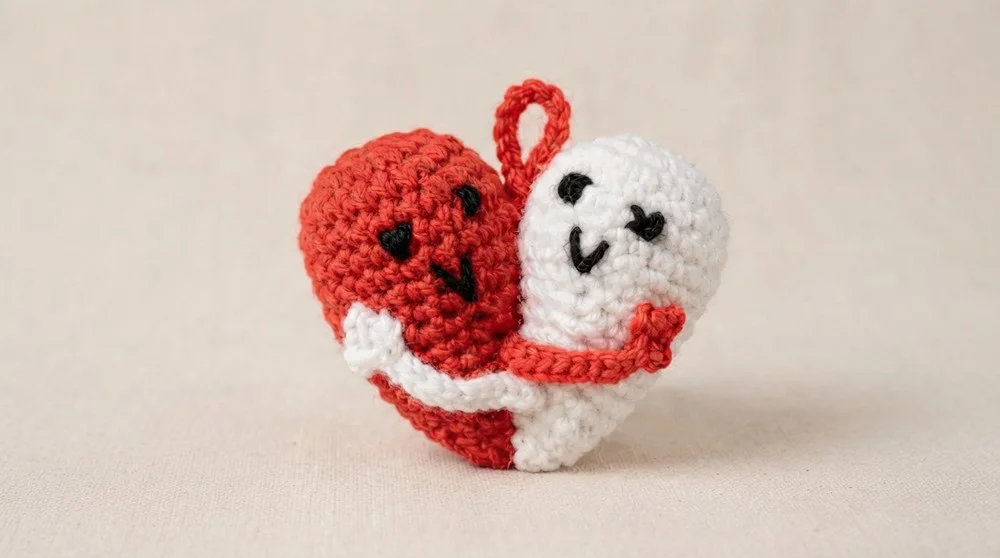
Final size: About 6–8 cm high and wide, comfortably fitting in the palm of an adult hand, perfect for keychains.