Free Panda Crochet Pattern
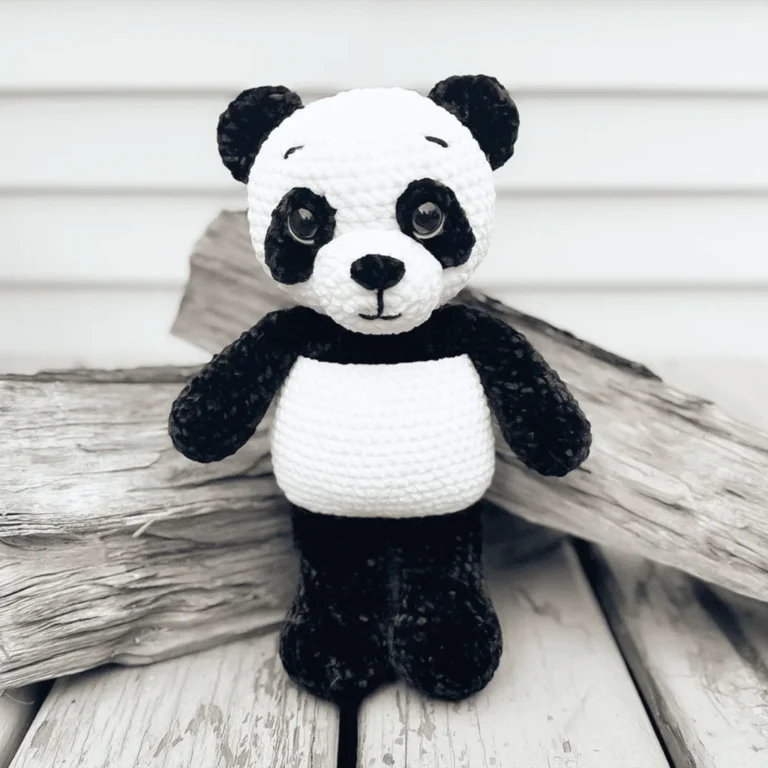
Welcome back to another delightful crochet project! Today, we have an absolutely adorable, wonderfully sweet, and perfectly charming amigurumi pattern for you to try: the cutest little Panda friend! If you love crafting beautiful handmade toys that perfectly capture classic kawaii plush charm while offering a beautifully detailed, lovable design to keep you engaged, this gorgeous little bamboo-munching buddy is going to be your next favorite make.
This fantastic amigurumi pattern is wonderfully adaptable and perfect for unforgettable handmade gifts, allowing you to whip up beautiful, lovable companions in no time that will be cherished as family keepsakes for years! While the instructions highlight a classic black-and-white look, you can easily adjust the color variations depending on the worsted weight yarn used—swap out classic panda colors for magical brights, soft neutrals, or vibrant bold hues to create a whimsical, personalized plush! Grab your hooks, settle into your favorite crafting spot, and let’s dive into making this wonderfully cuddly, completely adorable crochet Panda!
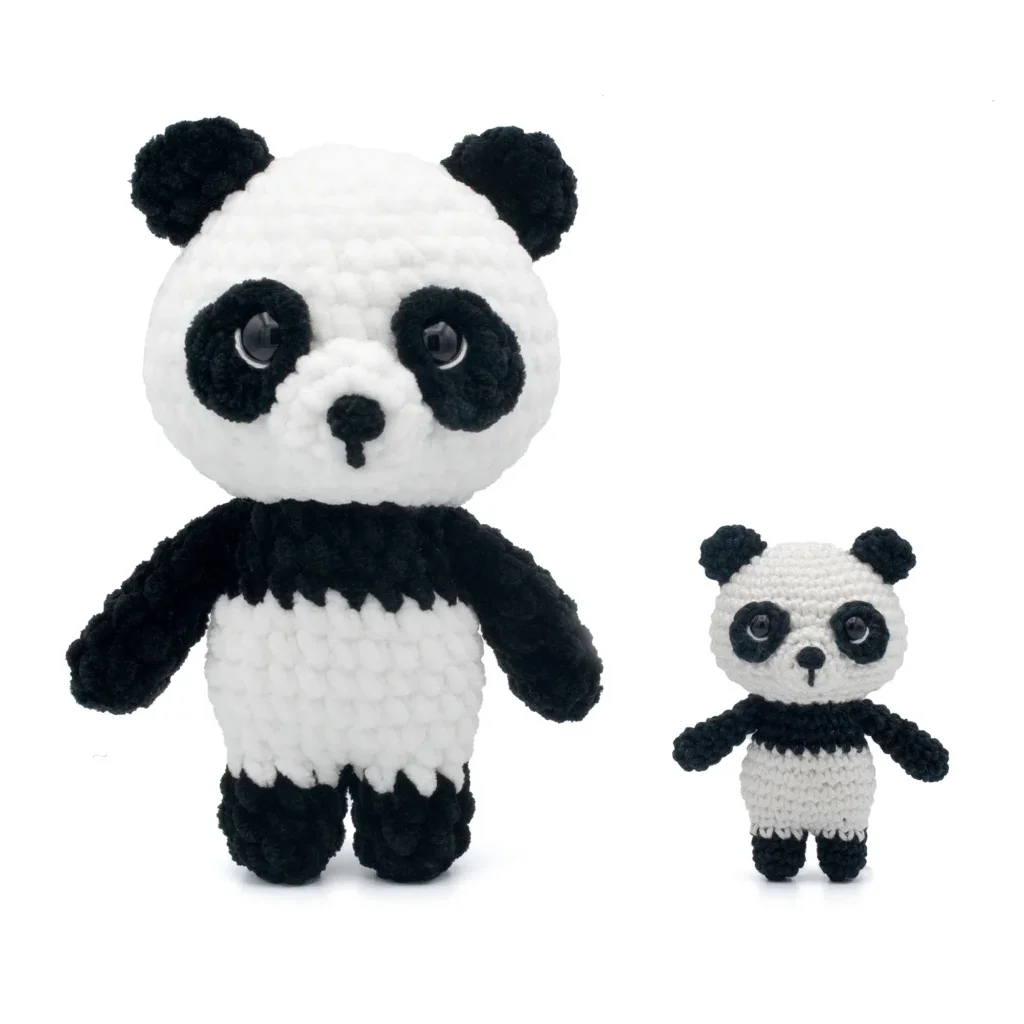
Materials
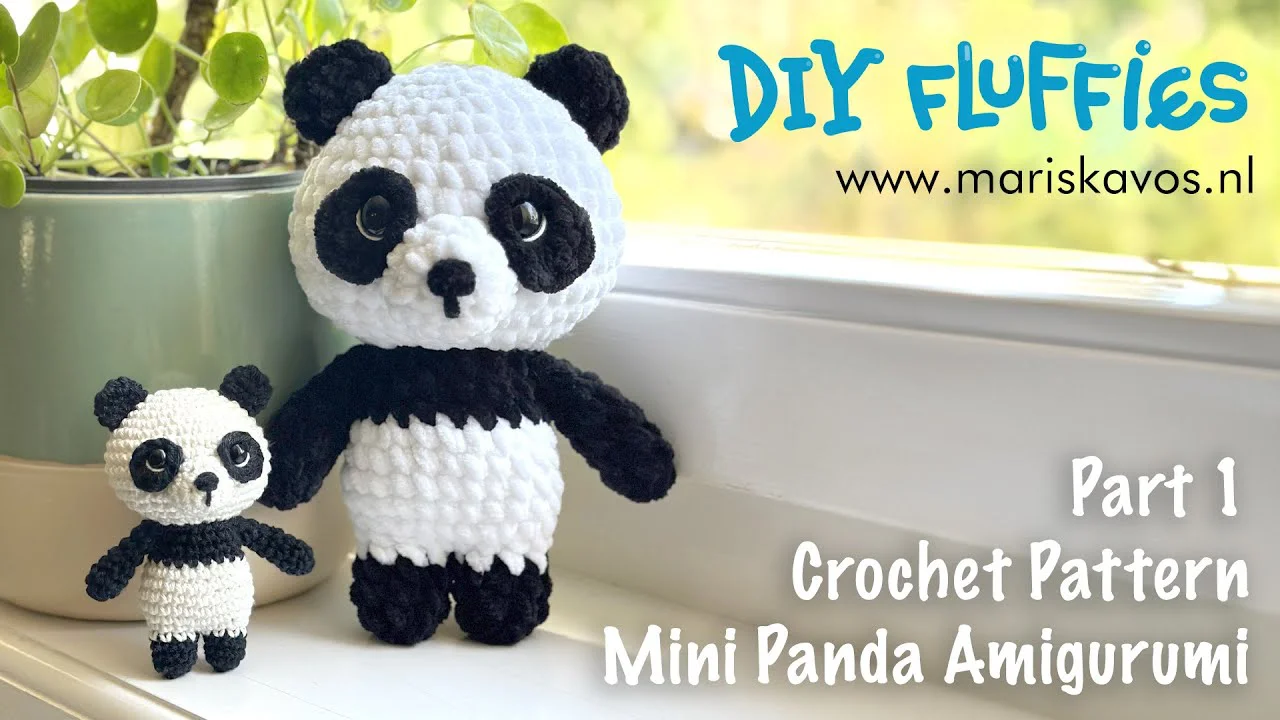
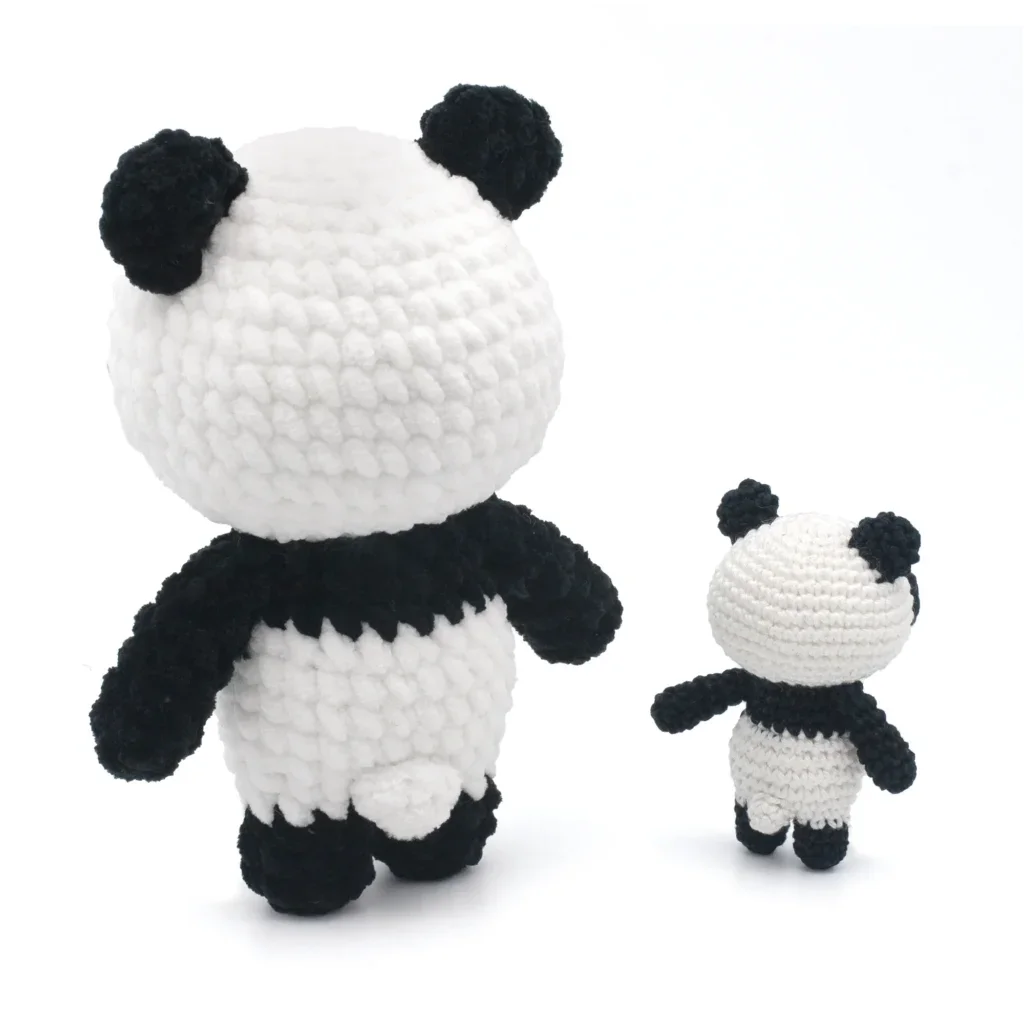
These are the materials that I used. However, feel free to replace them with other materials of your choice. Furthermore, if you wish to crochet a larger or smaller version of this toy plushie using this free Panda bear amigurumi crochet pattern, you can simply use a thicker or thinner yarn and crochet hook.
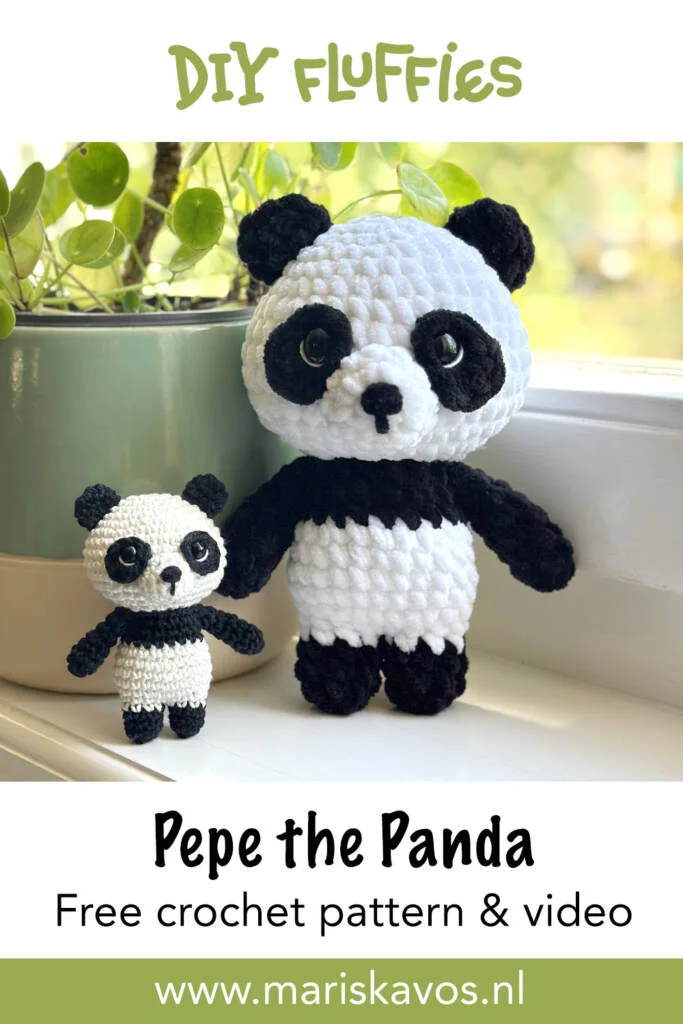
Cotton Sport Weight version 10 cm / 4 inch:
– Yarn and Colors Must Have White cotton color: 001
– Yarn and Colors Must Have Black cotton color: 100
– Synthetic Poly Filling
– Crochet hook size 2.5 mm
– Safety eyes 1 pair: 7 mm
Chenille DK version 14 cm / 6 inch:
– Scheepjes Little Darling Black and White Chenille DK yarn
– Synthetic Poly Filling
– Crochet hook size 3.5 mm
– Safety eyes 1 pair: 15 mm
Chenille Super Bulky version 21 cm / 8 inch:
– White and Black Chenille yarn
– Synthetic Poly Filling
– Crochet hook size 5.0 mm
Search for a similar chenille yarn you can buy near you on YARNSUB
Supplies:
– Scissors
– Tapestry needles with blunt point, nr. 16 or 17
– Pins
TIP: Are you using are using Blanket yarn? Then I recommend a 8 mm crochet hook.
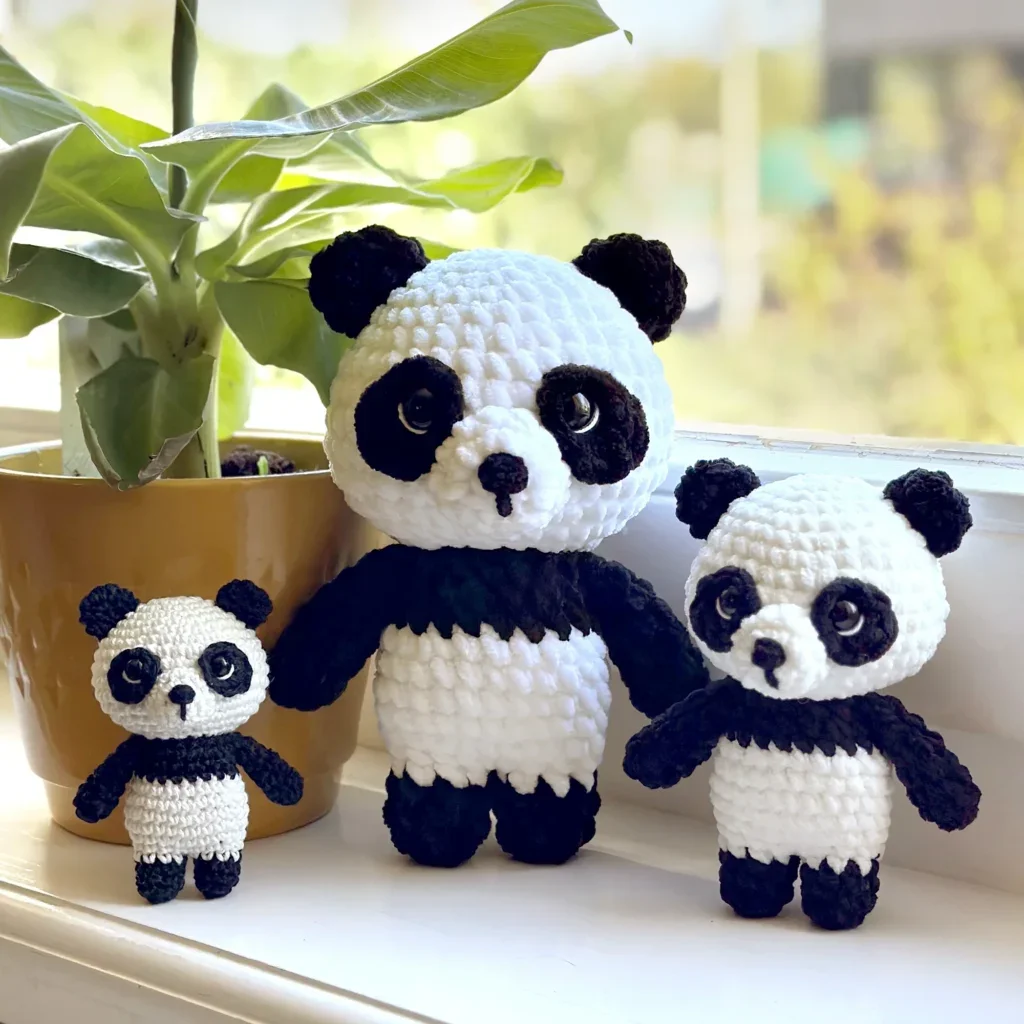
Abbreviations
Abbreviations used in this cute crochet pattern:
(All abbreviations are explained in my basic stitches tutorial)
Rnd: Round
st: stitch
sc: single crochet
sl st: slip stitch
dec: decrease
inc: increase
TIP: Before starting this Panda bear plushie crochet pattern, beginners should remember that there is a full video tutorial on how to make Pepe the Panda Amigurumi: https://youtu.be/HvlRpmBTuyc
Free Panda Crochet Pattern
Eye Patch 2x:
- Use black yarn
- Rnd 1: 2 sc, 1 hdc, 2 dc, 1 hdc, 2 sc in a magic ring (8)
- Invisible fasten off
- Put a safety eye through the middle of the magic ring, do not put the washer on it yet.
Head:
- Use white yarn
- Rnd 1: start 8 sc in a magic ring (8)
- Rnd 2: inc 8 times (16)
- Rnd 3: (sc in next 3 st, inc in next st) repeat 4 times (20)
- Rnd 4: (sc in next 4 st, inc in next st) repeat 4 times (24)
- Rnd 5: (sc in next 3 st, inc in next st) repeat 6 times (30)
- Rnd 6: sc in all 30 st (30)
- Rnd 7: (sc in next 4 st, inc in next st) repeat 6 times (36)
- Rnd 8: (sc in next 11 st, inc in next st) repeat 3 times (39)
- Rnd 9-11: sc in all 39 st (39)
- Rnd 12: (sc in next 11 st, dec) repeat 3 times (36)
- Attach the safety eyes with the eye patches between rounds 9 and 10, with 5 stitches between both eyes. Do not sew the patches on the head yet.
- Rnd 13: (sc in next 4 st, dec) repeat 6 times (30)
- Rnd 14: (sc in next 3 st, dec) repeat 6 times (24)
- Rnd 15: (sc in next st, dec) repeat 8 times (16)
- Put stuffing in the head
- Rnd 16: dec 8 times (8)
- Fasten off, leaving a yarn tail. Using your yarn needle, weave the yarn tail through the front loop of each remaining stitch and pull it tight to close. Weave in the yarn end.
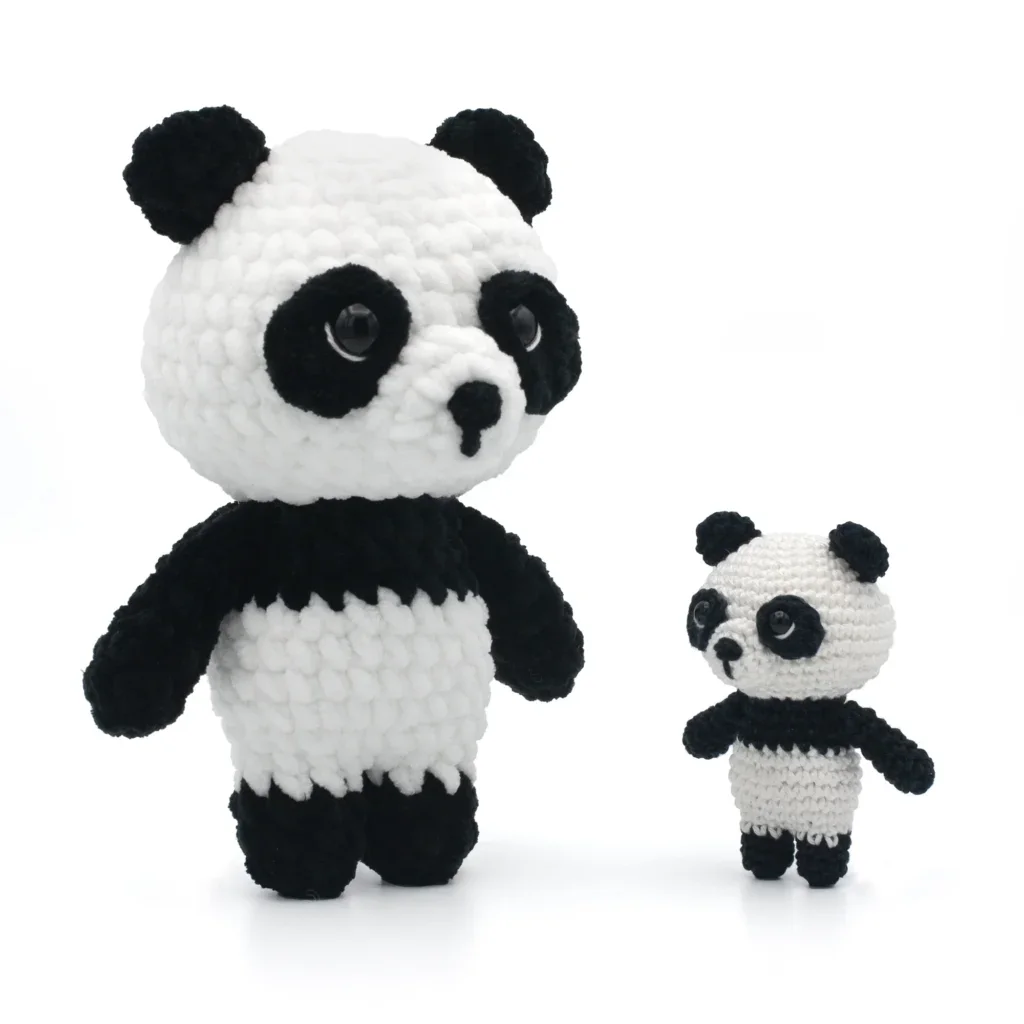
Snout:
- Use white yarn
- Rnd 1: start 6 sc in a magic ring (6)
- Rnd 2: inc 6 times (12)
- Rnd 3: sc in all 12 st (12)
- Fasten off with a slst.
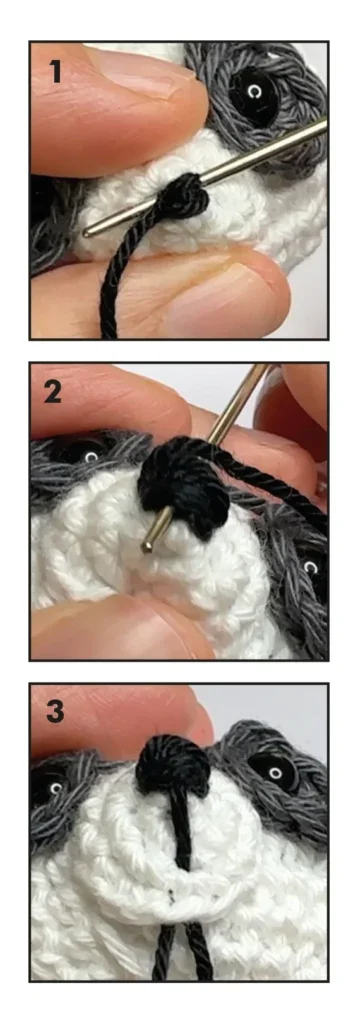
- Sew the snout between rounds 9 and 14. Embroider the nose on the snout (photo 1-3) with black yarn and put a bit of stuffing in the snout when there is still a small hole left. Sew the eye patches on the head.
Ear 2x:
- Use black yarn
- Rnd 1: start 8 sc in a magic ring (8)
- Rnd 2-3: sc in all 8 st (8)
- Fasten off with a slst.
- Flatten the ears and sew the ears between rounds 3 and 7.
Body:
- First make two legs:
- We start by making 2 legs in black yarn.
- Rnd 1: start 8 sc in a magic ring (8)
- Rnd 2-4: sc in all 8 st (8)
- Slst in next st and fasten off on the first leg. Repeat rounds 1-4 but do not fasten off on the second leg.
- Continue crocheting on the second leg.
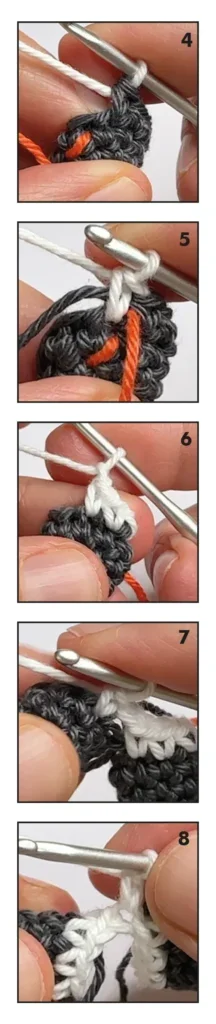
- Change to white yarn (photo 4-5)
- Rnd 1: sc in next 4 st, ch 1 (photo 6), continue in the first stitch of the first leg (photo 7), sc in all 8 st of the first leg, sc in the chain st (photo 8), continue in the fifth stitch of the second leg, sc in next 4 st of the second leg (18)
- If you need more help with crocheting the legs, please watch the full video part 2 on how to crochet this cute panda Amigurumi: https://youtu.be/-IG7i9zmKmU
- Rnd 2: (inc, sc in next 8 st) repeat 2 times (20)
- Rnd 3: (sc in next 3 st, inc in next st) repeat 5 times (25)
- Rnd 4-6: sc in all 25 st (25)
- Rnd 7: (sc in next 3 st, dec) repeat 5 times (20)
- Change to black yarn
- Rnd 8: sc in all 20 st (20)
- Rnd 9: (sc in next 3 st, dec) repeat 4 times (16)
- Rnd 10: sc in all 16 st (16)
- Fasten off with a slst.
- Put stuffing in the body.
- Sew the body on the head, between rounds 15 and 16.
Arm 2x:
- Use black yarn
- Rnd 1: start 6 sc in a magic ring (6)
- Rnd 2-7: sc in all 6 st (6)
- Fasten off with a slst.
- Put a bit of stuffing in the arms. Sew the arms on the side of the body, or your panda flatten round 7 and sew them on round 10 of the body.
Tail:
- Use white yarn
- Rnd 1: start 6 sc in a magic ring (6)
- Rnd 2: sc in all 6 st (6)
- Fasten off with a slst.
- Sew the tail on the back of the body on between round 2 and 5.
- Optional: Embroider a white stripe along the eyes.
- Now your cute panda is done! Would you like to make more stuffed animals? Check out all other Amigurumi crochet patterns on my blog.