Crochet Pumpkin Amigurumi Free Pattern with Easy Tutorial
Welcome back to another delightful crochet project! Today, we have an absolutely adorable, wonderfully festive, and perfectly charming amigurumi pattern for you to try: the sweetest Crochet Pumpkin! If you love crafting beautiful handmade toys that perfectly capture classic plush charm while offering a beautifully detailed, lovable design to keep you engaged, this gorgeous little autumn make is going to be your next favorite project.
This fantastic amigurumi pattern is wonderfully adaptable and perfect for unforgettable handmade gifts, allowing you to whip up beautiful, lovable companions in no time that will be cherished as family keepsakes for years! While the instructions highlight a specific beautiful, vibrant look, you can easily adjust the color variations depending on the worsted weight yarn used—swap out classic harvest colors for magical brights, soft neutrals, or vibrant bold hues to create a whimsical, personalized plush! Grab your hooks, settle into your favorite crafting spot, and let’s dive into making this wonderfully cuddly, completely adorable crochet Pumpkin!
Skill Level
Beginner to Adventurous Beginner
You’ll need to know:
- Magic ring,
- Single crochet (sc),
- Increases and decreases,
- Basic embroidery techniques.
No prior amigurumi experience required if you’re comfortable with basic crochet stitches!
Materials
- Yarn: 2mm thick premium cotton in orange (pumpkin), green (stem/leaf), black (face/embroidered option), pink (cheeks)
- Crochet Hook: 2.5 mm
- Safety Eyes: 8 mm (or small black button for alternative face)
- Notions: Stitch marker, embroidery/tapestry needle, sewing thread and fine needle for button, scissors, synthetic fiber stuffing
- Optional: Keychain ring/blush for cheeks
Measurements / Sizing
- Finished Size: ~5 cm tall, ~6 cm width
Gauge
- Gauge: Not critical, but stitches should be tight to prevent stuffing from showing.
- Approximation: 6 rounds single crochet ≈ 2–2.5 cm diameter.
Stitch Abbreviations
| Abbreviation | Meaning |
|---|---|
| MR | Magic Ring |
| sc | Single Crochet |
| inc | Increase (2 sc in 1 st) |
| dec | Decrease (sc 2 sts together) |
| sl st | Slip Stitch |
| ch | Chain |
| st(s) | Stitch(es) |
Special Stitches
- Decrease (dec): Insert hook into front loop of next two stitches, yarn over and pull through both, yarn over and pull through two loops on hook.
- Embroidered features: Use black/pink thread/yarn for cute or spooky details, as described in the pattern.
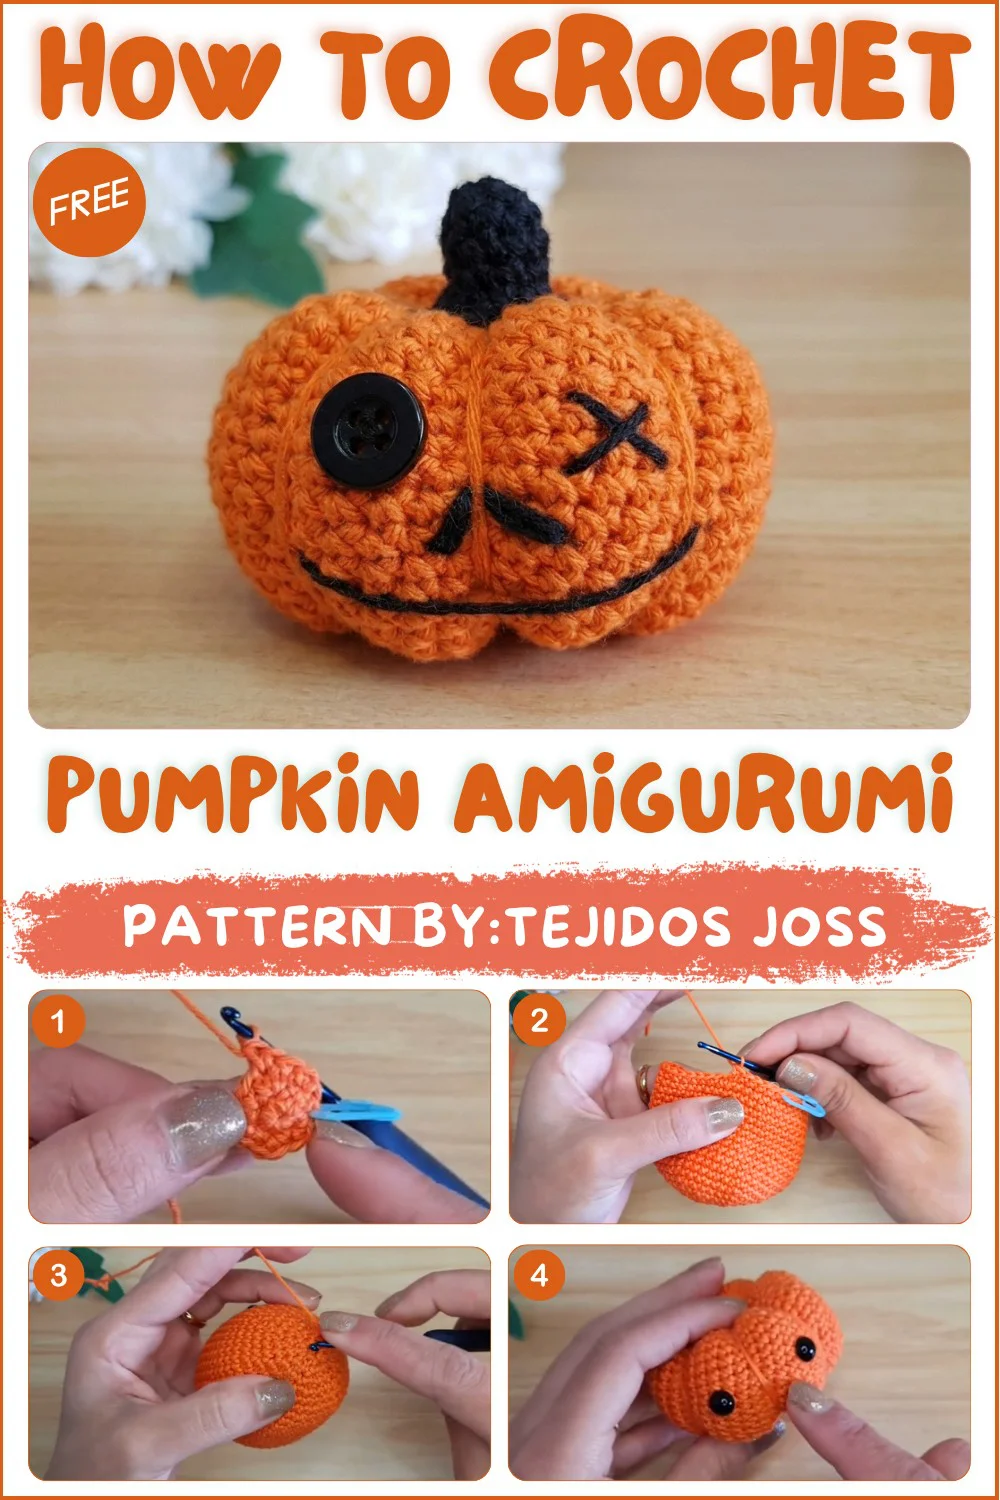
- Pumpkin Ridges: After closing, use long tail and a tapestry needle to shape ridges from top to bottom.
Step-by-Step Pattern
Pumpkin Body (in Orange)
- Round 1:
- MR, work 6 sc into ring. (6)
- Round 2:
- 6 inc (2 sc in each st around) (12)
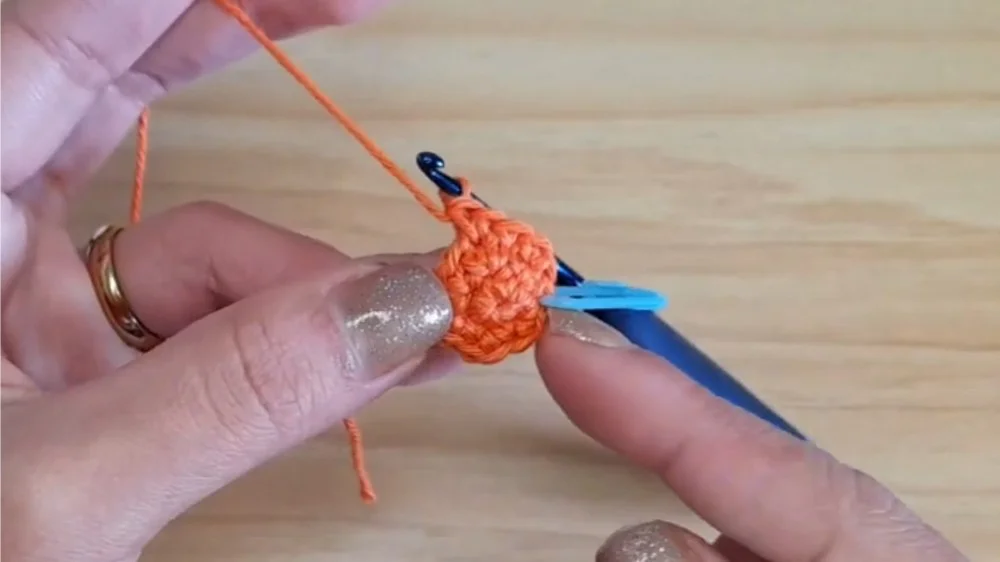
- 6 inc (2 sc in each st around) (12)
- Round 3:
- (1 sc, inc) repeat 6 times (18)
- Round 4:
- (2 sc, inc) repeat 6 times (24)
- Round 5:
- (3 sc, inc) repeat 6 times (30)
- Round 6:
- (4 sc, inc) repeat 6 times (36)
- Round 7:
- (5 sc, inc) repeat 6 times (42)
- Rounds 8–20:
- 1 sc in each st (42) (work evenly for all 13 rounds)
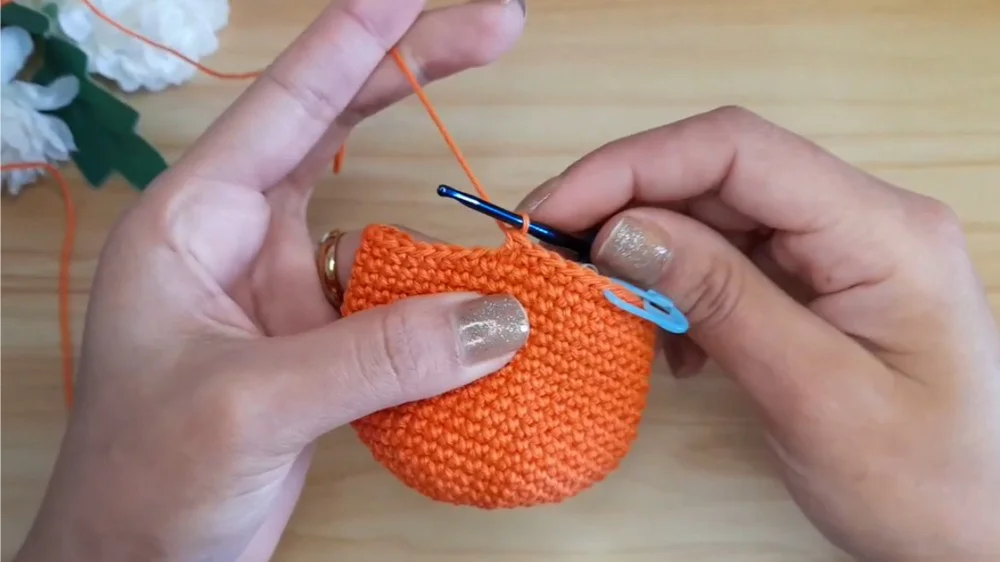
- Round 21:
- (5 sc, dec) repeat 6 times (36)
- Round 22:
- (4 sc, dec) repeat 6 times (30)
- Round 23:
- (3 sc, dec) repeat 6 times (24)
- At this point:
- If adding safety eyes, insert now between rounds 13–14, separated by 6 stitches.
- If using a button, wait until the very end.
- Stuff firmly after round 23.
- At this point:
- (3 sc, dec) repeat 6 times (24)
- Round 24:
- (2 sc, dec) repeat 6 times (18)
- Round 25:
- (1 sc, dec) repeat 6 times (12)
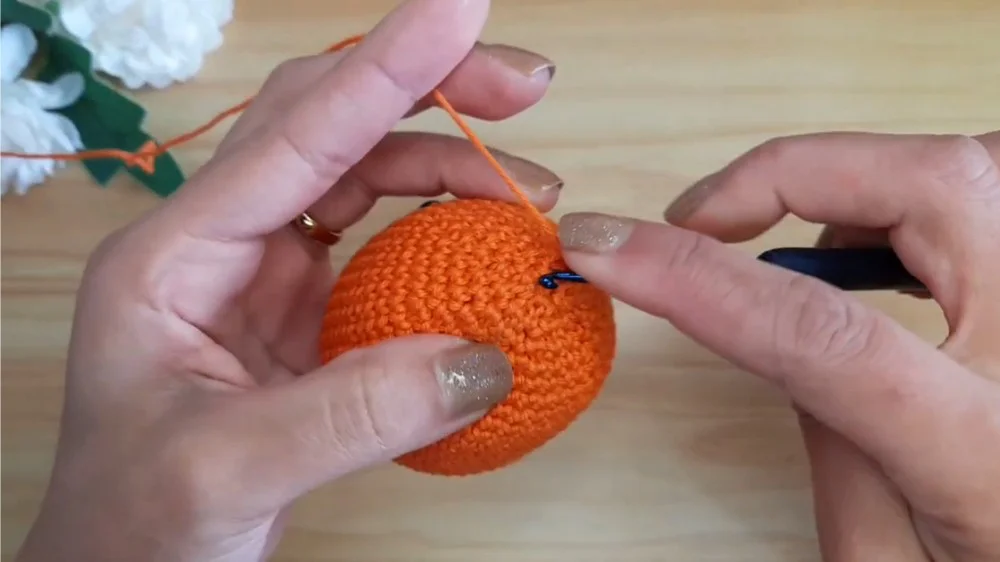
- (1 sc, dec) repeat 6 times (12)
- Round 26:
- 6 dec (6)
- Finish off:
- Sl st into next st, ch 1, and (very) long tail for ridges and sewing.
- Pull to tighten and close hole but do not weave in: use the tail for shaping next.
- Finish off:
- 6 dec (6)
Creating Pumpkin Ridges
- Use tapestry needle and long tail.
- Thread from bottom to top (where MR started).
- Pull yarn tightly along the exterior, then insert back through the base, pulling each “line” slightly to indent and form the classic pumpkin groove.
- Repeat:
- Form lines in the front, back, and at least 8 evenly spaced segments around.
- Secure:
- Tie off underneath, hide the knot, and/or bury yarn tail inside pumpkin.
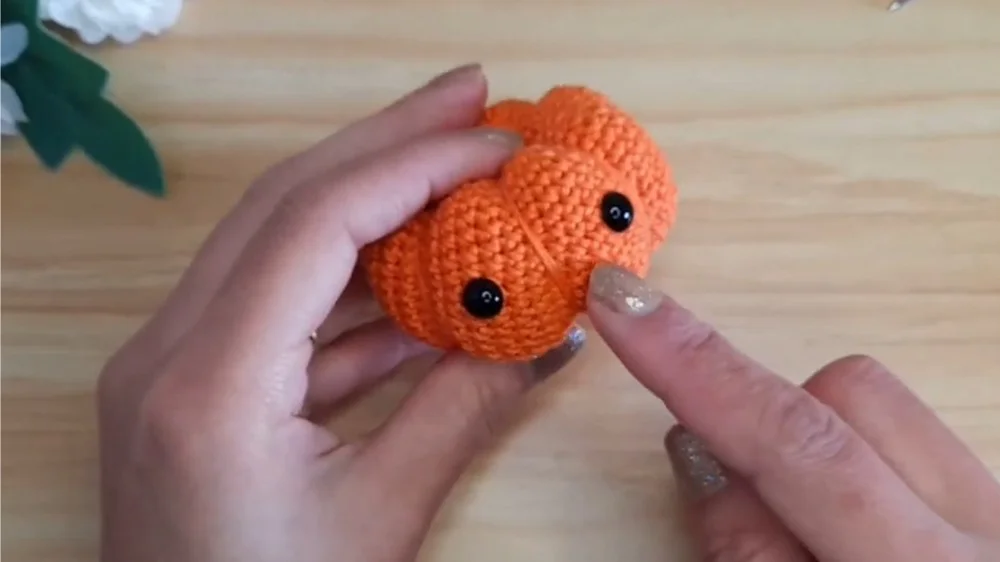
- Tie off underneath, hide the knot, and/or bury yarn tail inside pumpkin.
Pumpkin Face
Cute Face (Safety Eyes & Smile)
- Insert safety eyes between rounds 13–14, 6 sts apart before final stuffing/closing.
- Embroider mouth:
- With black yarn or thread, create a small upside-down triangle or a smiling mouth two rounds below the eyes.
- Blush/cheeks:
- With pink yarn, make two tiny straight stitches under each eye for rosy cheeks.
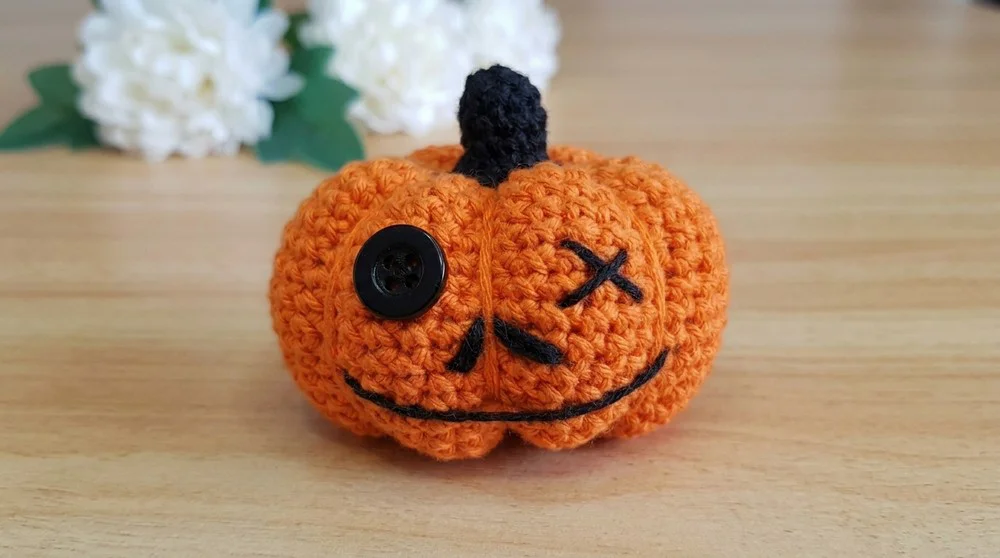
Spooky Face (Button & X Eye)
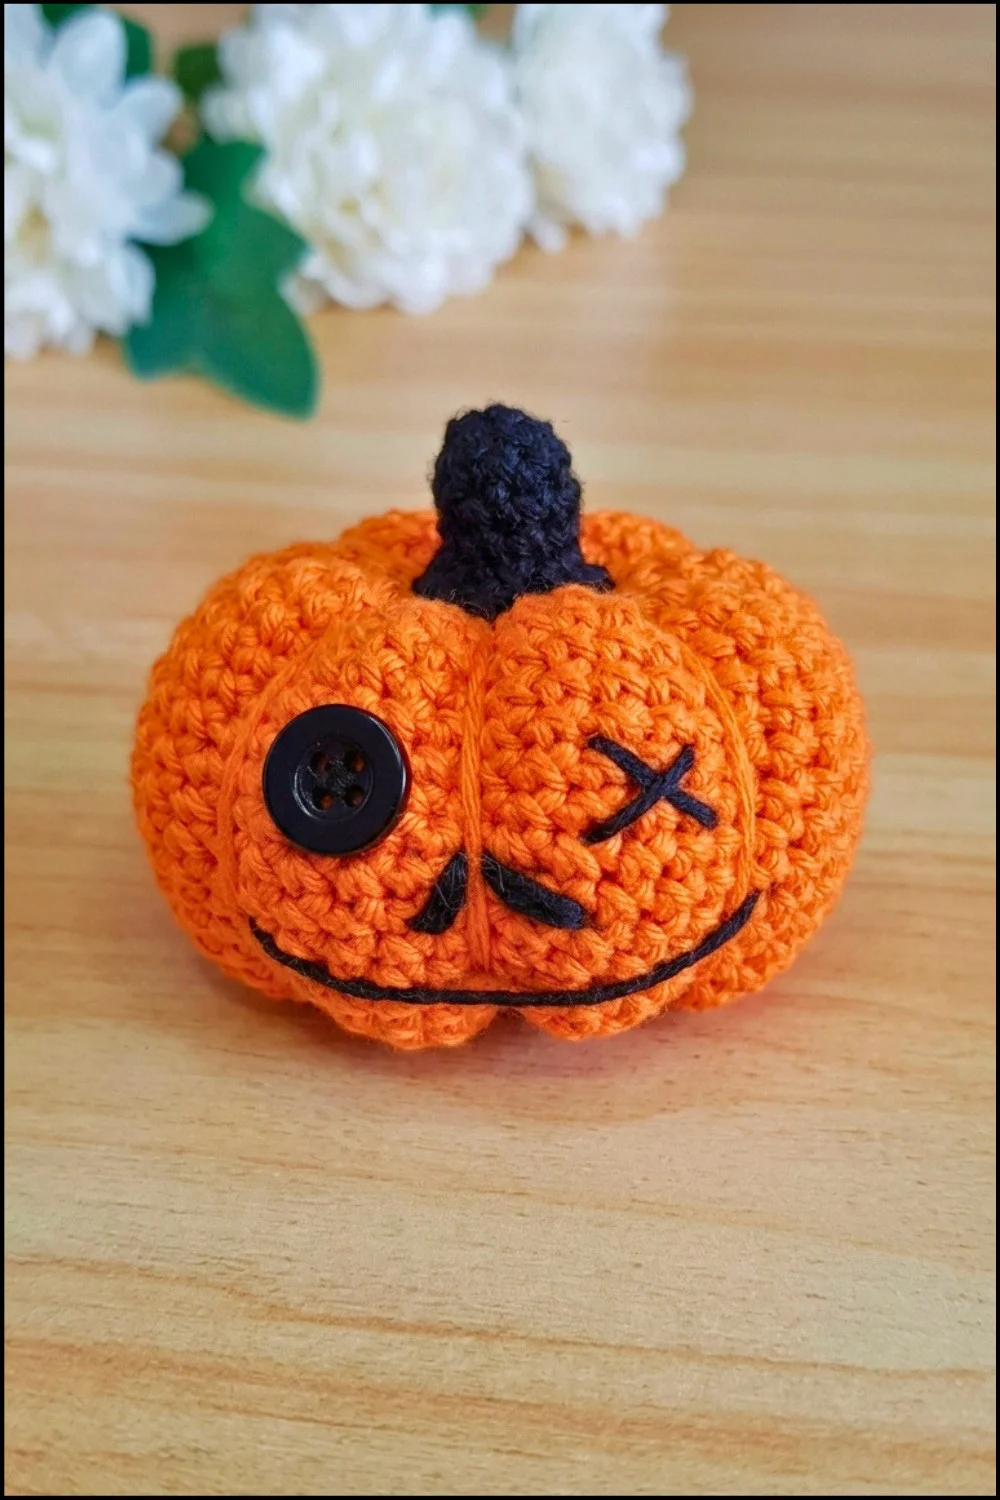
- Sew a small black button in place of one eye.
- Embroider stitched “X” for the other eye using black thread.
- Embroider nose and mouth:
- Nose: diagonal stitches (two passes each) for a triangle.
- Mouth: Long horizontal or stitched mouth beneath the button.
Pumpkin Stem and Leaf (in Green)
- Round 1:
- MR, 8 sc into ring (8)
- Rounds 2–5:
- 1 sc in each st (8)
- Round 6:
- 8 inc (2 sc in each st) (16)
- Leaf:
- Ch 10, starting from second ch from hook, 2 sc in each ch (forms a curly vine).
- Sl st into next st of last round.
- Cut long tail for sewing; fasten off.
Pumpkin Assembly
- Sew stem/leaf to top center of pumpkin.
- Attach carefully by catching both the base of the stem and several pumpkin stitches so it remains upright.
- Shape leaf by coiling vine as desired.
- Attach keychain (optional): Pull a loop of green or orange yarn through stem, thread keyring, and knot securely.
- Finish face details: For button/X version, embroider after main features are set.
Assembly & Finished Size
- Your finished pumpkin should measure approximately 5 cm in height, 6 cm width.
- The completed pumpkin remains sturdy, plush, and full of personality, whether you choose a cute or spooky face.