Crochet Ragdoll Reindeer Ornament
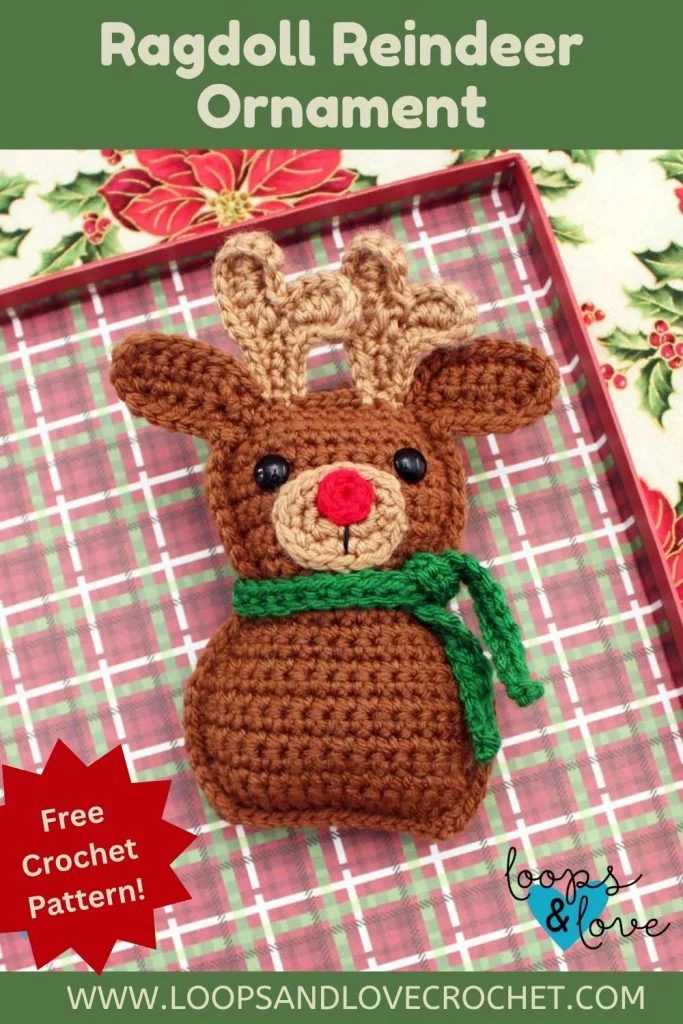
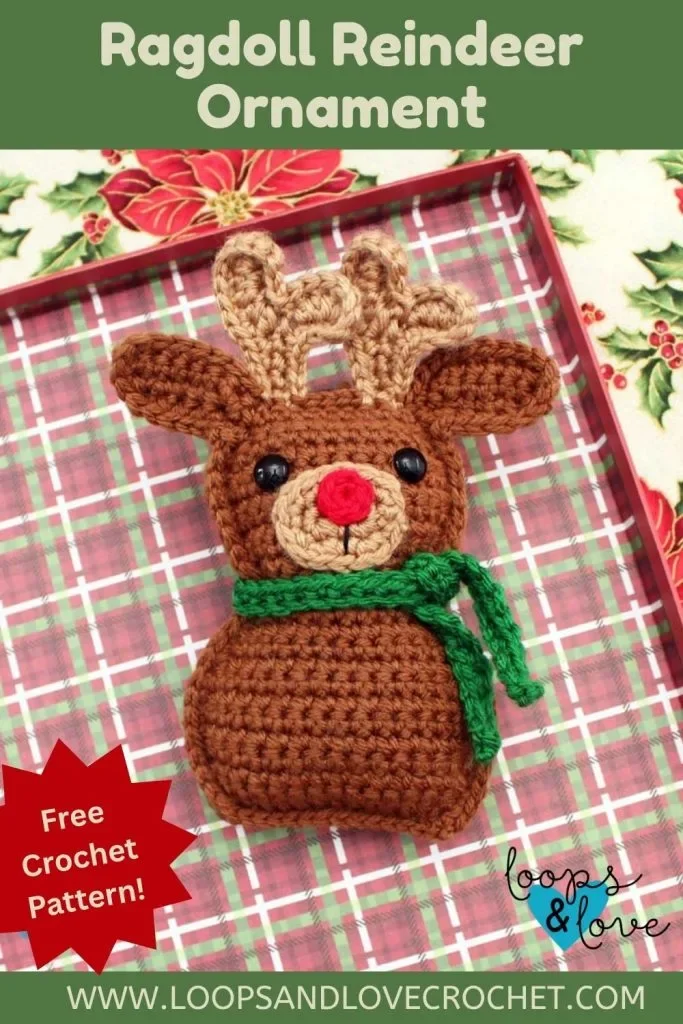
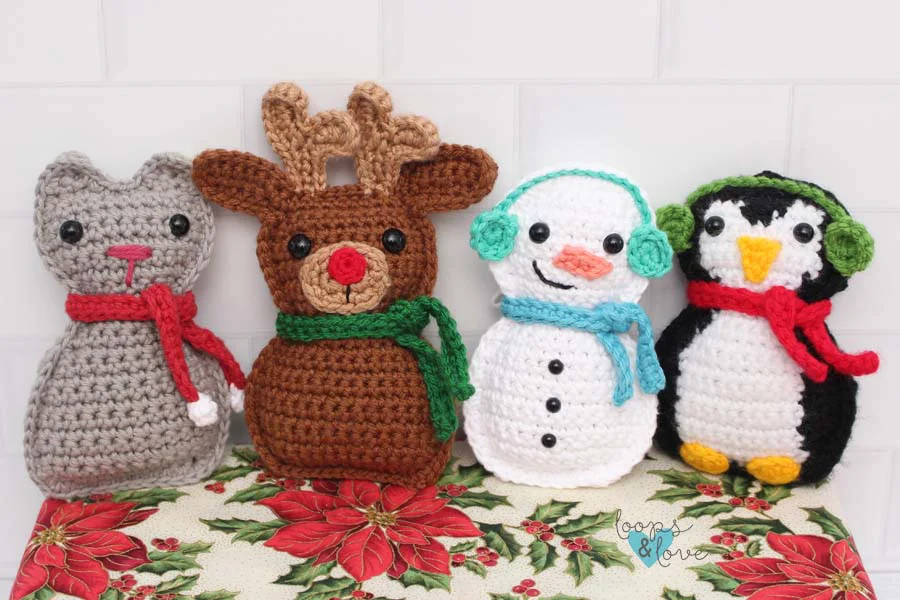
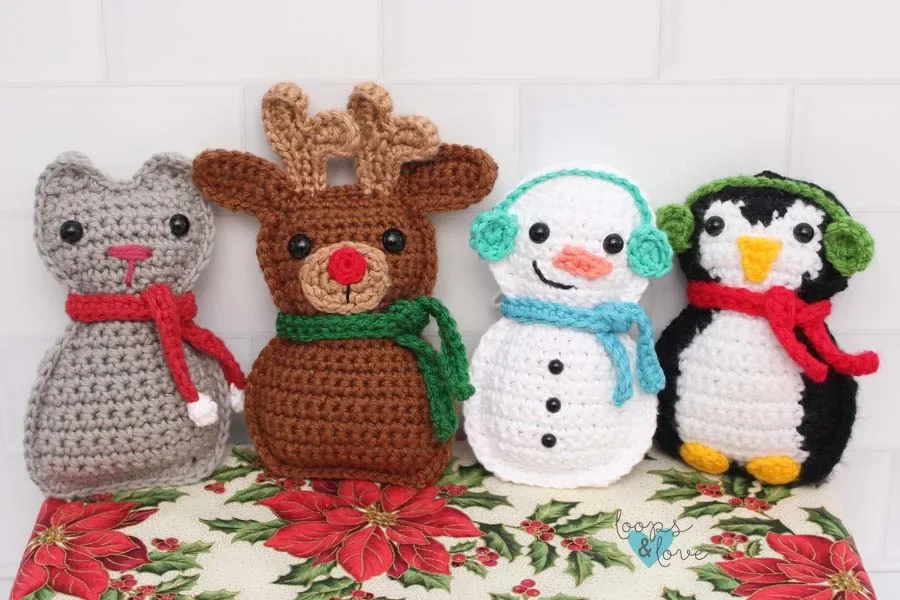
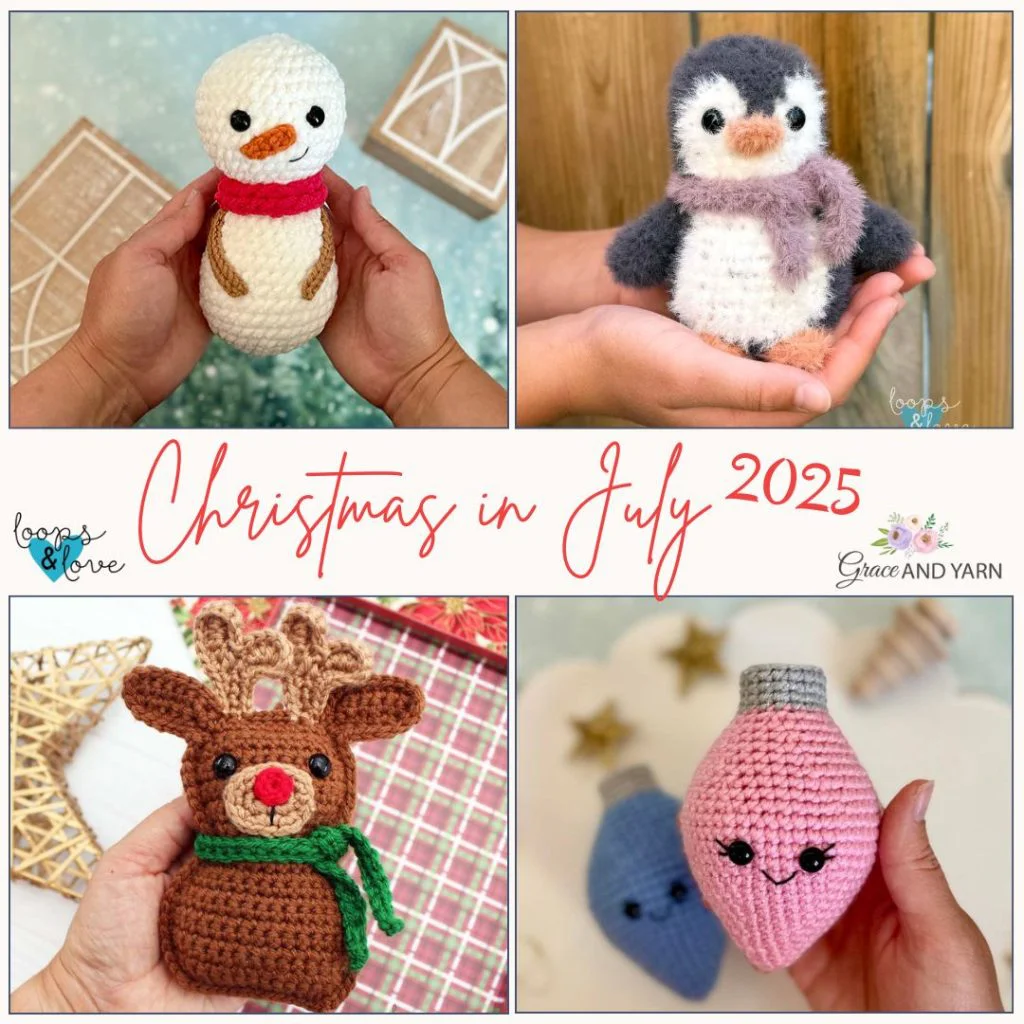
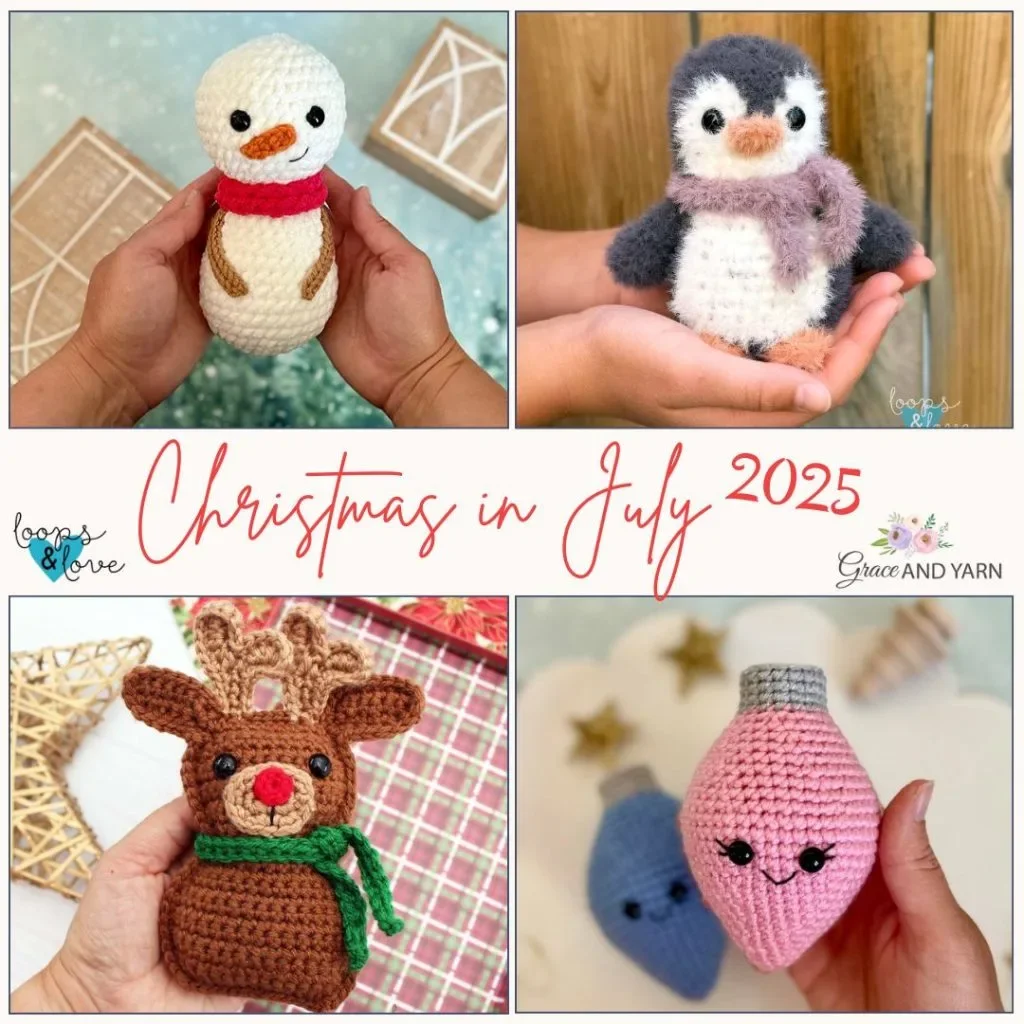
Welcome back to another delightful crochet project! Today, we have an absolutely adorable, wonderfully festive, and perfectly charming pattern for your holiday crafting: the Crochet Ragdoll Reindeer Ornament! If you love crafting sweet seasonal accessories or playful plushies that perfectly capture handmade charm while offering a beautifully textured and easy-to-construct design, this brilliant little reindeer is going to be your next favorite make.
This fantastic amigurumi pattern is wonderfully adaptable and perfect for unforgettable handmade holiday gifts, allowing you to whip up beautiful, lovable plushies in no time that will be cherished on the tree for years! While the instructions highlight a specific beautiful, classic look, you can easily adjust the color variations depending on the worsted weight yarn used—swap out classic browns for magical pastels, frosty whites, or vibrant bold hues to create a whimsical, personalized little reindeer! Grab your hooks, settle into your favorite crafting spot, and let’s dive into making this wonderfully playful, incredibly cute ornament!
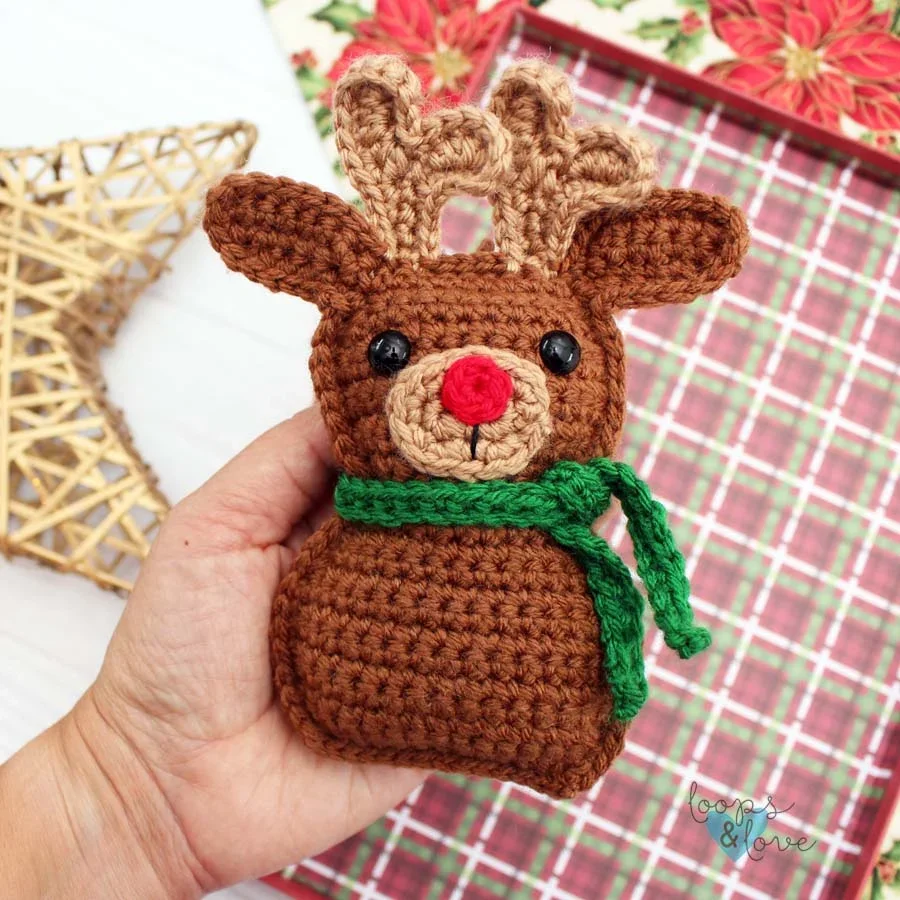
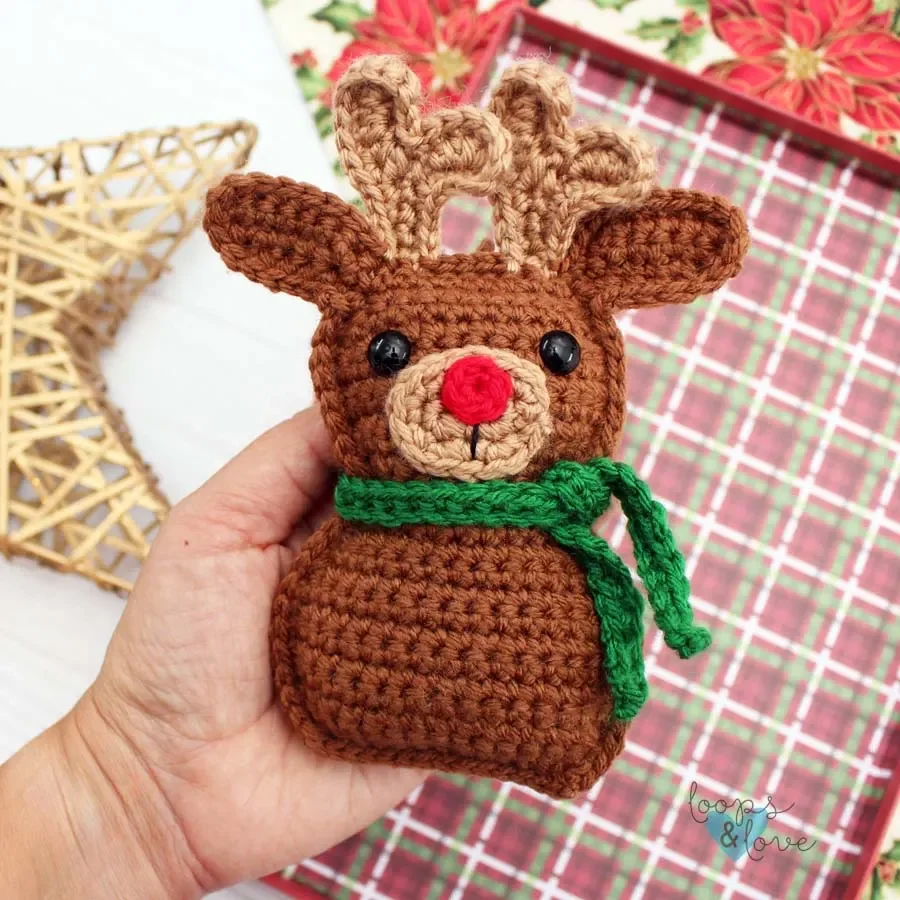
Materials
- Worsted-weight (#4) yarn – Any worsted-weight #4 yarn can be used for this project. I used WeCrochet/Knit Picks Brava yarn in Espresso (brown) for the body, Almond (beige) for the antlers and muzzle, and Red for the nose. Approximately 70 yds are needed for this project, mostly in the main brown color, with a smaller amount of beige, and a couple yards of red.
- Crochet Hook – 3.5mm crochet hook
- Safety Eyes – two 10 mm safety eyes
- Stuffing – any fiber based stuffing
- Yarn needle – I use bent yarn needles for weaving in ends and sewing on parts.
- Embroidery thread (optional) – a small amount of black for the muzzle.
- Scissors for cutting yarn (these little ones are my favorite!)
Stitches Used
- Ch – chain
- Sl St – slip stitch
- SC – single crochet
- HDC – half double crochet
- INC – single crochet increase – work 2 SC stitches into the same stitch.
- DEC – single crochet decrease – work a SC decrease over the next 2 stitches. Insert hook into the first stitch, pull up a loop, insert hook into next stitch, pull up a loop, yarn over and pull through all three loops on hook.
Important Notes
- Worked in Rows – This pattern is worked up in rows. After each row you will be chaining 1 and turning. Make the first stitch of the next row in the same stitch as the chain 1. The chain 1 does not count towards the stitch count for each row.
- Right Side/Wrong Side – In ragdoll style patterns, there is often a “right side” and a “wrong side” to help make sure each part lines up correctly with the other parts when panels are joined together. In this pattern, both panels are the same when finished and will line up properly when stacked on top of each other for joining. If you want to make sure the stitches are facing the same way, you can line up your panels so the end where you started with the slip knot is on the same side for each panel when you stack them.
- Video Tutorial – There is a video tutorial for another pattern (Ragdoll Penguin) that shows how to join ragdoll panels together. This would also be helpful for joining together the reindeer panels. You can find the video here on my YouTube channel.
Finished Size
- When complete, your ragdoll reindeer ornament will measure approx. 6” tall (from the bottom to the top of the antlers).
Crochet your Ragdoll Reindeer – The Pattern
Reindeer Body and Head Panel (make 2)
Row 1: In brown yarn, ch 13, INC in 2nd ch from hook, SC in next 10 sts, INC in last st, ch 1, turn (14)
Row 2: SC in each st across, ch 1, turn (14)
Row 3: INC, SC next 12 sts, INC, ch 1, turn (16)
Rows 4-8: SC in each st across, ch 1, turn (16)
Row 9: DEC, SC next 12 sts, DEC, ch 1, turn (14)
Row 10: SC in each st across, ch 1, turn (14)
Row 11: DEC, SC next 10 sts, DEC, ch 1, turn (12)
Row 12: DEC, SC next 8 sts, DEC, ch 1, turn (10)
Row 13: DEC, SC next 6 sts, DEC, ch 1, turn (8)
Row 14: INC, SC next 6 sts, INC, ch 1, turn (10)
Row 15: INC, SC next 8 sts, INC, ch 1, turn (12)
Row 16: INC, SC next 10 sts, INC, ch 1, turn (14)
Rows 17-21: SC in each st across, ch 1, turn (14)
Row 22: DEC, SC next 10 sts, DEC, ch 1, turn (12)
The ears and the top of the head will be worked in the remaining rows. Some rows will only be worked part of the way across. See photos below.
Row 23: DEC, sc next 8 sts, DEC, ch 6, turn (10 + extra chains)
Row 24: Working in the ch sts, SC in 2nd ch from hook, SC in next 4 chs, ch 1, turn (5)
Row 25: SC in first 4 sts, INC in last, ch 1, turn (6)
Row 26: SC in each of the 6 sts along the top of the ear, then add one SC in the next st below (at the end of the previous row), then SC in the 10 sts across the top of the head to the other side, ch 6, turn (17 + extra chains)
Row 27: Working in the ch sts, SC in 2nd ch from hook, SC in next 4 chs, ch 1, turn (5)
Row 28: SC in first 4 sts, INC in last, ch 1, turn (6)
Row 29: SC in each of the 6 sts along the top of the ear, then add one SC in the next st below (at the end of the previous row), sl st in next st to join to head, fasten off (7)