How to Crochet a Frankenstein Monster Free Pattern & Guide
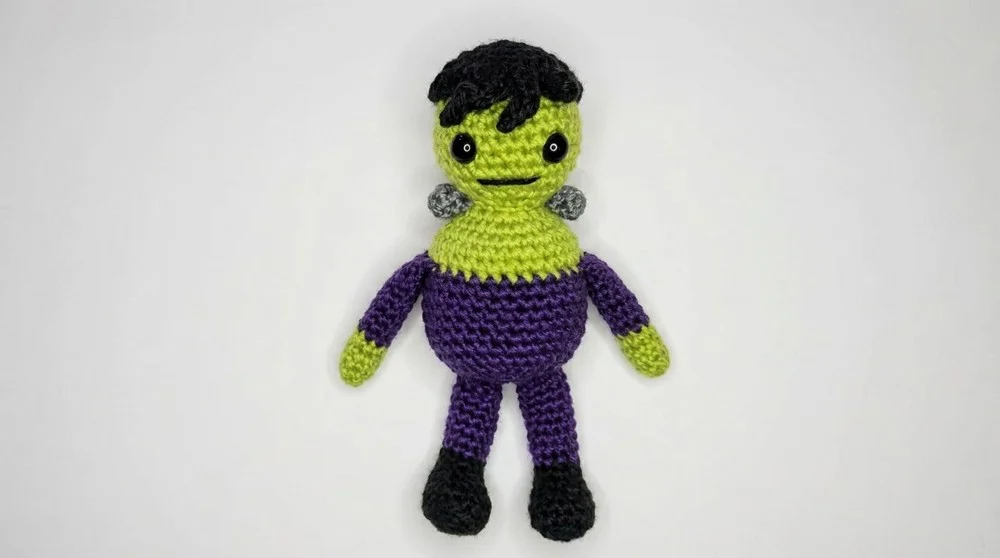
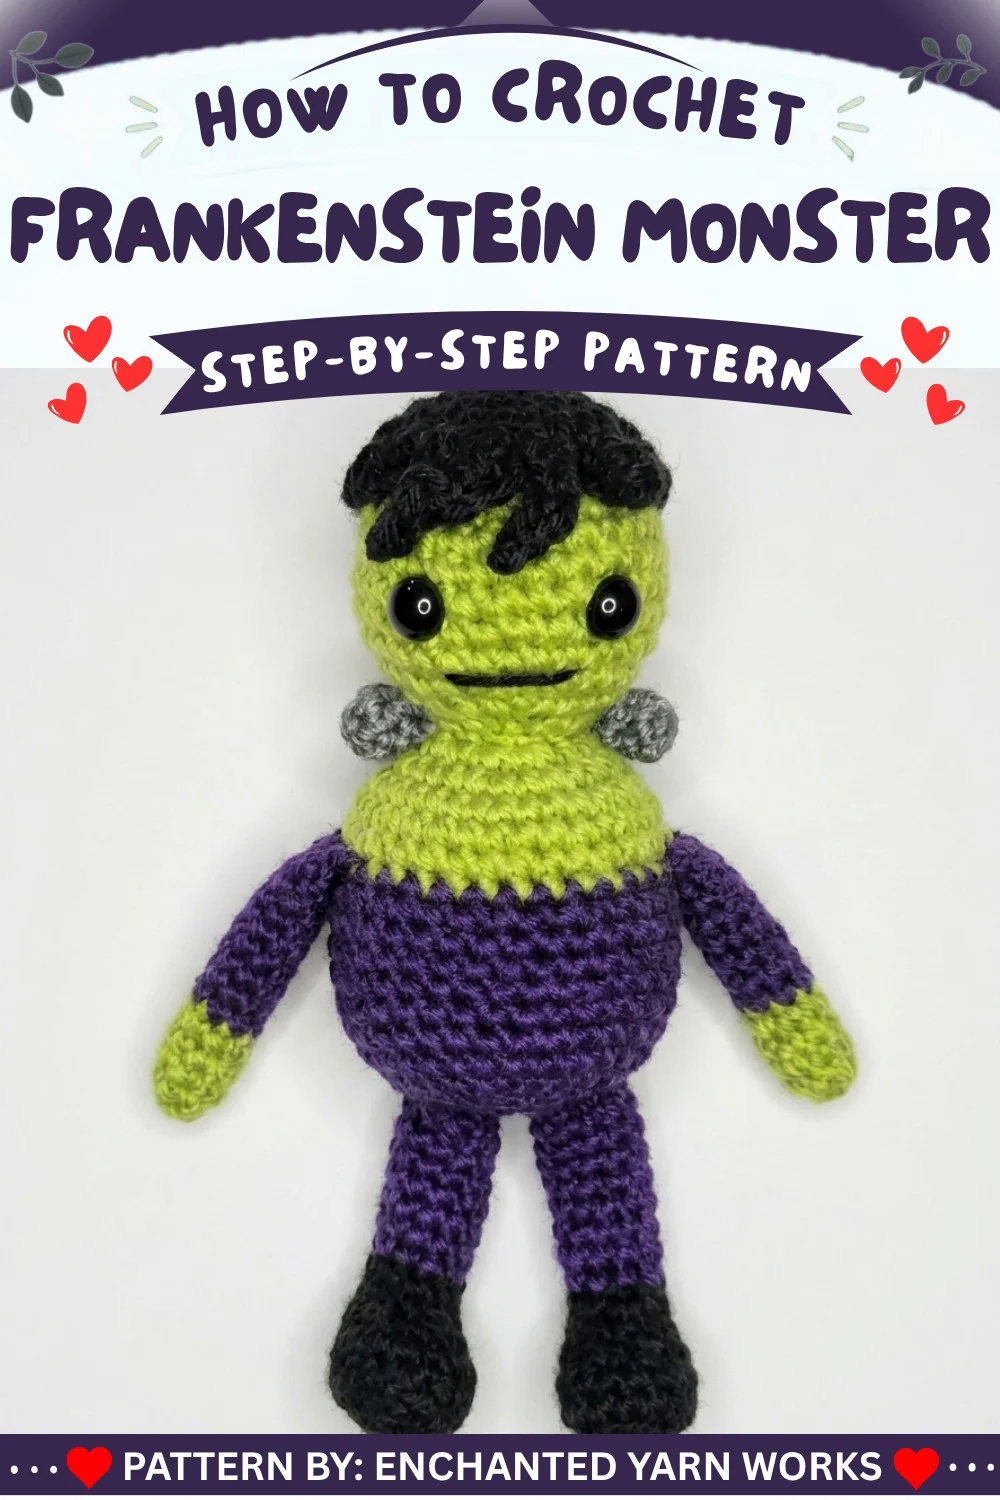
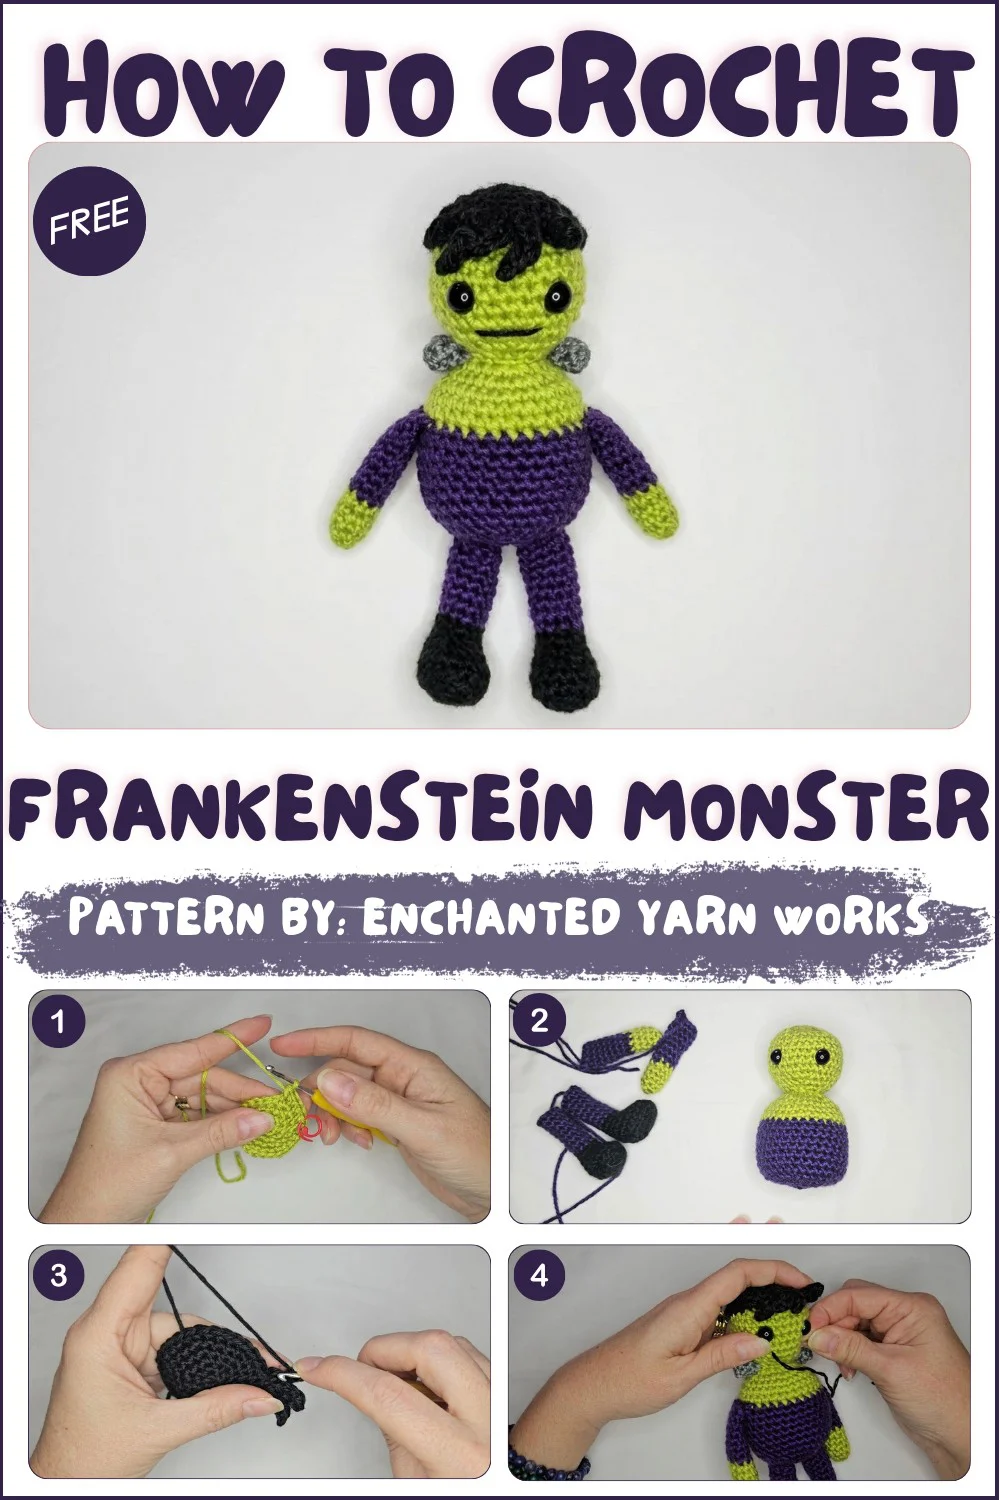
Welcome back to another delightful crochet project! Today, we have an absolutely adorable, wonderfully quirky, and perfectly charming amigurumi pattern for you to try: the sweetest Frankenstein Monster! If you love crafting beautiful handmade toys that perfectly capture classic plush charm while offering a beautifully detailed, lovable design to keep you engaged, this gorgeous little Halloween make is going to be your next favorite project.
This fantastic amigurumi pattern is wonderfully adaptable and perfect for unforgettable handmade gifts, allowing you to whip up beautiful, lovable companions in no time that will be cherished as family keepsakes for years! While the instructions highlight a specific beautiful, vibrant look, you can easily adjust the color variations depending on the worsted weight yarn used—swap out classic monster colors for magical brights, soft neutrals, or vibrant bold hues to create a whimsical, personalized plush! Grab your hooks, settle into your favorite crafting spot, and let’s dive into making this wonderfully cuddly, completely adorable crochet Frankenstein Monster!
Skill Level
Confident Beginner—Intermediate
The pattern focuses on basic amigurumi techniques, color changes, and attachment of small parts. Skills required include crocheting in the round, increasing and decreasing, color changes, whip stitch seaming, and simple embroidery.
Materials
- Yarn (Worsted weight acrylic):
- Green (suggested: Chartreuse)
- Black
- Purple
- Grey
- Crochet Hook: 3.5 mm (E-4)
- 9–10 mm Safety Eyes (installed during head construction)
- Polyester Fiberfill Stuffing
- Yarn Needle
- Scissors
- Stitch Markers
Measurements / Sizing
- Finished height: Approximately 6–7 inches (15–17.5 cm)
- Width: About 3 inches (7.5 cm) across the head
- Proportions may vary based on yarn, hook, and stuffing
Gauge & Stitch Pattern
- Gauge: Not critical for toys, but stitches should be tight enough to prevent stuffing from showing through.
- All pieces use single crochet stitches in the round except where noted.
- Most rounds are worked in a spiral—do not join unless instructed.
Stitch Abbreviations (US Terms)
- MR: Magic ring
- ch: chain
- sc: single crochet
- inc: increase (2 sc in same stitch)
- dec: invisible decrease (single crochet 2 together)
- sl st: slip stitch
Special Stitches
- Invisible Decrease: Insert hook into front loops of next two stitches, yarn over, pull through, yarn over, pull through both loops.
- Color Change: Insert hook to start last stitch of old color, yarn over with new color to pull through and finish stitch.
Pattern Instructions
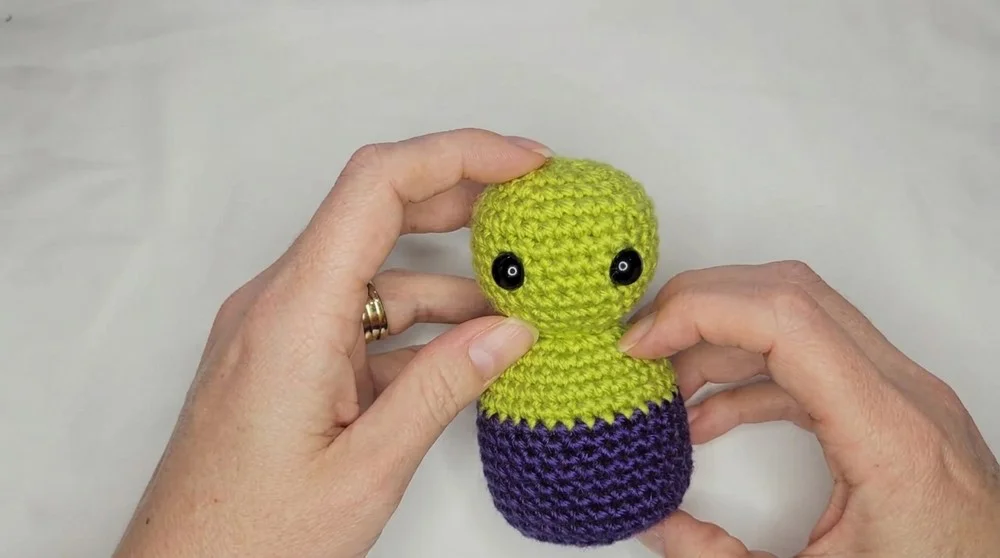
Head & Body
In Green yarn:
- Round 1: MR, 6 sc (6)
- Round 2: Inc in each stitch (12)
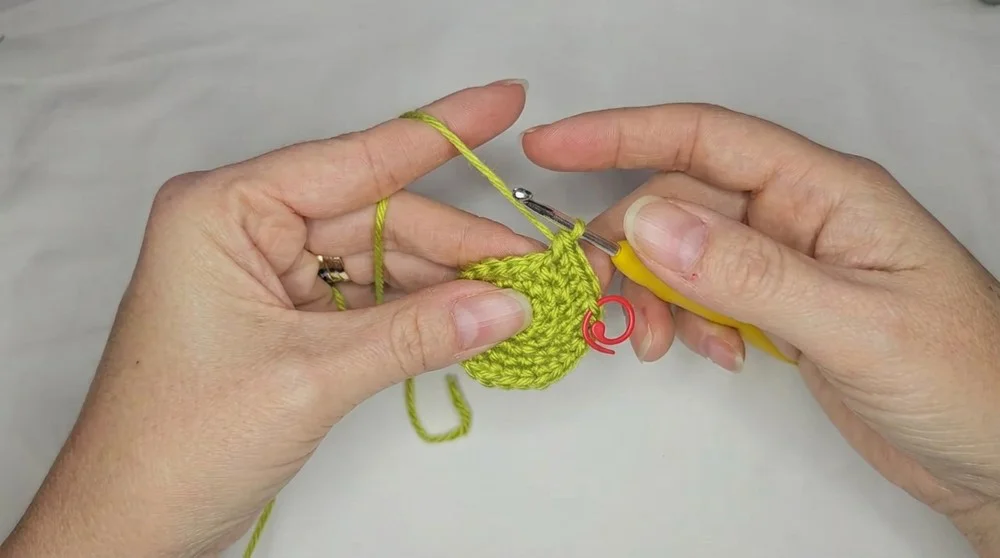
- Round 3: [1 sc, inc] around (18)
- Round 4: [2 sc, inc] around (24)
- Round 5: [3 sc, inc] around (30)
- Rounds 6–10: 1 sc in each st (30) for 5 rounds
Start shaping:
- Round 11: [3 sc, 1 invisible dec] around (24)
- Insert safety eyes between Rounds 8 and 9 (space appropriately for expression)
- Round 12: [2 sc, dec] around (18)
- Round 13: [1 sc, dec] around (12)
Neck/Base of Head:
- Round 14: 1 sc in each st (12)
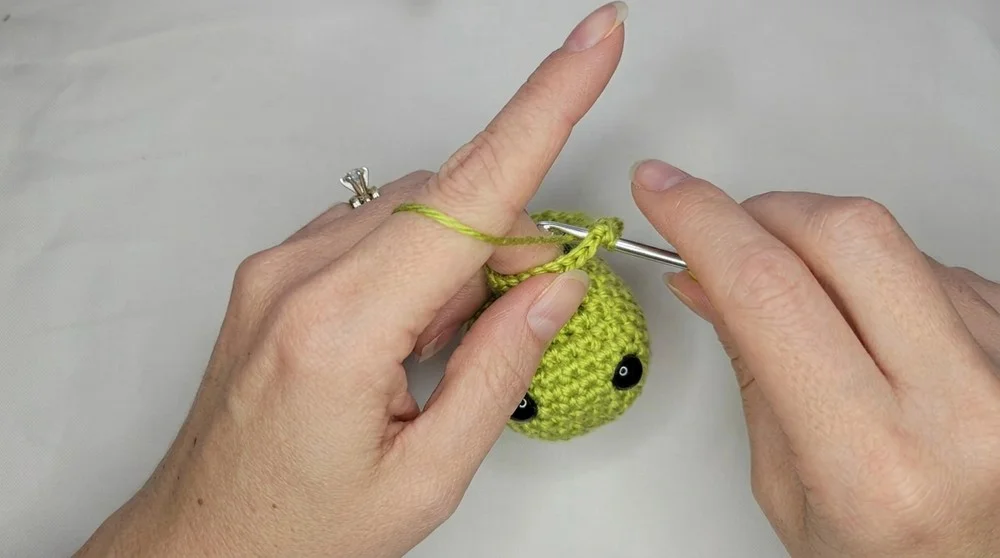
- Round 15: Inc in each st (24)
- Round 16: [3 sc, inc] around (30)
Body in Green, transition to Purple:
- Rounds 17–18: 1 sc in each st (30)
- Switch to Purple on last stitch of Round 18
- Rounds 19–26: 1 sc in each st (30) for 8 rounds
Body shaping/decrease:
- Round 27: [3 sc, dec] around (24)
- Round 28: [2 sc, dec] around (18)
- Round 29: [1 sc, dec] around (12)
- Round 30: Dec around (6)
- Finish: Fasten off, leaving long tail. Stuff firmly before closing opening.
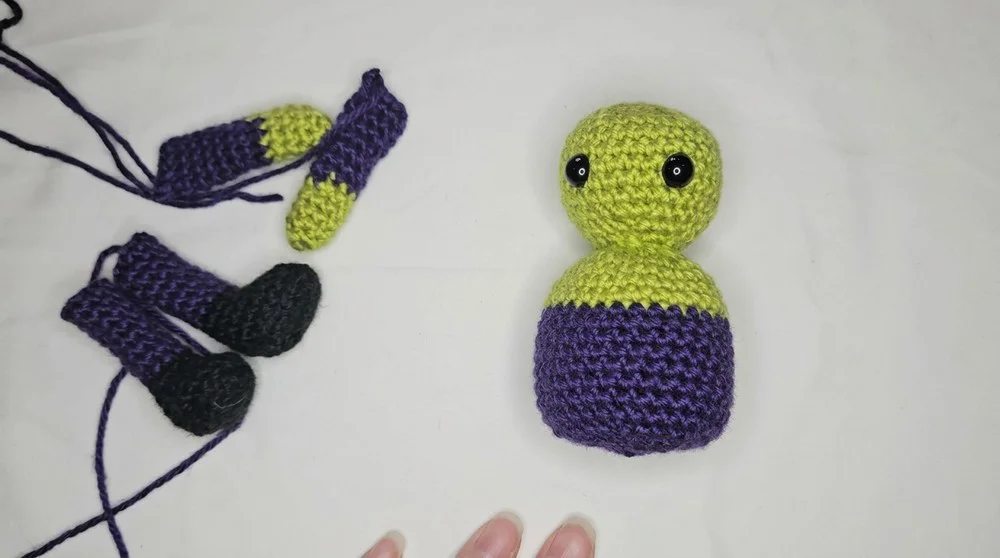
Arms (Make 2 — Green then Purple)
- Round 1: MR, 6 sc (6)
- Round 2: [1 sc, inc] around (9)
- Rounds 3–4: 1 sc in each st (9)
- Round 5: 1 sc in each st, switch to Purple on last stitch (9)
- Rounds 6–12: 1 sc in each st (9) for 7 rounds
- Finish: Flatten the arm and sc across the opening through both sides (4 sc). Leave tail for sewing. Lightly stuff.
Legs (Make 2 — Black then Purple)
- Using Black:
- Chain 5, join to form loop
- Round 1: Work in rounds, increasing to 16 sts (adjust increases as needed for an oval foot)
- Round 2: Working in back loops only, 1 sc in each st (16)
- Rounds 3–4: 1 sc in each st (16 for 2 rounds)
- Round 5: [4 sc, dec] four times (12)
- Round 6: [4 sc, dec] twice (10)
- Switch to Purple
- Rounds 7–14: 1 sc in each st (10) for 8 rounds
- Finish: Flatten, lightly stuff, leave long tail for sewing. Weave in ends if needed.
Hair Cap (Black)
- Round 1: MR, 6 sc (6)
- Round 2: Inc in each st (12)
- Round 3: [1 sc, inc] around (18)
- Round 4: [2 sc, inc] around (24)
- Round 5: [3 sc, inc] around (30)
- Round 6: 1 sc in each st around (30)
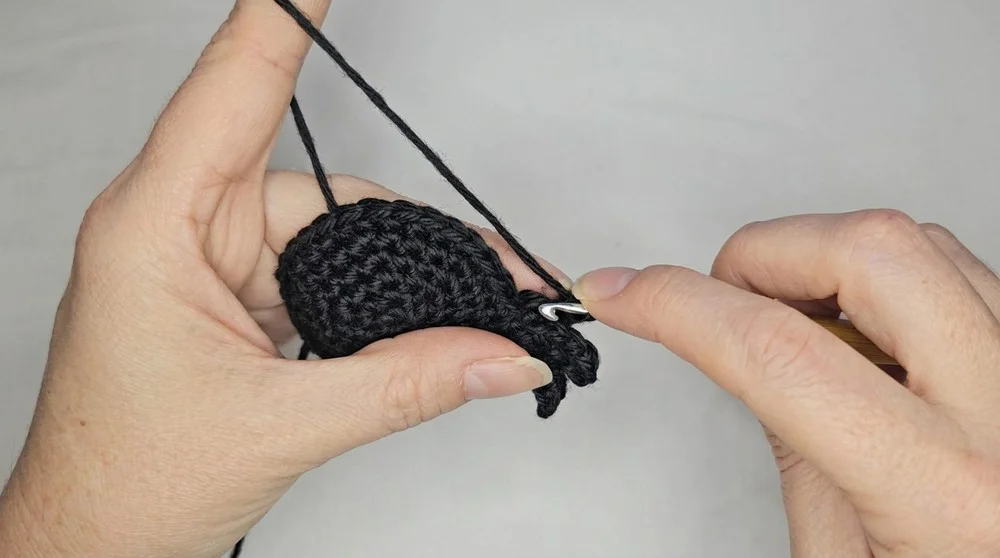
Flaps: Make 4 evenly around edge
- Chain 5, sc in each of next 4 ch back, sl st to base. Repeat for 3 more flaps.
Neck Bolts (Grey, Make 2)
- Round 1: MR, 6 sc (6)
- Rounds 2–3: 1 sc in each st (6) for 2 rounds
- Fasten off, leave long tail for sewing
Assembly
- Hair Cap:
Place the cap on top of the monster’s head with hair flaps at the front. Pin and whip stitch around the edge for a neat finish. - Arms:
Sew arms to the sides of the body, just below the neck area, using tail and yarn needle. - Legs:
Attach legs to the bottom corners of the body, oriented for sitting or standing balance. - Bolts:
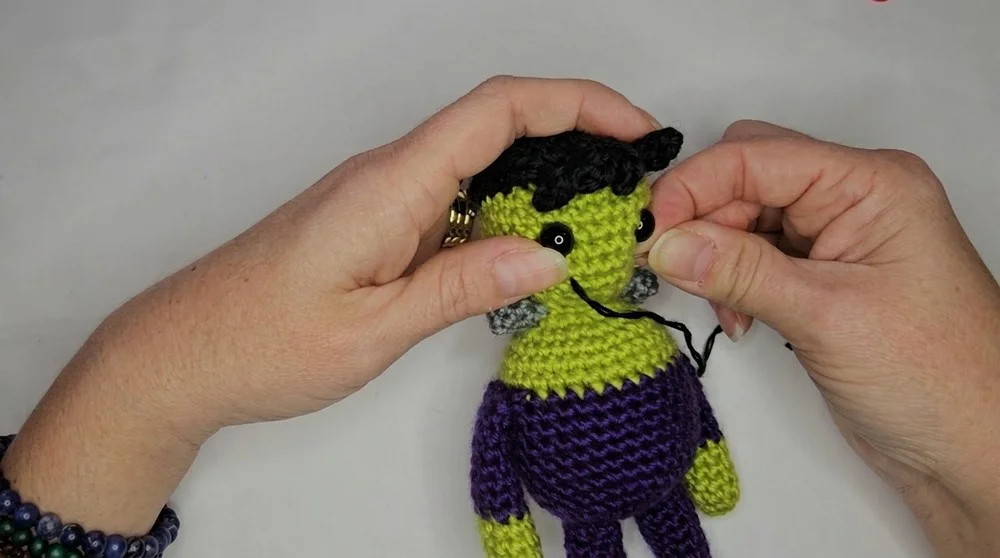
Position each bolt on either side of the “neck” (just below the head), securing them with a firm stitch. - Mouth:
Use black yarn to embroider a simple horizontal line below the eyes for a classic monster expression. - Finishing:
Double-check all pieces for secure attachment. Hide yarn ends inside and shape for character.