Crochet 3D Christmas Tree Free Pattern & Tutorial For Holiday
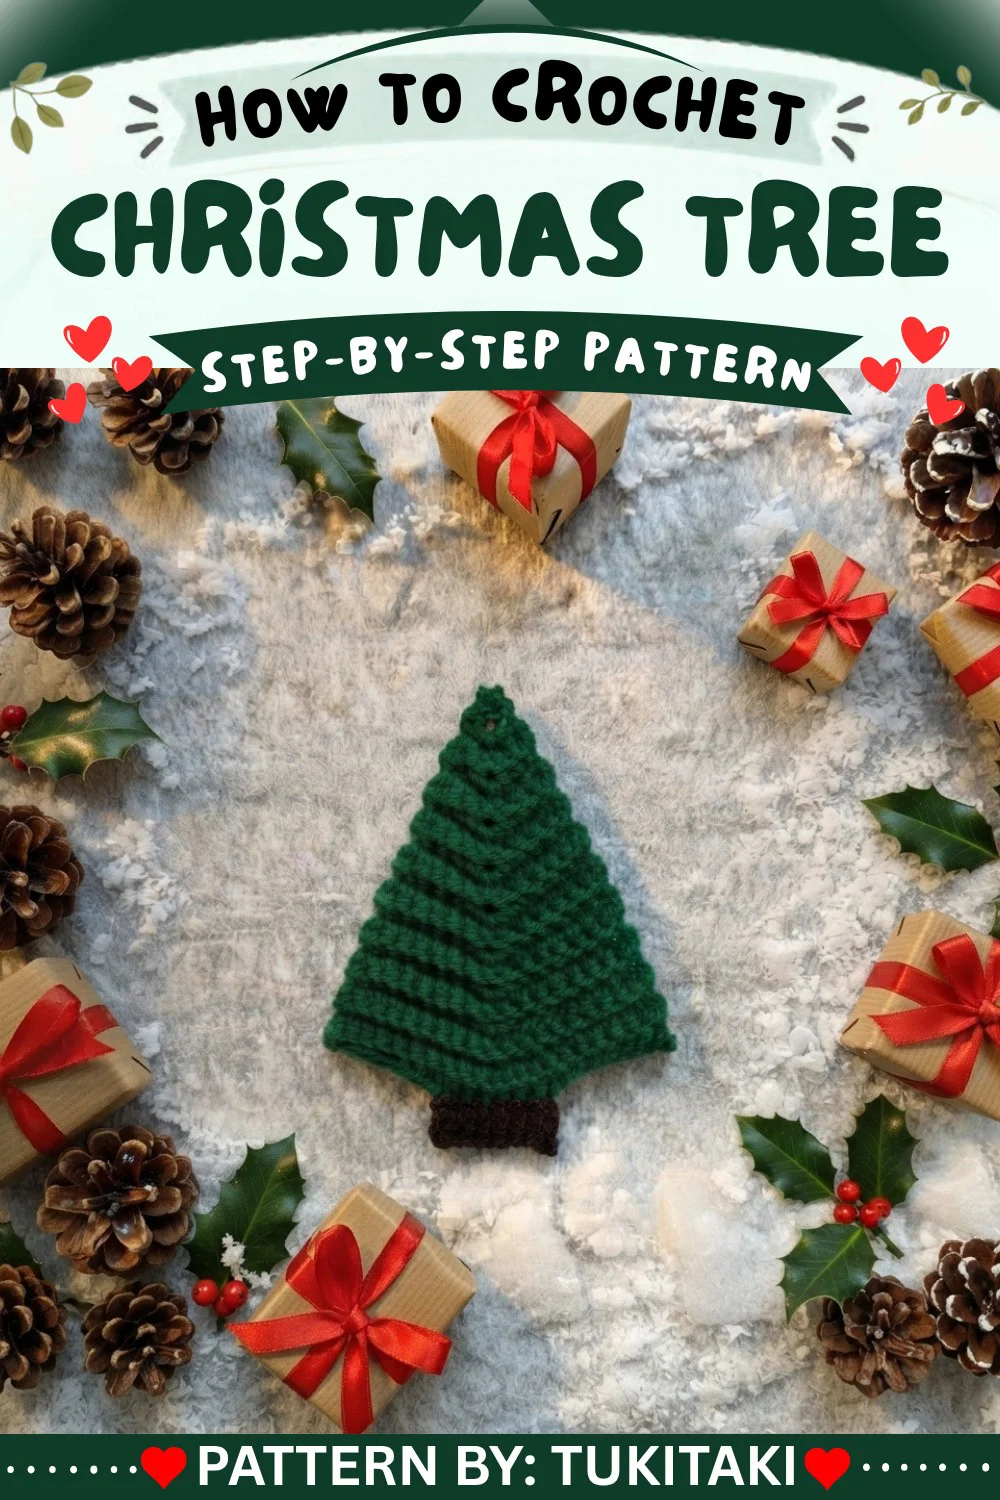
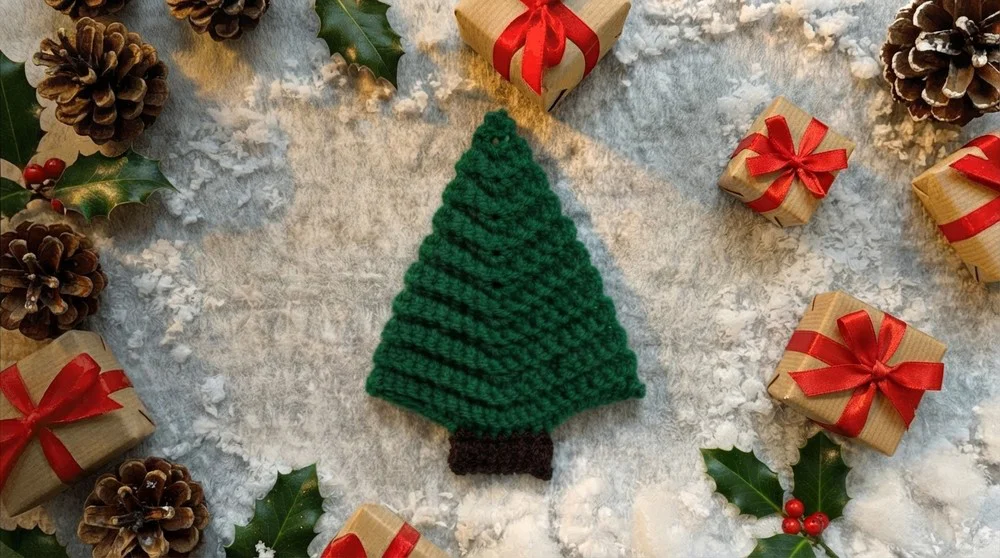
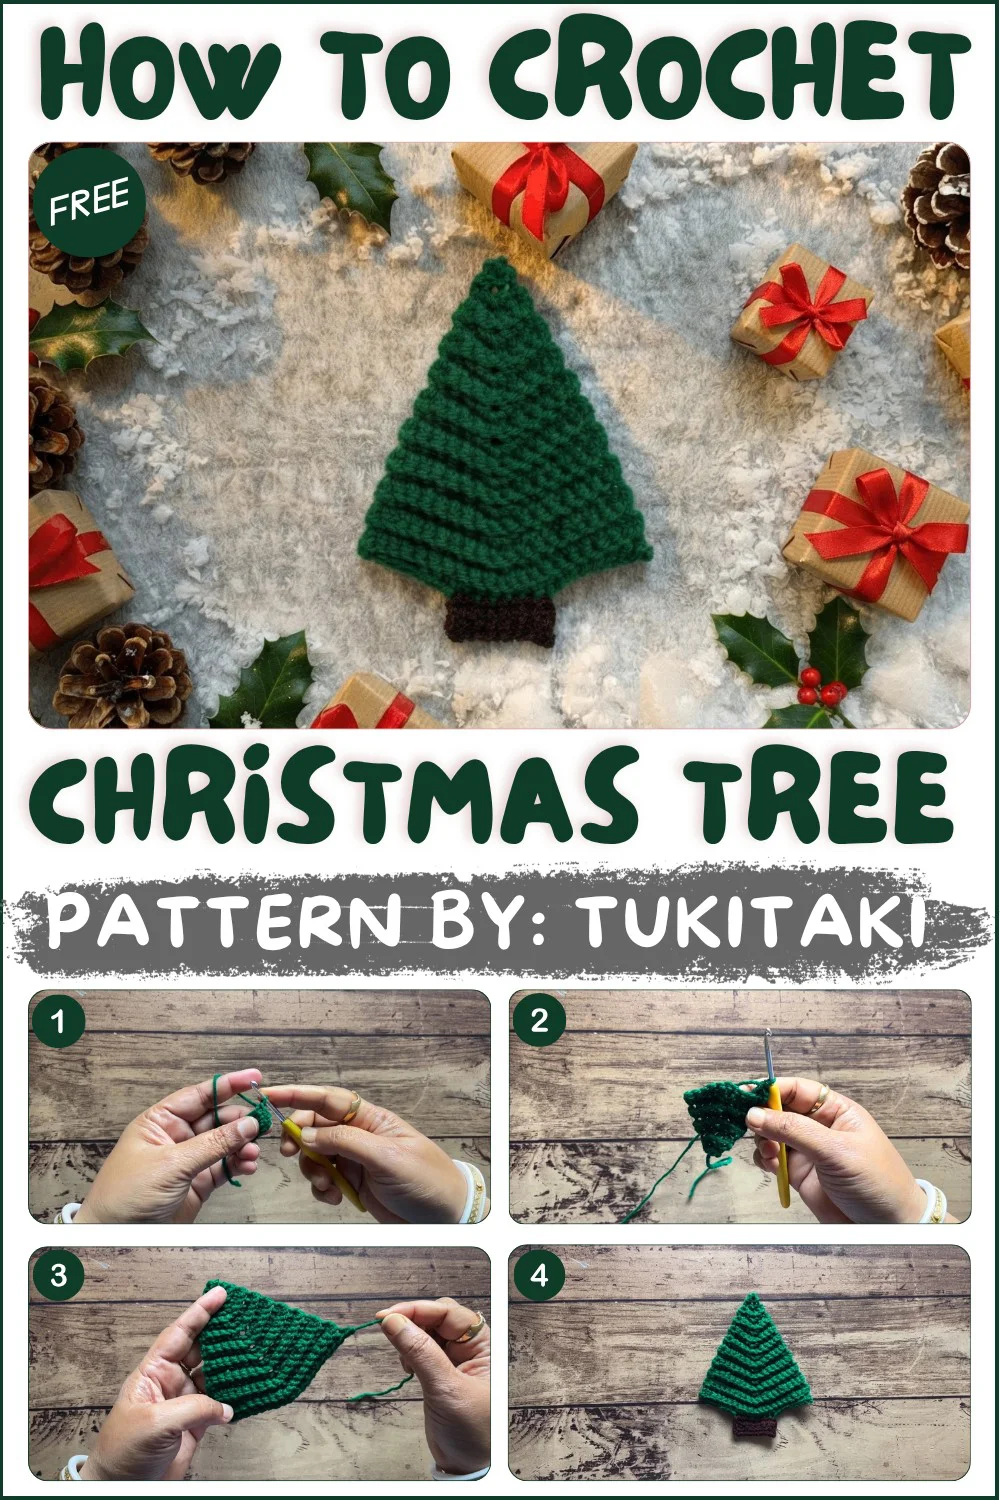
Welcome back to another delightful crochet project! Today, we have an absolutely adorable, wonderfully festive, and perfectly charming amigurumi pattern for you to try: the sweetest 3D Christmas Tree! If you love crafting beautiful handmade accessories that perfectly capture classic holiday plush charm while offering a beautifully detailed, lovable design to keep you engaged, this gorgeous little evergreen friend is going to be your next favorite make.
This fantastic amigurumi pattern is wonderfully adaptable and perfect for unforgettable handmade gifts, allowing you to whip up beautiful, lovable companions in no time that will be cherished as family keepsakes for years! While the instructions highlight a specific beautiful, vibrant look, you can easily adjust the color variations depending on the worsted weight yarn used—swap out classic evergreen colors for magical brights, soft neutrals, or vibrant bold hues to create a whimsical, personalized plush! Grab your hooks, settle into your favorite crafting spot, and let’s dive into making this wonderfully cuddly, completely adorable crochet 3D Christmas Tree!
Skill Level
Confident Beginner
You should be comfortable with basic crochet stitches (single crochet, increasing), working in rows, and simple color changes.
Materials
- Yarn: Medium weight (size 4) acrylic yarn
- Green (tree)
- Brown (trunk)
- Crochet Hook: 3.5 mm – 3.75 mm
- Stuffing material: Polyester fiberfill or yarn scraps (optional, for a 3D look)
- Tapestry needle: For sewing ends and assembly
- Scissors
Measurements / Sizing
- Height: Approximately 12–16 cm (5–6 inches) from tip to trunk base, with recommended materials and stuffing
- Width: Approx. 7–9 cm (3–3.5 inches) at widest (base)
- Size may vary based on yarn weight, hook size, and personal gauge
Gauge
- Gauge is not essential; tight stitches are best for 3D structure.
- For reference: 8–9 sc = 5 cm (2″) in BLO
Stitch Abbreviations
- MR – Magic ring
- ch – chain
- sc – single crochet
- BLO – back loop only
- sl st – slip stitch
- st(s) – stitch(es)
Special Stitches
- Back Loop Only (BLO): Insert hook into the back loop of each stitch, leaving the front loop unworked for a ridged look.
- 3-sc increase: Work 3 single crochet stitches into the same stitch to expand the row and build the tree’s conical shape.
The Pattern
Tree (All Rows After Row 1 Worked in BLO)
- Foundation:
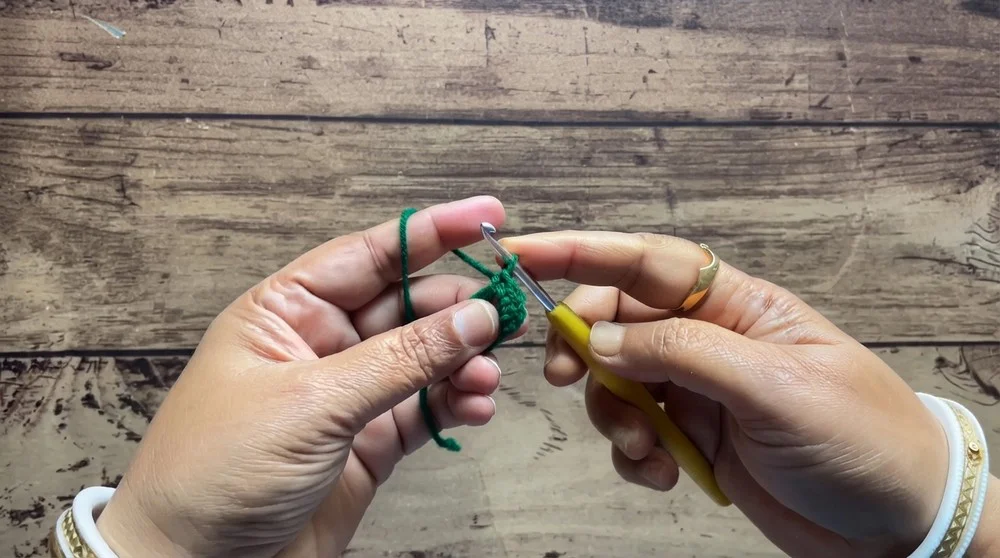
- With green yarn, create a magic ring (MR).
- Ch 1, work 3 sc into the ring. Pull tight to close. (3 stitches)
- Row 2:
- 1 sc, 3 sc in the next st, 1 sc. (5 sts)
- Row 3:
- 5 sc across.
- Row 4:
- 2 sc, 3 sc in the next st, 2 sc. (7 sts)
- Row 5:
- 7 sc across.
- Row 6:
- 3 sc, 3 sc in the next st, 3 sc. (9 sts)
- Row 7:
- 9 sc across.
- Row 8:
- 4 sc, 3 sc in the next st, 4 sc. (11 sts)
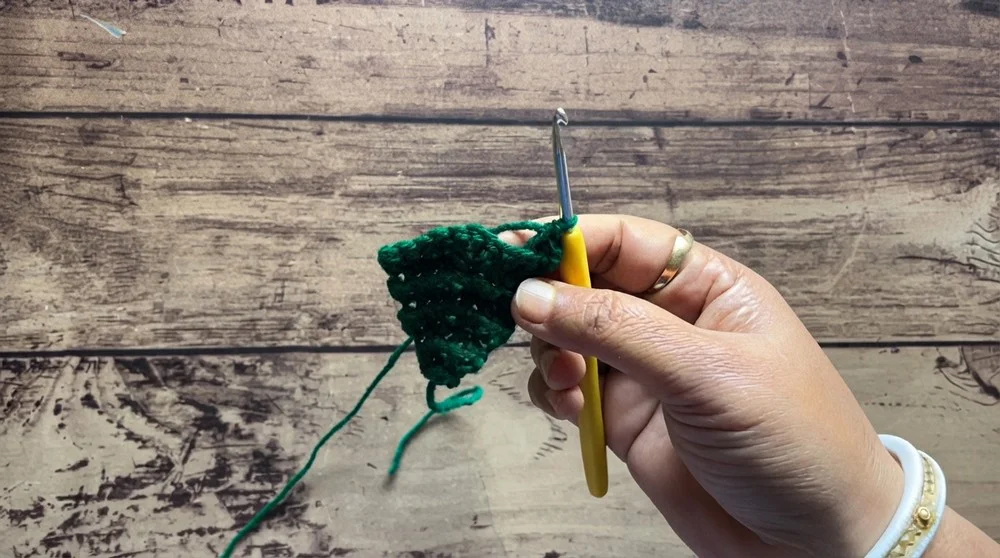
- 4 sc, 3 sc in the next st, 4 sc. (11 sts)
- Row 9:
- 11 sc across.
- Row 10:
- 5 sc, 3 sc in the next st, 5 sc. (13 sts)
- Row 11:
- 13 sc across.
- Row 12:
- 6 sc, 3 sc in the next st, 6 sc. (15 sts)
- Row 13:
- 15 sc across.
- Row 14:
- 7 sc, 3 sc in the next st, 7 sc. (17 sts)
- Row 15:
- 17 sc across.
- Row 16:
- 8 sc, 3 sc in the next st, 8 sc. (19 sts)
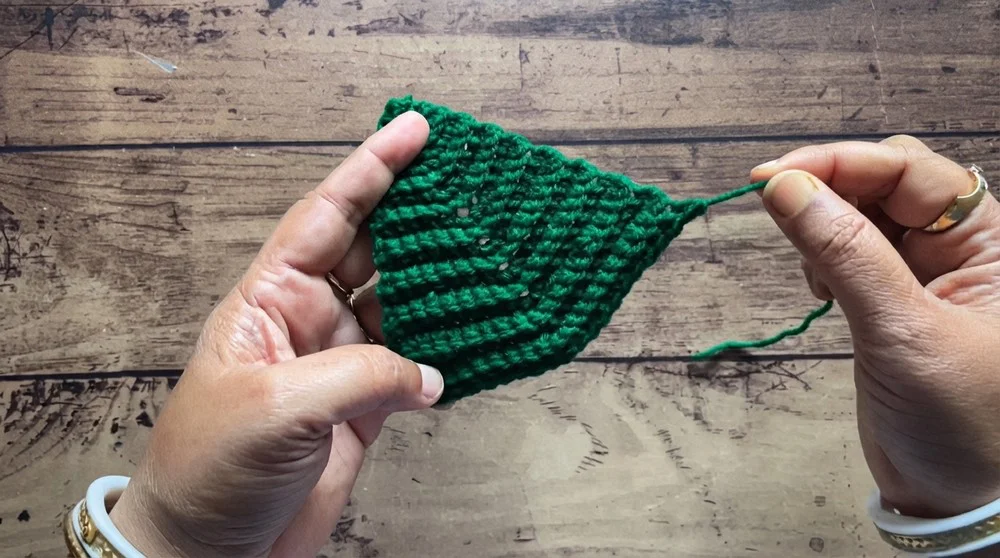
- 8 sc, 3 sc in the next st, 8 sc. (19 sts)
- Row 17:
- 19 sc across.
- Final Row (Row 18):
- 9 sc, 3 sc in the next st, 9 sc. (21 sts)
Trunk
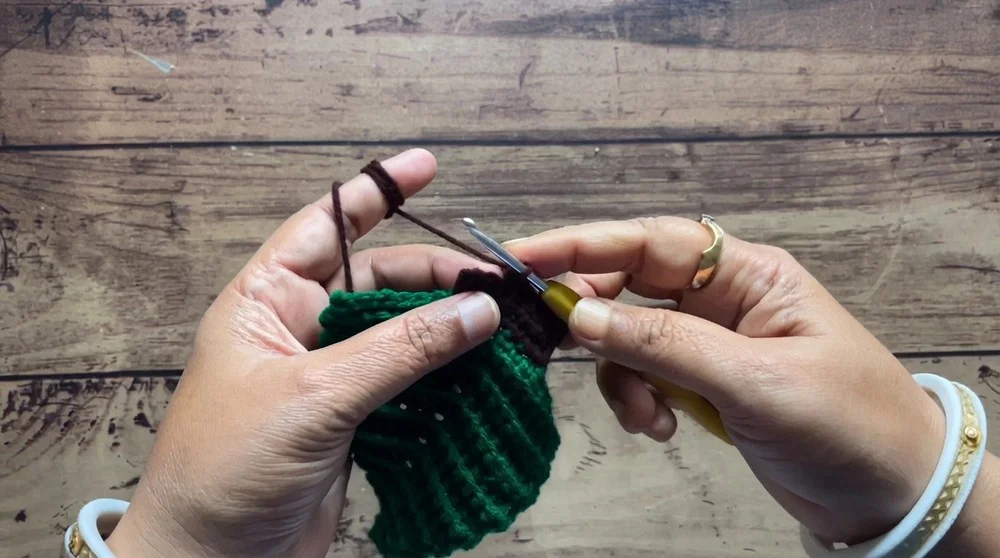
- With brown yarn, join at the center base of the tree (bottom row).
- Skip 7 stitches on either side (locate center 7 stitches of last row).
- Work 7 sc (one in each of the center 7 sts).
- Rows 2–4: Turn and work 7 sc across for a total of 3 rows, forming a sturdy trunk.
- Fasten off and cut yarn.
Assembly & Finished Size
- Stuff the tree (optional): If making a plush ornament, lightly stuff the cone after the tree rows and before working the last row or closing any seam.
- Sew edges: If making a two-sided tree, sew or crochet edges together with BLO, leaving an opening to stuff before closing.
- Finish trunk: Fold trunk if desired for thickness, then sew neatly to base.