How to Crochet Snowflake Ornament Pattern | Easy Christmas Tutorial
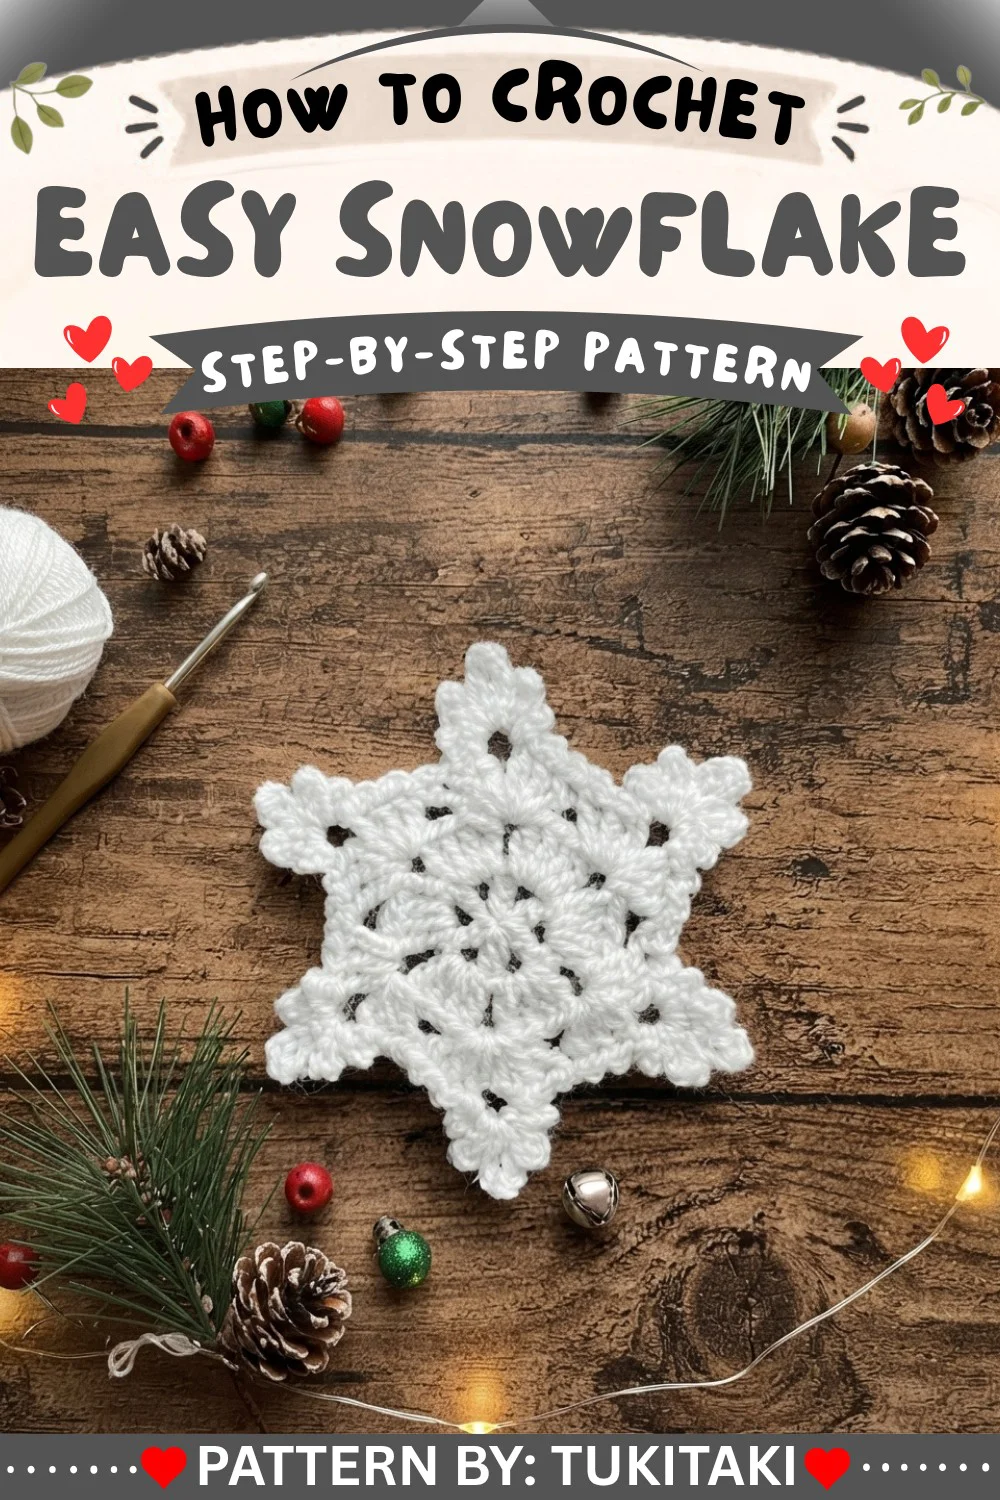
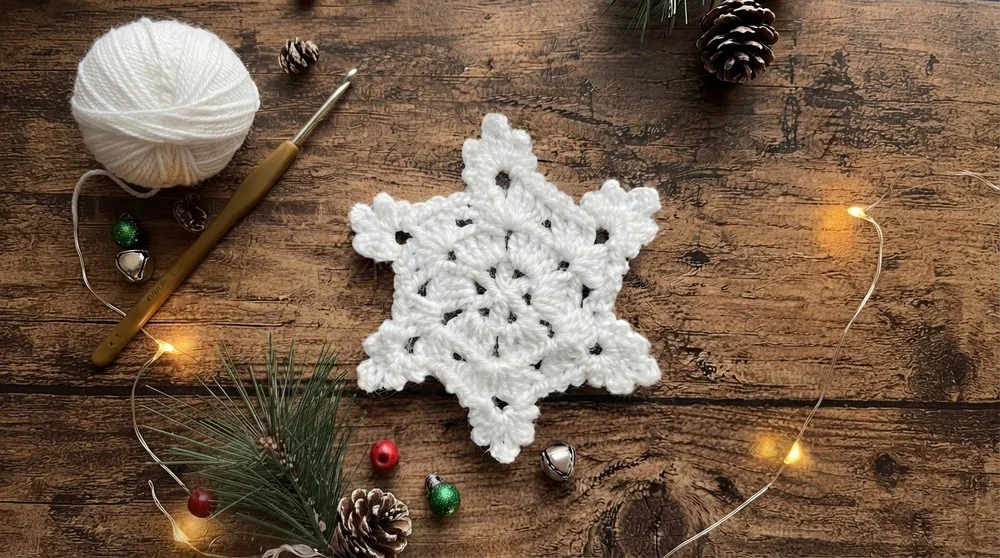
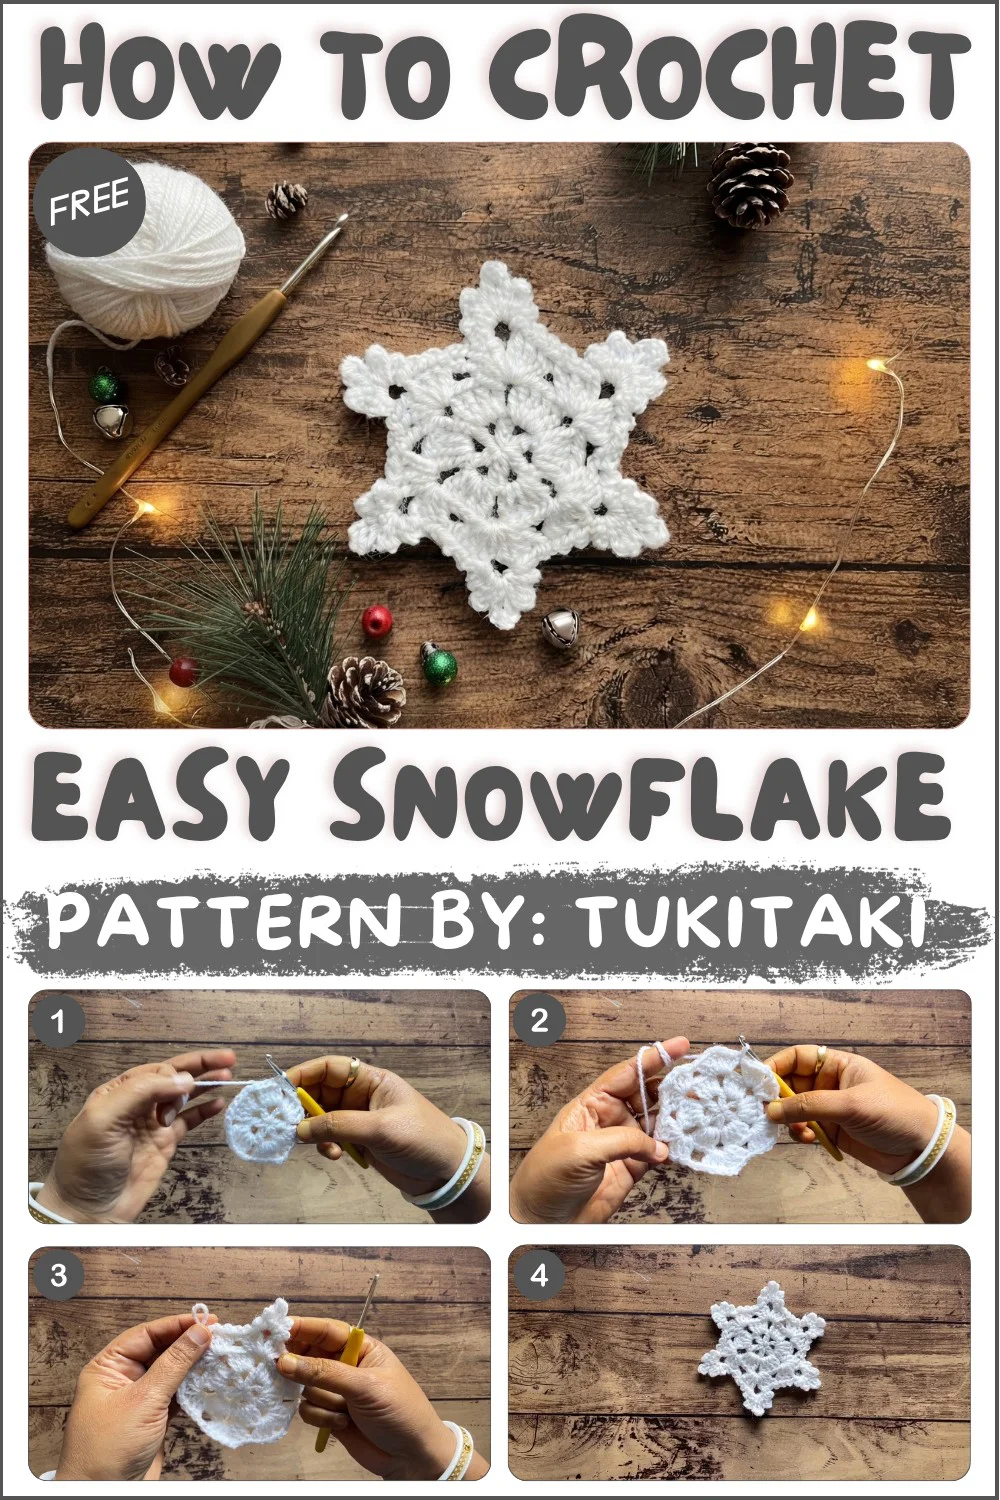
Welcome back to another delightful crochet project! Today, we have an absolutely adorable, wonderfully festive, and perfectly charming amigurumi pattern for you to try: the sweetest Snowflake Ornament! If you love crafting beautiful handmade accessories that perfectly capture classic holiday plush charm while offering a beautifully detailed, lovable design to keep you engaged, this gorgeous little frosty friend is going to be your next favorite make.
This fantastic amigurumi pattern is wonderfully adaptable and perfect for unforgettable handmade gifts, allowing you to whip up beautiful, lovable companions in no time that will be cherished as family keepsakes for years! While the instructions highlight a specific beautiful, vibrant look, you can easily adjust the color variations depending on the worsted weight yarn used—swap out classic frosty white for magical brights, soft neutrals, or vibrant bold hues to create a whimsical, personalized plush! Grab your hooks, settle into your favorite crafting spot, and let’s dive into making this wonderfully cuddly, completely adorable crochet Snowflake Ornament!
Skill Level
Beginner
No prior lace experience required—basic double crochet, chaining, and slip stitching only.
Materials
- Yarn: 4-ply (sport/DK) cotton or acrylic in white (approx. 5 grams per snowflake)
- Crochet Hook: 3.5 mm
- Scissors
- Tapestry needle for weaving ends and finishing
- Optional: Block board and pins, spray starch for stiffening
Measurements / Sizing
- Completed size: about 8–10 cm (3–4 inches) across from point to point (depending on yarn and tension)
- Flat and lacy, ideal for ornaments or applique
Gauge
- Gauge is not critical.
- Sample: After Round 2, motif should measure 3.5–4 cm across (unstretched).
Stitch Abbreviations
- MR – Magic ring
- ch – chain
- dc – double crochet
- sl st – slip stitch
- sp – space
Special Stitches
- Magic Ring (MR): Make an adjustable loop, work stitches into the ring, and pull tight.
- Chain-2 space (ch-2 sp): The open area made by chaining 2, used for building points.
- Picot/Arm: Multiple chain lengths in final round mimic snowflake arm detail.
Crochet Pattern
1st Row: Center Foundation
- Create a magic ring (MR).
- Ch 5 (counts as dc + ch 2 at the beginning).
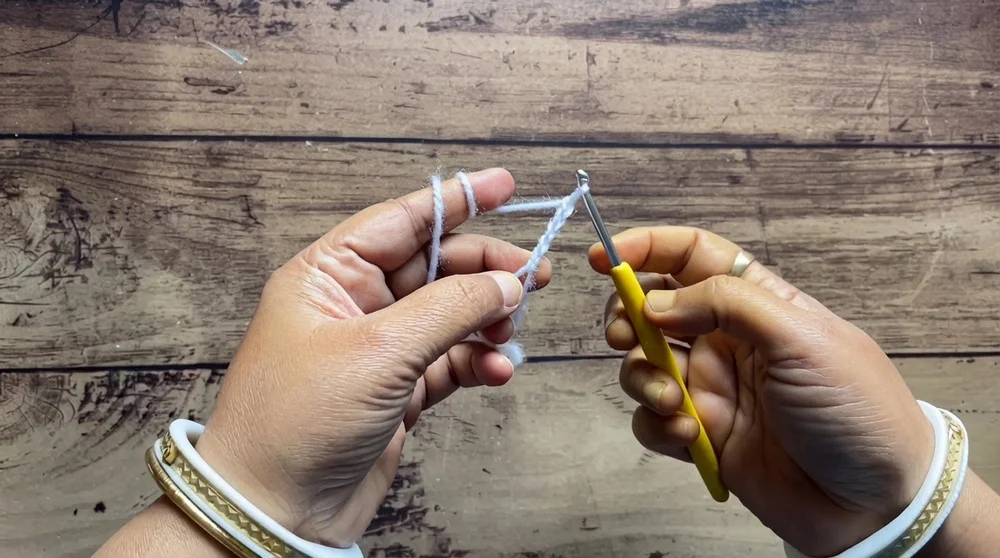
- Work 1 dc into the ring.
- Repeat: (ch 2, 1 dc) five more times—giving six segments total (including the starting ch 3/dc).
- Close the ring by pulling tightly.
- Join with a sl st to the 3rd chain of the initial ch 5.
2nd Row: Creating Openwork Segments
- Sl st into the next ch-2 space.
- Ch 3 (counts as 1 dc).
- Work 3 dc into the same ch-2 space (total 4 dc).
- Repeat for each space: (ch 2, work 4 dc into next ch-2 space), all the way around.
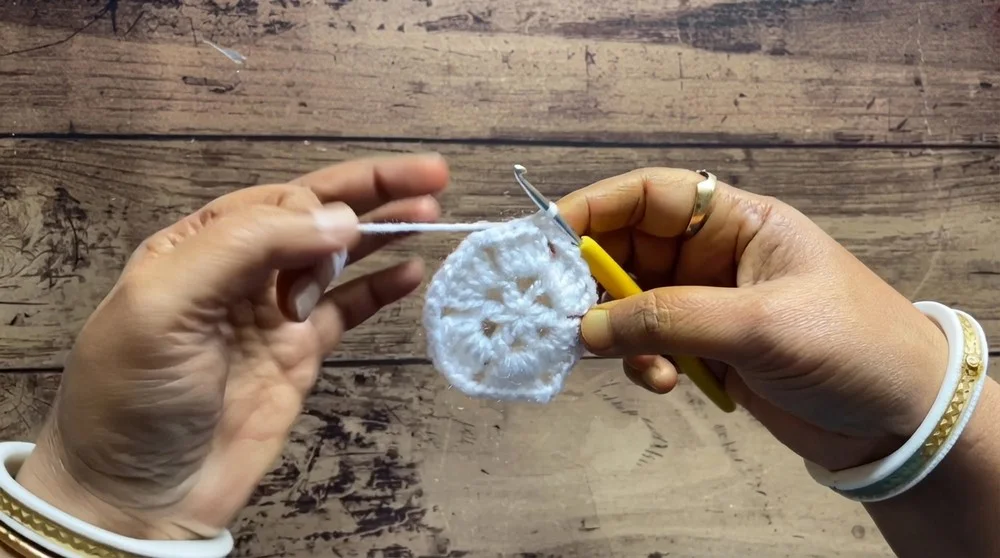
- At the end, you’ll have six clusters of 4 dc, each separated by ch-2.
- Sl st into the 3rd chain of the starting ch-3 to finish the round.
3rd Row: Lacy Arms and Expansion
- Work 4 sl st to move to the next ch-2 space (from the last dc cluster).
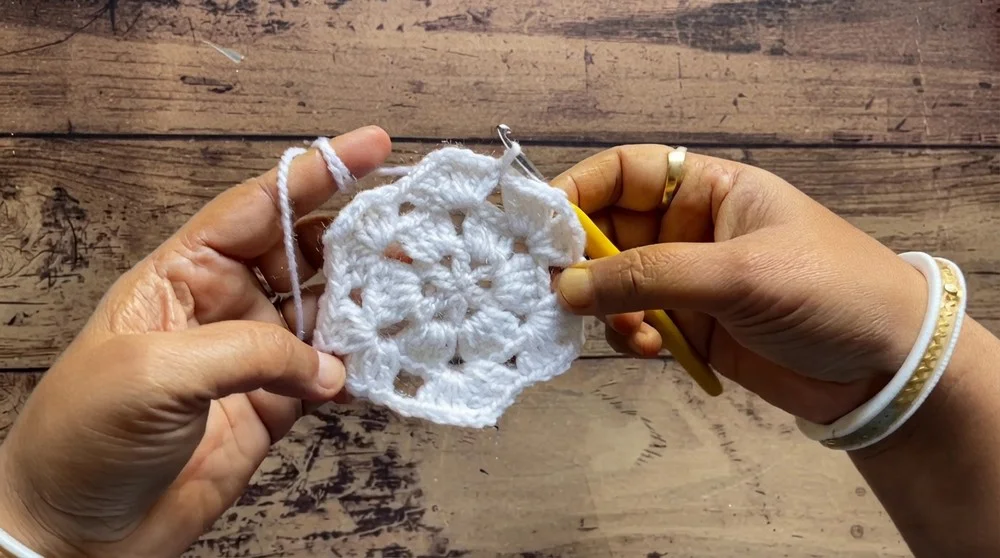
- Ch 3, then 2 dc, ch 2, and 3 dc—all into the same ch-2 space.
- You have created a (3 dc, ch 2, 3 dc) shell.
- Repeat (for each ch-2 space): (3 dc, ch 2, 3 dc) in each ch-2 space.
- Repeat for all six chain-2 spaces.
- Sl st into the 3rd ch of your initial ch-3 to complete the round.
4th Row: Detailing Snowflake Points
- Sl st to the nearest ch-2 space (the center of any shell from previous round).
- For each of the six chain-2 spaces (snowflake arms):
- Ch 3, sl st into same space.
- Ch 5, sl st into same space.
- Ch 7, sl st into same space.
- Ch 5, sl st into same space.
- Ch 3, sl st into same space.
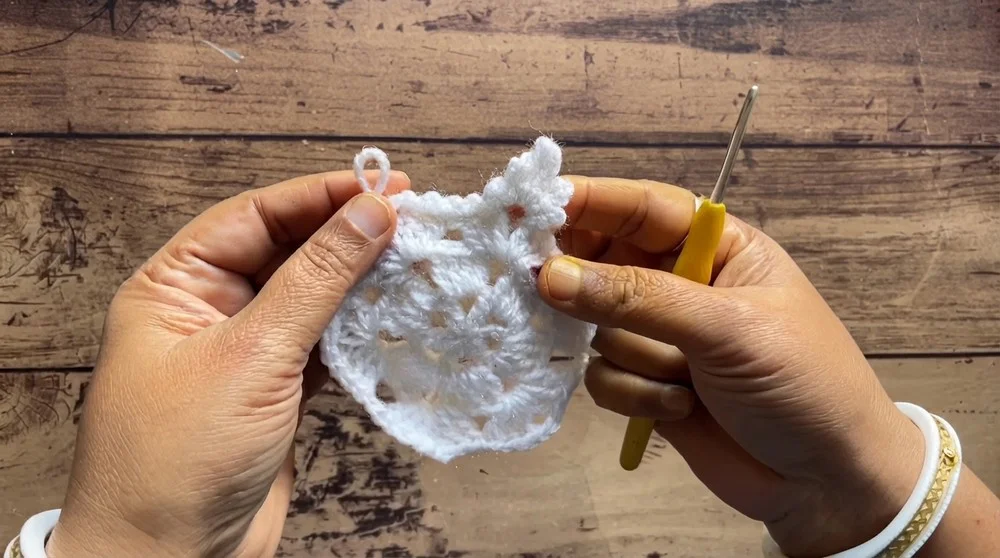
- To move between points: Sl st along the dc stitches from previous round and, if needed, (sl st, ch 1) as you progress to the next chain-2 space.
- After all six arms are finished, sl st into the base and fasten off.
- Use a tapestry needle to hide the beginning and ending yarn tails for a neat finish.