Mini Boba Tea Amigurumi Pattern
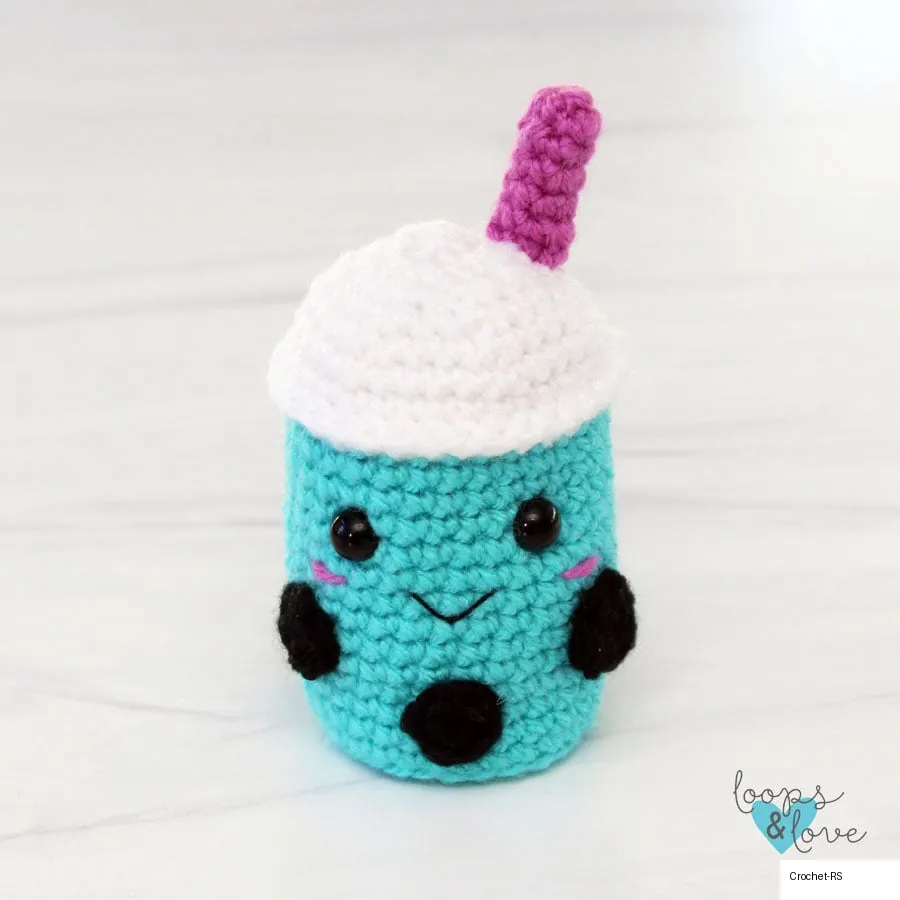
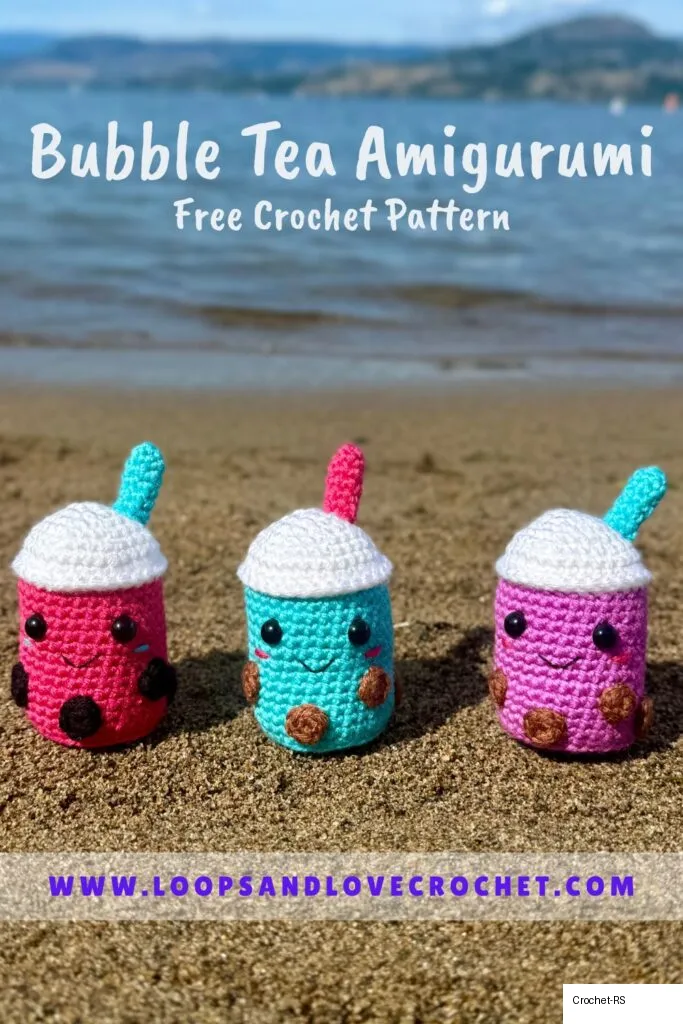
Have fun working up your Mini Boba Tea Amigurumi! There are so many color possibilities that you’ll want to keep making them! If you love tiny, cheerful crafts and can’t resist a good bubble tea, this mini boba tea amigurumi is the perfect project!
Fun, colorful, and adorable, these little drinks make great decorations, keychains, or gifts for boba-loving friends! Whether you are new to amigurumi or a seasoned crocheter looking for a fun, quick project, you’ll love working up your mini boba tea amigurumi and be tempted to keep making them in all the colors!
Materials Needed
- Worsted Weight #4 yarn – Cotton or acrylic. Approx. 45 yards total. Most yardage is the main cup color and white, with a few yards for the bubbles/pearls and straw.
- 3.5 mm crochet hook
- Safety Eyes – 9 mm size
- Stuffing – any fiber-based stuffing
- Embroidery or crochet thread – small amount of black for the mouth (optional)
- Yarn needle – for weaving in ends and sewing (bent needles work great)
- Scissors
Pattern Details & Notes
Stitches Used
- Ch – chain
- Sl St – slip stitch
- SC – single crochet
- FPSC – front post single crochet
- BLO SC – single crochet worked in the back loops only
- INV DEC – invisible single crochet decrease
Size & Gauge
- Size: Finished Boba Tea Amigurumi measures approximately 3” tall.
- Gauge: Not critical, but 2 inches square is approximately 9 rows of 11 SC stitches.
Pattern Notes
- Worked in rounds: Mostly worked in continuous rounds without joining. Use a stitch marker.
- Magic Circle: The pattern starts with a magic circle for the first round.
- Sew pieces together: The bubbles/pearls and the straw are the only parts that require sewing.
Step-by-Step Instructions
1. Bubbles / Pearls
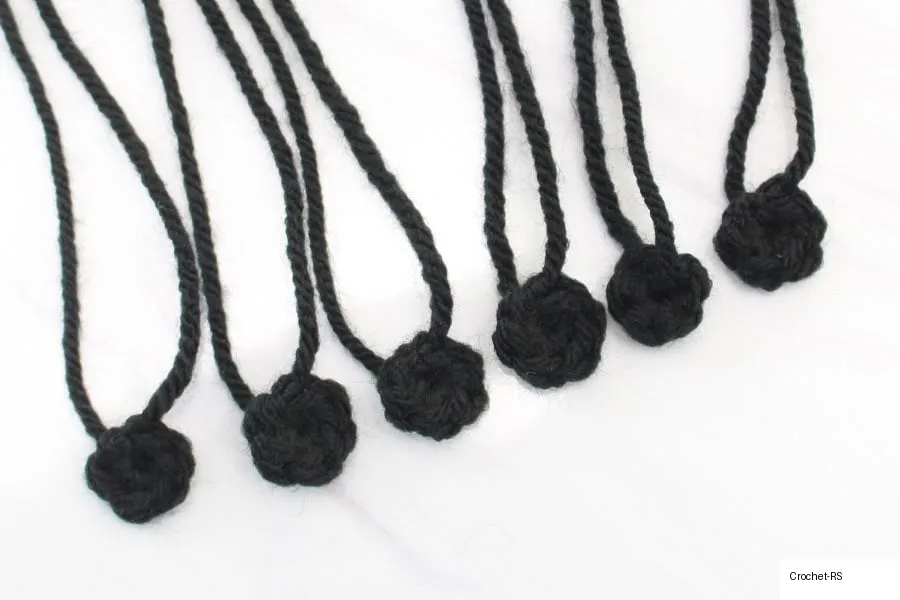
Make 6 bubbles/pearls in a color of your choice (brown or black).
- Round 1: Magic circle, ch 1, make 6 SC sts into ring, sl st join to first st (6)
Fasten off, pull center ring tight and weave in end. Leave one yarn tail for sewing to the cup.
2. Cup (Bottom to Top)
Start with the main color you are using for the cup.
- Round 1: Magic circle, ch 1, make 6 SC sts into ring (6)
- Round 2: 2 SC in each st around (12)
- Round 3: *2 SC in first st, SC in next st, repeat from * around (18)
- Round 4: *2 SC in first st, SC in next 2, repeat from * around (24)
- Round 5: *2 SC in first st, SC in next 3, repeat from * around, join to first st, ch 1 (30)
- Round 6: BLO SC in each st around, join, ch 1 (30)
- Rounds 7-17: SC in each st around (30)
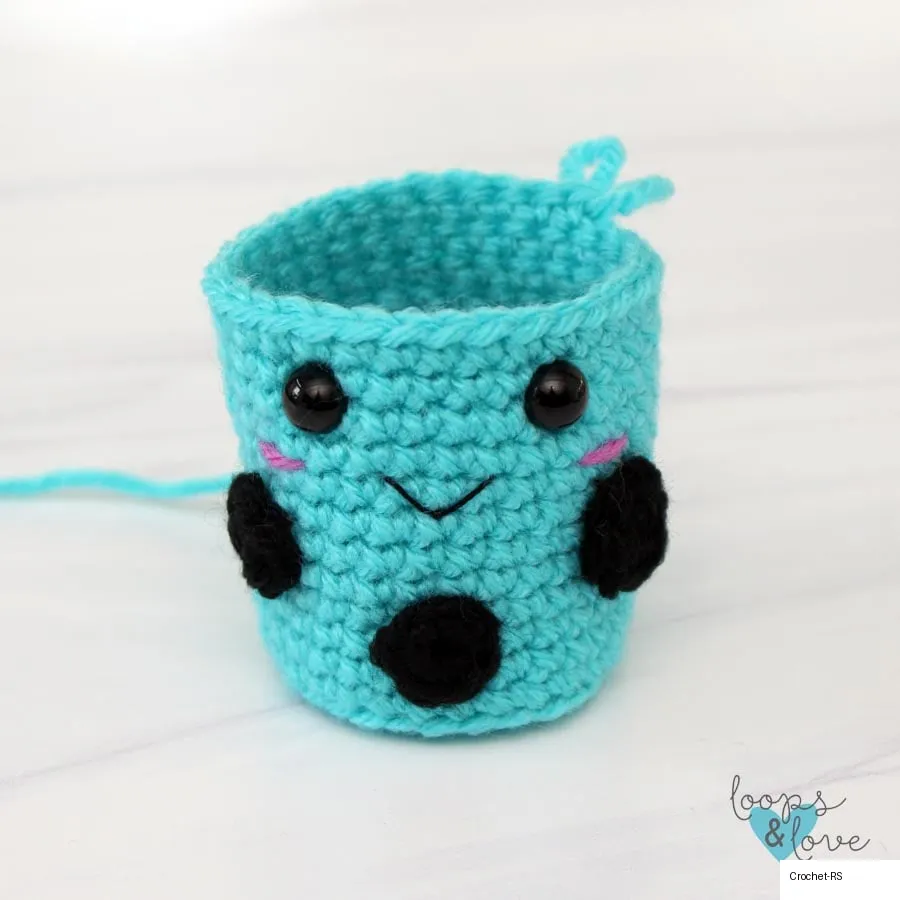
There is still one round of the main color left to work, but first it is time to add the facial features and sew on the bubbles/pearls.
Facial Features & Adding Pearls
Facial features: Insert safety eyes between rounds 15 and 16 with about 5 stitches in between. Stitch a “v” in the center of the face a couple rows down. Add cheeks in an accent color on each side.
Bubbles/pearls: Sew the bubbles/pearls around the cup, evenly spaced, alternating high and low placements. Pinning them in place helps. Start by sewing the first one a round up from the bottom of the cup, centered under the smile. Skip about 2-3 stitches between each.
Finishing the Cup
Continue working the last round of the cup in the main color.
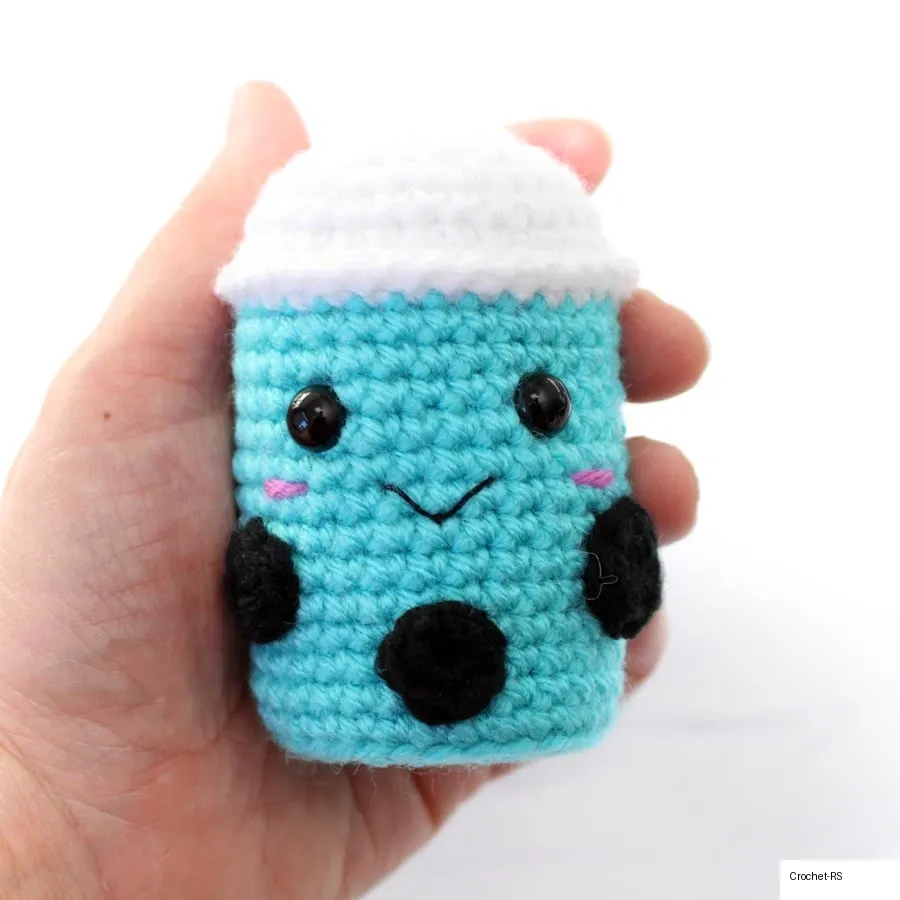
- Round 18: SC in each st around, change to white yarn, join, ch 1 (30)
- Round 19: SC in each st around, join, ch 1 (30)
- Round 20: FPSC in each st around, join to first FPSC, then sl st join back to the first SC of the previous round (behind the FPSC round). Chain 1 (30)
- Round 21: SC in each st around. Make sure your stitches go into the round before the FPSC round. (30)
- Round 22: SC in each st around (30)
Start stuffing the cup here and continue stuffing over the next rounds.
- Round 23: *INV DEC, SC in next 3 sts, repeat from * around (24)
- Round 24: *INV DEC, SC in next 2 sts, repeat from * around (18)
- Round 25: *INV DEC, SC in next st, repeat from * around (12)
- Round 26: INV DEC in each st around (6)
Fasten off, weave in ends.
3. Straw
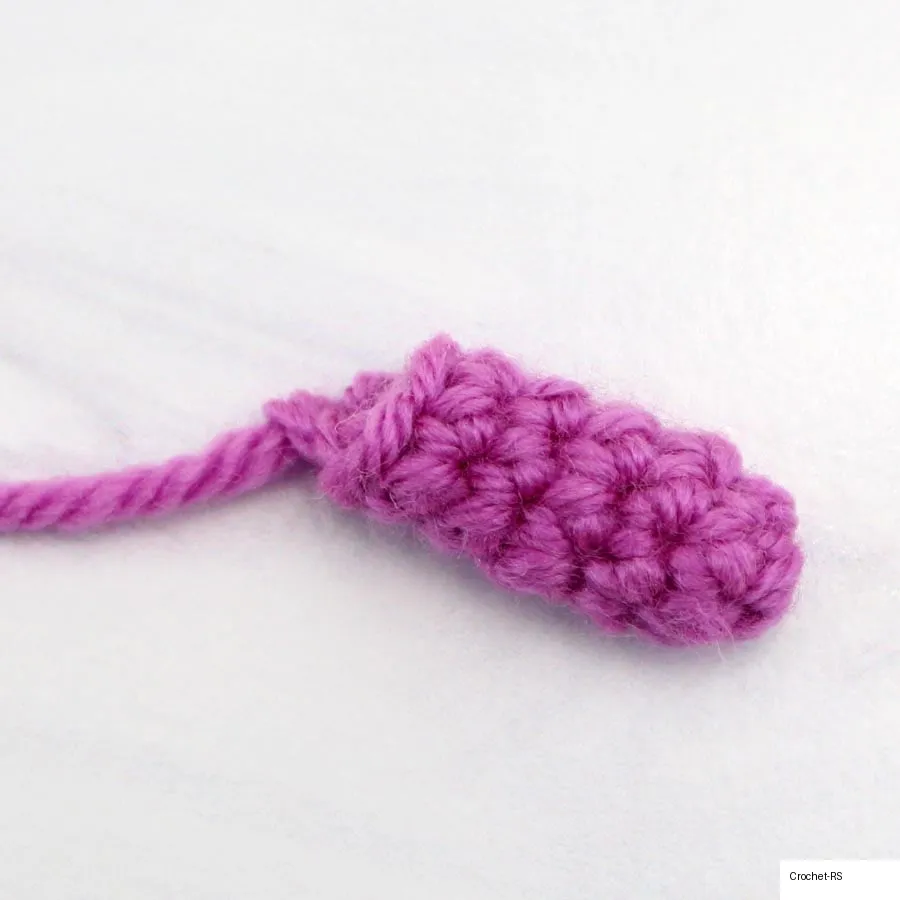
Work up the straw in an accent color of your choice.
- Round 1: Magic circle, ch 1, make 6 SC into the ring (6)
- Rounds 2-6: SC in each st around (6)
Fasten off. Leave a tail to sew onto the cup.
4. Assembly
Sew the straw to the top of the cup. The straw on the boba tea amigurumi pictured is sewn a couple rounds to the side of the top/center. Weave in ends and cut yarn, hiding the tail inside the amigurumi.