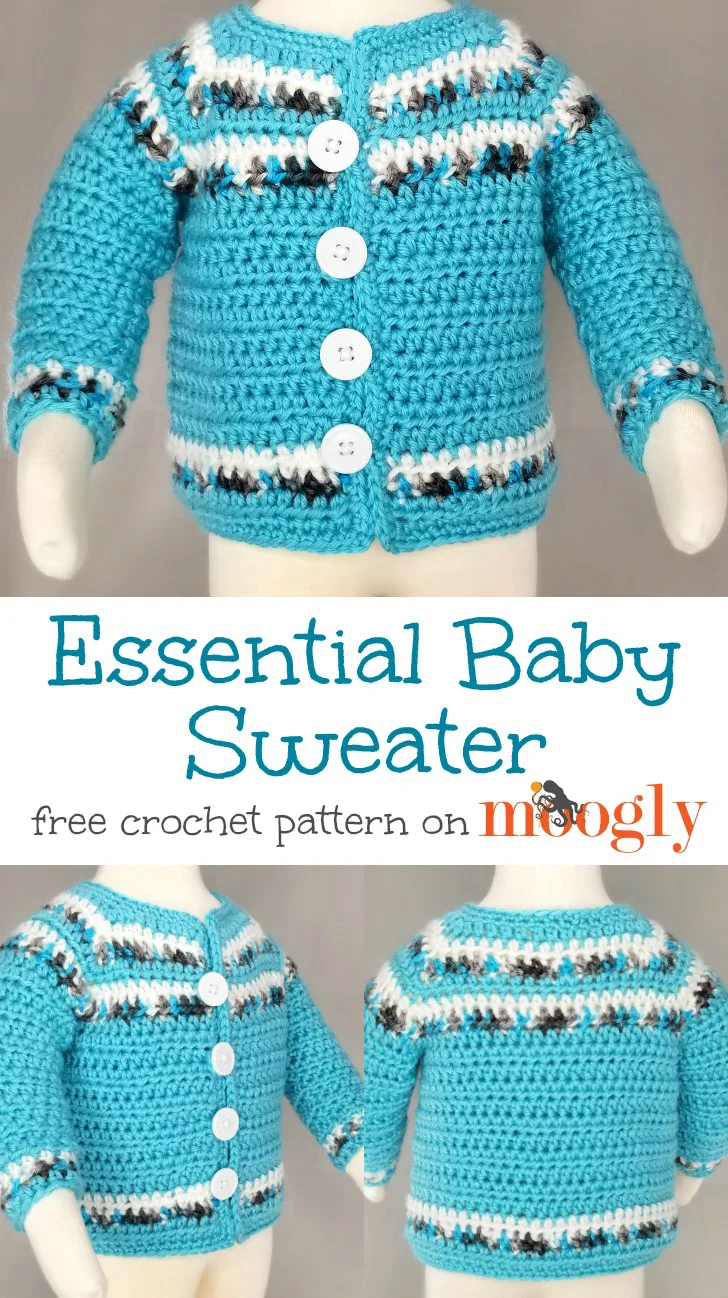
Essential Baby Sweater
Welcome back to another delightful crochet project! Today, we have an absolutely stunning, wonderfully classic, and incredibly essential pattern for the littlest ones in your life: the Essential Baby Sweater! If you love crafting sweet nursery accessories that perfectly capture timeless handmade charm while offering a beautifully structured, versatile design to keep baby warm during any season, this gorgeous little sweater is going to be your next favorite make.
This fantastic baby sweater pattern is wonderfully adaptable and perfect for unforgettable handmade baby shower gifts, allowing you to whip up beautiful, lovable baby garments in no time that will keep baby snug and be cherished as a family keepsake for years! While the instructions highlight a specific beautiful, essential look, you can easily adjust the color variations depending on the worsted weight yarn used—swap out classic neutrals for magical pastels, bright pinks, or vibrant bold hues to create a whimsical, personalized baby accessory! Grab your hooks, settle into your favorite crafting spot, and let’s dive into making this beautifully classic, cozy little sweater!
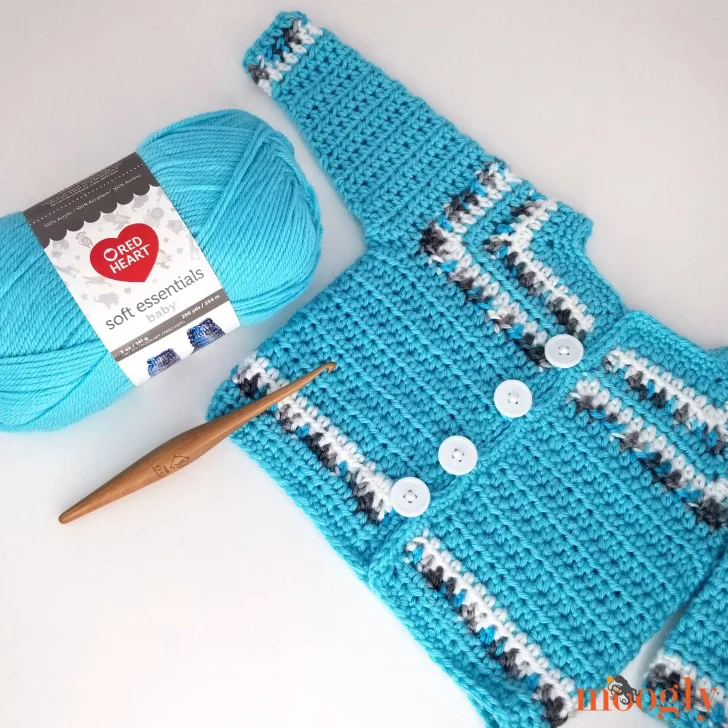
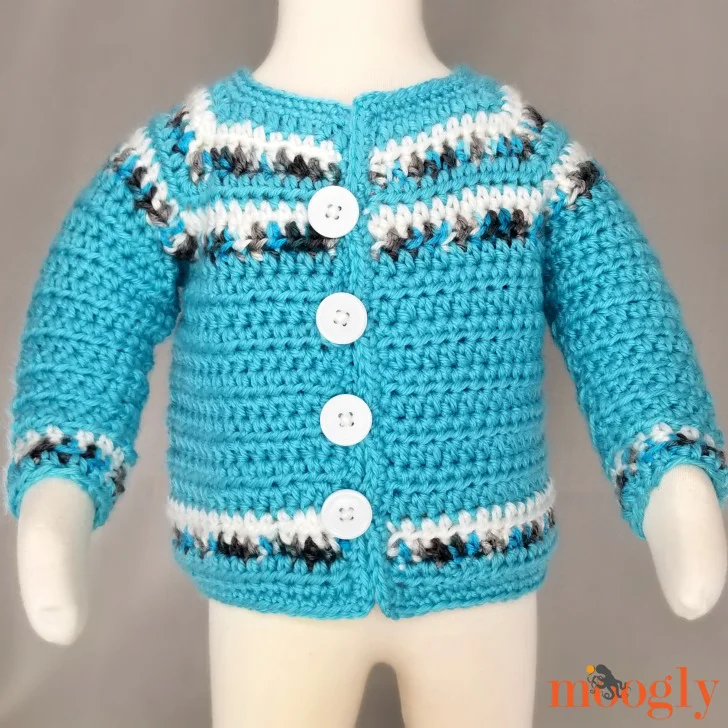
Gauge: 12 sts x 10 rows = 4″/10cm in hdc
Size: 0-6 mths
Helpful Links and Tutorials:
Essentials Baby Sweater Tutorial
Crochet Abbreviations
Hdc – half double crochet
Changing colors for striped patterns
How to crochet armholes in a top-down sweater
Working into the edge
Slip Stitches you can crochet into
How to sew on buttons with yarn
SPECIAL STITCH:
Make Corner – 3 hdc in the indicated st, place a st marker in the center of the 2nd hdc.
NOTE:
The sleeves on this sweater are made in turned rounds, or joined rows. This means that the even-numbered rows are worked from the inside of the sleeve.
In Rnd 2 of the Button Holes and Final Edging, the ch-5 button loop may need to be adjusted for your button choice – be sure to check before you finish.
Odd Rows = Right Side (RS); Even Rows = Wrong Side (WS)
INSTRUCTIONS:
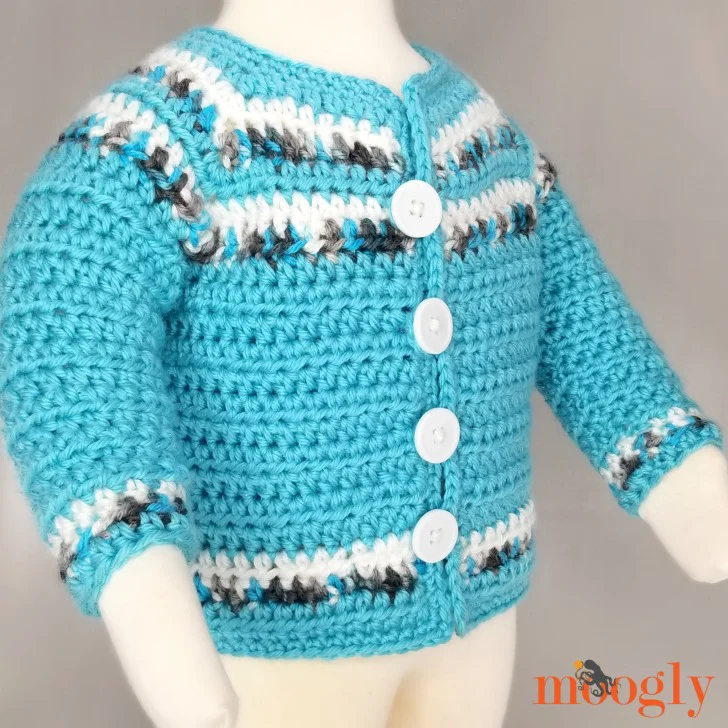
Row 1: With Color A, ch 43, hdc in the 2nd ch from hook, hdc in the next 6 ch, make corner in the next ch, hdc in the next 6 ch, make corner in the next ch, hdc in the next 12 ch, make corner in the next ch, hdc in the next 6 ch, make corner in the next ch, hdc in the last 7 ch finishing last st with Color B; turn. (50 sts)
Row 2: With Color B, ch 1, hdc in the first 8 sts, make corner (move st marker up from previous row), hdc in the next 8 sts, make corner, hdc in the next 14 sts, make corner, hdc in the next 8 sts, make corner, hdc in the last 8 sts finishing last st with Color C; turn. (58 sts)
Row 3: With Color C, ch 1, hdc in the first 9 sts, make corner, hdc in the next 10 sts, make corner, hdc in the next 16 sts, make corner, hdc in the next 10 sts, make corner, hdc in the last 9 sts finishing last st with Color A; turn. (66 sts)
Row 4: With Color A, ch 1, hdc in the first 10 sts, make corner, hdc in the next 12 sts, make corner, hdc in the next 18 sts, make corner, hdc in the next 12 sts, make, hdc in the last 10 sts finishing last st with Color B; turn. (74 sts)
Row 5: With Color B, ch 1, hdc in the first 11 sts, make corner, hdc in the next 14 sts, make corner, hdc in the next 20 sts, make corner, hdc in the next 14 sts, make corner, hdc in the last 11 sts finishing last st with Color C; turn. Break Color B. (82 sts)
Row 6: With Color C, ch 1, hdc in the first 12 sts, make corner, hdc in the next 16 sts, make corner, hdc in the next 22 sts, make corner, hdc in the next 16 sts, make corner, hdc in the last 12 sts finishing last st with Color A; turn. Break Color C. (90 sts)
Row 7: With Color A, ch 1, hdc in the first 13 sts, hdc in the marked st (remove 1st marker), ch 5, skip 18 sts, hdc in next marked st (remove 2nd marker), hdc in the next 24 sts, hdc in the next marked st (remove 3rd marker), ch 5, skip 18 sts, hdc in last marked st (remove 4th marker), hdc in the last 13 sts; turn. (54 hdc and 10 ch)
Row 8: Ch 1, hdc in each st and ch across; turn. (64 sts)
Row 9 – 17: Ch 1, hdc in each st across; turn. Finish last st of Row 17 with Color B. (64 sts)
Row 18: With Color B, rep Row 9, finishing last st with Color C, break Color B. (64 sts)
Row 19: With Color C, rep Row 9, finishing last st with Color A, break Color C. (64 sts)
Row 20: With Color A, rep Row 9, break Color A. (64 sts)
Add Sleeves (Repeat for both armholes):
Rnd 1: With Color A, from RS of sweater, join to center st of the armpit (bottom of armhole), ch 1, hdc 27 sts evenly around arm opening; join and turn. (27 sts)
Rnd 2: Ch 1, hdc in each st around until 1 st rem, skip last st; join. (26 sts)
Rnd 3 – 14: Repeat Rnd 2. Finish last st of Row 14 with Color B.
Rnd 15: With Color B, ch 1, hdc in each st around; join and turn finishing last st with Color C, break Color B. (14 sts)
Rnd 16: With Color C, rep Rnd 15 finishing last st with Color A, break Color C. (14 sts)
Rnd 17: With Color A, rep Rnd 15; break Color A. (14 sts)
Button Holes and Final Edging:
Before beginning the next Round, plan the placement of your button loops and mark with a stitch marker. Note that the buttons and loops as shown are the boy’s version – switch the buttons and loops to the opposite edges for a girl’s version.
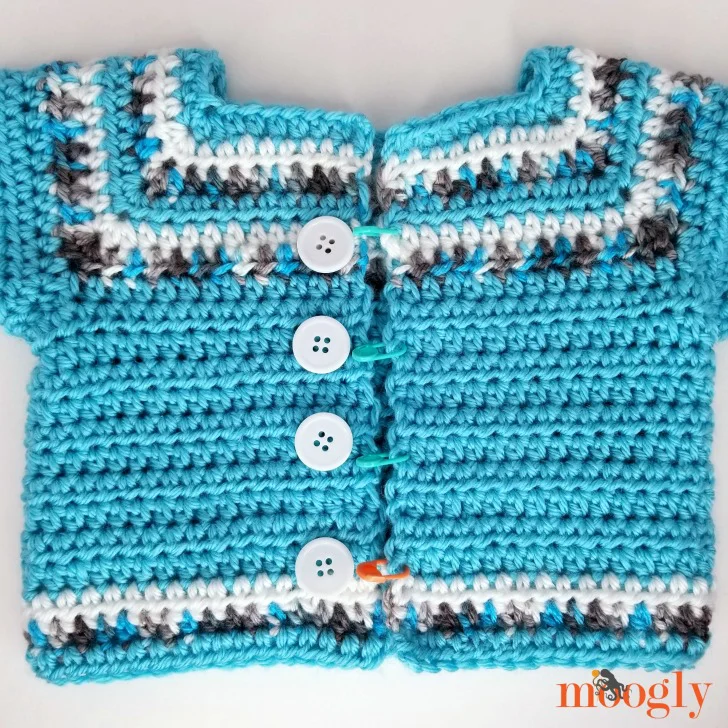
Rnd 1: With Color A, join to any st at back of neck, ch 1, sc in each st to front opening, ch 2, sl st along front edge, ch 2, sc in each st at bottom hem, ch 2, sl st along other side of front edge, ch 2, sc in each rem st at neck; join. Recheck placement of st markers for button loops, and move markers to sl sts.
Rnd 2: Ch 1, sc in each st, (sc, ch 2, sc) in each ch-2 corner, and (sc, ch 5, sc) in each marked st; join and break.
Sew on buttons opposite the button loops. See tutorial linked above, or use matching thread.
I hope you like this free crochet baby sweater pattern! I tried to make it easy and straight-forward, but still flexible. I can’t wait to see all the fun things you all do with this free baby cardi crochet pattern!
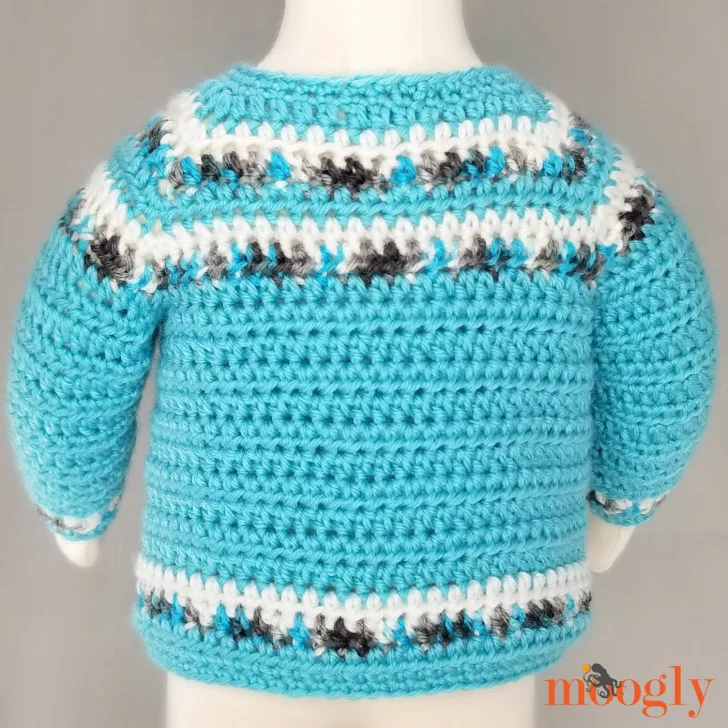
Ready to make your own Essential Baby Sweater? If this free crochet cardigan pattern does inspire you, and you post a photo on social media, be sure to tag me @mooglyblog or #mooglyblog so I can check it out too! I love seeing what you make!