Crochet Ragdoll Polar Bear Ornament Pattern
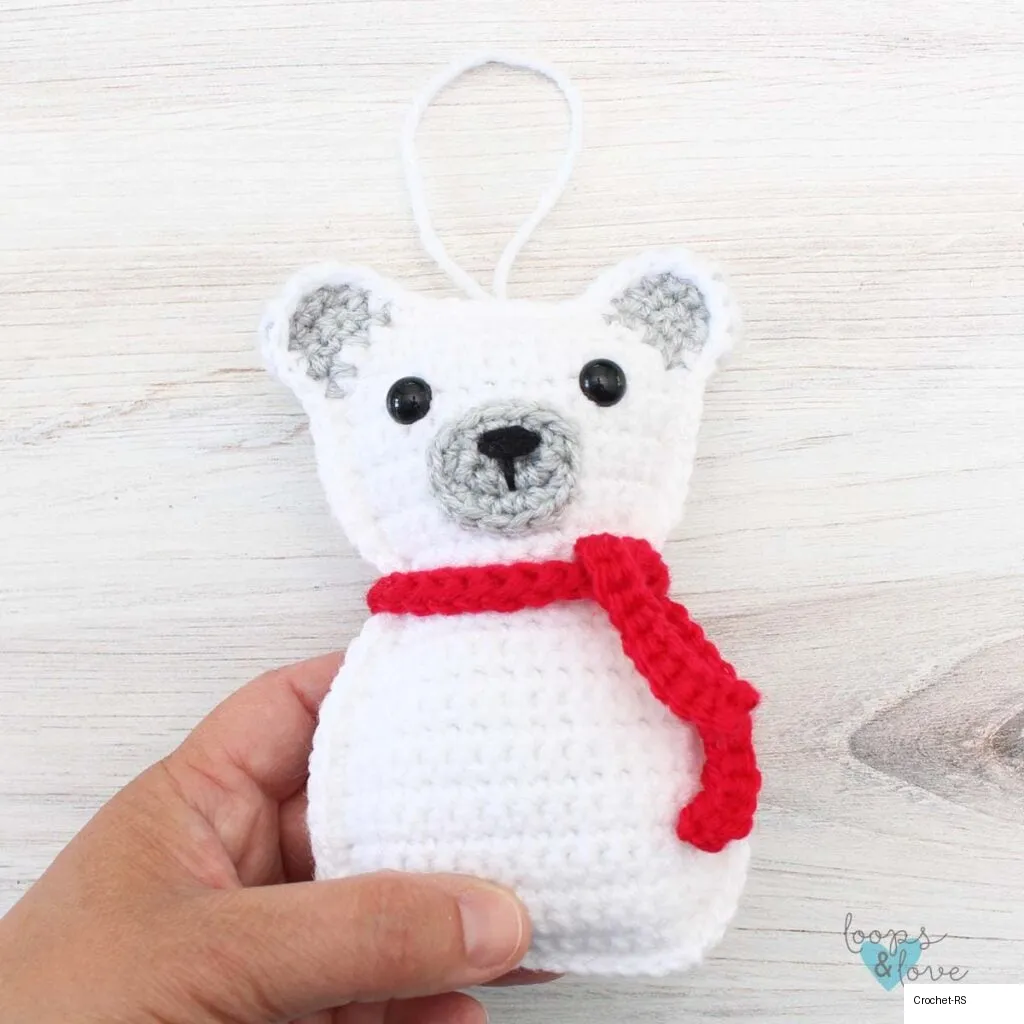
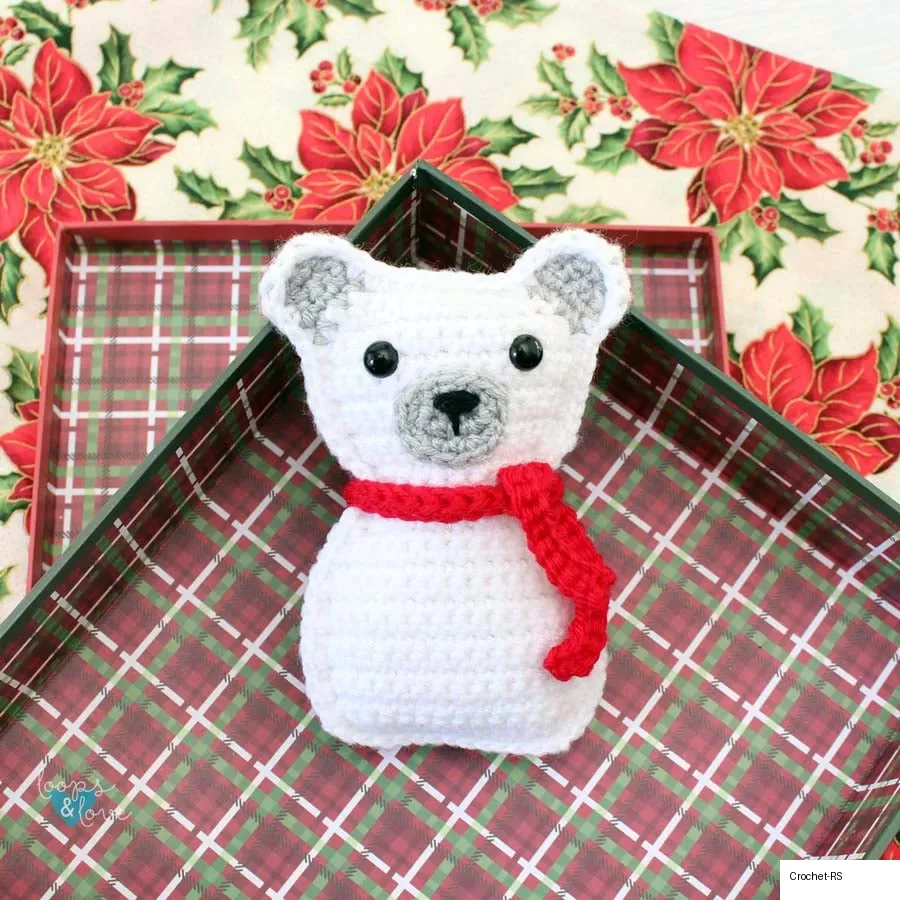
Make your own adorable crochet ragdoll polar bear ornament! This pattern is worked up quickly and features a fun gift card pocket on the back.
Materials Needed
- Worsted-weight (#4) yarn – Approximately 70 yds needed, mostly in white, with a few yards of grey, black, and red for details (e.g., WeCrochet/Knit Picks Brava yarn).
- 3.5mm crochet hook
- Two 10 mm safety eyes
- Fiber-based stuffing
- Yarn needle – Bent yarn needle recommended
- Embroidery thread – Small amount of black for the muzzle
- Scissors
Pattern Details & Notes
Stitches Used
- Ch – chain
- Sl St – slip stitch
- SC – single crochet
- INC – single crochet increase (2 SC in same stitch)
- DEC – single crochet decrease (SC decrease over 2 stitches)
Gauge & Finished Size
- Gauge: 2 inches square ≈ 9 rows of 11 SC stitches.
- Finished Size: Approx. 5.5” tall (from bottom to top).
Step-by-Step Instructions
1. Polar Bear Body and Head Panel (Make 2)
Head/Body panels are worked up from the bottom to the top in white yarn.
- Row 1: Ch 13, INC in 2nd ch from hook, SC in next 10 sts, INC in last st, ch 1, turn (14)
- Row 2: SC in each st across, ch 1, turn (14)
- Row 3: INC, SC next 12 sts, INC, ch 1, turn (16)
- Rows 4-10: SC in each st across, ch 1, turn (16)
- Row 11: DEC, SC next 12 sts, DEC, ch 1, turn (14)
- Row 12: SC in each st across, ch 1, turn (14)
- Row 13: DEC, SC next 10 sts, DEC, ch 1, turn (12)
- Row 14: DEC, SC next 8 sts, DEC, ch 1, turn (10)
- Row 15: DEC, SC next 6 sts, DEC, ch 1, turn (8)
- Row 16: INC, SC next 6 sts, INC, ch 1, turn (10)
- Row 17: INC, SC next 8 sts, INC, ch 1, turn (12)
- Row 18: INC, SC next 10 sts, INC, ch 1, turn (14)
- Rows 19-24: SC in each st across, ch 1, turn (14)
- Row 25: DEC, SC next 10 sts, DEC, ch 1, turn (12)
- Row 26: DEC, SC next 8 sts, DEC, ch 1, turn (10)
- Row 27: SC in each st across (10)
Fasten off, weave in ends. Repeat instructions above to work up the second panel.
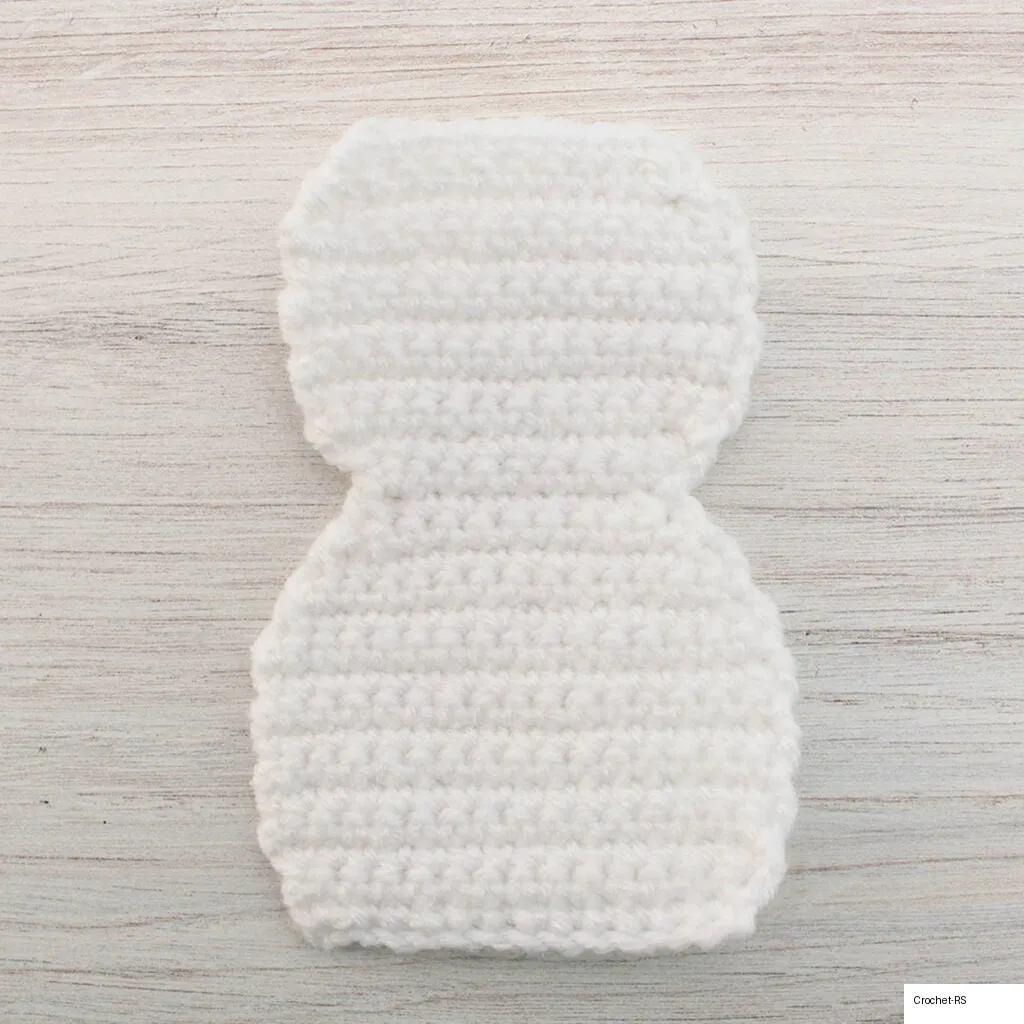
2. Ears
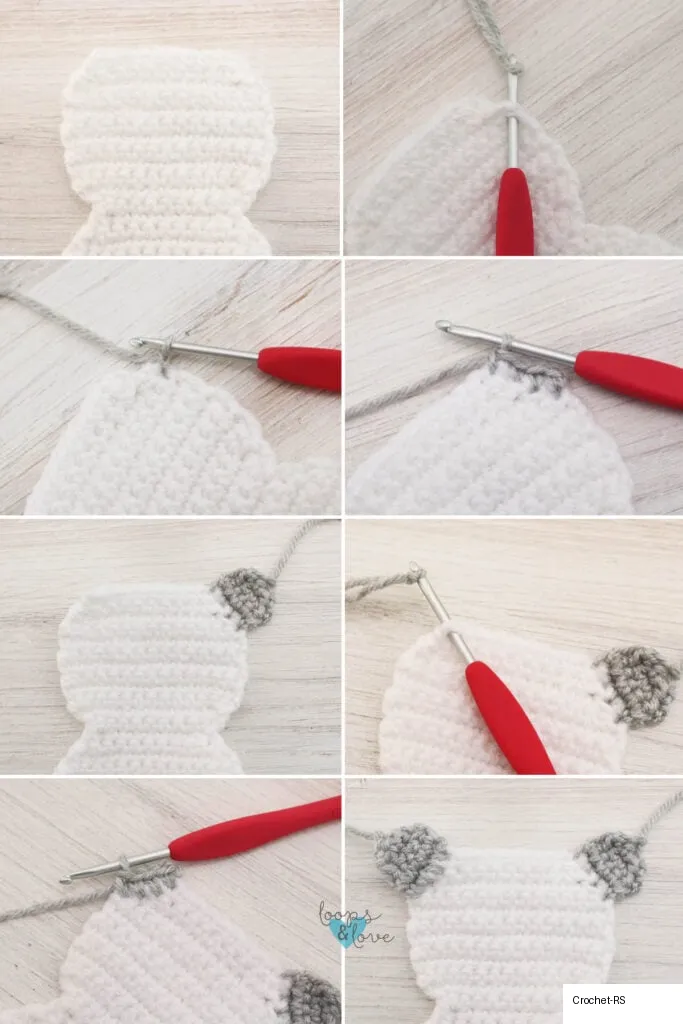
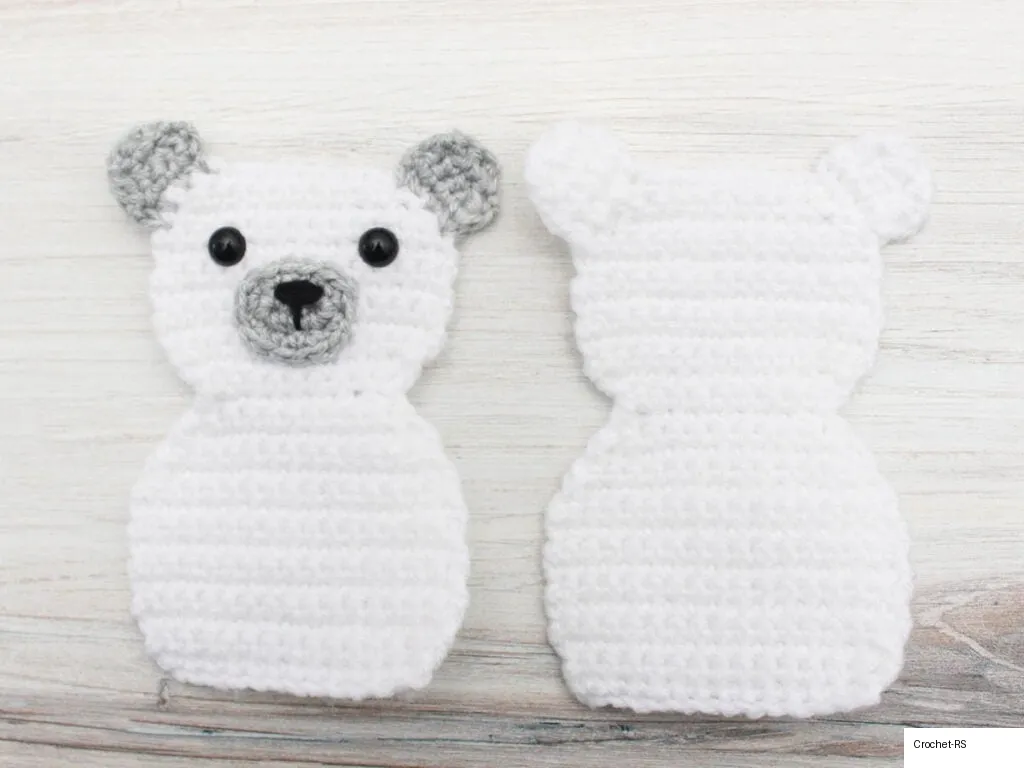
The ears are crocheted onto the head of the polar bear, one on each side. For the front panel, use grey yarn for the inner ear. For the back panel, use white yarn.
- Row 1: Keeping the “right” side of the polar bear panel facing you (the same side as when you finished row 27), make a slip knot with your yarn and join by pulling the slip knot through the last stitch of the fourth row down from the top on the right side of the head, ch 1, SC in the same stitch and in each of the next 3 stitches going back up towards the top right corner, ch 1, turn. (4)
- Row 2: INC, SC next 2 sts, INC, ch 1, turn. (6)
- Row 3: DEC, SC next 2 sts, DEC, ch 1, turn. (4)
- Row 4: DEC, DEC (2)
Fasten off, weave in tail and cut yarn. For the second ear, repeat rows 1-4 above starting in the top left corner stitch of the head. Repeat instructions again to add ears to the second panel working with white yarn.
3. Muzzle
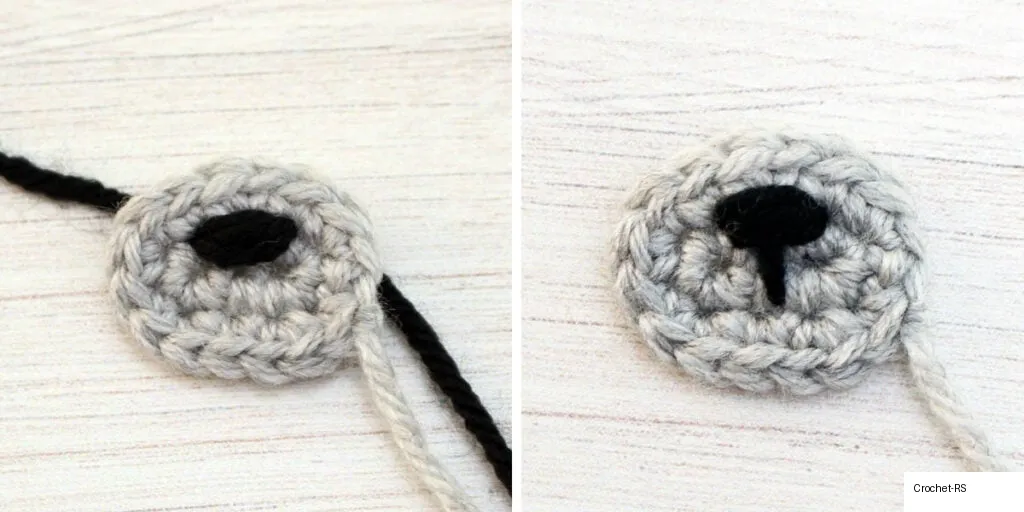
Work the muzzle in grey yarn.
- Round 1: Ch 4, 2 SC in 2nd ch from hook, SC next st, 4 SC in last st. Continue around so you are working on the other side of the chain. SC in next st, 2 SC in last st (same stitch as where you placed 2 SC at start), join, ch 1 (10)
- Round 2: *INC, SC in next st, repeat from * around, join to first st (15)
Fasten off and cut yarn leaving a long tail for sewing. Use a strand of black yarn/thread to stitch on the nose by passing yarn around 2-3 stitches on the nose repeatedly until desired thickness is reached. Sew a vertical line from the center of the nose to a stitch a couple rounds below.
4. Adding Facial Features & Assembly
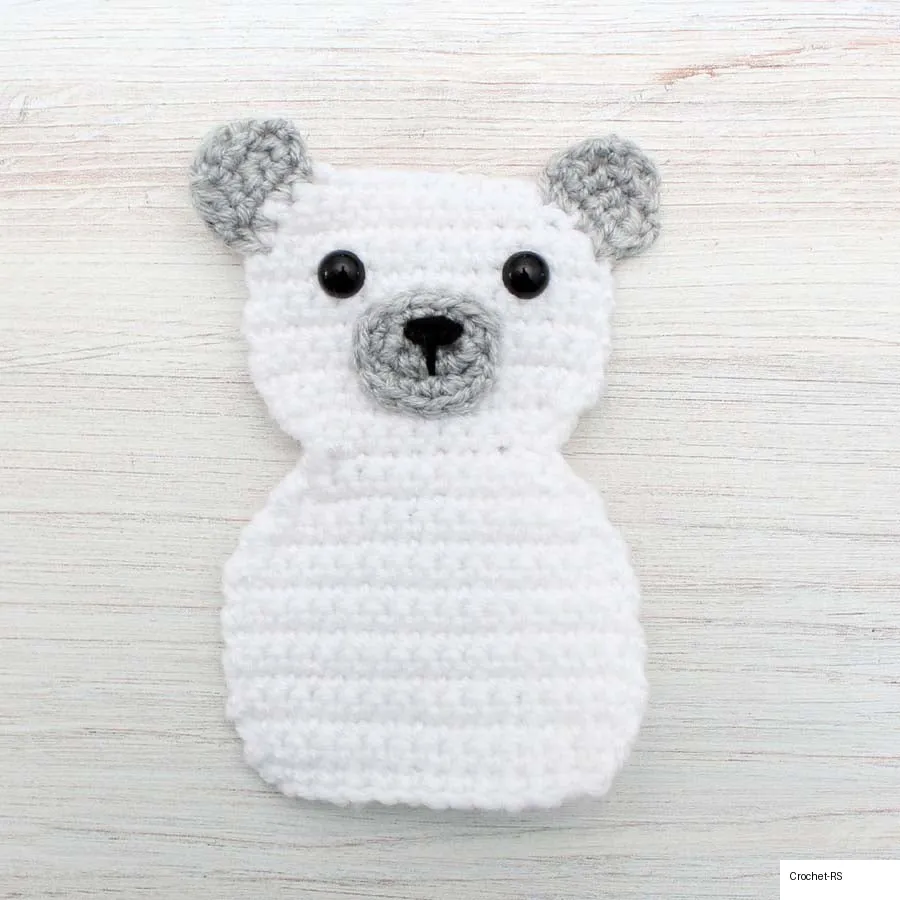
- Safety Eyes: Insert safety eyes between rows 23 and 24 (4-5 rows down from the top) in the center of the face, approximately 6 stitches apart.
- Attaching Muzzle: Sew the muzzle to the face between the eyes, aligning the top of the muzzle with the bottom of the eyes. Sew around the outside edge passing through stitches on the polar bear panel.
5. Joining the Polar Bear Panels
- Layer the two polar bear panels on top of each other with right sides facing outwards.
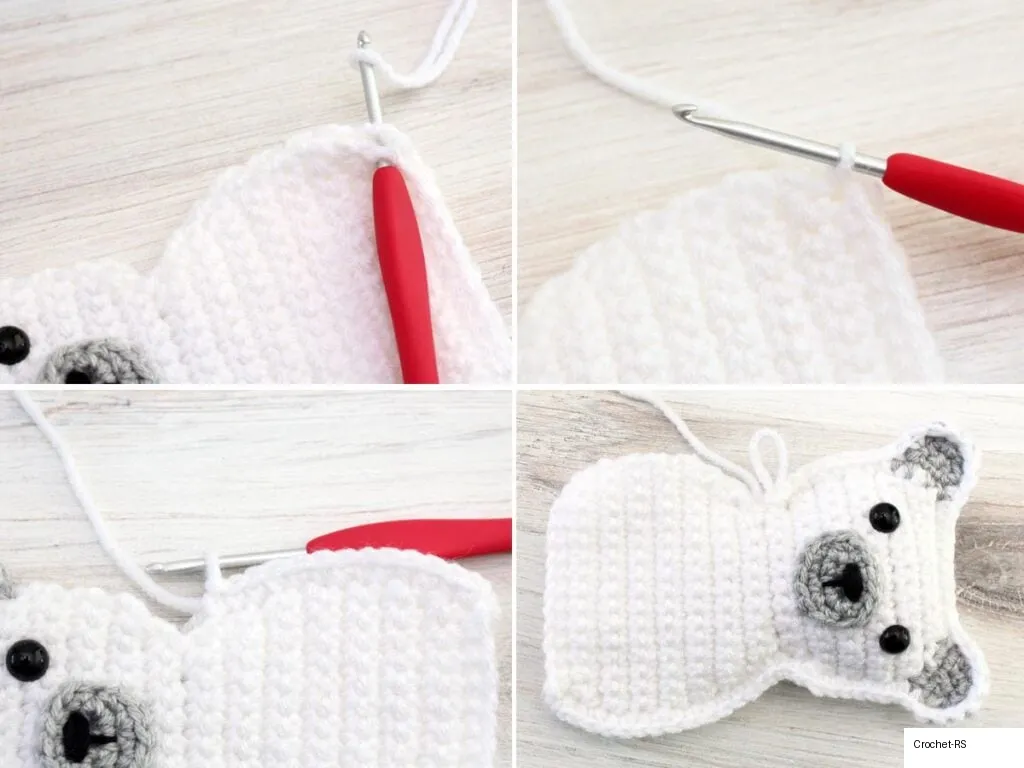
- Join white yarn in bottom right corner passing through both layers.
- Ch 1, SC in same st and in each st around the outside edge passing through both layers.
- Add stuffing when approx. 2/3 around (stuff head first, then body as you work around). Do not stuff the ears.
- Join with sl st at bottom corner, cut yarn and weave in ends.
6. Scarf
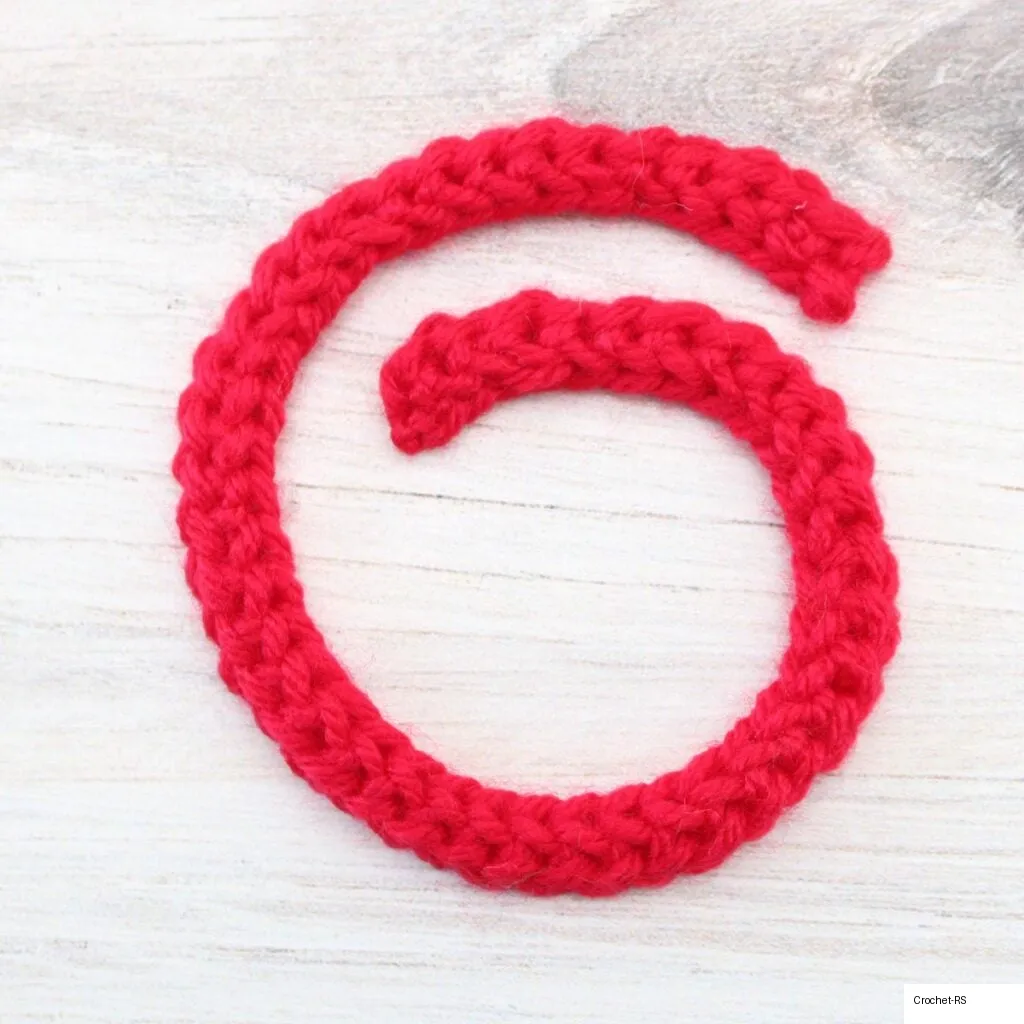
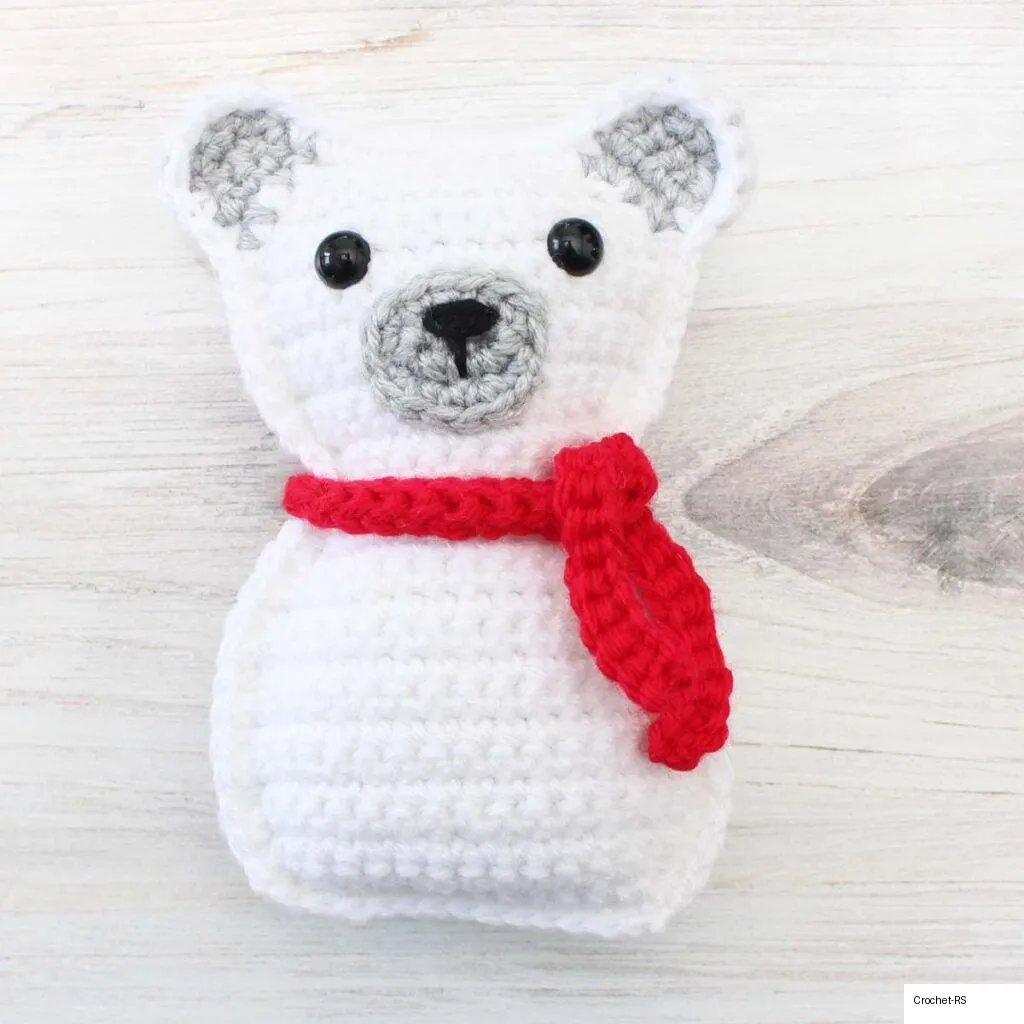
- Row 1: In accent color (red), ch 50, SC in 2nd ch from hook and in each ch across. Fasten off, weave in ends. Tie around neck.
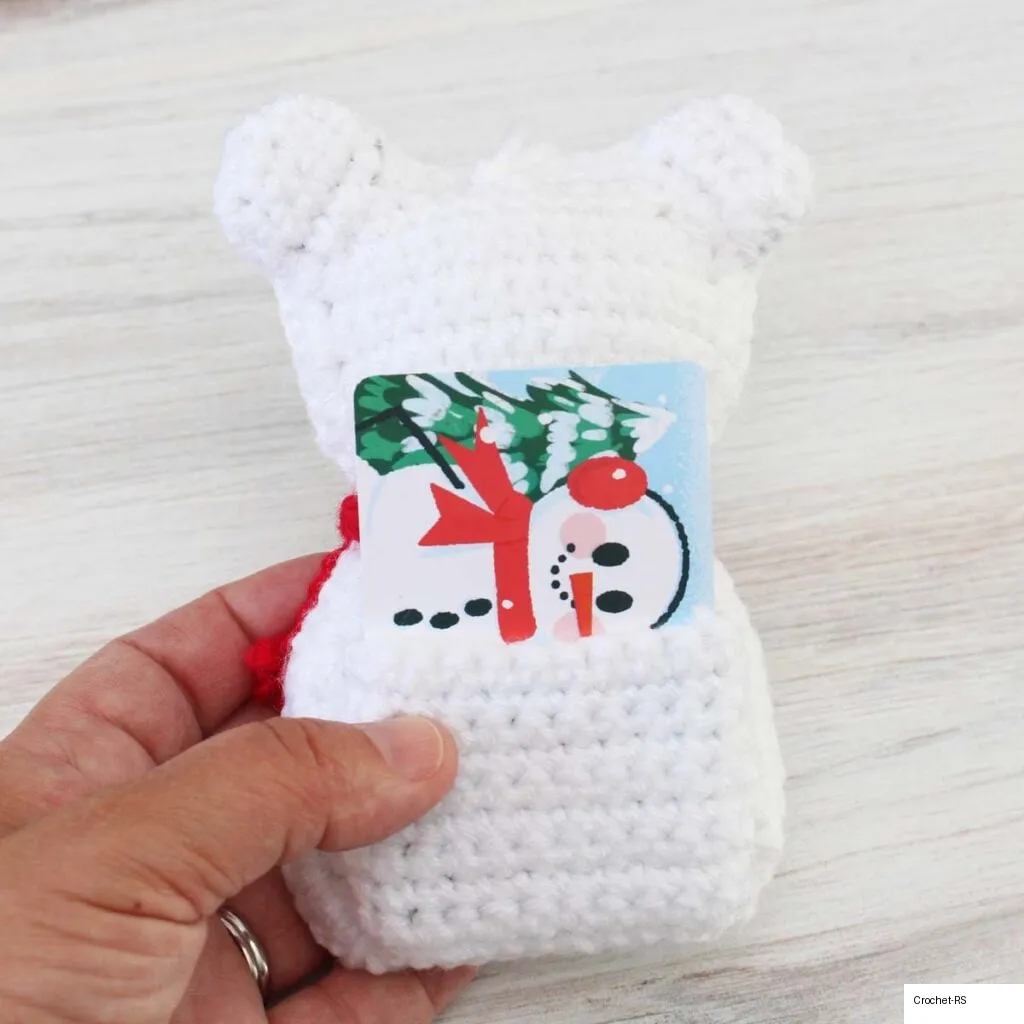
7. Optional Gift Pocket (on Back)
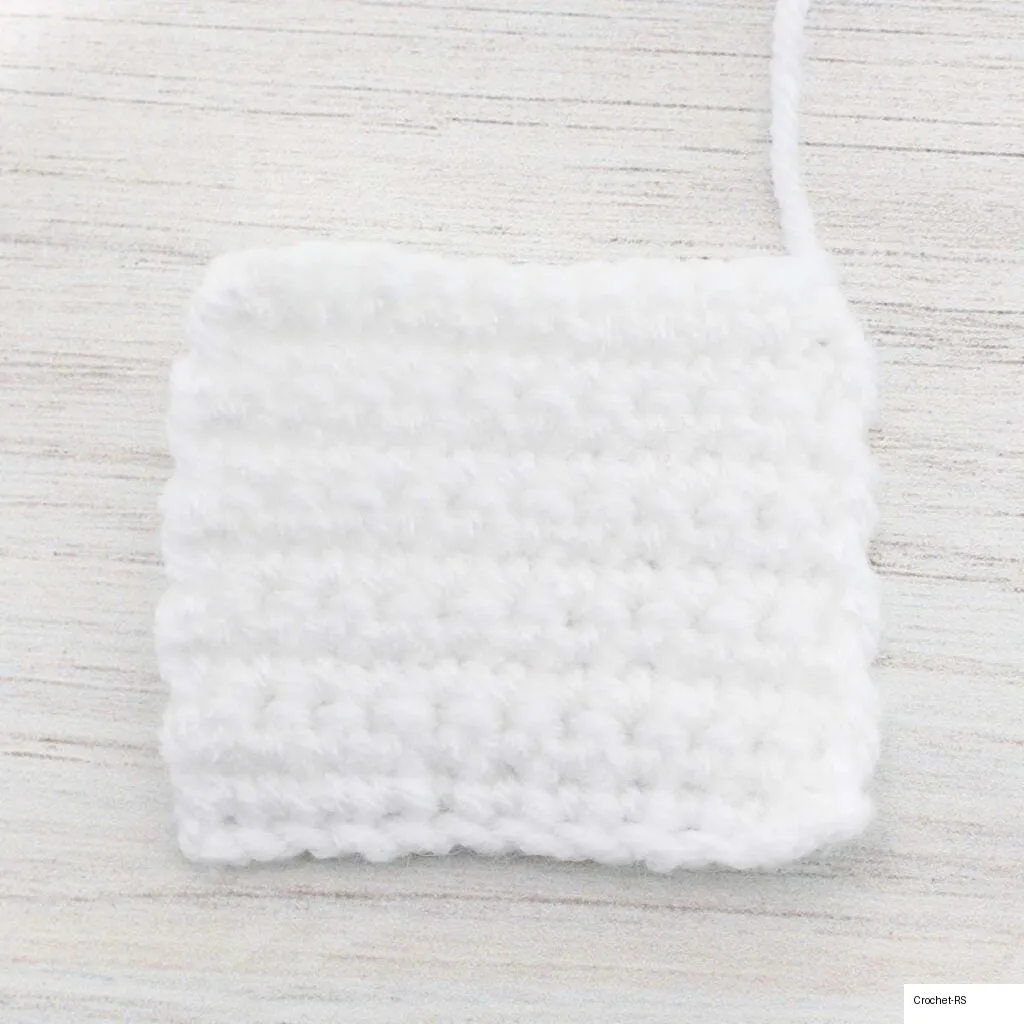
- Row 1: In white yarn, ch 13, SC in 2nd ch from hook and in each st across (12)
- Rows 2-11: SC in each st across (12)
- Fasten off, leave tail for sewing.
- Sew pocket onto back panel starting 1 row up from bottom, sewing sides and bottom edge. Leave top open.
8. Hanging Loop
- Cut 6″ strand of yarn, pass through back at center top, tie in a knot, and slide knot inside/under stitch.