Starburst Granny Square Phone Sling Free Crochet Pattern
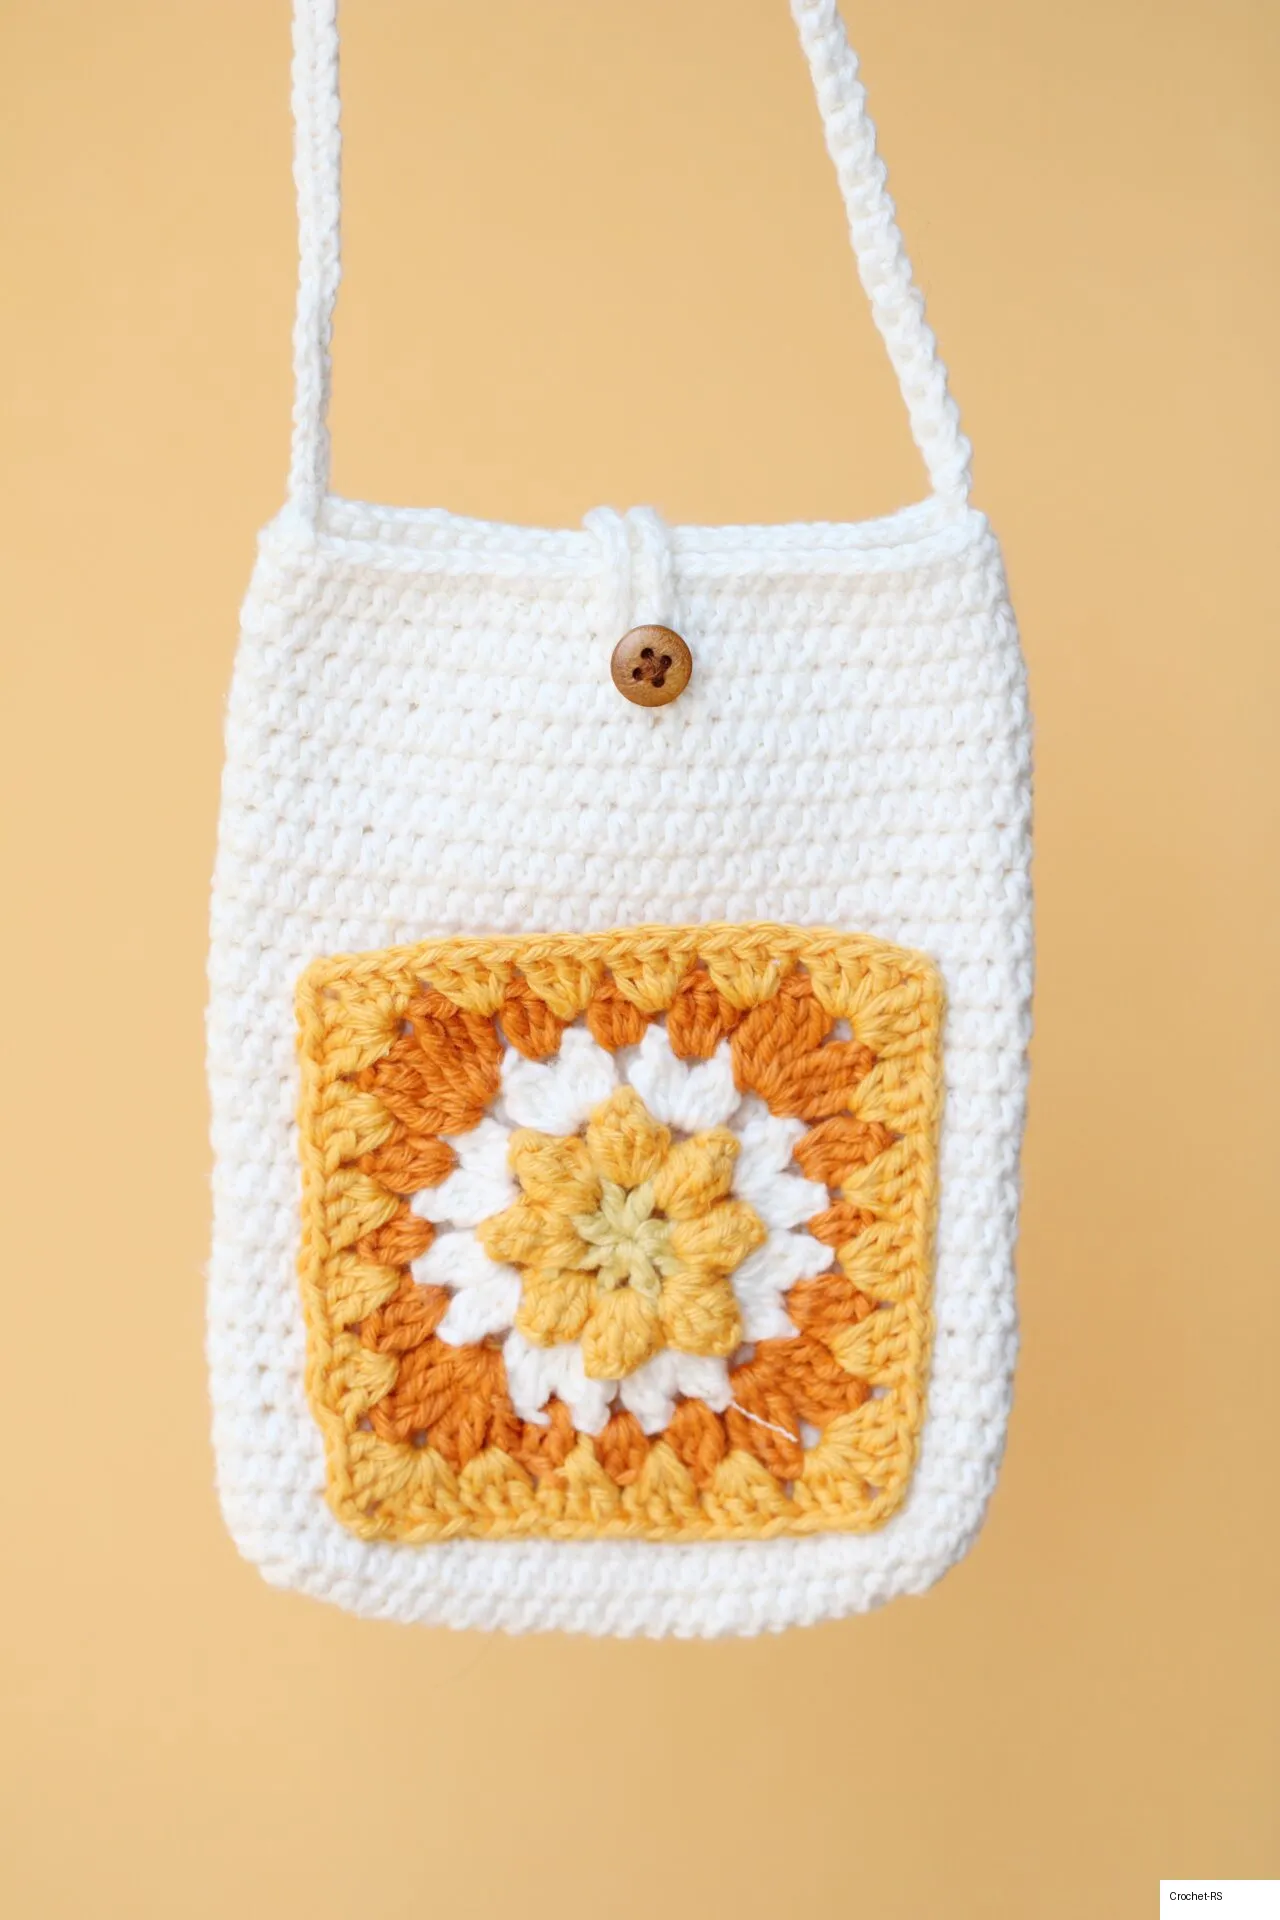
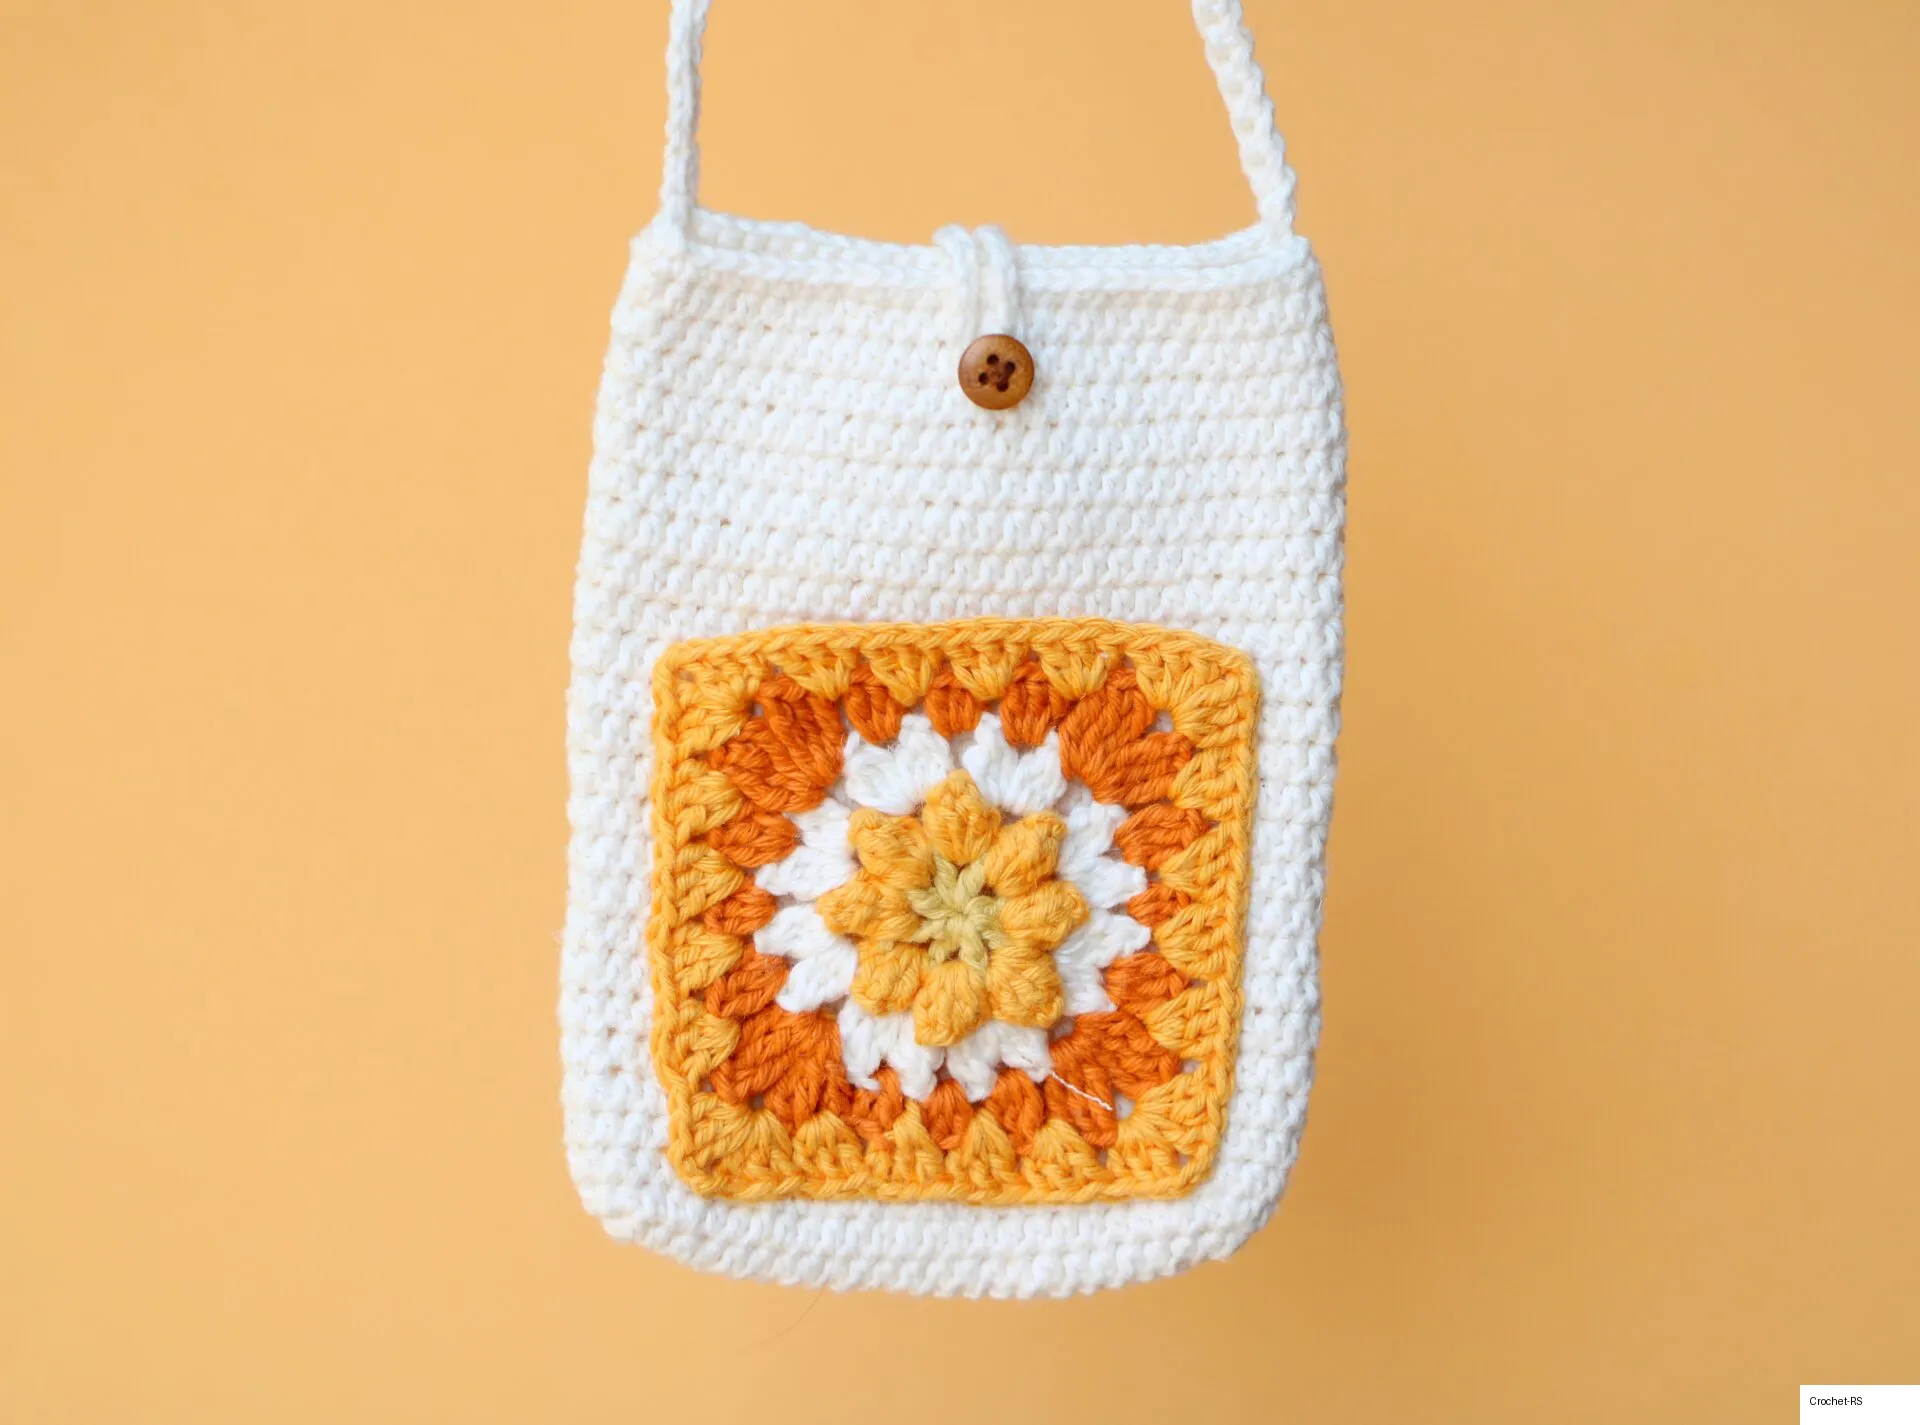
Today we are making the Starburst Granny Square Phone Sling! A gorgeous and functional crochet pattern.
Materials Needed
Yarn
- WeCrochet CotLin (DK weight)
- 1 skein: Swan (white)
- <1 skein: Marigold (orange)
- <1 skein: Clementine (dark orange)
- <1 skein: Creme Brulee (custard yellow)
Notions & Tools
- Size C / 2.5mm Clover Amour crochet hook
- Brown embroidery thread
- 1/2″ brown button
- Sewing pins
- Tapestry needle
- Stitch markers
Pattern Details & Technical Notes
- Final Size: 4″ x 6.5″, strap drop 20″ (adjustable)
- Color Coding: MC = White, CC1 = Orange, CC2 = Dark Orange, CC3 = Custard Yellow
- Technical Notes:
- Crochet in continuous joined rounds, unless specified otherwise. Use a stitch marker or piece of yarn to keep track of the last stitch in each round.
- Use cotton yarn for structure and durability.
- Increase tension or size down the hook if holes are visible.
- Adjust initial strap length (Round 28) to suit your height (worked 220 chain stitches for a 5’2″ frame).
Step-by-Step Instructions
Bag Body
Begin in MC (White):
- Begin: Chain 25 (25 sts)
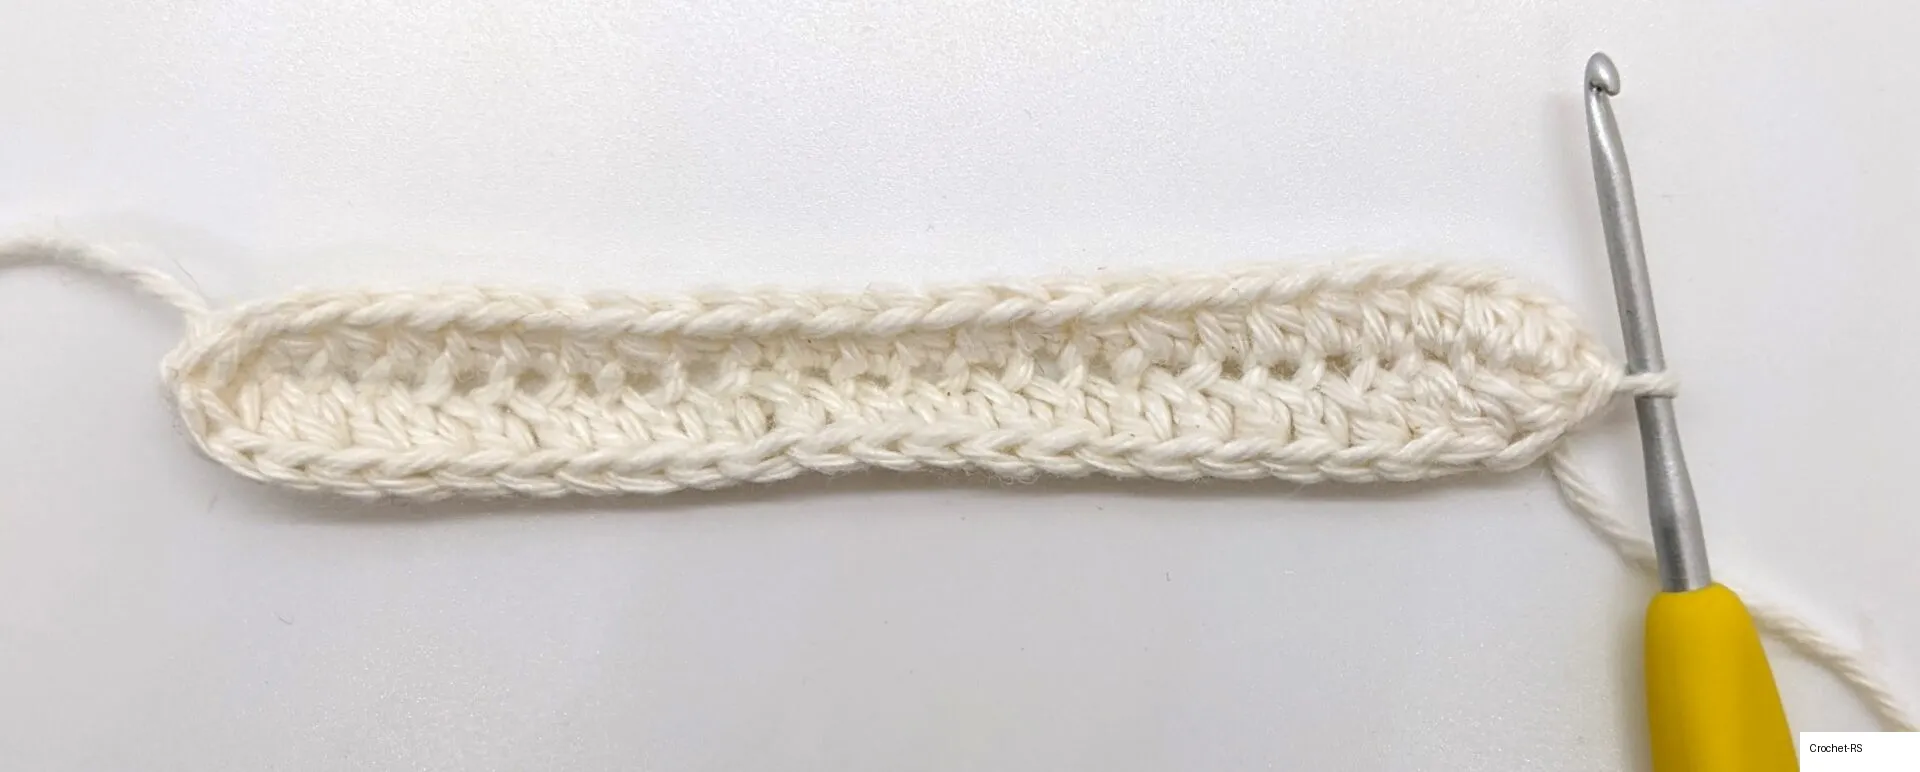
- Round 1: From the second chain from the hook, hdc across. Work 3 hdcs in the last chain with the slip knot, then hdc across. Work 2 hdcs in the last stitch. Sl st to first st. (50 sts)
- Round 2: Chain (doesn’t count as a st), (hdc, hdc inc) x2, hdc 17, (hdc, hdc inc) x4, hdc 17, (hdc, hdc inc) x2. Slst to first st. (58 sts)
- Rounds 3-26 (23 rnds): Chain, hdc around, slst to first stitch. (58 sts)
- Round 27: Chain, sc around. (58 sts)
Preparation for Crocheting the Strap
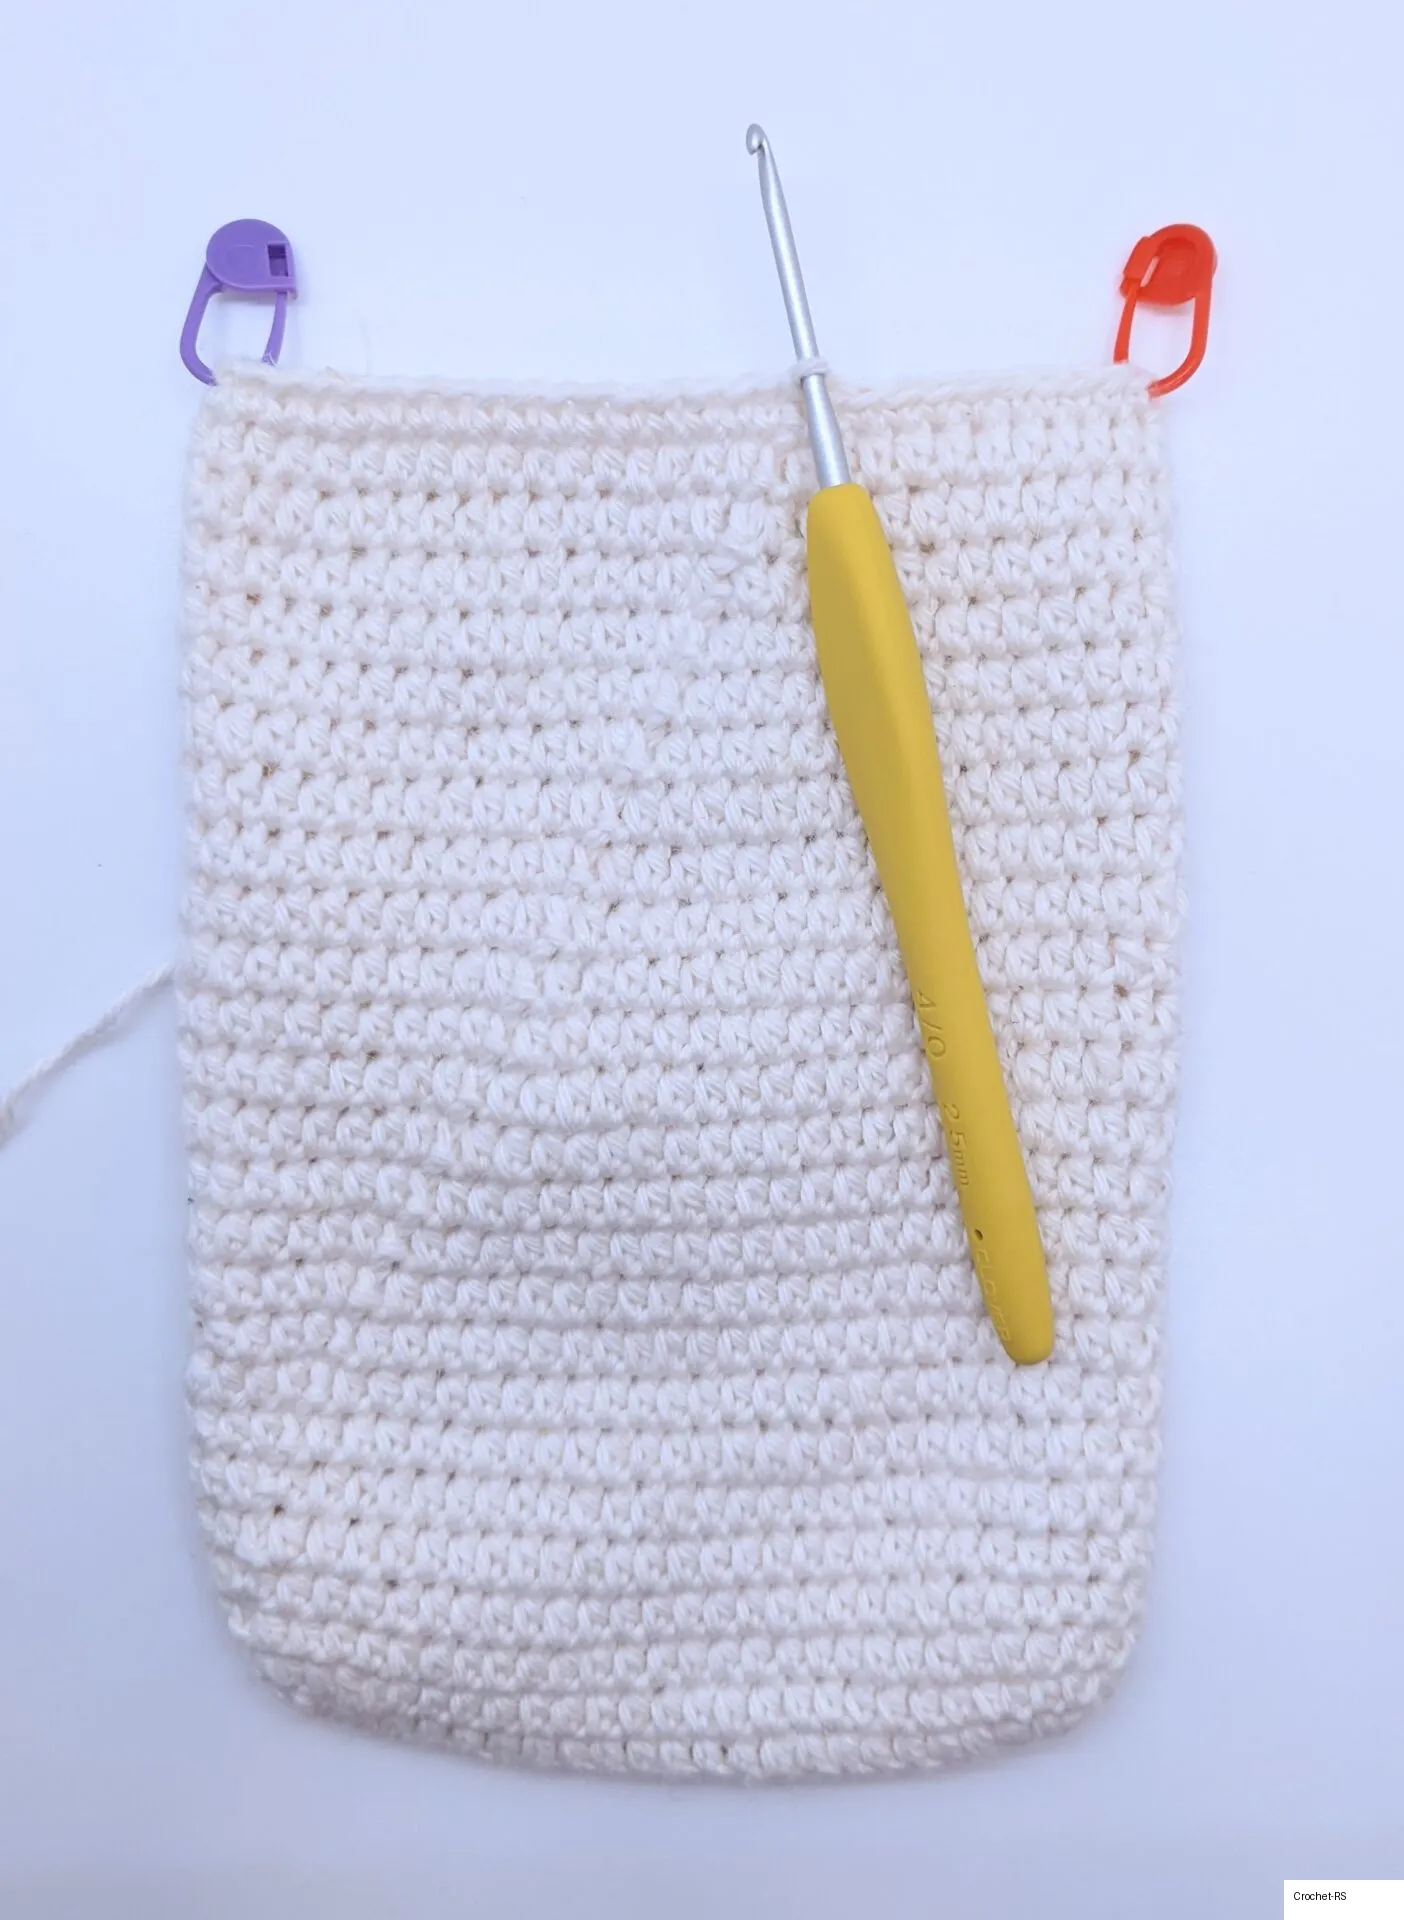
- The side where you have been joining rounds is the “wrong side” (WS) of the bag; the “right side” (RS) is the opposite side.
- With the WS facing you, place a red stitch marker on the right edge and a purple stitch marker on the left edge.
Crocheting the Strap & Button Loop
- Round 28:
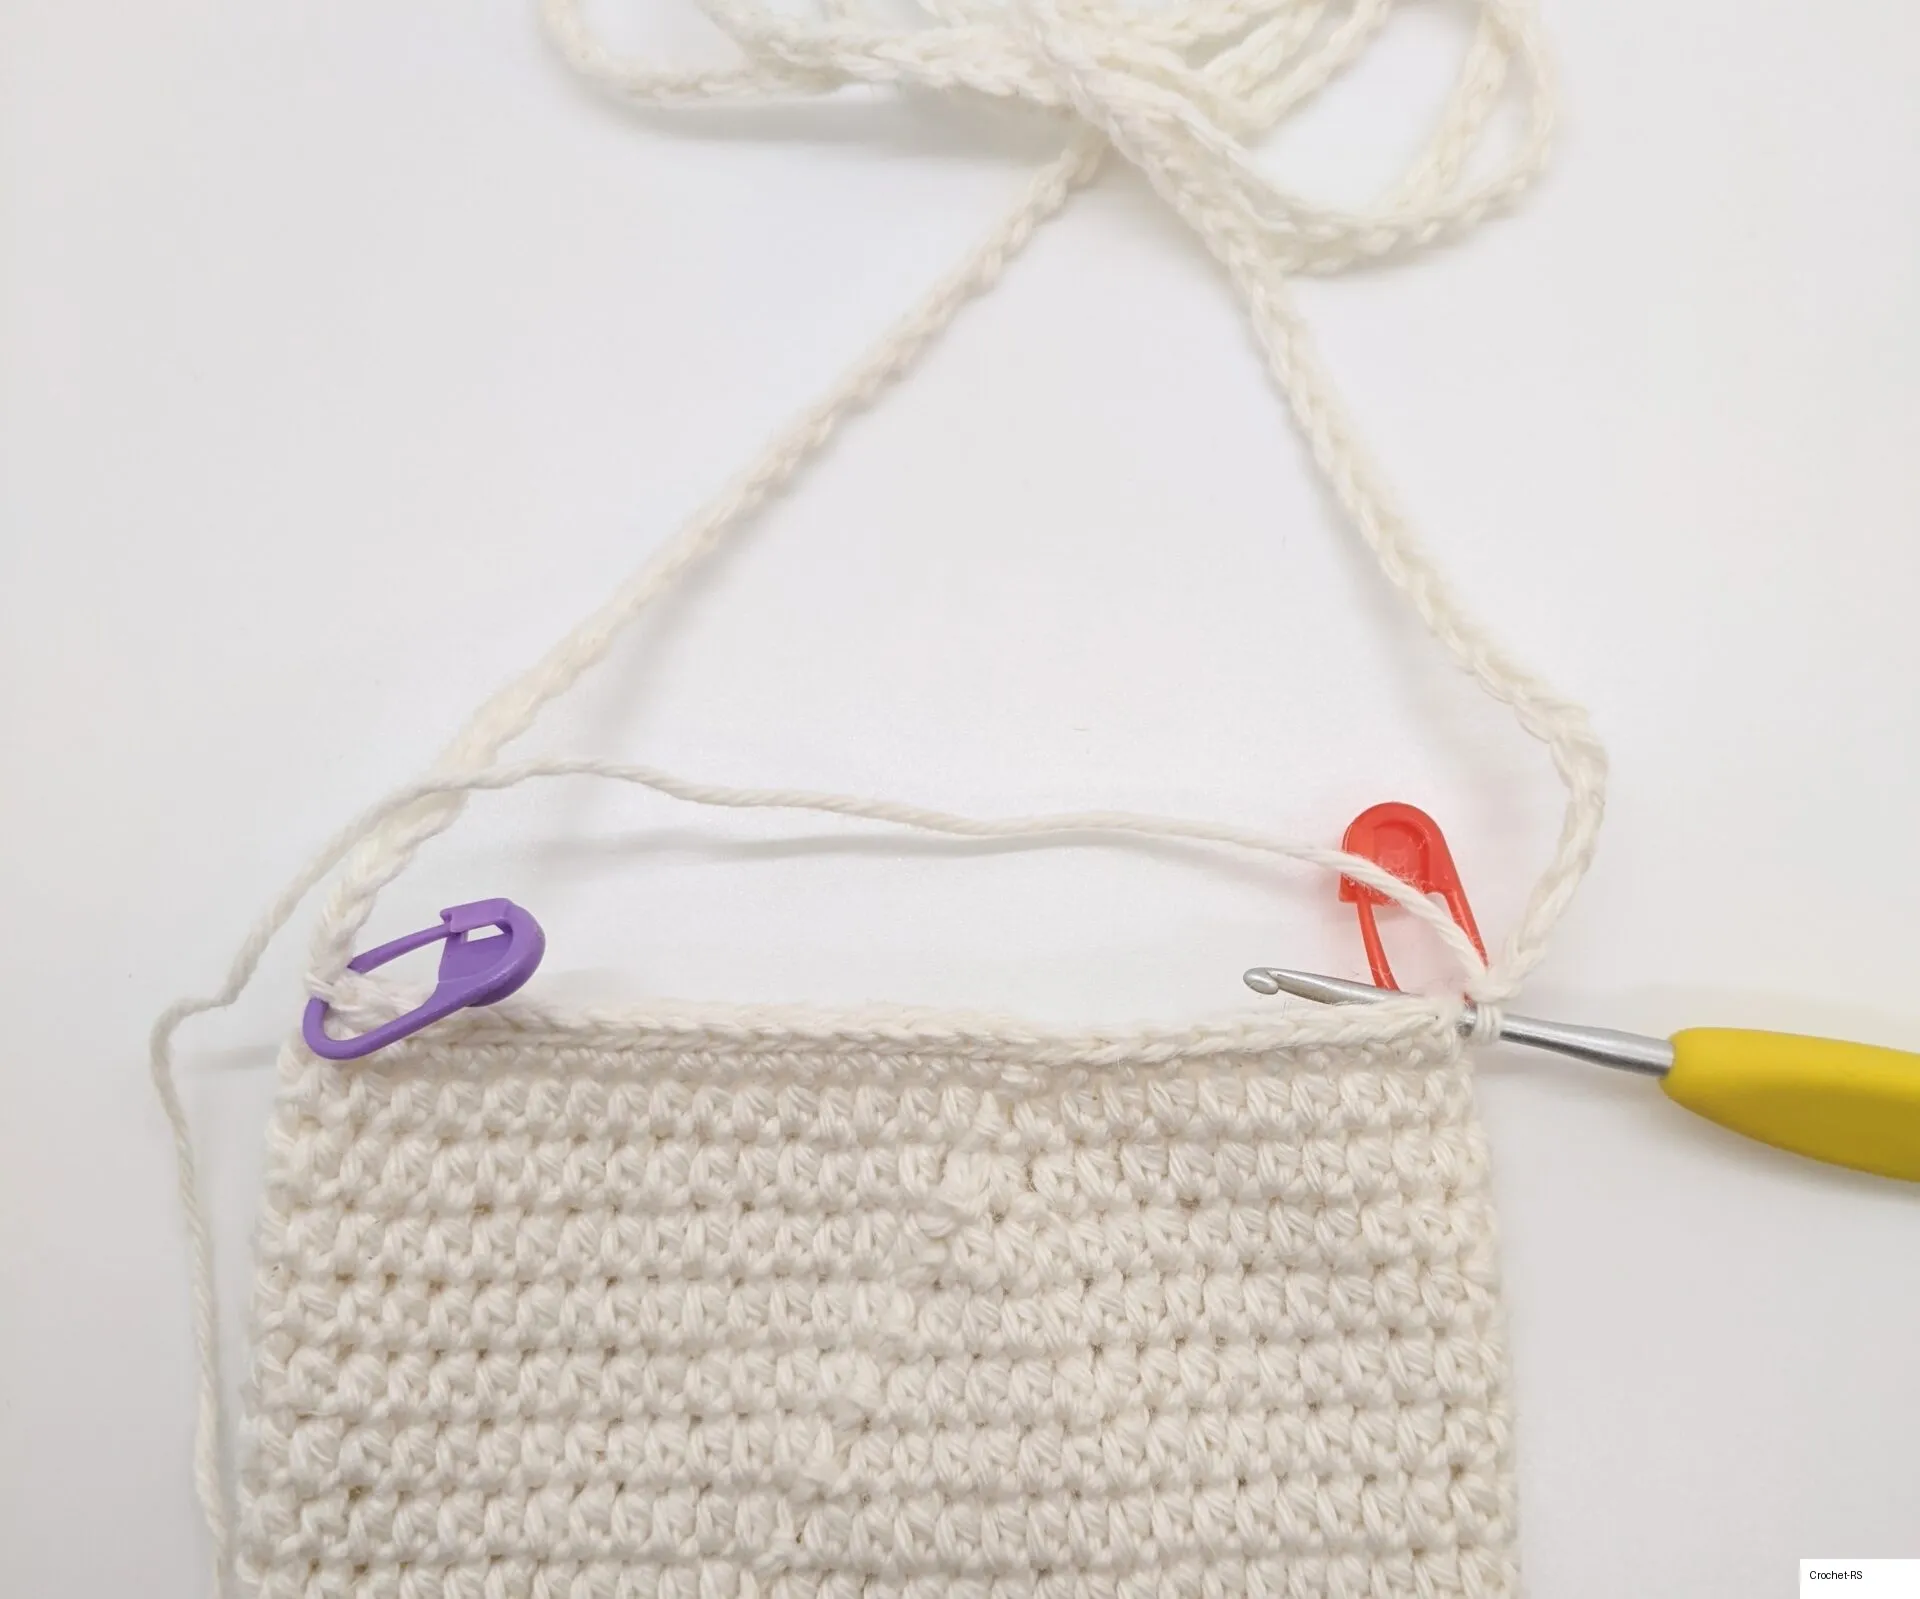
- Sl st to the purple stitch marker, then chain 220 (or adjust according to desired length).
- Sl st to where the red stitch marker is.
-
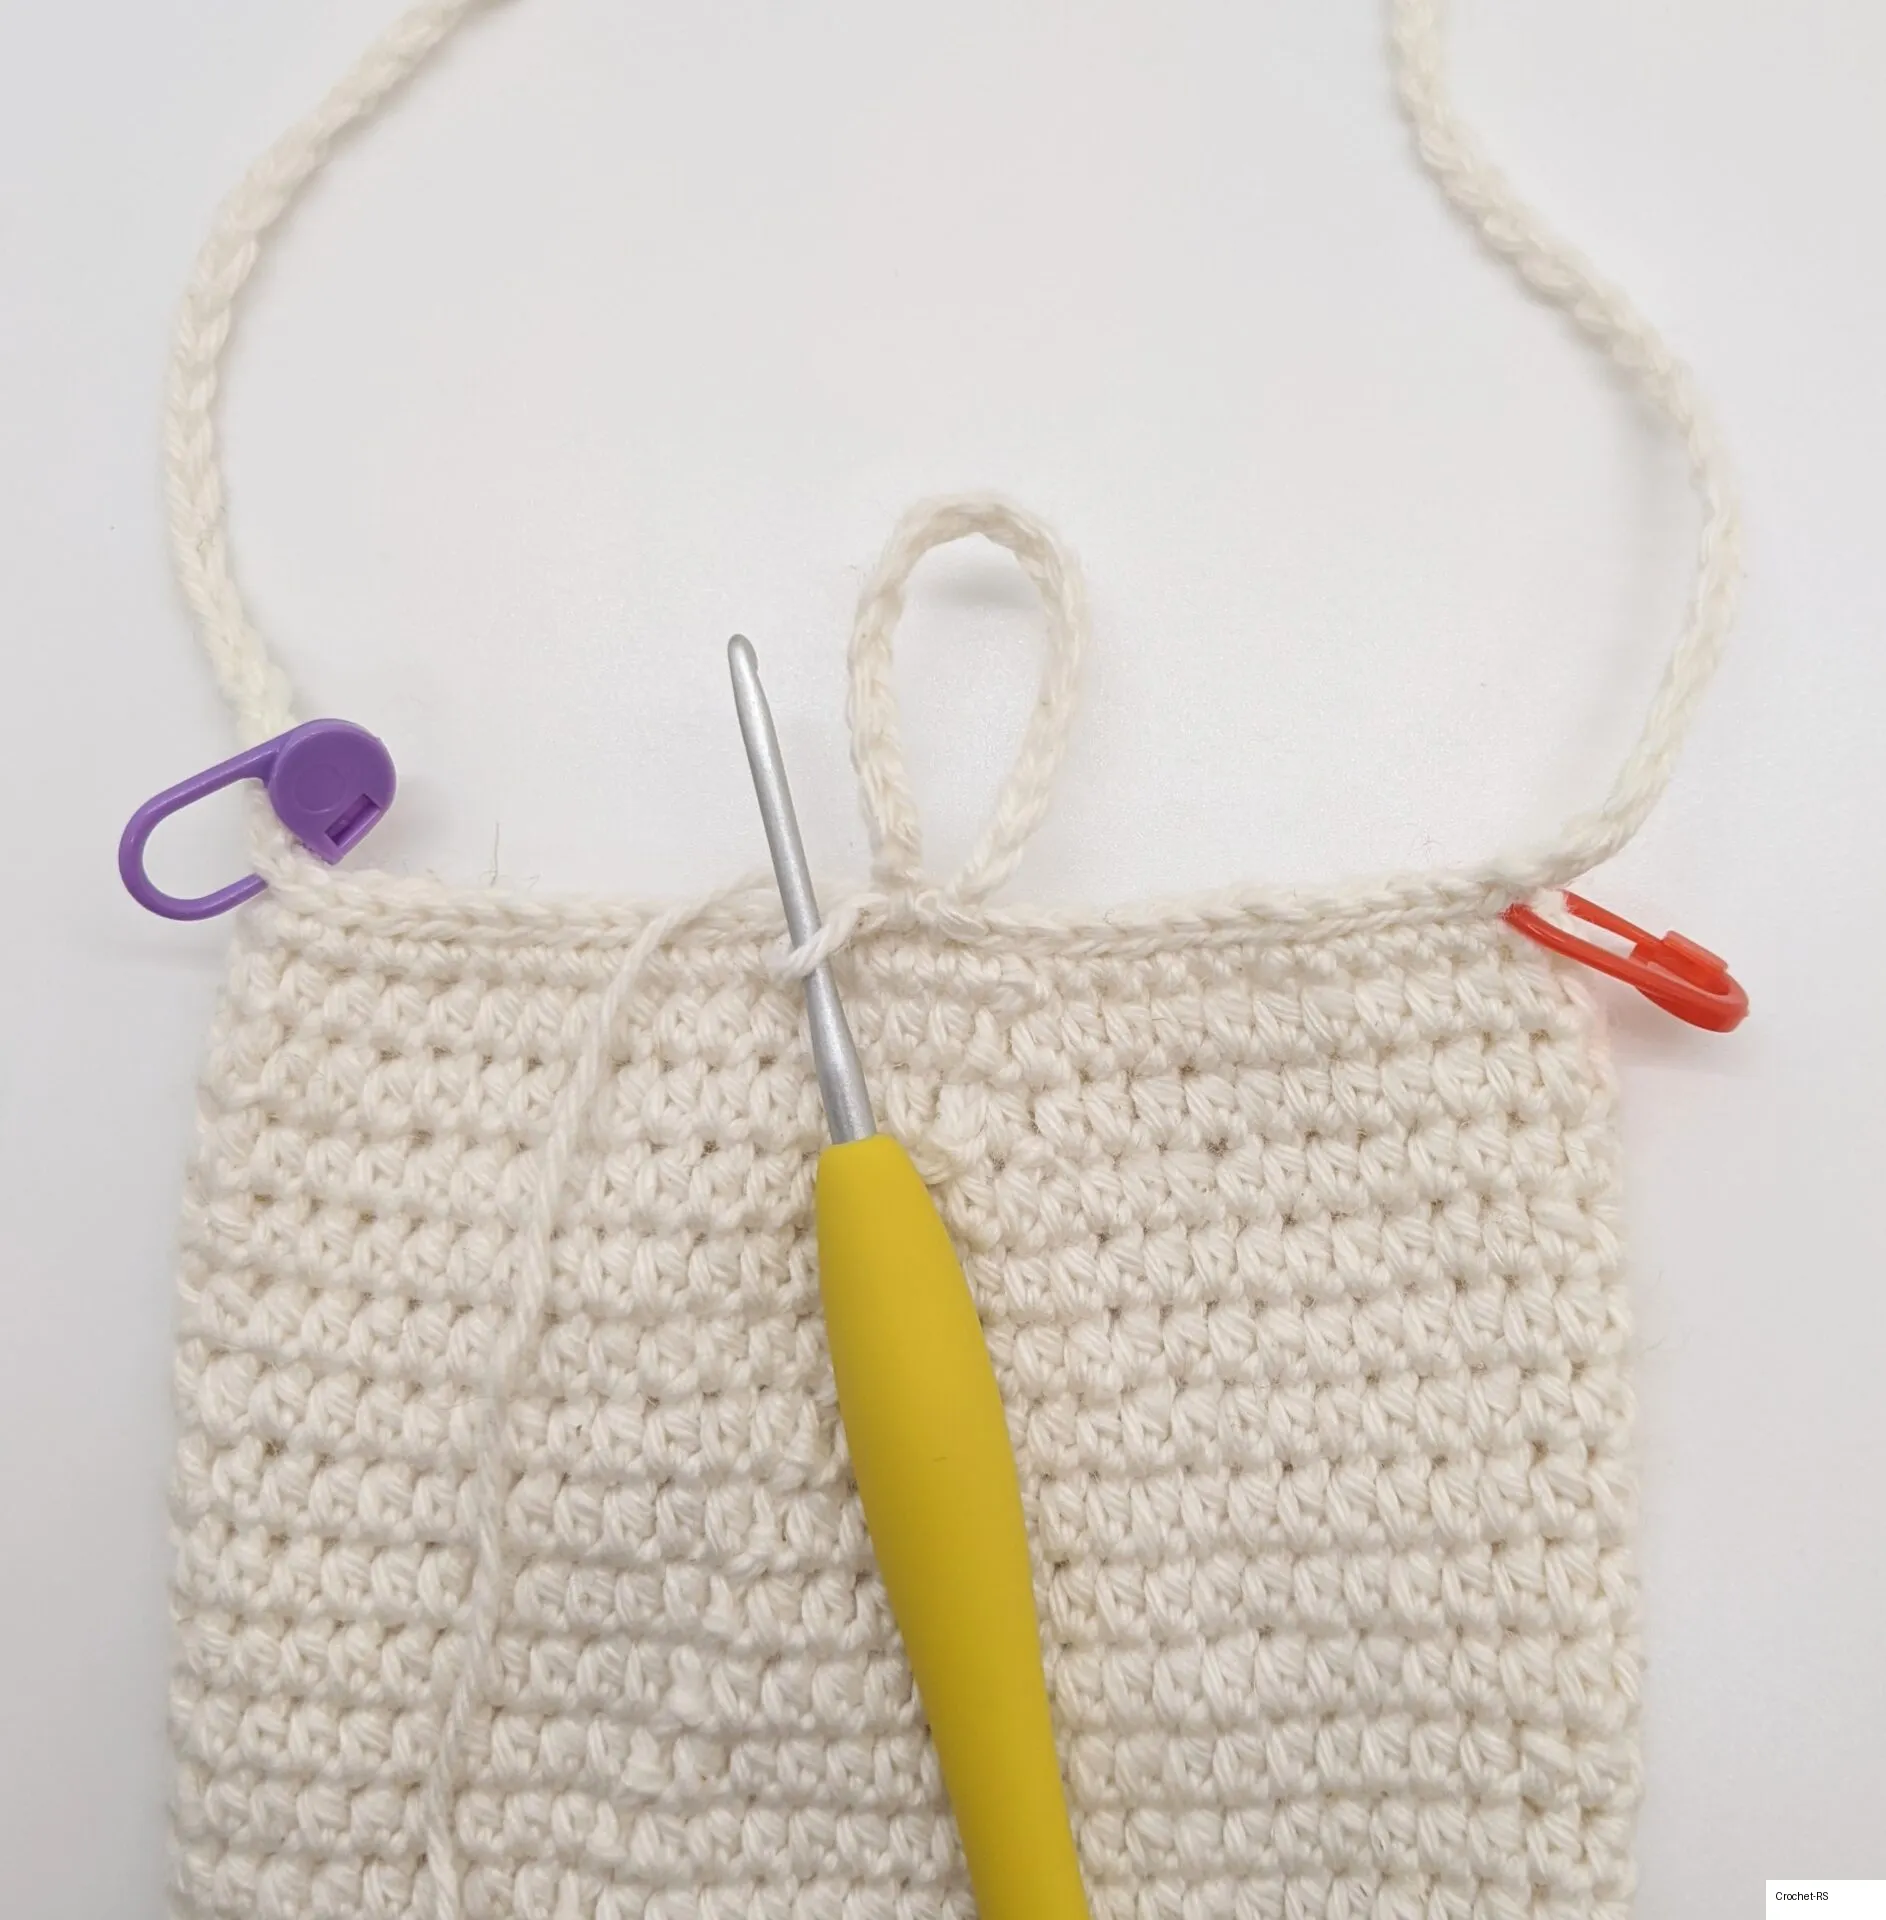
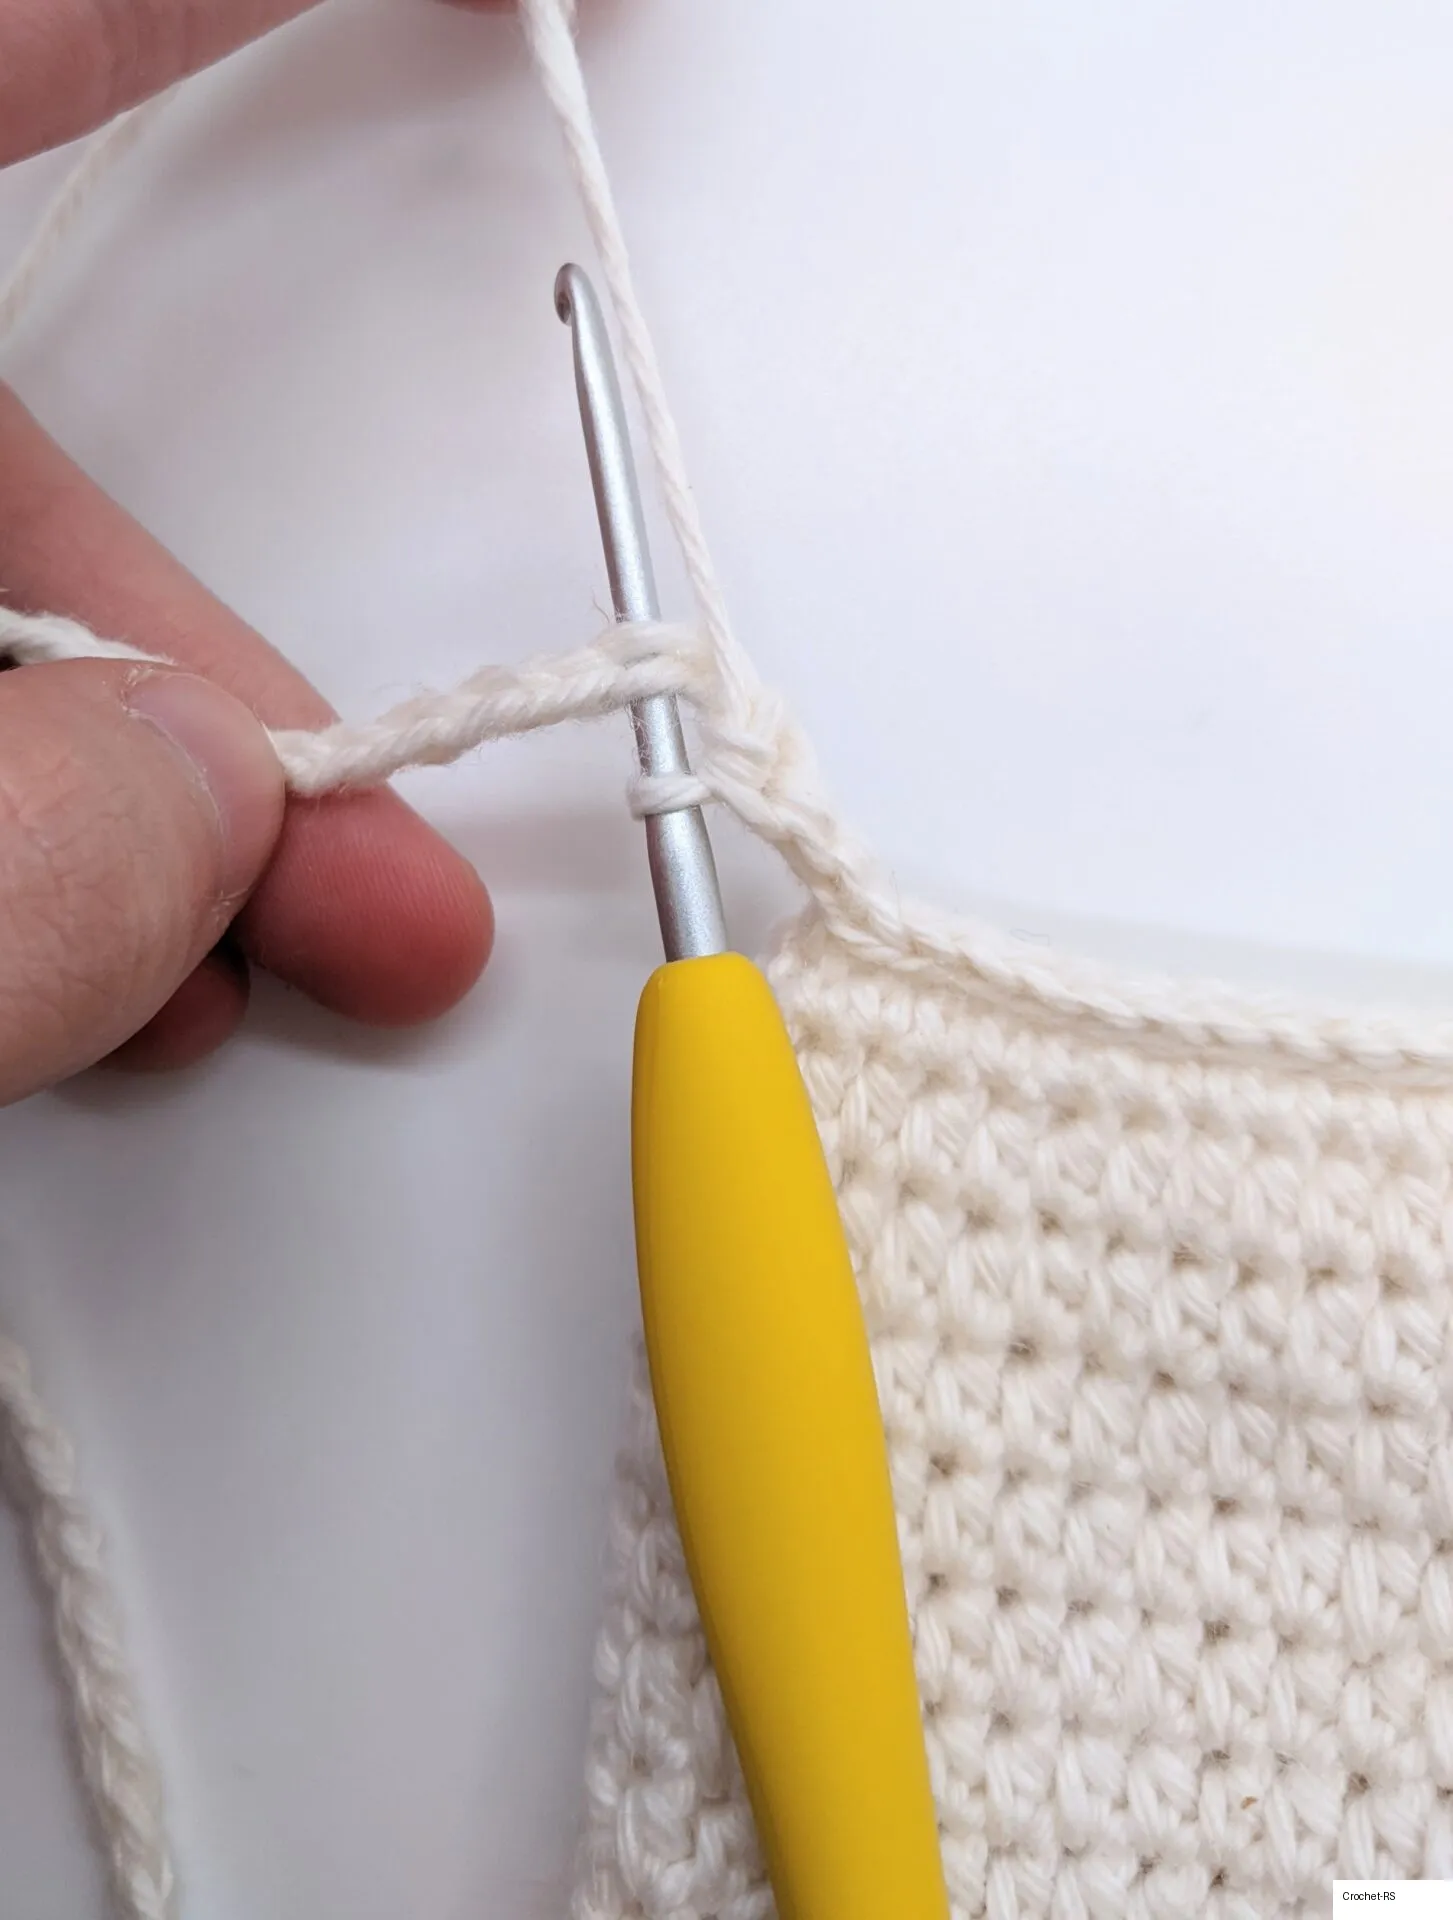
- With the bag WS facing you, slip stitch across towards the purple stitch marker.
- When you get halfway, chain 18 and sl st into the same stitch (creates button loop), then continue slip stitching across to the purple stitch marker.
- Building Up the Strap:
- Once you reach the purple stitch marker, single crochet into each chain stitch along the strap, working into front and back loops at the same time. Crochet loosely to avoid curling.
- Sl st into the stitch with the red stitch marker and invisible finish off.
Granny Square Pocket
Begin in CC3 (Custard Yellow):
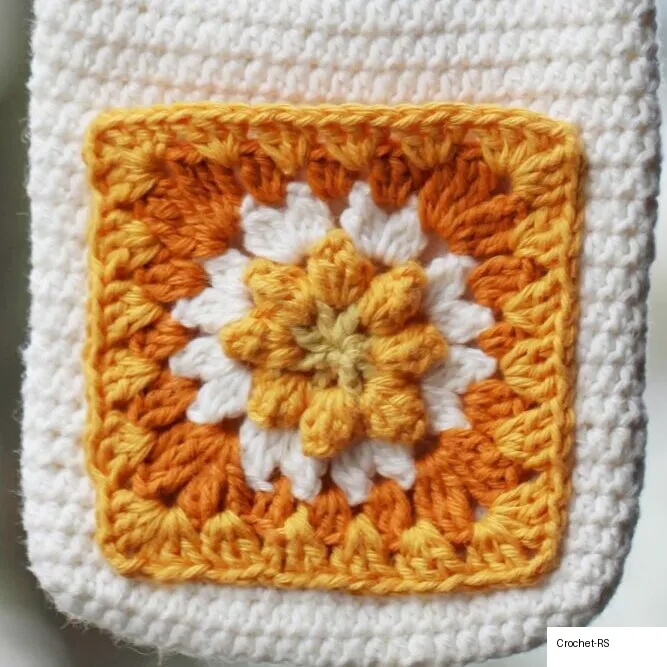
- Make one Starburst Granny Square (following the Starburst Granny Square tutorial).
- Before finishing off, sl st to one corner, then finish off leaving a long tail.
- Pin to the front of your bag (opposite side of the button loop). Orient the granny square so the tail is on the top right corner.
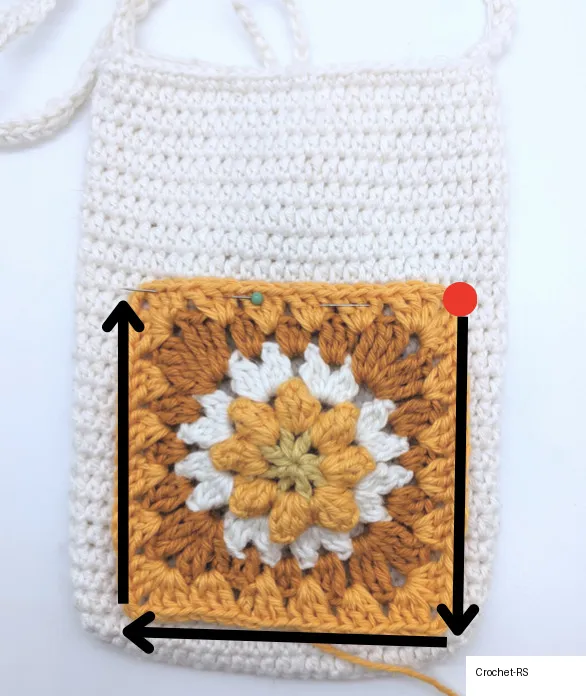
- Sew the square to the top of the bag starting from the top right corner, down to the bottom right, across the bottom, and up the left side. Finish off and weave in ends, keeping the top opening open as a pocket.
Adding the Button
- Using 3 threads of brown embroidery floss, sew the 1/2″ brown button to the 3rd row of the bag (counting from the top).
- Center it with approx. 13 sts to both the left and right of the button.
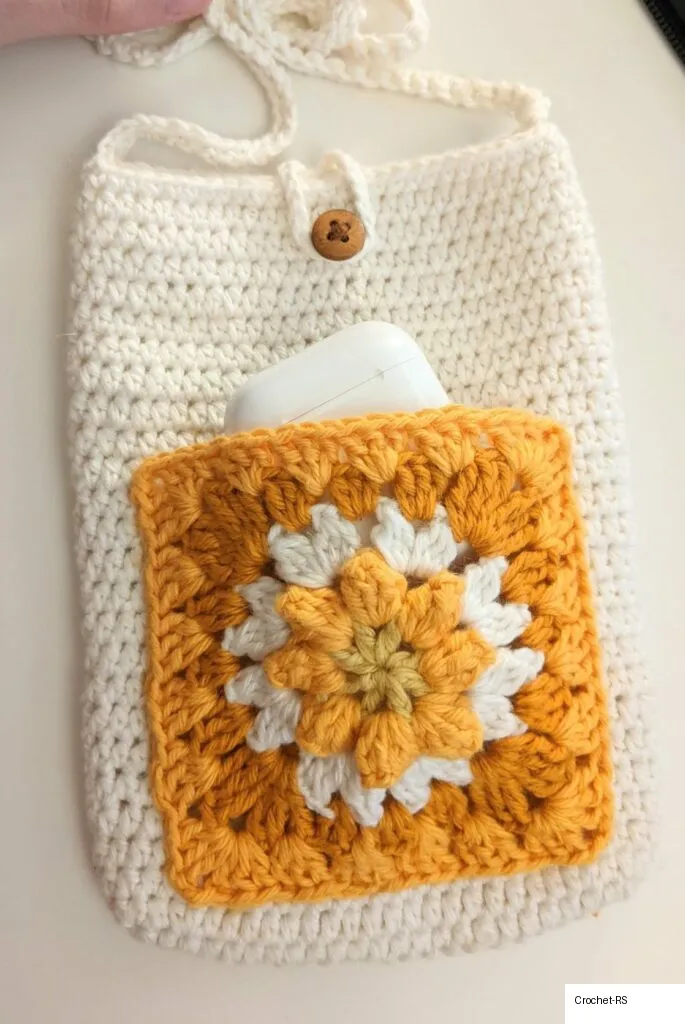
Finished Product