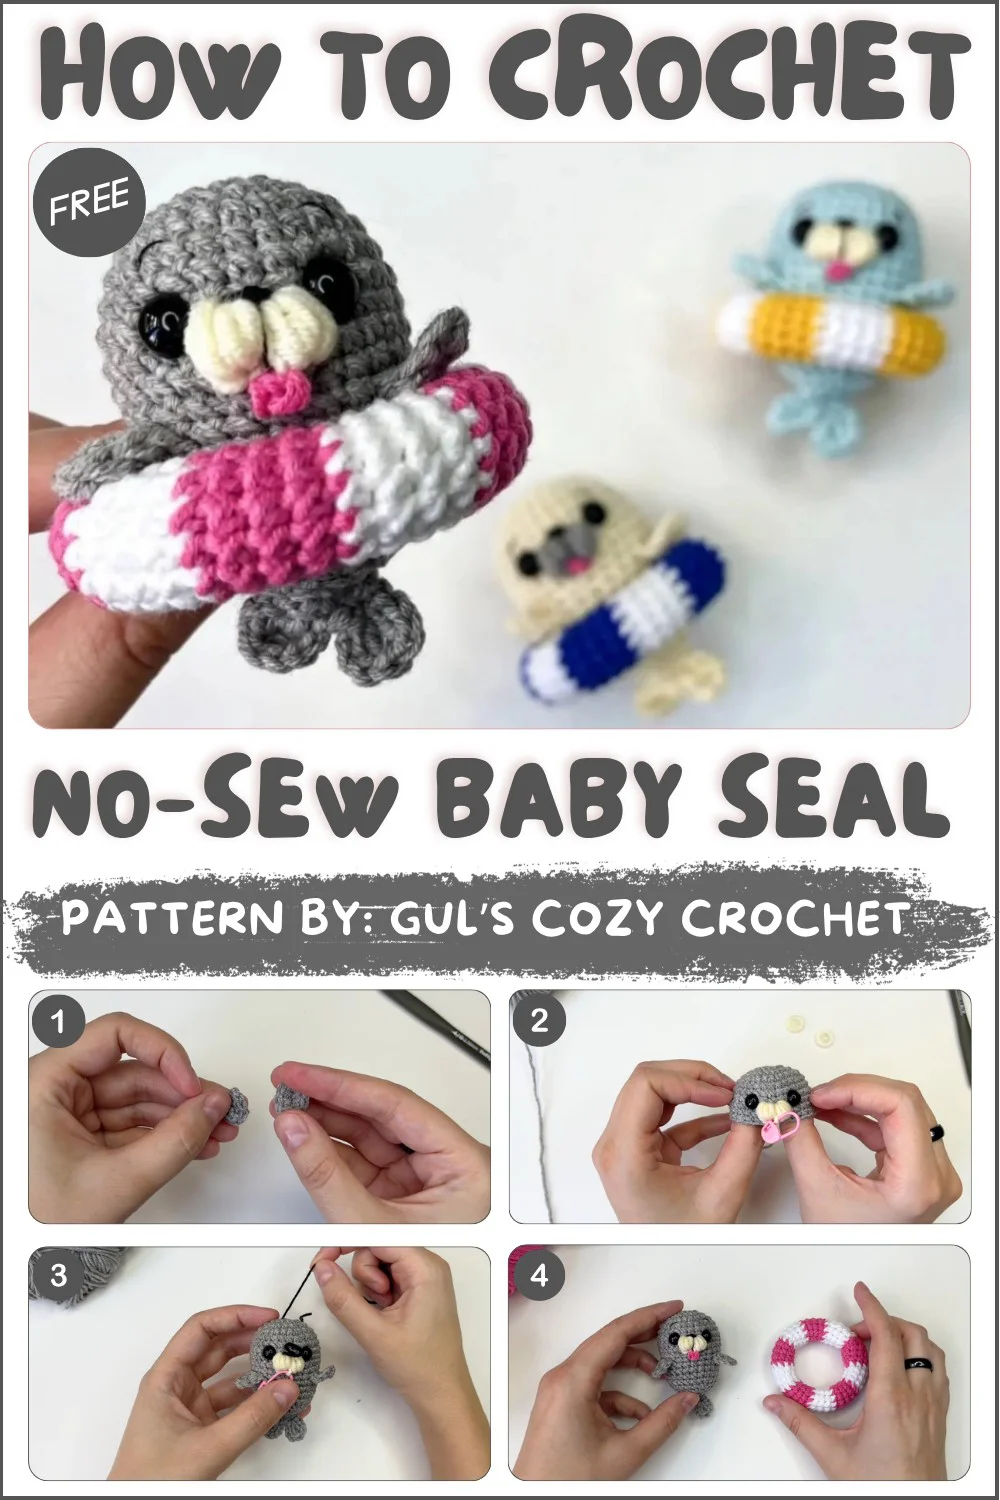
No-Sew Baby Seal Free Crochet Pattern with Amigurumi Tips
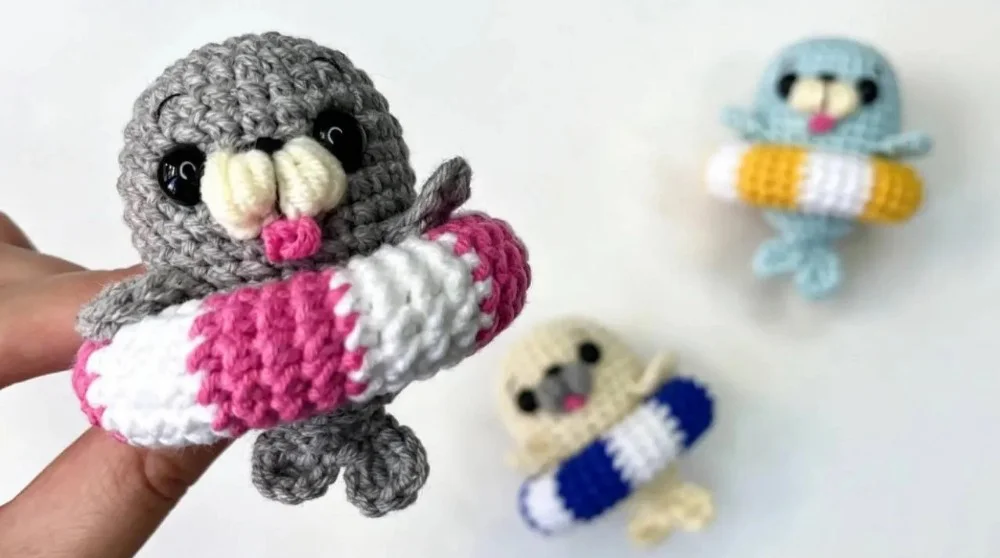
Welcome back to another delightful crochet project! Today, we have an absolutely adorable, wonderfully squishy, and perfectly charming amigurumi pattern for you to try: the sweetest No-Sew Baby Seal! If you love crafting beautiful handmade toys that perfectly capture classic plush charm while offering a beautifully detailed, lovable design to keep you engaged, this gorgeous little ocean friend is going to be your next favorite make.
This fantastic amigurumi pattern is wonderfully adaptable and perfect for unforgettable handmade gifts, allowing you to whip up beautiful, lovable companions in no time that will be cherished as family keepsakes for years! While the instructions highlight a specific beautiful, vibrant look, you can easily adjust the color variations depending on the worsted weight yarn used—swap out classic seal colors for magical brights, soft neutrals, or vibrant bold hues to create a whimsical, personalized plush! Grab your hooks, settle into your favorite crafting spot, and let’s dive into making this wonderfully cuddly, completely adorable crochet No-Sew Baby Seal!
Skill Level
Beginner to Confident Beginner. You should be able to work single crochet in rounds, increase and decrease, and have basic embroidery ability for finishing touches. The only slightly advanced stitch is the “puff” stitch for the muzzle (instructions given below).
Materials
- Yarn: Worsted/aran weight acrylic or cotton yarn in white (main body) and small amounts of black (face) and pink (tongue)
- Hook: 2.5 mm – 3.5 mm (for dense, small-tension amigurumi)
- Notions: Stitch marker, scissors, tapestry/yarn needle, toy stuffing/polyfill, 6 mm safety eyes or embroidery/thread for eyes
Measurements / Sizing
- Finished baby seal: Approximately 2–3″ (5–8 cm) long (depending on yarn and tension)
- Change size by adjusting yarn weight and hook.
Gauge
- No strict gauge; aim for tight stitches so stuffing doesn’t show.
Stitch Abbreviations
| Abbr | Meaning |
|---|---|
| ch | chain |
| sc | single crochet |
| inc | increase (2 sc in one stitch) |
| dec | invisible decrease (see below) |
| st(s) | stitch(es) |
| sl st | slip stitch |
| MR | magic ring |
| puff | puff stitch (see below) |
| dc | double crochet |
| tr | treble crochet |
Special Stitches
Invisible Decrease (dec):
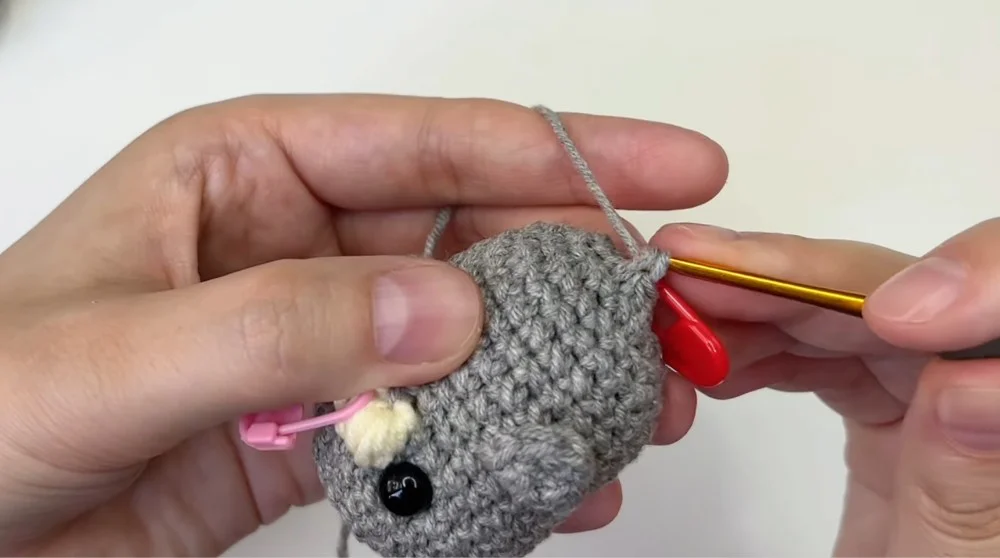
Insert hook in front loop only of next two sts, yarn over, pull through both front loops, yarn over, pull through both remaining loops.
Puff Stitch:
(Yarn over, insert hook in stitch, pull up a long loop) 4 times (total of 5 loops), then yarn over, pull through all loops, chain 1 to secure.
The Pattern
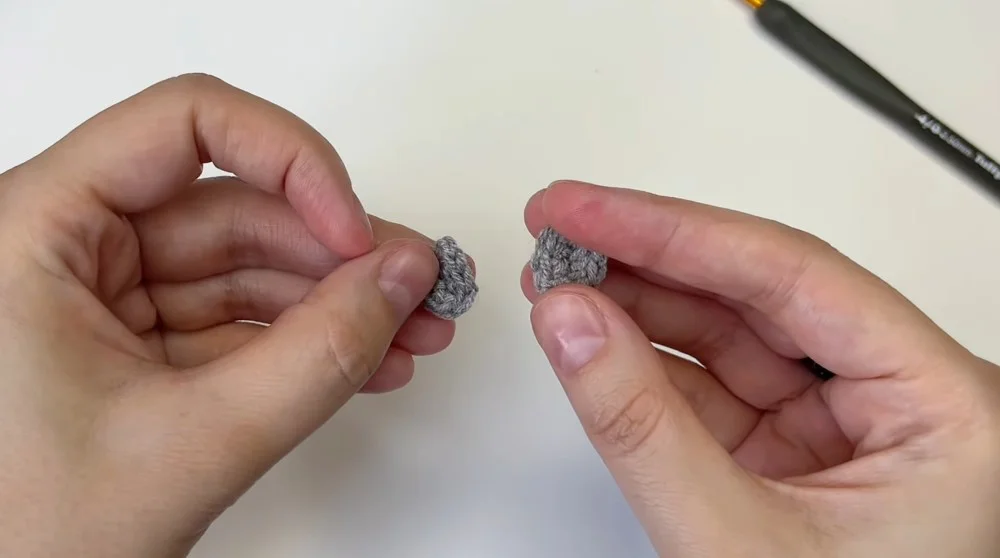
Front Flippers (Make 2)
- Make a slip knot and chain 4.
- Skip the first chain; starting in the second chain from hook:
- 1 sc in each of the next 2 chains.
- 3 sc in the last chain.
- Working along the opposite side of the starting chain, 1 sc in each of the next 2 chains.
- Fasten off and weave in end; do not leave a long tail.
- Make a second flipper the same way. Set aside.
Main Body
Rounds 1–4: Shape Head
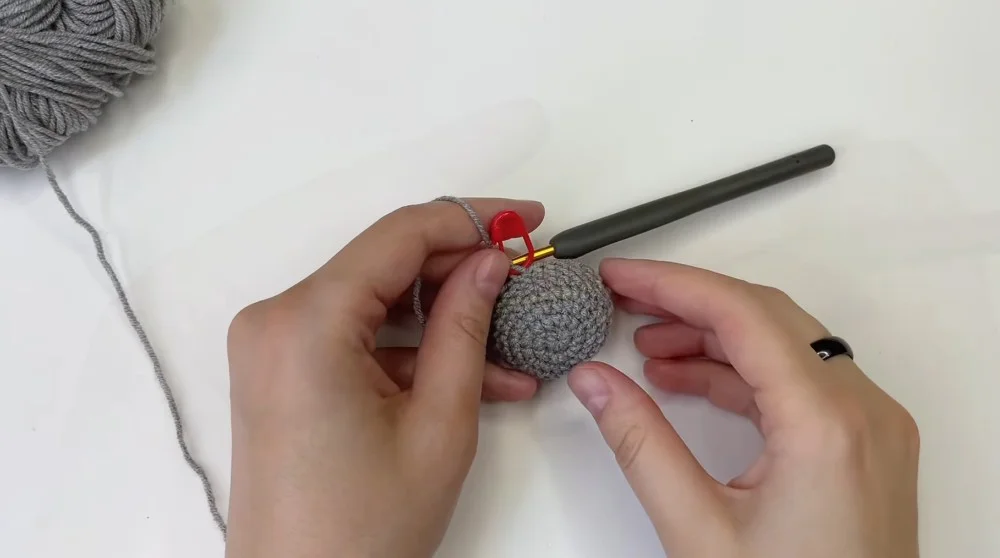
- Rnd 1: Magic ring, 7 sc into ring. (7 sts)
- Rnd 2: Inc in every stitch (2 sc in each st) around (14 sts)
- Rnd 3: (1 sc, inc) repeat around (21 sts)
- Rnd 4: (2 sc, inc) repeat around (28 sts)
Rounds 5–7: Build Body
- Rnd 5–7: 1 sc in each stitch around (28 sts per round)
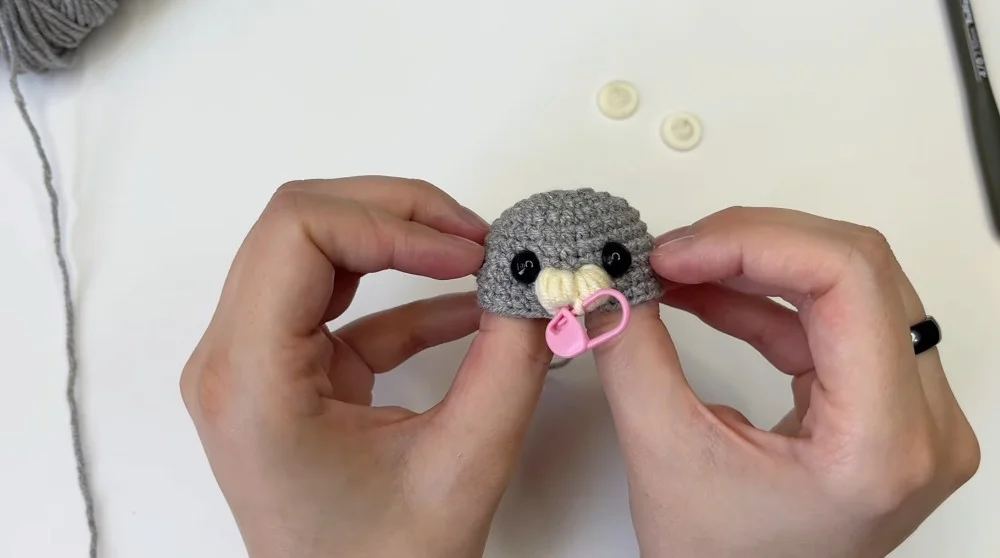
Rnd 8: Muzzle and Puff Stitches
- Sc in each of the first 13 stitches (13 sts)
- (Optional) Switch to white or lighter yarn for muzzle
- Puff stitch in next stitch (see special stitch)
- Sl st in next stitch (mark or remember this st for the tongue later)
- Puff stitch in next stitch
- Sc in each of the next 13 stitches to end of round (28 sts)
Rnd 9:
- 1 sc in each stitch around (28 sts)
Rnd 10: Begin Shaping
- (5 sc, inv dec) repeat around (24 sts)
Before Next Round:
- Insert safety eyes (or embroider eyes) between the two puff stitches, just above the muzzle.
Rnd 11: Attach Front Flippers
- Sc in each of the first 7 sts
- Position one front flipper: align it with your next three body stitches.
- For the next 3 stitches—work 1 sc, inserting the hook through both the body (front loops) and flipper stitches at the same time.
- Sc in next 5 sts of body
- Attach second flipper in the same way over next 3 stitches
- Sc in each of the last 6 sts (24 sts)
Rnd 12–15:
- 1 sc in each stitch around (24 sts)
Rnd 16:
- (6 sc, inv dec) repeat around (21 sts)
Rnd 17:
- (5 sc, inv dec) repeat around (18 sts)
Rnd 18:
- (1 sc, inv dec) repeat around (12 sts)
- Stuff body firmly.
Rnd 19:
- 6 invisible decreases (6 sts)
Back Flippers (Tail)
- Ch 1, flatten opening so the 6 stitches are in two sets of 3.
- Work through both layers at once, 3 sc across the opening (these are the base of the tail).
Shaping first back flipper (tail):
- Into first of 3 sc: ch 2, 1 dc, 1 tr, ch 3, sl st in same st
- Into next stitch: sl st
Shaping second back flipper (tail):
- Into final st: sl st, ch 3, 1 tr, 1 dc, sl st in same st
- Fasten off and weave in remaining yarn end.
Facial Details
Nose & Eyebrows:
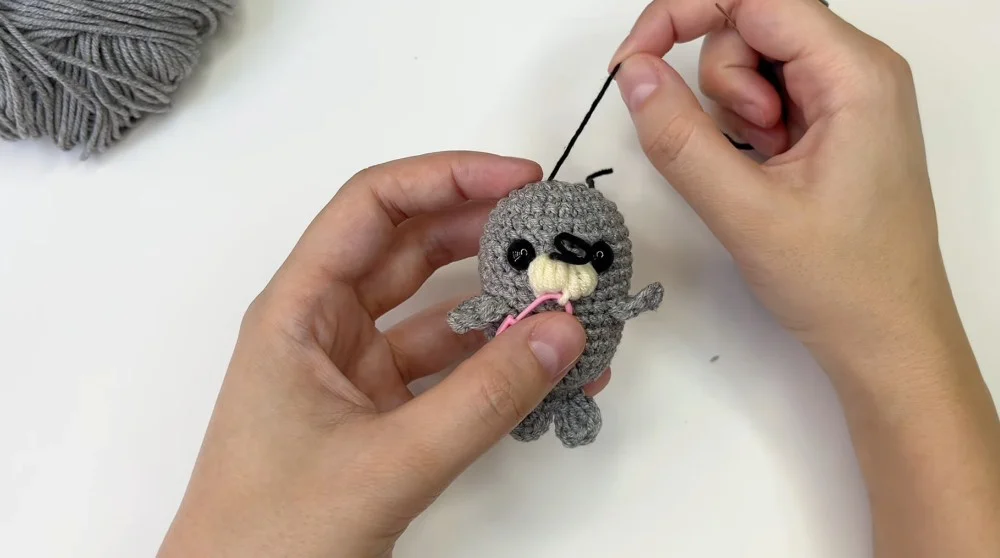
- With black yarn, embroider a tiny nose between the two puff stitches (centered).
- Embroider small eyebrows above the eyes.
Tongue:
- Locate the marked sl st between the two puff stitches.
- Join pink yarn.
- Ch 2, sl st into same stitch (forms the tongue).
- Fasten off and weave in ends.
Assembly & Finished Size
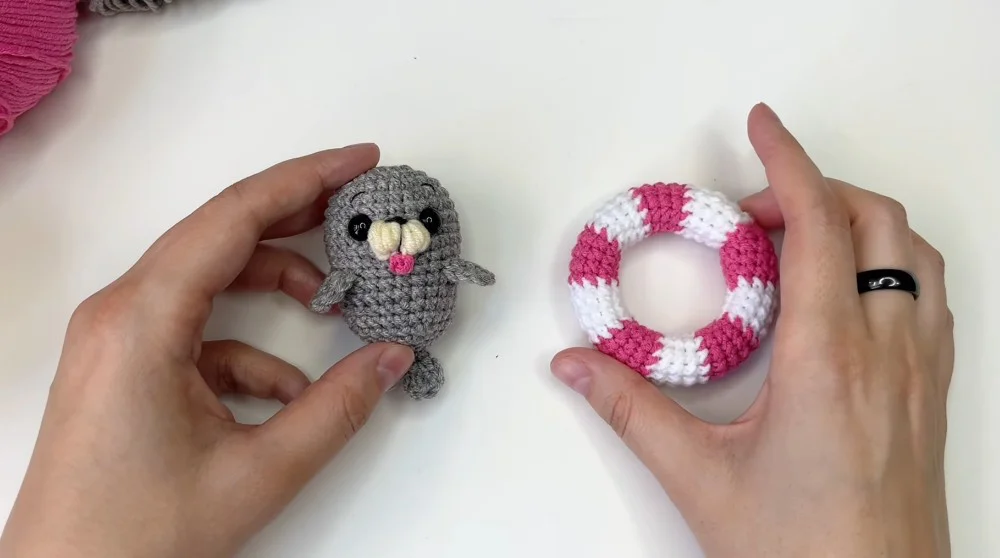
- No additional sewing required (front flippers are attached during body construction).
- Shape face and flippers; ensure stuffing is firm and smooth.