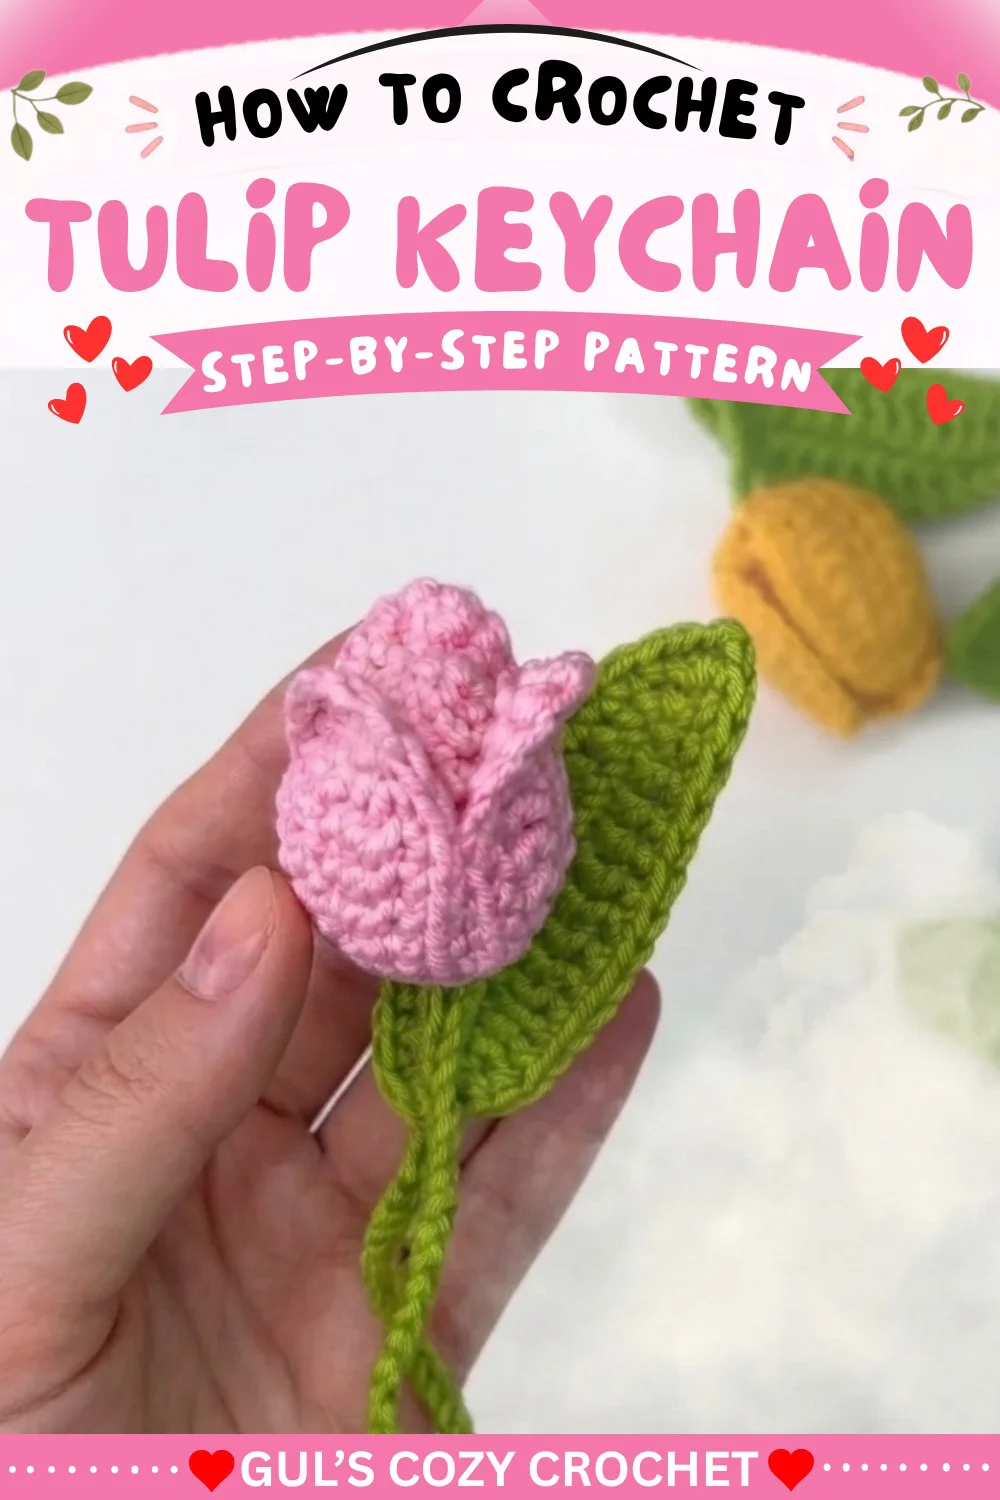
Crochet Tulip Keychain Free Pattern & Tutorial for Beginners
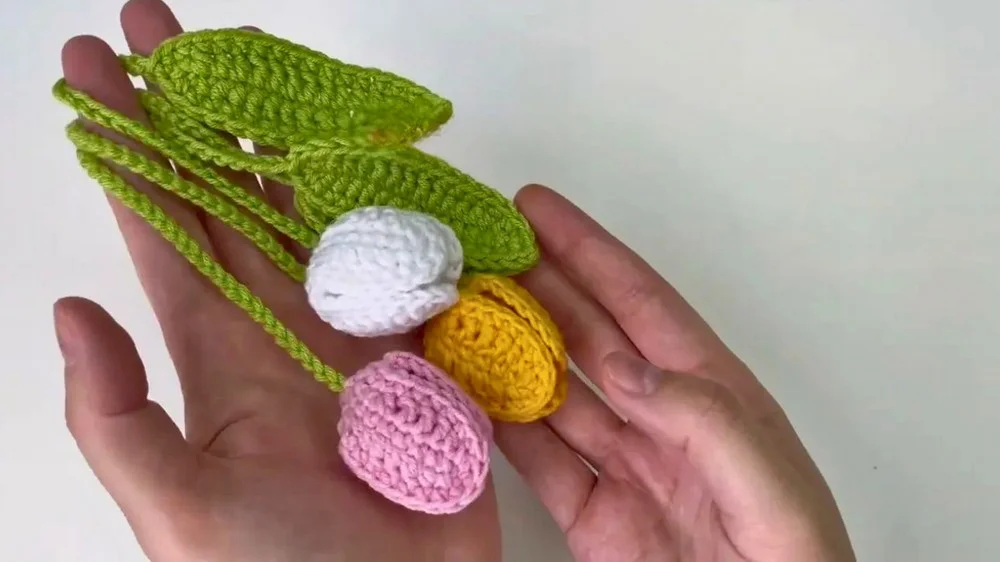
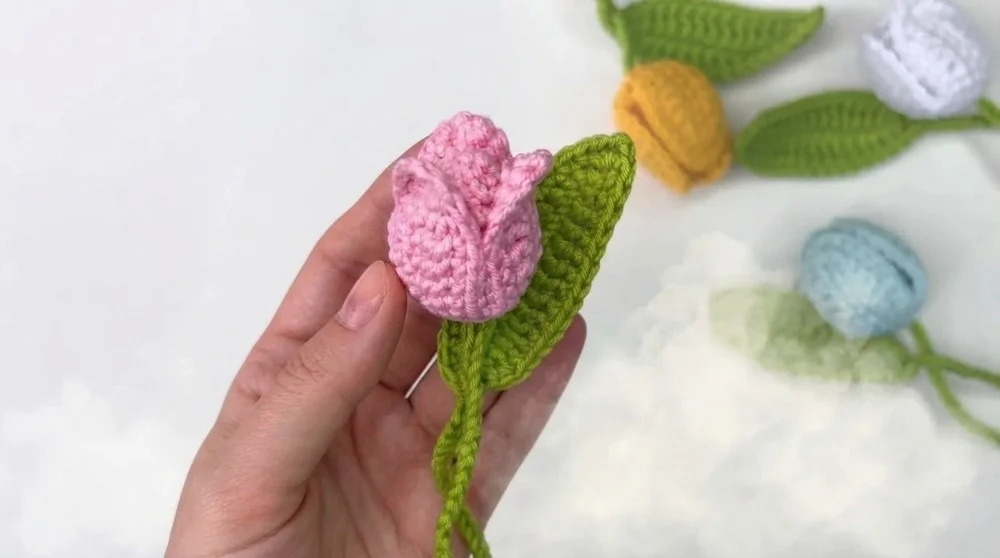
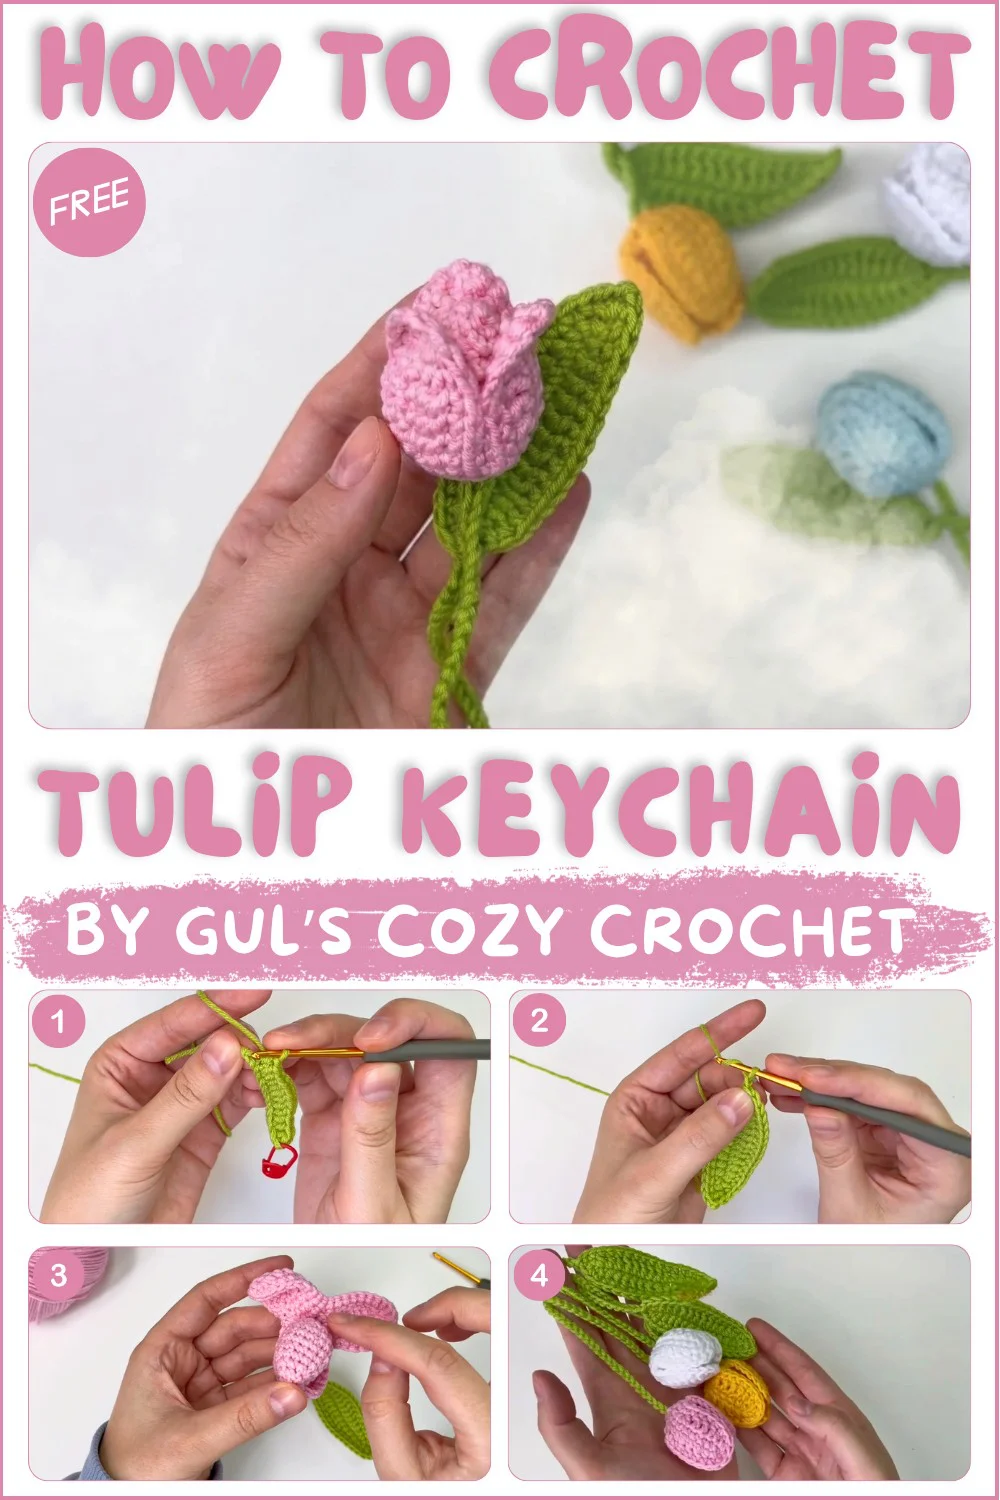
Welcome back to another delightful crochet project! Today, we have an absolutely adorable, wonderfully floral, and perfectly charming amigurumi pattern for you to try: the sweetest Tulip Keychain! If you love crafting beautiful handmade accessories that perfectly capture classic springtime plush charm while offering a beautifully detailed, lovable design to keep you engaged, this gorgeous little blooming friend is going to be your next favorite make.
This fantastic amigurumi pattern is wonderfully adaptable and perfect for unforgettable handmade gifts, allowing you to whip up beautiful, lovable companions in no time that will be cherished as family keepsakes for years! While the instructions highlight a specific beautiful, vibrant look, you can easily adjust the color variations depending on the worsted weight yarn used—swap out classic tulip colors for magical brights, soft neutrals, or vibrant bold hues to create a whimsical, personalized plush! Grab your hooks, settle into your favorite crafting spot, and let’s dive into making this wonderfully cuddly, completely adorable crochet Tulip Keychain!
Skill Level
Beginner to Confident Beginner
Basic knowledge of working in rows and rounds, and comfortable with magic ring and basic increases/decreases.
Materials
- Yarn: Green and pink (DK / medium-light weight)
- Hook: 2.5 mm crochet hook
- Stuffing: Small amount of fiberfill (for bud)
- Notions: Stitch markers, yarn needle, scissors
Measurements / Sizing
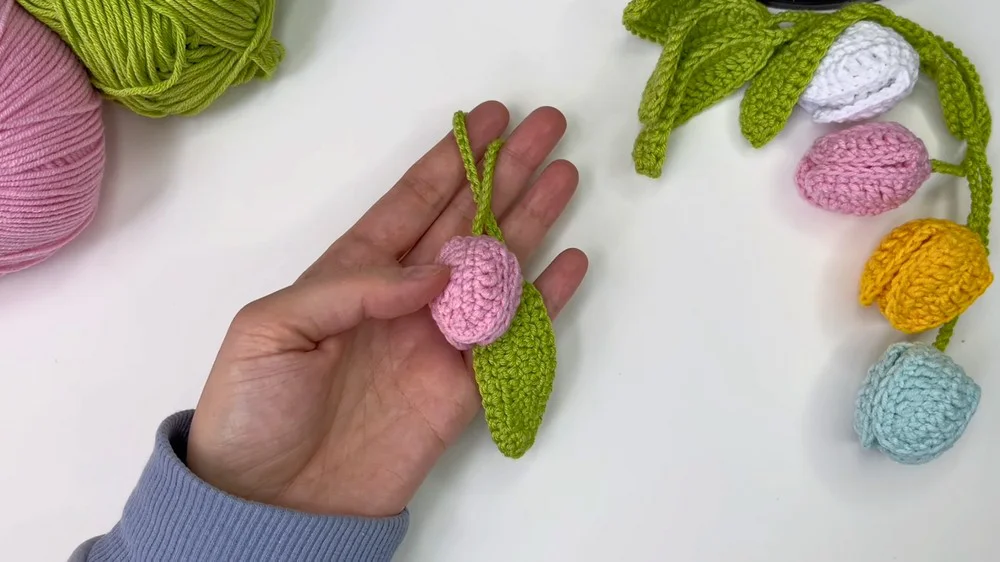
- Finished tulip (including stem):
- Length: 6–8 inches (15–20 cm)
- Tulip head: 1–1.5 inches (2.5–4 cm)
- Size may vary by yarn weight and hook.
Gauge
- Gauge is not critical for this small project. Just ensure a dense enough texture that stuffing does not show through the bud.
Stitch Abbreviations
| Abbreviation | Meaning |
|---|---|
| ch | chain |
| sc | single crochet |
| hdc | half-double crochet |
| dc | double crochet |
| sl st | slip stitch |
| inc | increase: 2 sc in 1 st |
| dec | decrease: sc2tog |
| MR | magic ring |
Special Stitches
Picot:
Chain 1, slip stitch into the same stitch, for a small leaf tip.
The picot stitch is a decorative crochet technique that creates small, pointed loops along edges, adding delicate texture and a lacy, ornamental finish to projects like flowers, borders, and accessories.
FREE Pattern
Step 1: Leaf & Stem (Work in Green Yarn)
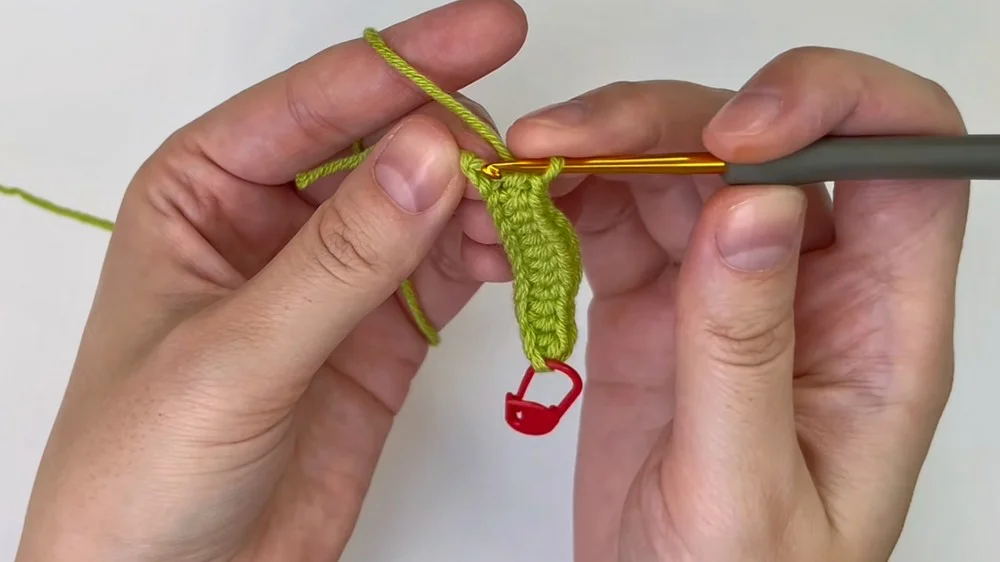
- Foundation: Chain 14.
- Row 1:
- Starting in 2nd chain from hook:
- 3 hdc
- 5 dc
- 3 hdc
- 1 sc
- In the last stitch: 3 sc (to turn; creates rounded tip).
- Starting in 2nd chain from hook:
- Return Side:
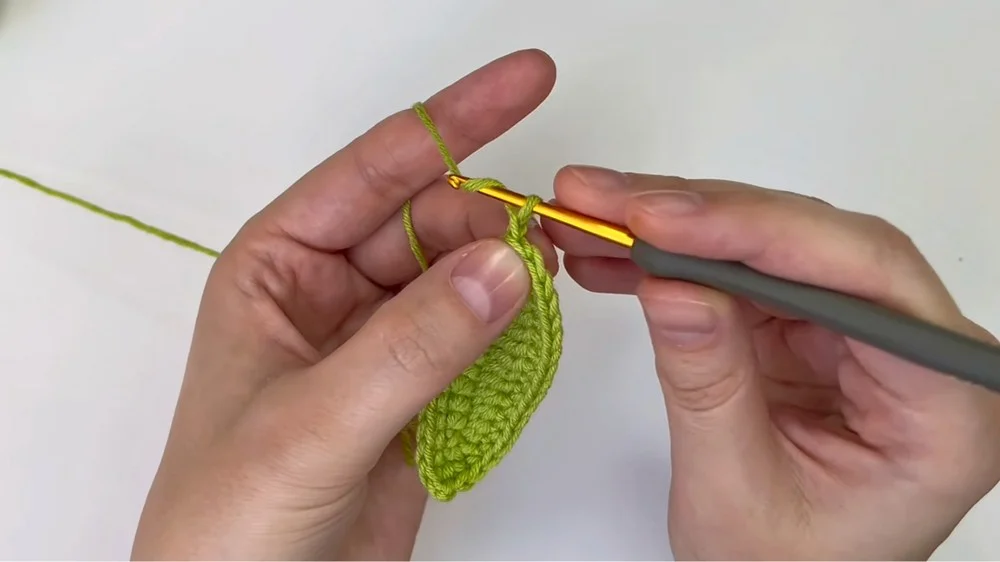
- Working down the opposite side of the chain:
- 1 sc
- 3 hdc
- 5 dc
- 3 hdc
- In the original marked stitch, 3 sc (to complete the end).
- Working down the opposite side of the chain:
- Round 2:
- 13 sc
- 1 hdc
- Chain 1 (picot), 1 hdc in same stitch (leaf tip).
- 15 sc
- 1 sl st to finish round.
- Stem:
- Chain 41 (or desired length for keychain attachment).
- Fasten off, leaving a long tail for assembly.
Step 2: Tulip Petals (Work in Pink Yarn)
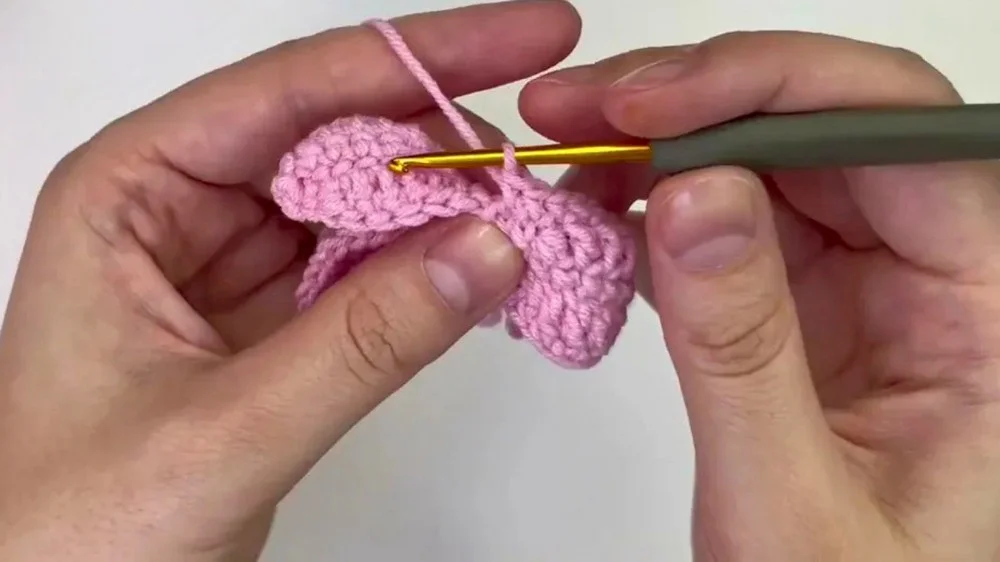
- Round 1: Start with Magic Ring (MR).
- Repeat 3 times inside MR:
- 1 sc
- Chain 9, turn work.
- 8 sc back down the chain.
- After 3 petals, join (sl st) to first stitch of MR.
- Repeat 3 times inside MR:
- Round 2: (Work petal details for each petal)
- For each petal:
- 2 sc
- 1 hdc
- 3 dc
- 1 hdc
- 1 sc
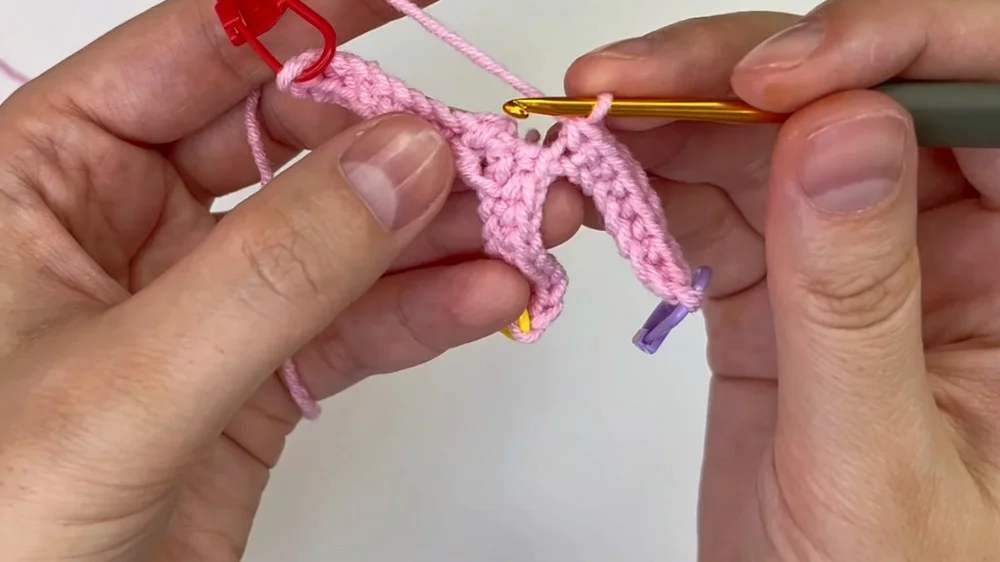
- 3 sc at tip of petal (creates rounded edge)
- 1 sc
- 1 hdc
- 3 dc
- 1 hdc
- 2 sc
- Repeat for all three petals.
- For each petal:
- Round 3: (Edge round)
- Work 19 sc along the outer edge of each petal, keeping stitches even and crisp.
- Finish with a sl st.
Step 3: Bud (Work in Pink Yarn)
- Round 1: Start with magic ring, work 5 sc into MR. Pull ring closed.
- Round 2: Inc in every stitch (2 sc in each) = 10 sc.
- Round 3: (1 sc, inc) repeat around = 15 sc.
- Attachment: Using a yarn needle, thread the stem chain:
- First through the center of petals (from front to back),
- Then through the center of bud,
- Knot or secure the stem at the base of the bud for assembly.
- Rounds 4-6: 1 sc in each stitch around (15 sc/round).
- Round 7: (3 sc, 1 dec) repeat 3 times = 12 sc.
- Round 8: 1 sc in each stitch = 12 sc.
- Round 9: (2 sc, 1 dec) repeat around = 9 sc.
- Round 10: (1 sc, 1 dec) repeat 3 times = 6 sc.
- Finishing:
- Stuff bud with fiberfill.
- Use a yarn needle to close the opening securely, weave in end.
Assembly & Finished Size
- Join the Parts:
- Use the stem chain to thread through the petal set, then through the bud, and secure with a knot or sewing for stability.
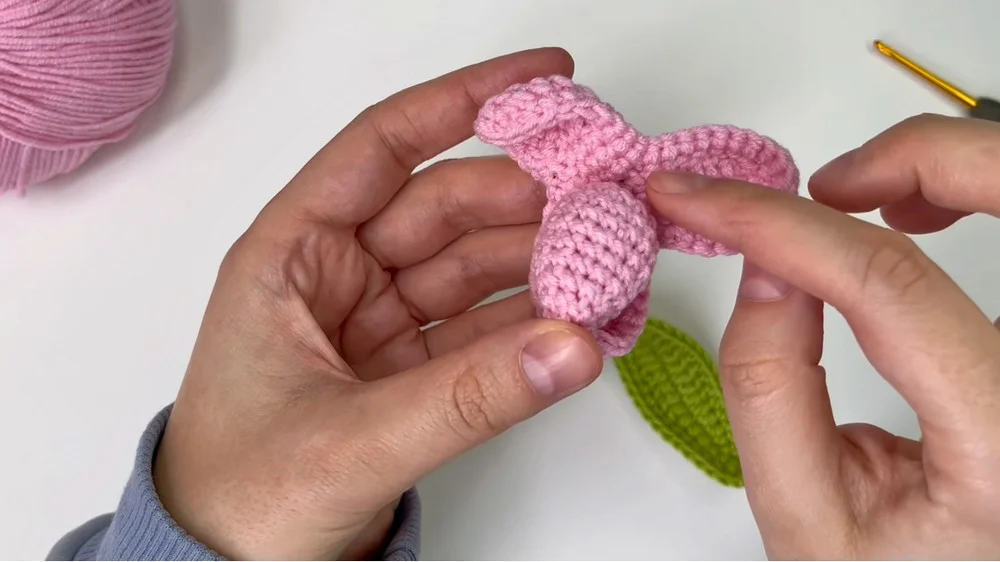
- Use the stem chain to thread through the petal set, then through the bud, and secure with a knot or sewing for stability.
- Keychain Attachment:
- Tie or sew the end of the stem to your keyring or bag clip.