Adorable Free Crochet Reindeer Ornament Pattern for Tree Decorations
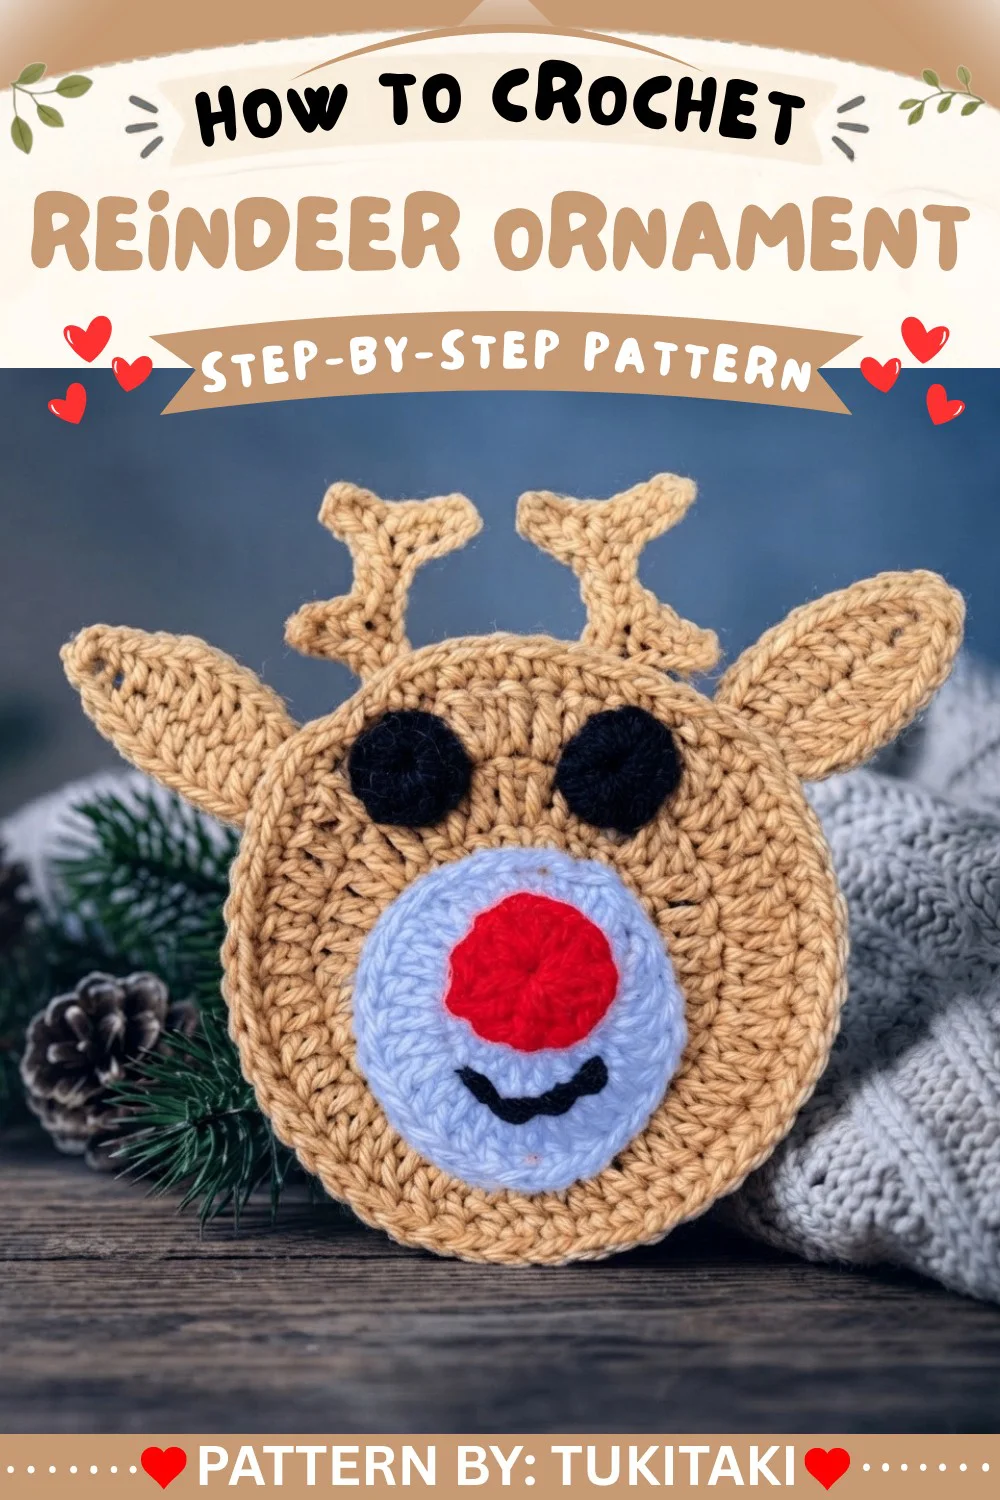
Welcome back to another delightful crochet project! Today, we have an absolutely adorable, wonderfully festive, and perfectly charming amigurumi pattern for you to try: the sweetest Reindeer Ornament! If you love crafting beautiful handmade accessories that perfectly capture classic holiday plush charm while offering a beautifully detailed, lovable design to keep you engaged, this gorgeous little Christmas friend is going to be your next favorite make.
This fantastic amigurumi pattern is wonderfully adaptable and perfect for unforgettable handmade gifts, allowing you to whip up beautiful, lovable companions in no time that will be cherished as family keepsakes for years! While the instructions highlight a specific beautiful, vibrant look, you can easily adjust the color variations depending on the worsted weight yarn used—swap out classic holiday colors for magical brights, soft neutrals, or vibrant bold hues to create a whimsical, personalized plush! Grab your hooks, settle into your favorite crafting spot, and let’s dive into making this wonderfully cuddly, completely adorable crochet Reindeer Ornament!
Skill Level
Confident Beginner to Intermediate
Familiarity with magic ring, double crochet, single crochet, working in the round, basic shaping, and assembly recommended.
Materials
- Yarn: Medium size 4 acrylic yarn in:
- Brown (head, ears, antlers)
- Red (nose)
- Light blue (muzzle, eyes background)
- Black (details and embroidery)
- Crochet Hook: 3.75 mm
- Scissors
- Tapestry needle (for finishing and embroidery)
- Glue (optional, for attaching parts)
- Polyester stuffing (optional, for 3D effect)
- Sheet felt pieces (optional, for added detail)
Measurements / Sizing
- Approximately 9–11 cm (3.5–4.5″) from top of antlers to base and widest ear-to-ear, suited for tree décor or gifts.
- Size may vary depending on yarn, hook, and personal tension.
Gauge
- Gauge is not critical; aim for a dense fabric so stuffing won’t show through.
Stitch Abbreviations
- MR – Magic ring
- ch – chain
- sc – single crochet
- dc – double crochet
- hdc – half double crochet
- sl st – slip stitch
- inc – increase (work 2 stitches in 1 st)
- st(s) – stitch(es)
Special Stitches
- Magic Ring (MR): Adjustable loop for working in the round—prevents a hole at ornament’s center.
- Branched antler: Built with chains, returns, and branching via slip stitches and single crochet.
Start Your Pattern
BASE (Head, Brown Yarn)
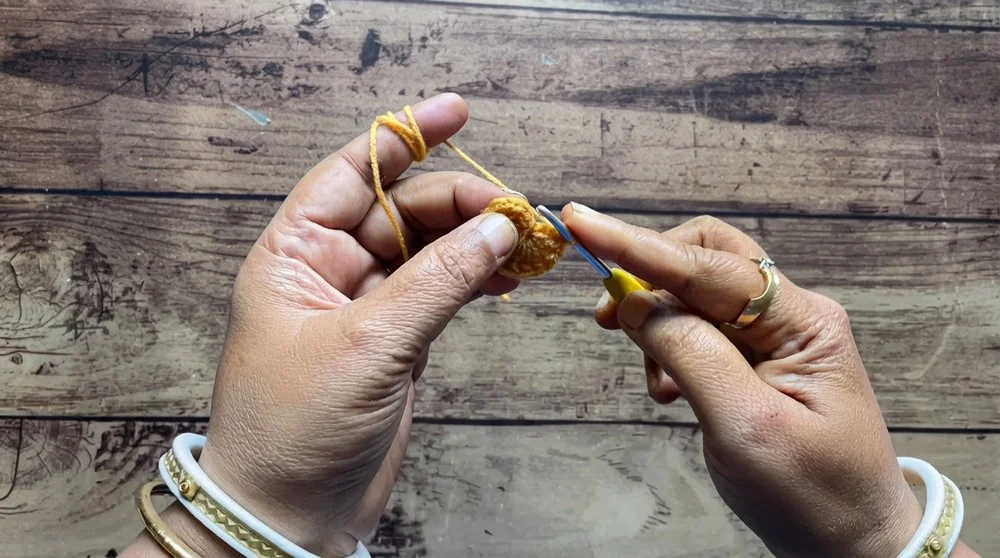
- Row 1:
- Make a magic ring.
- Work 12 dc into the ring.
- Sl st to join. (12 sts)
- Row 2:
- Ch 2, work 2 dc in each st around.
- (24 dc total.)
- Sl st to join.
- Row 3:
- Ch 2, (1 dc in next st, 2 dc in next st) repeat around.
- (36 dc total.)
- Sl st to join.
- Row 4:
- Ch 2, (2 dc in next 2 sts, 2 dc in next st) repeat around.
- (48 dc total.)
- Sl st to join.
- Row 5:
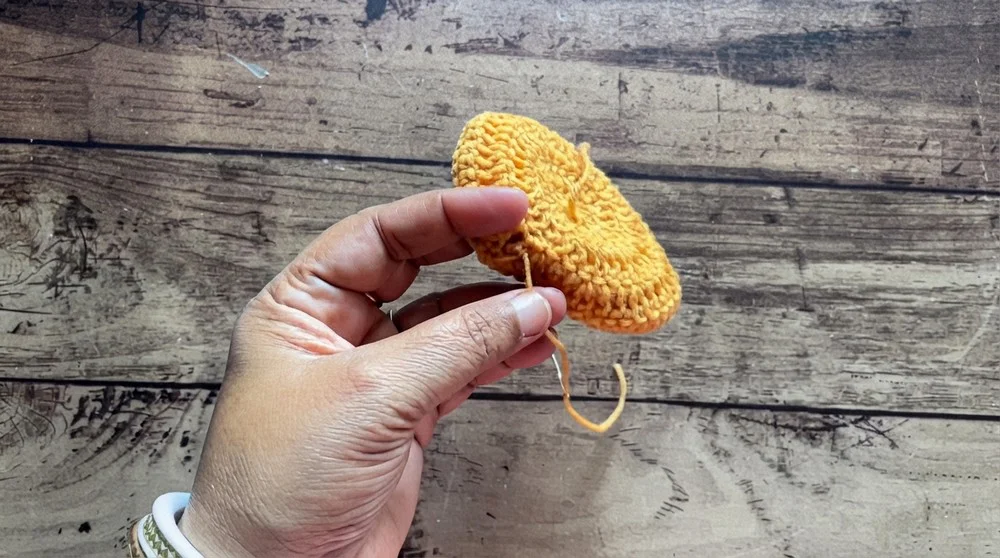
- 1 sc in each st around (48 sc total).
- Fasten off and set aside.
MUZZLE (Light Blue Yarn)
- Row 1:
- Make a magic ring, work 12 dc into the ring.
- Sl st to join.
- Row 2:
- 2 dc in each st around (24 dc total).
- Fasten off, leaving a tail for sewing.
NOSE (Red Yarn)
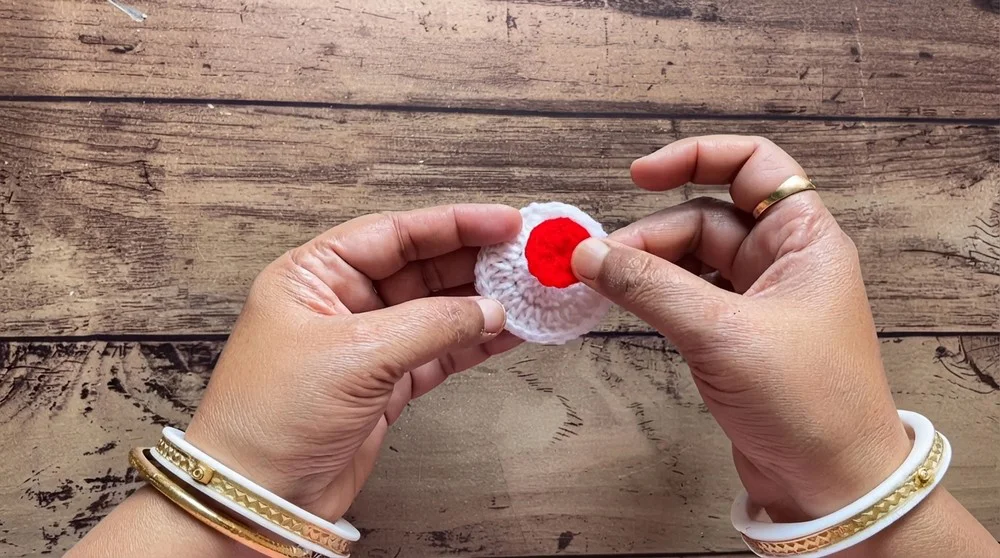
- Make a magic ring, work 10 dc into the ring.
- Sl st to join, fasten off leaving a tail for attaching.
EARS (Brown Yarn; Make 2)
- Chain 12.
- Skip first ch from hook:
- Work 2 sc in next 2 chains,
- 1 hdc in next ch,
- 5 dc in the following 5 ch,
- 1 hdc in next ch,
- 4 sc in the final chain (goes around the end to form a curve).
- Now on the other side of the starting chain:
- Work 1 hdc,
- 5 dc,
- 1 hdc,
- 2 sc.
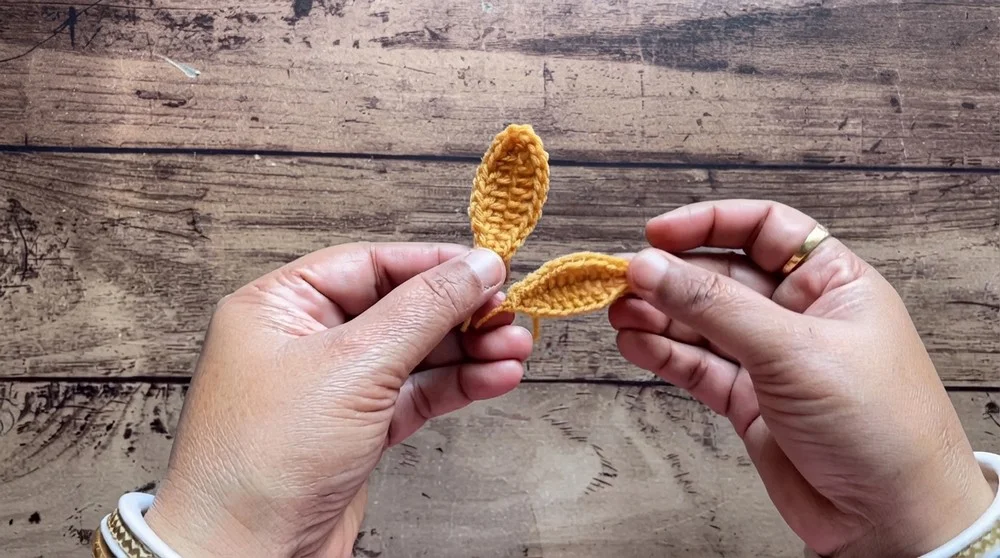
- Sl st to join, fasten off, leaving a yarn tail for sewing.
ANTLERS
Left Antler (Brown Yarn):
- Chain 12.
- Skip the first ch, sc in next 3 ch.
- First branch: Ch 4, skip 1, sc in next 3 ch.
- Continue with sc in the next 3 ch.
- Second branch: Ch 4, skip 1, sc in next 3 ch.
- Finish with sc in the remaining chains.
Right Antler (Brown Yarn):
- Chain 9.
- Skip the first ch, sc in next 3 ch.
- Long branch: Ch 7, skip 1, sc in next 3 ch.
- Continue with sc in next 3 ch.
- Smaller branch: Ch 4, skip 1, sc in next 3 ch.
- Finish with sc in the remaining chains.
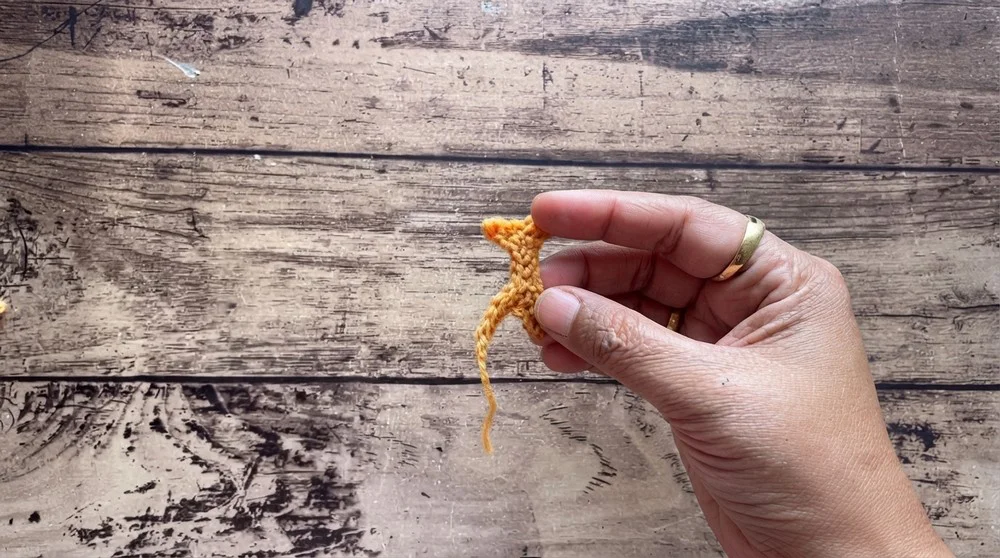
- Leave ends for attaching to head.
EYES (Light Blue or Black Yarn; Make 2)
- Magic ring, work 10 sc into ring.
- Sl st to join.
- Fasten off with a tail for sewing.
Assembly & Finished Size
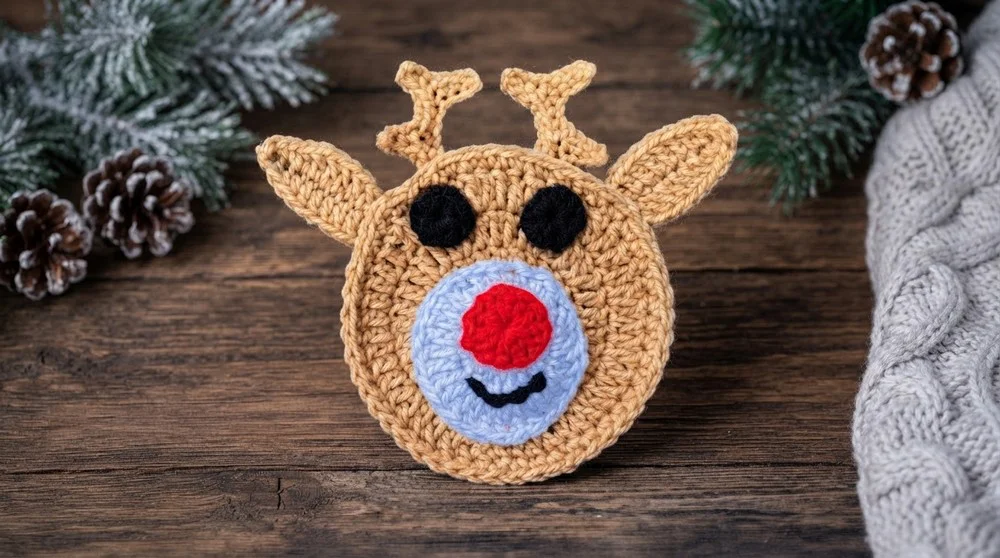
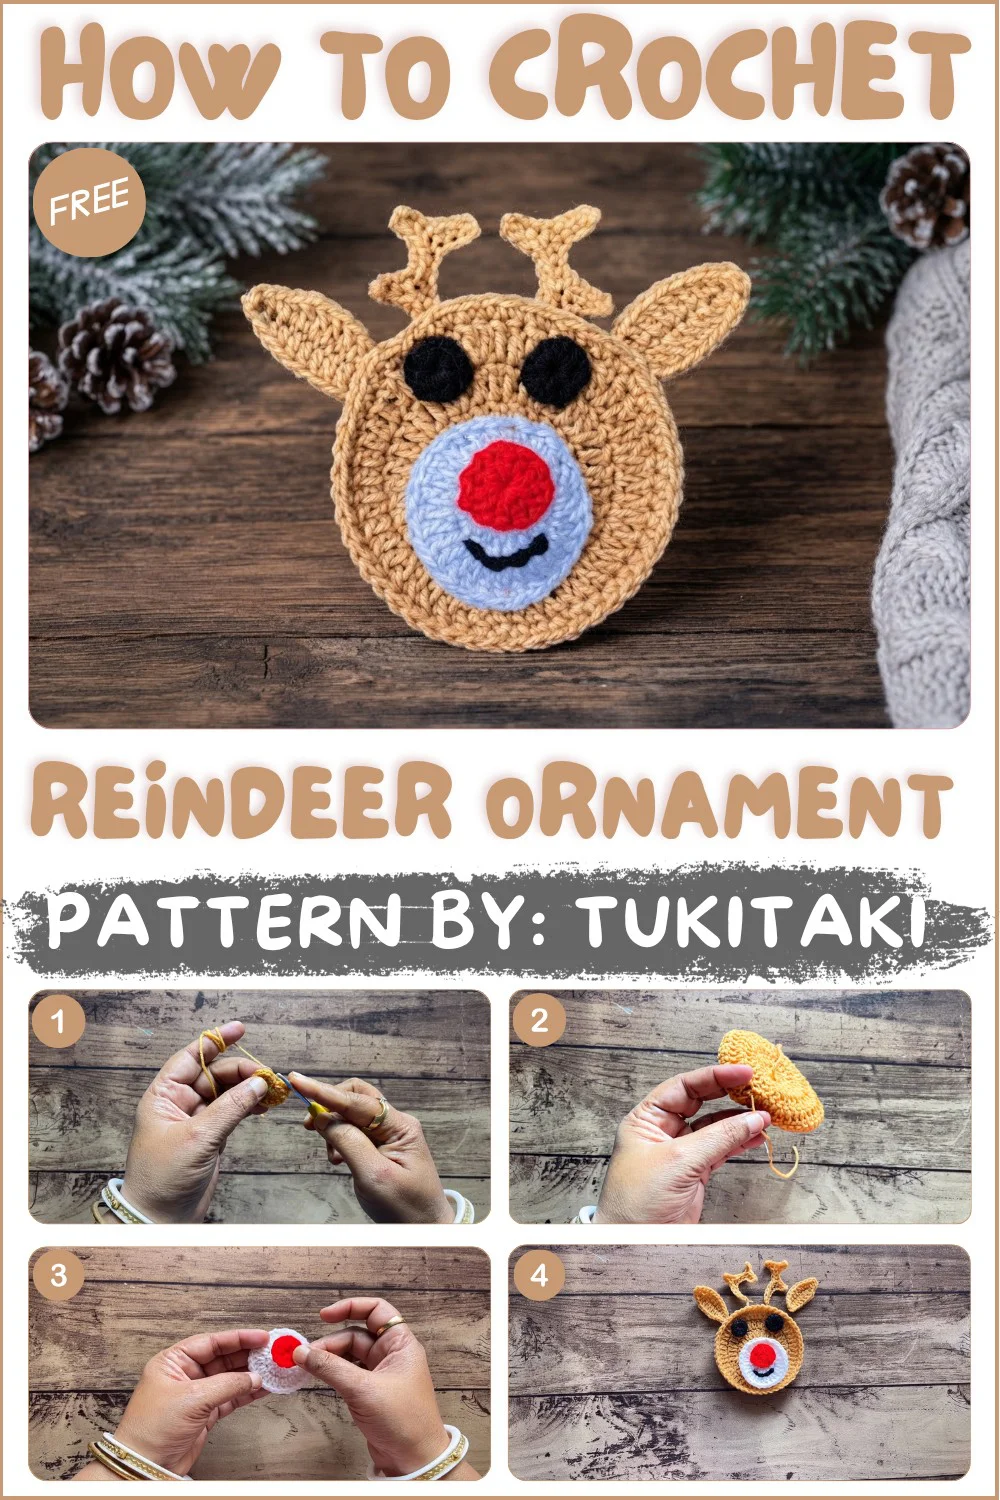
- Attach pieces using glue or a tapestry needle:
- Place the muzzle slightly below center on the base.
- Attach the red nose to the top center of the muzzle.
- Place and sew eyes above the muzzle, spacing evenly side to side.
- Position and sew ears to either side of head (curved edge facing out).
- Affix antlers just above each ear on the top curve of the base.
- Embroider the mouth with black yarn—create a small upside-down “Y” or simple cheery curve under the muzzle.
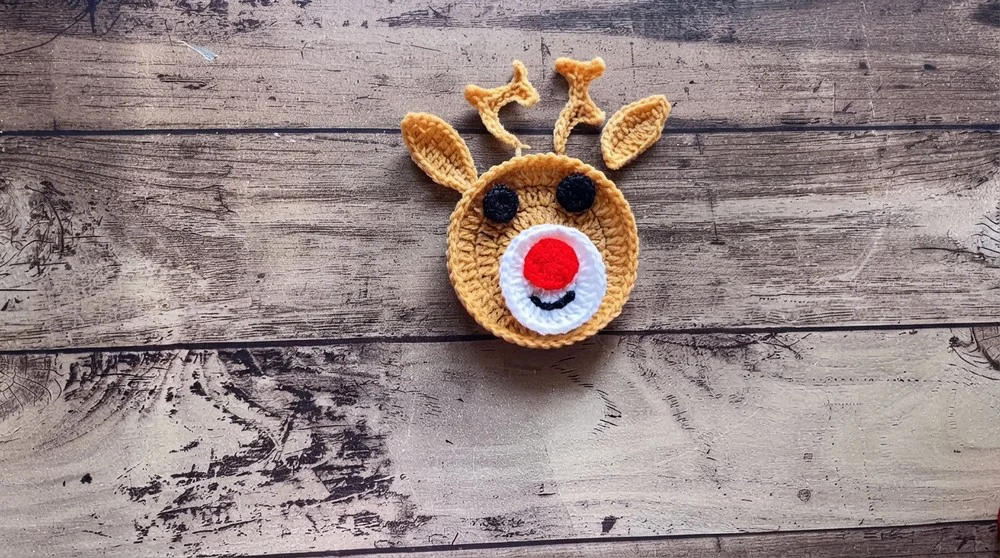
- Add stuffing behind the base before attaching all components (optional, for plush 3D effect).
- For a classic finish, attach a hanging loop, ribbon, or hook at the top.
- Weave in all loose ends securely on the back.