Sleepy Time Blanket Baby
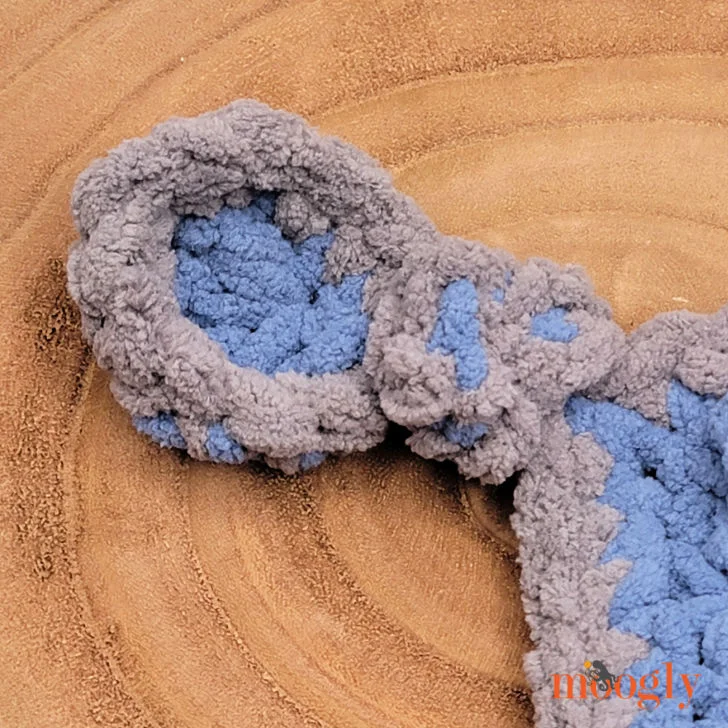
Welcome back to another delightful crochet project! Today, we have an absolutely stunning, incredibly soothing, and wonderfully cozy pattern for the littlest ones in your life: the Sleepy Time Baby Blanket! If you love crafting sweet nursery accessories that perfectly capture classic handmade charm while offering a gentle, plush texture designed for perfect nap times in any crib or stroller, this beautifully calming blanket is going to be your next favorite make.
This fantastic baby blanket pattern is wonderfully adaptable and perfect for unforgettable handmade baby shower gifts, allowing you to whip up beautiful, lovable nursery décor in no time that will keep baby incredibly snug and be cherished as a comforting family keepsake for years! While the instructions highlight a specific beautiful look, you can easily adjust the color variations depending on the worsted weight yarn used—swap out traditional colors for magical pastels, bright pinks, or vibrant bold hues to create a whimsical, personalized baby accessory! Grab your hooks, settle into your favorite crafting spot, and let’s dive into making this beautifully textured, cozy creation!
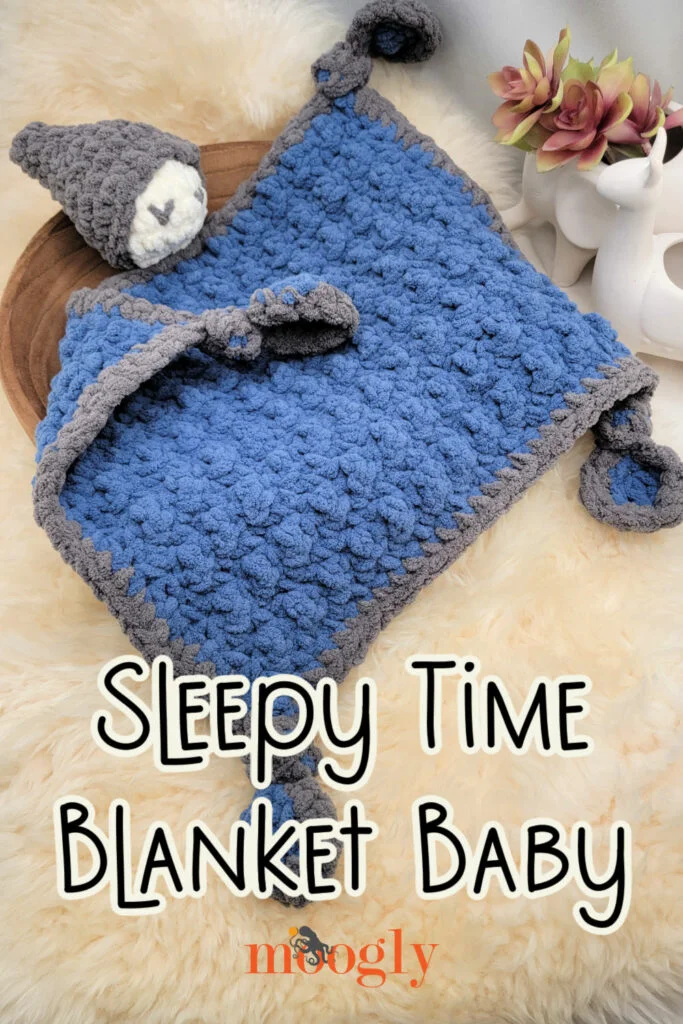
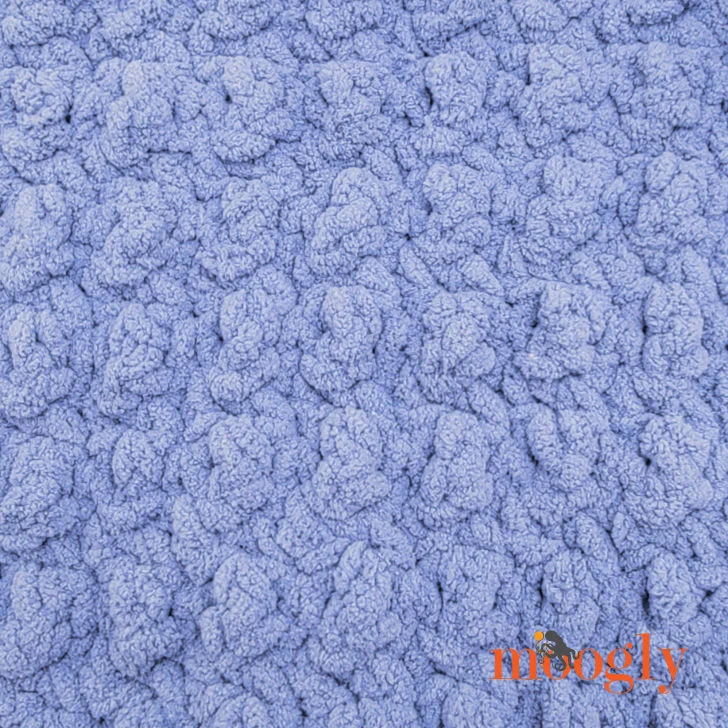
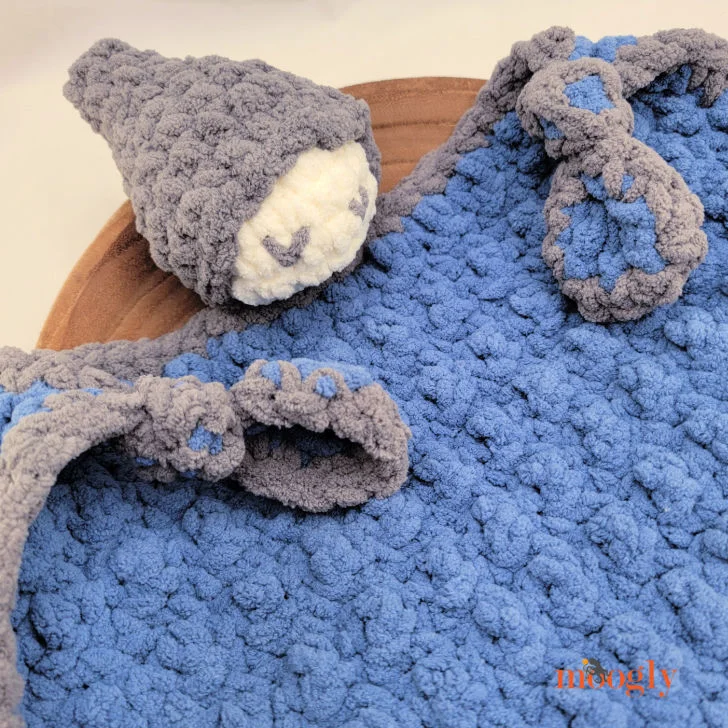
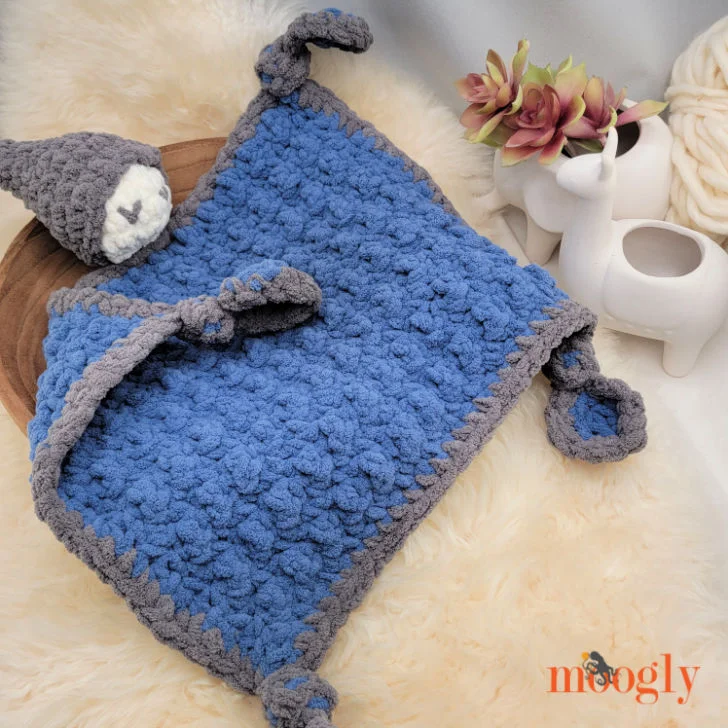
Gauge: 9 sts x 7 rows in Body st pattern
Size: “Square” of Body is 13″ W x 11″ H
HELPFUL LINKS AND TUTORIALS
Sleepy Time Blanket Baby Tutorial
Crochet Abbreviations
Magic Circle
Working in a Spiral
CSDC – Chainless Starting Double Crochet (use ch 3 if preferred)
Join with Single Crochet
NOTES:
Rnds in the Head and Hat are worked in a spiral.
Do not ch 1 at the beginning of a rnd or join any rnds with a sl st unless specifically directed in the pattern.
Move a stitch marker along the first st of each rnd as you work to keep track of your progress.
Pick your own three favorite colors, or use the colors of an O’Go – it’s up to you!
Sleepy Time Blanket Baby INSTRUCTIONS:
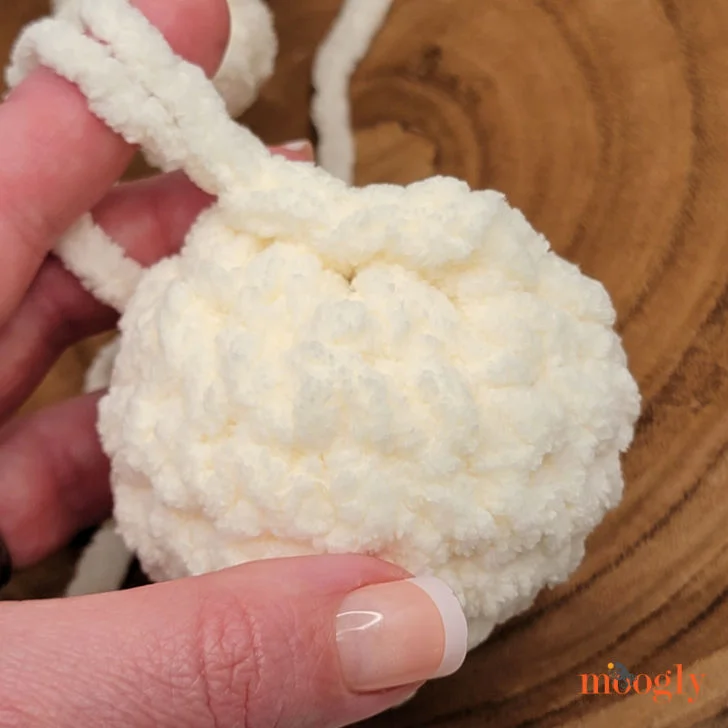
Head – Color A
Rnd 1: Make a magic circle, ch 1, 6 sc in the ring. (6 sc)
Rnd 2: 2 sc in each st around. (12 sc)
Rnd 3: *Sc in the next st, 2 sc in the next st; rep from * around. (18 sc)
Rnds 4 and 5: Sc in each st around. Weave in first end.
Rnd 6: *Sc in the next st, sc2tog; rep from * around. Lightly stuff with fiber fill. (12 sc)
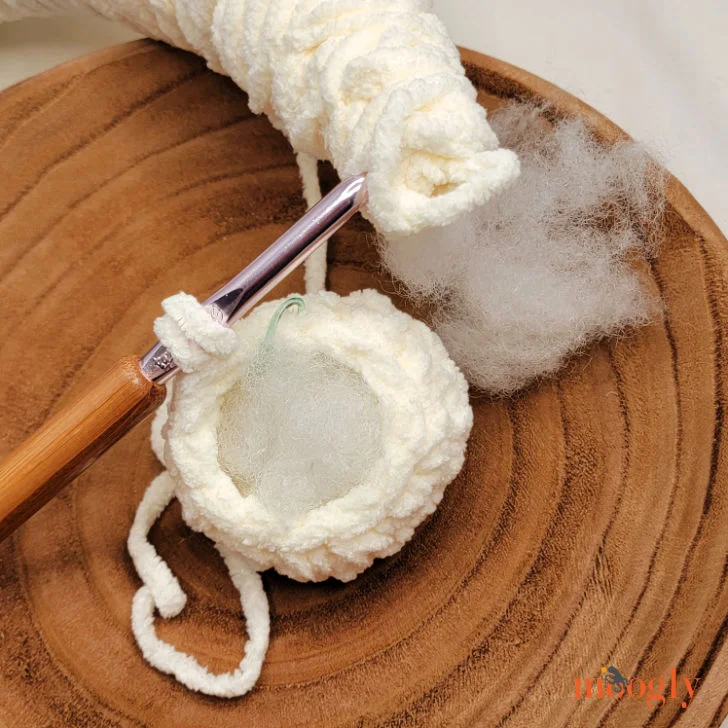
Rnd 7: Sc2tog in each pair of sts around. (6 sc)
Row 8: Fold last round together, sl st loosely through next st and last st, then loosely sl st through next two pairs of sts; break yarn and weave in end.
Arms – Color B
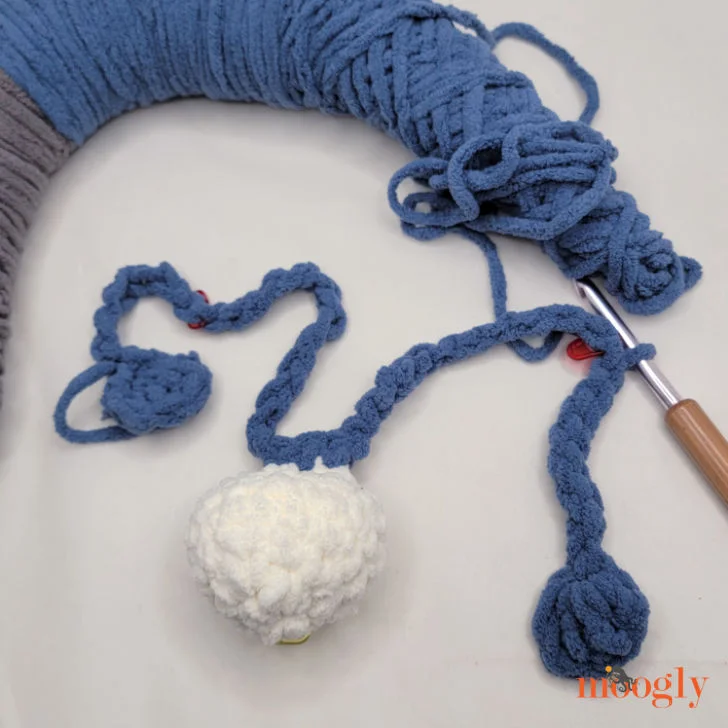
Row 1 (RS): Ch 2, skip the ch closest to the hook, 3 dc in last ch, ch 2, sl st in same ch as dc sts, ch 8, place st marker in ch just made, ch 11, sc in each sl st at base of head, ch 12, place st marker in ch just made, ch 9, skip the ch closest to the hook, 3 dc in next ch, ch 2, sl st in same ch as dc sts, sl st loosely to first marked st. (3 sc, 6 dc) Do not break yarn.
Body – Color B
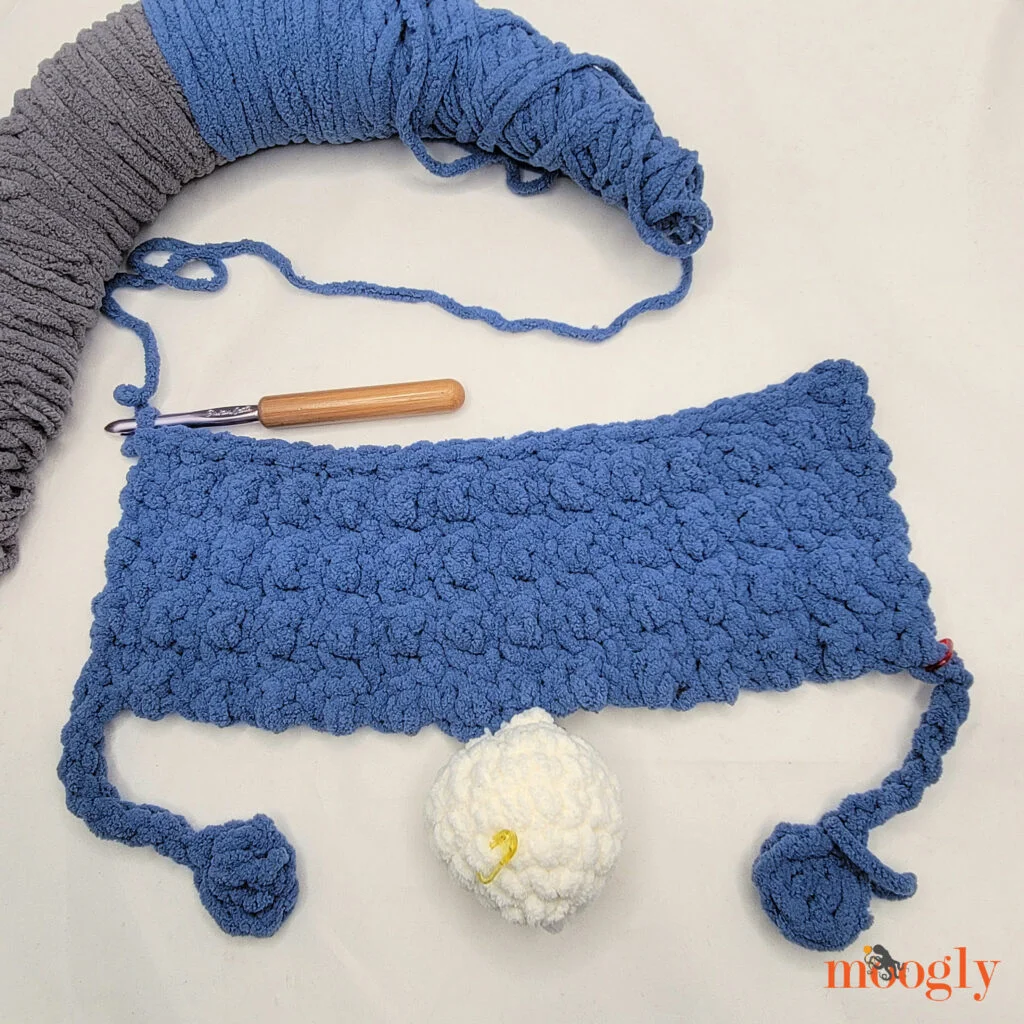
Row 1 (WS): CSDC in same (marked) st, *sc in next st, dc in next st; rep from * to last marked st; turn. (27 sts)
Row 2: Ch 1, sc in the first st, *dc in the next st, sc in the next st; rep from * across, turn.
Row 3: CSDC in the first st, *sc in next st, dc in next st; rep from * across; turn.
Rows 4 – 17: Rep Rows 2 and 3. Do not break yarn.
Legs – Color B
Row 1: Ch 9, skip ch closest to hook, 3 dc in next ch, ch 2, sl st in same ch as dc sts, sl st loosely in next 7 sts, sc in next st, *dc in next st, sc in next st; rep from * to last st, ch 9, skip ch closest to hook, 3 dc in next ch, ch 2, sl st in same ch as dc sts; break yarn and finish off.
Body Border – Color C
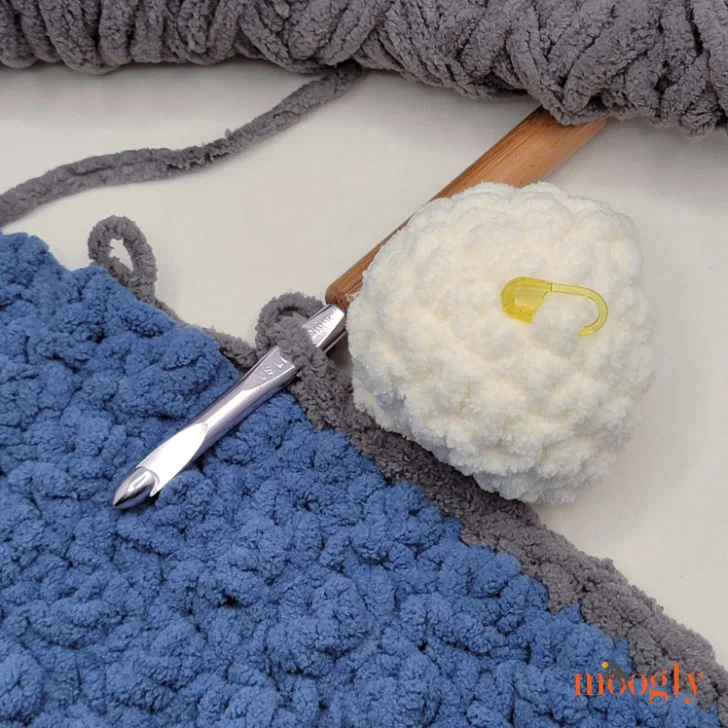
Rnd 1: From RS, join with sc to left side of body, sc evenly around entire body and limbs, adding extra sts to the ends of limbs as needed; at the neck, sl st through each st; join to first sc and finish off.
Hat – Color C
Rnd 1: Make a magic circle, ch 1, 4 sc in the ring; pull tail to close. (4 sc)
Rnd 2: *2 sc in the next st, sc in the next st; rep from * around. (6 sc)
Rnd 3: *Sc in each of the next 2 sts, 2 sc in the next st; rep from * around. (8 sc)
Rnd 4: *Sc in the next st, 2 sc in the next st, sc in each of the next 2 sts; rep from * around. (10 sc)
Rnd 5: *2 sc in the next st, sc in each of the next 4 sts; rep from * around. (12 sc)
Rnd 6: *Sc in each of the next 4 sts, 2 sc in the next st, sc in the next st; rep from * around. (14 sc)
Rnd 7: *Sc in each of the next 2 sts, 2 sc in the next st, sc in each of the next 4 sts; rep from * around. (16 sc)
Rnd 8: *2 sc in the next st, sc in each of the next 3 sts; rep from * around. (20 sc)
Rnd 9: *Sc in each of the next 2 sts, 2 sc in the next st, sc in each of the next 2 sts; rep from * around. (24 sc)
Rnd 10: Sl st in next st; break yarn leaving a long tail for sewing.
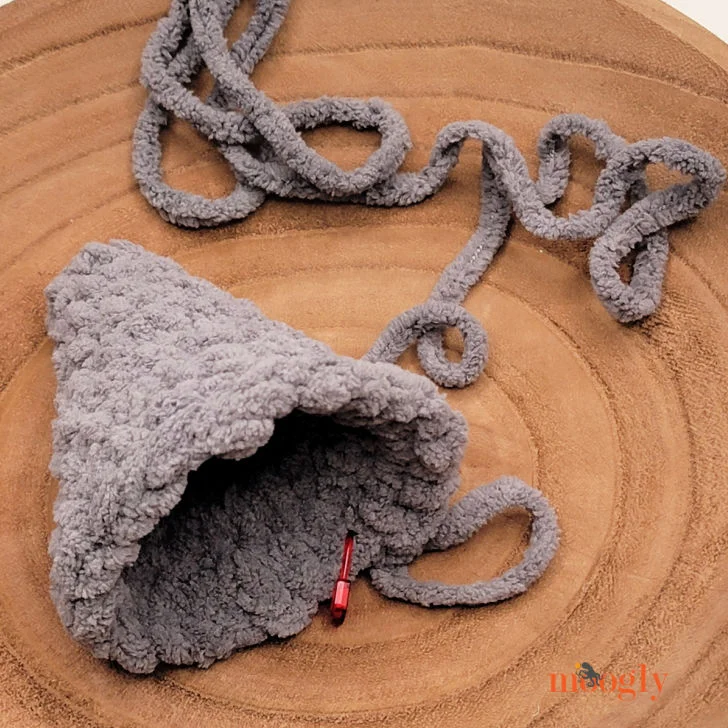
Sleepy Time Blanket Baby Final Assembly
(Optional) Step 1: Use Color C or additional yarn to embroider a face to the head if desired.
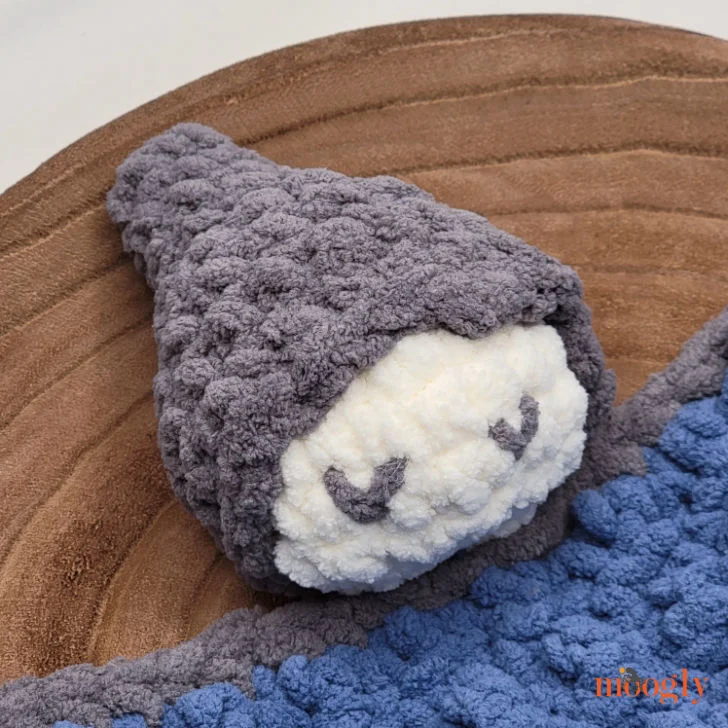
Step 2: Sew hat to head, so that back (tail) of hat meets the top of the arms in back.
Step 3: Tie arms and legs at the smallest points.