Adorable Free Crochet Pumpkin-Kitty Pattern with Full Tutorial
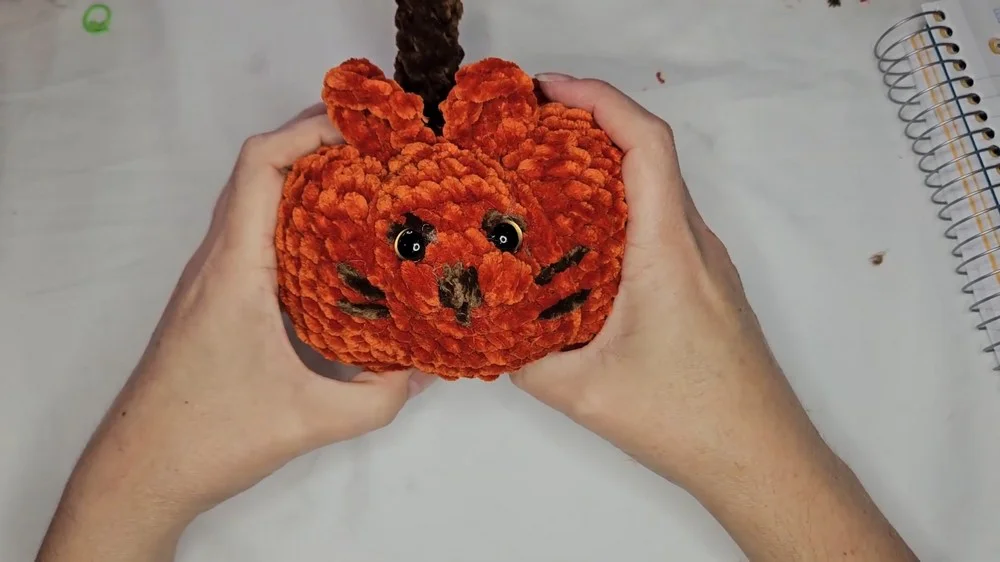
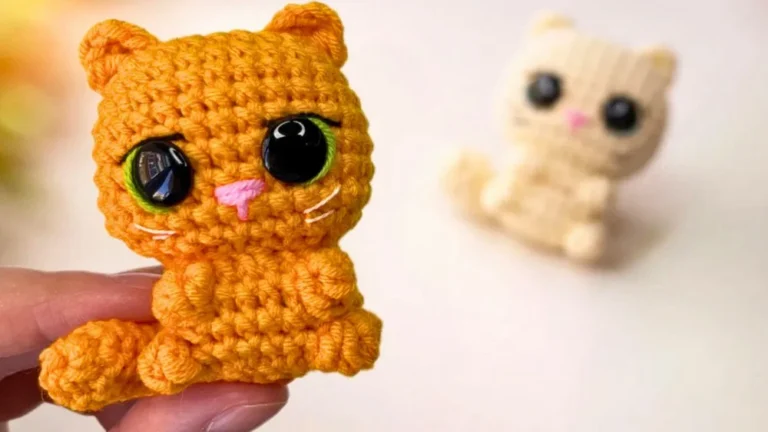
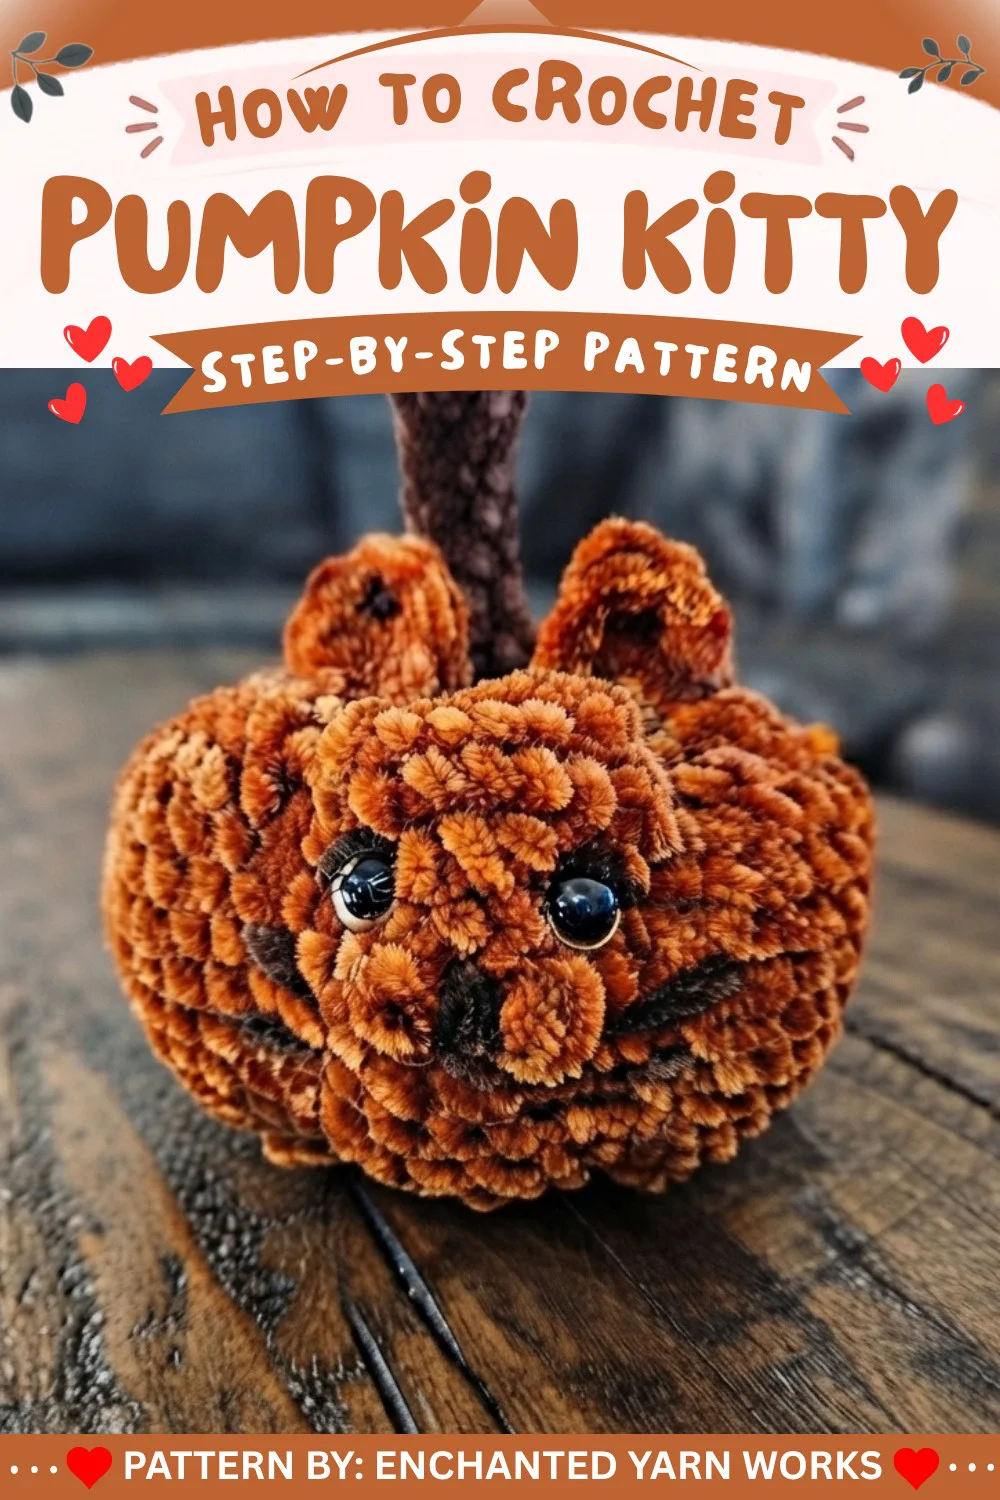
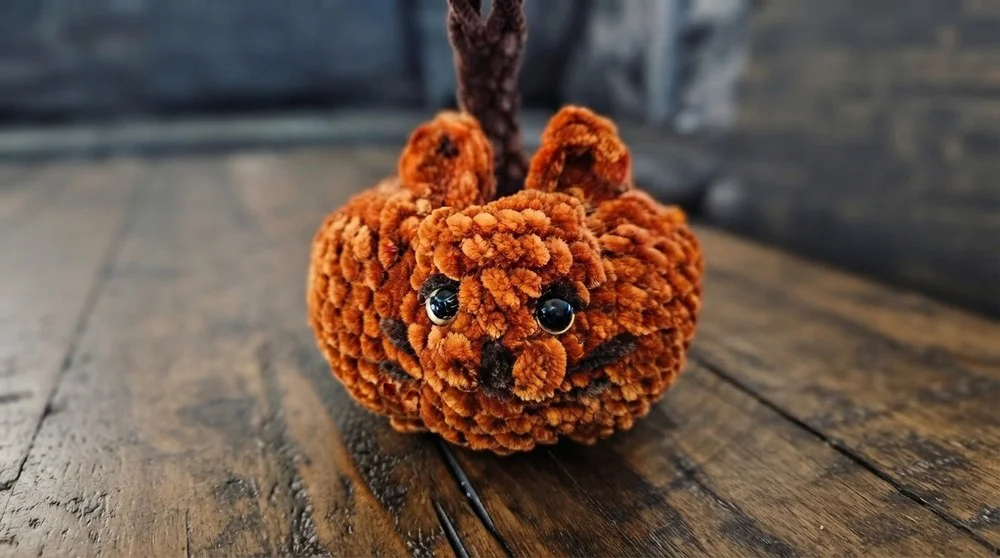
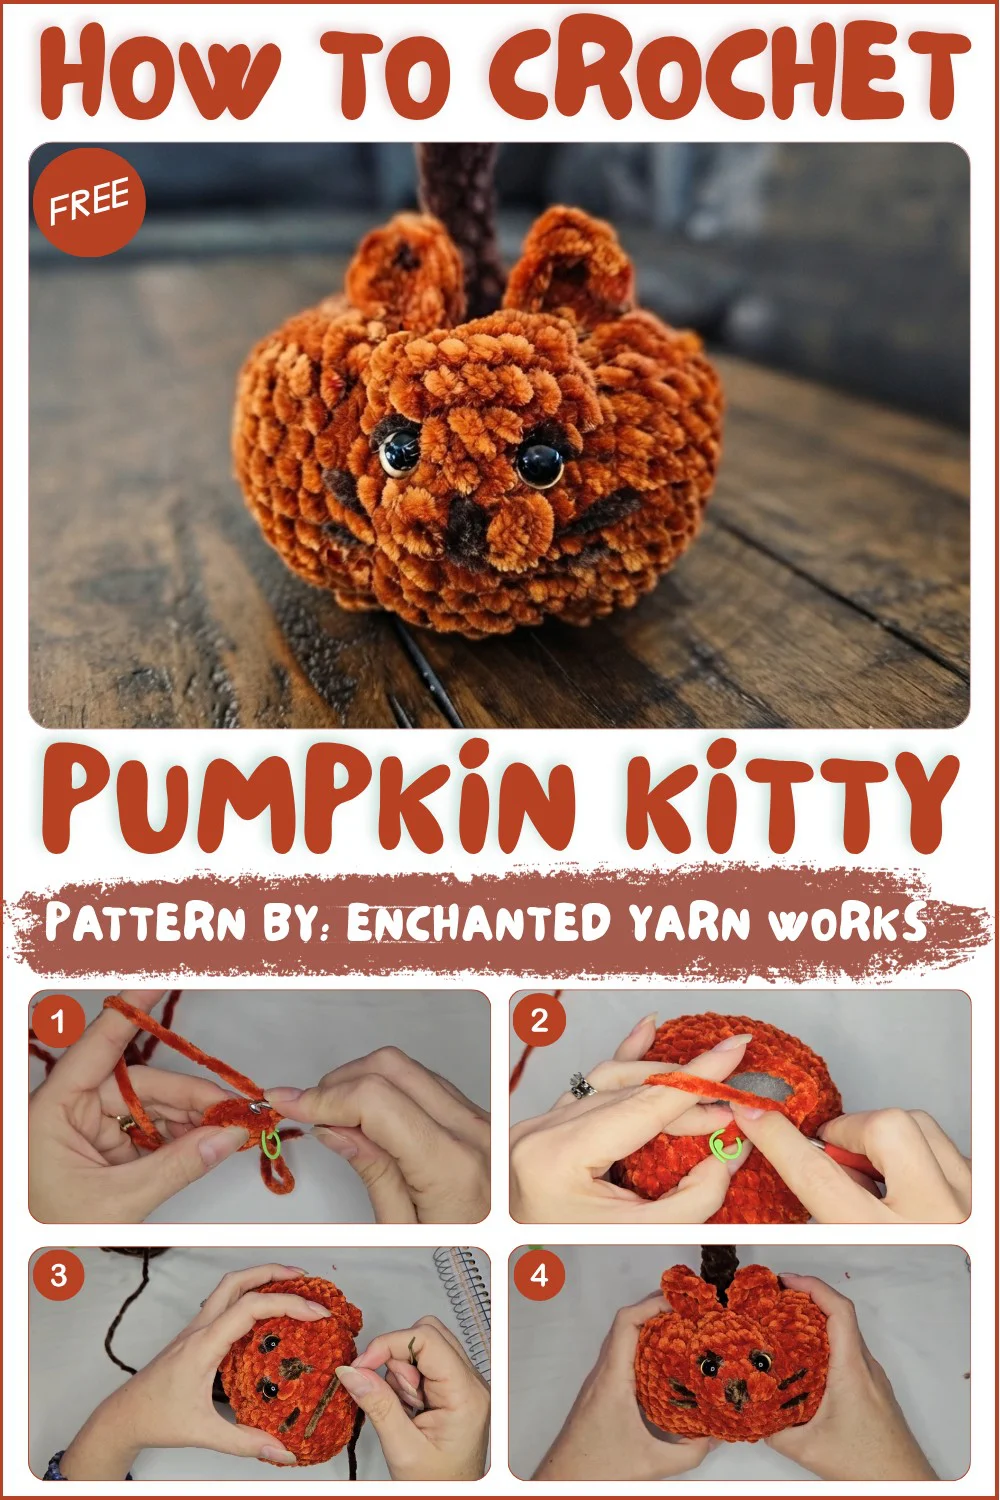
Welcome back to another delightful crochet project! Today, we have an absolutely adorable, wonderfully festive, and perfectly charming amigurumi pattern for you to try: the sweetest Pumpkin Kitty! If you love crafting beautiful handmade toys that perfectly capture classic plush charm while offering a beautifully detailed, lovable design to keep you engaged, this gorgeous little Halloween feline friend is going to be your next favorite make.
This fantastic amigurumi pattern is wonderfully adaptable and perfect for unforgettable handmade gifts, allowing you to whip up beautiful, lovable companions in no time that will be cherished as family keepsakes for years! While the instructions highlight a specific beautiful, vibrant look, you can easily adjust the color variations depending on the worsted weight yarn used—swap out classic harvest colors for magical brights, soft neutrals, or vibrant bold hues to create a whimsical, personalized plush! Grab your hooks, settle into your favorite crafting spot, and let’s dive into making this wonderfully cuddly, completely adorable crochet Pumpkin Kitty!
Skill Level
Adventurous Beginner to Intermediate
Requires familiarity with:
- Magic ring
- Single crochet increases and decreases
- Bobble stitch for feet
- Basic embroidery for the face
- Sewing/attaching amigurumi parts
Materials
- Main Yarn: Bulky weight (5) velvet or chenille yarn; sample used Hobby Lobby Yarn Bee “Velvety Smooth” (Pumpkin color)
- Tail/Details Yarn: Brown (sample used Yarn Bee “Be-adorable,” same size/weight)
- Hook Size: 5-6 mm (match to yarn for a tight amigurumi stitch)
- Safety eyes: Two, 12mm (gold recommended, or color of choice)
- Embroidery Yarn: Small amount of brown and optional pink/orange (for cheeks and face)
- Polyester Fiberfill: Stuffing
- Yarn needle
- Stitch marker(s)
- Scissors
Measurements / Sizing
- Approximate Size:
- Width: 10–12 cm (4–4.75″)
- Height: 10–12 cm (4–4.75″)
- (Slight variations based on yarn, hook, and tension.)
Gauge
- Gauge is not critical.
- Important you crochet tightly enough to keep stuffing from showing.
- After Round 4, the base should measure about 2.5–3 inches across (6–7.5 cm).
Stitch Abbreviations
- MR: Magic Ring
- ch: chain
- sc: single crochet
- inc: increase (2 sc in same st)
- dec: decrease (sc2tog using invisible decrease for neat look)
- BLO: back loop only
- st(s): stitch(es)
- sl st: slip stitch
- dc: double crochet
- tr: treble/triple crochet
- bo: bobble stitch (see notes)
- FO: fasten off
Special Stitches
- Yarn Under sc: Instead of yarning over, place the yarn under the hook for each single crochet. Gives a tighter ‘X’ shaped stitch (optional but recommended).
- Bobble Stitch (Feet): Using 4 double crochets, each begun in the same st and unfinished, then yarn over and pull through all 5 loops to close.
- Invisible Decrease: Insert hook into FLO of each of next 2 sts, yarn over and pull through, finish sc as normal.
- Amigurumi Embroidery: For face shaping, cheeks, and whiskers.
Written Pattern
Body
With pumpkin (orange) velvet yarn:
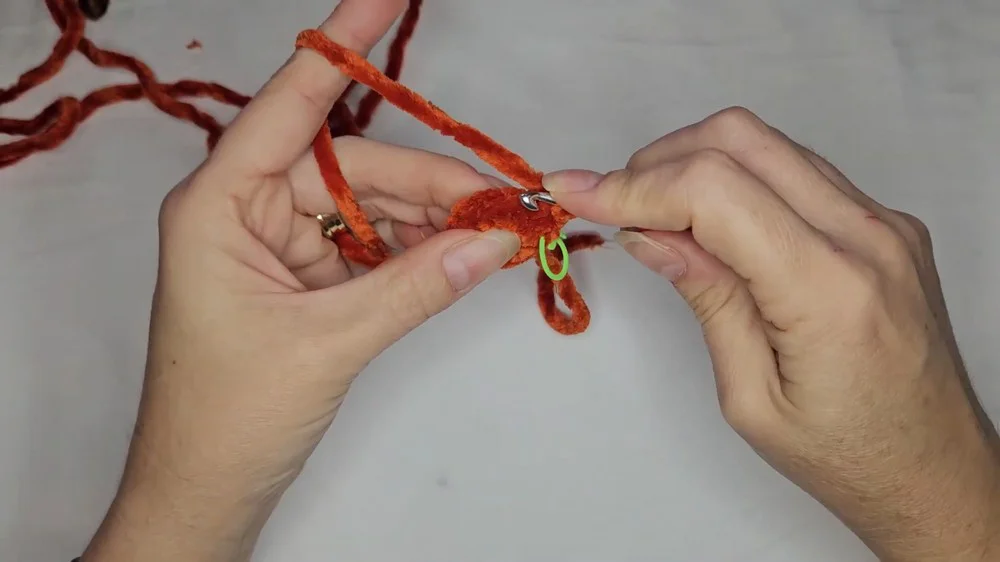
- MR; 8 sc into ring (8).
- Increase to 16: 2 sc in each st around (16).
- Increase to 24 with corners:
- (Inc, inc, sc, sc), repeat 3x more (32).
Each time, two inc = 2 corners, then 2 sc. End with 1 sc to meet start.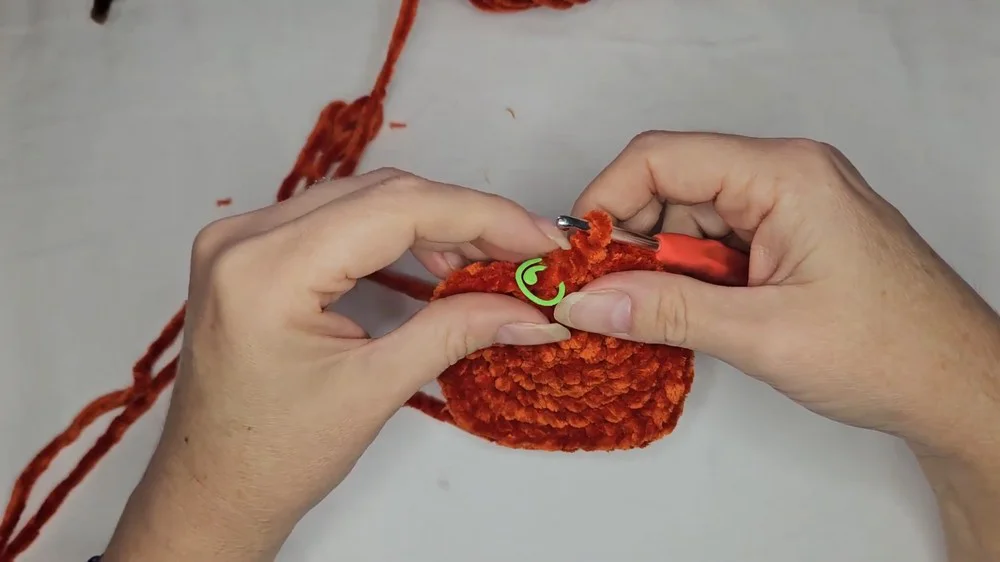
- (Inc, inc, sc, sc), repeat 3x more (32).
- Increase to 32 with corners:
- (2 sc, inc, inc, 4 sc), repeat sequence three more times, for four corners.
- At end, two sc to complete (40).
- Increase to 40 with corners:
- (3 sc, inc, inc, 6 sc), repeat sequence around, then 3 sc to finish (48).
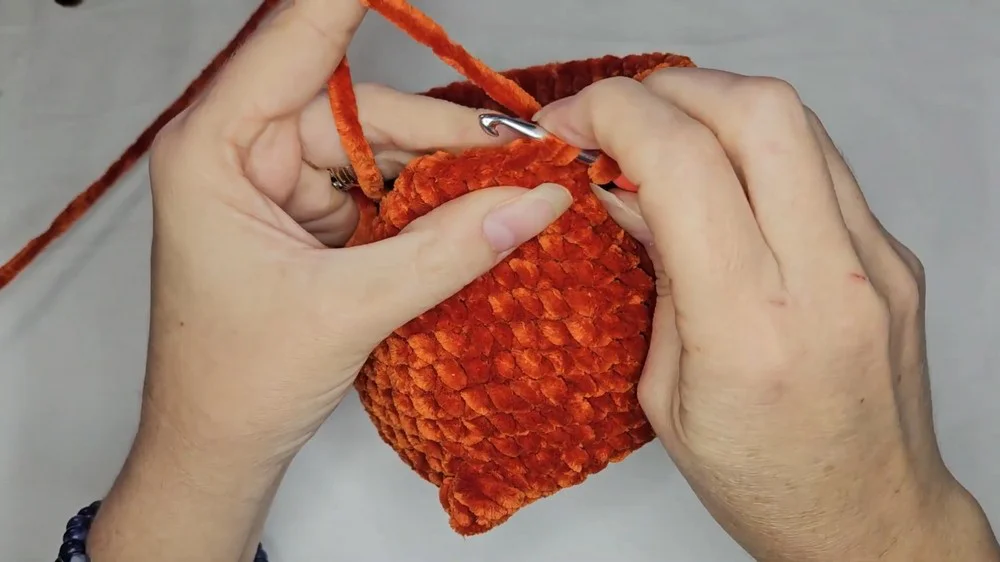
- (3 sc, inc, inc, 6 sc), repeat sequence around, then 3 sc to finish (48).
Making the Feet
- Feet Row:
Everything except feet is worked in BLO. Feet are made at each “corner.”
a) (4 sc in BLO), make a 4-dc bobble for corner foot in both loops, repeat for four corners. Between feet: 9 sc in BLO between each bobble. Final side = 5 sc.
- At the end, you should have four bobbles at “corners”, rest of the stitches are BLO.
Sides
- Increase to 48: Back to normal sc in both loops.
- (2 sc, inc, 4 sc, inc), repeat.
- Next rows: 10 rows (48 sc) even, placing stitch marker at start of each row.
- AFTER ROUND 15:
- Insert 12 mm safety eyes between Rounds 14–15, about 3 sts apart and centered at the front. Attach washers inside.
Shaping the Pumpkin / Decreases
- Decrease to 40: (2 sc, dec, 4 sc, dec), repeat around.
- Decrease to 32: (3 sc, dec), repeat around.
- Decrease to 24: (2 sc, dec), repeat around.
- Stuff thoroughly (round, bottoms, and top).
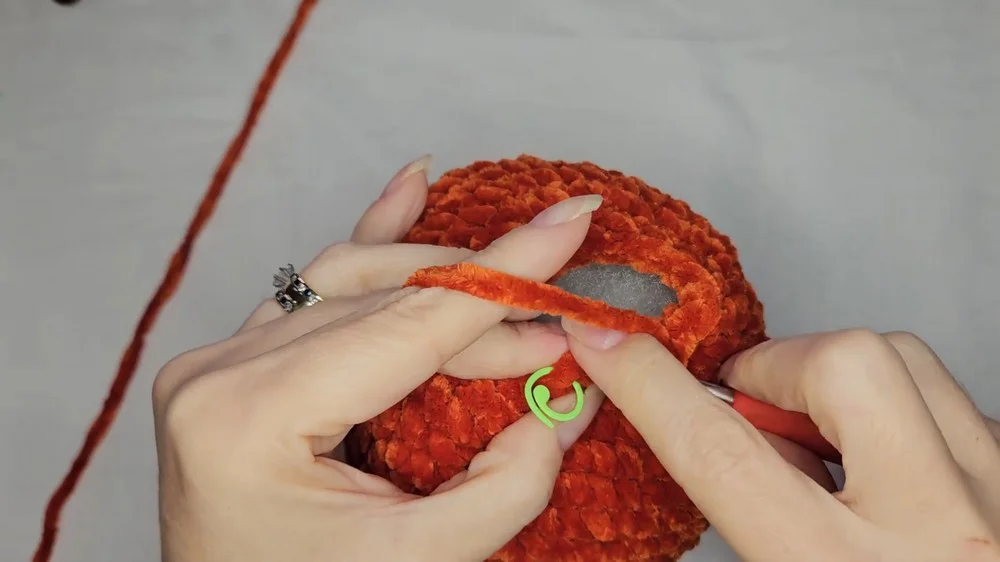
- Decrease to 16: (sc, dec) around.
- Decrease to 8: Dec in all stitches around (8).
FO, leaving an extra long tail (24″+).
Shaping the Pumpkin
- Using yarn needle and long tail, thread through each of the 8 front loops to close the hole. Pull tight.
- For pumpkin sections:
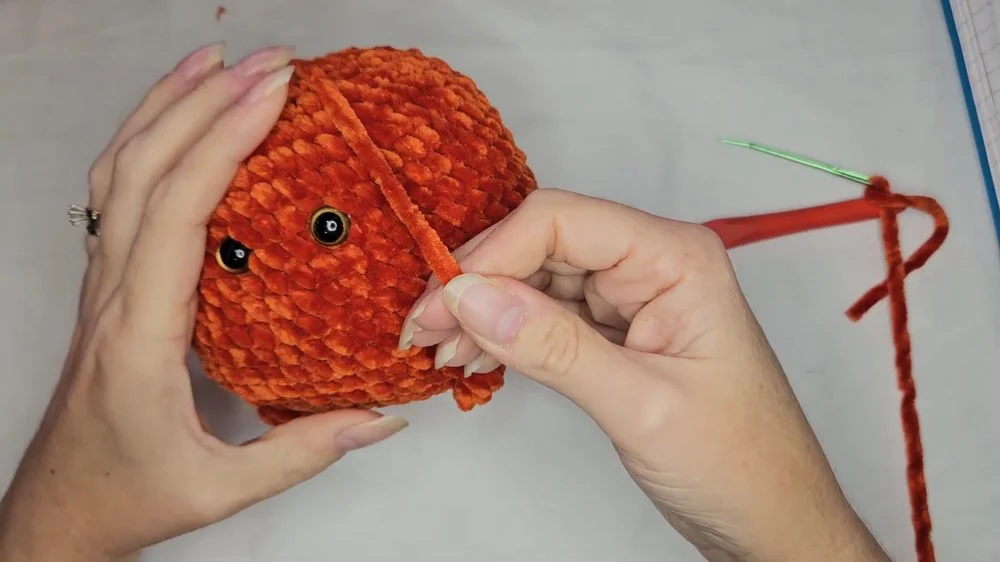
- Bring needle from top center, down the side (between foot and eye), across the bottom, and up to center top. Pull tight to form segment indentation, repeat for opposite (front/back) then two sides. Tighten as desired for pumpkin shape. Secure each loop in place; tie off and hide yarn.
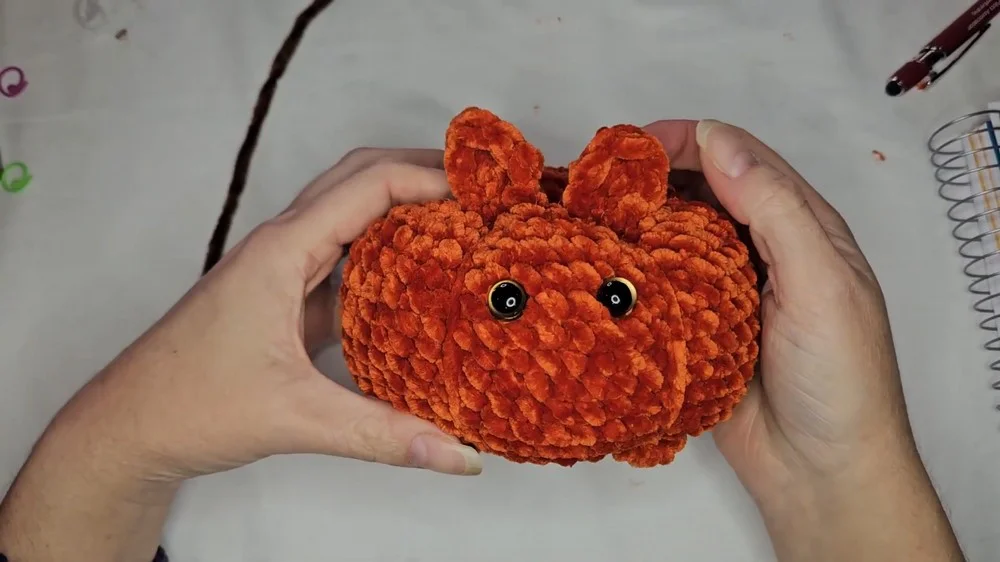
- Bring needle from top center, down the side (between foot and eye), across the bottom, and up to center top. Pull tight to form segment indentation, repeat for opposite (front/back) then two sides. Tighten as desired for pumpkin shape. Secure each loop in place; tie off and hide yarn.
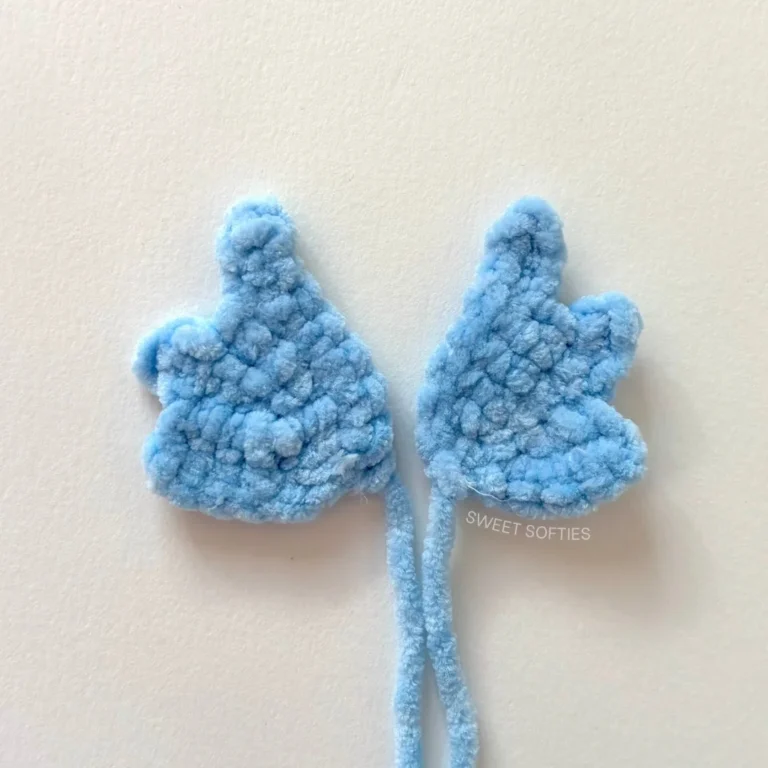
Ears (Make 2)
With orange (main color), leave long tails for sewing:
- Ch 4.
- In 2nd ch from hook: sc.
- In next ch: dc, tr, dc (all in same ch).
- In last ch: sc.
- Sl st in same st to anchor, FO.
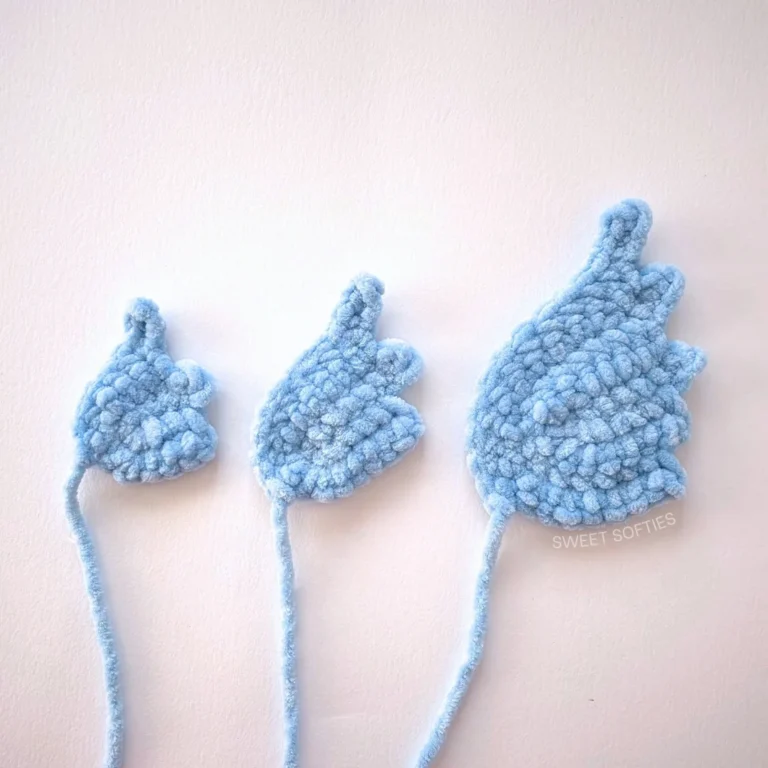
You should have a wedge-shaped piece; sew ears about four rows back from the eyes, straddling segment line.
Tail
With brown yarn:
- MR, 6 sc.
- Rows 2–10: sc in each st around (6); for total of 10 rows.
- FO, leaving long tail for sewing.
- Lightly stuff if desired.
- Sew tail slightly off-center at top middle back, “pumpkin stem” style but set like a cat tail.
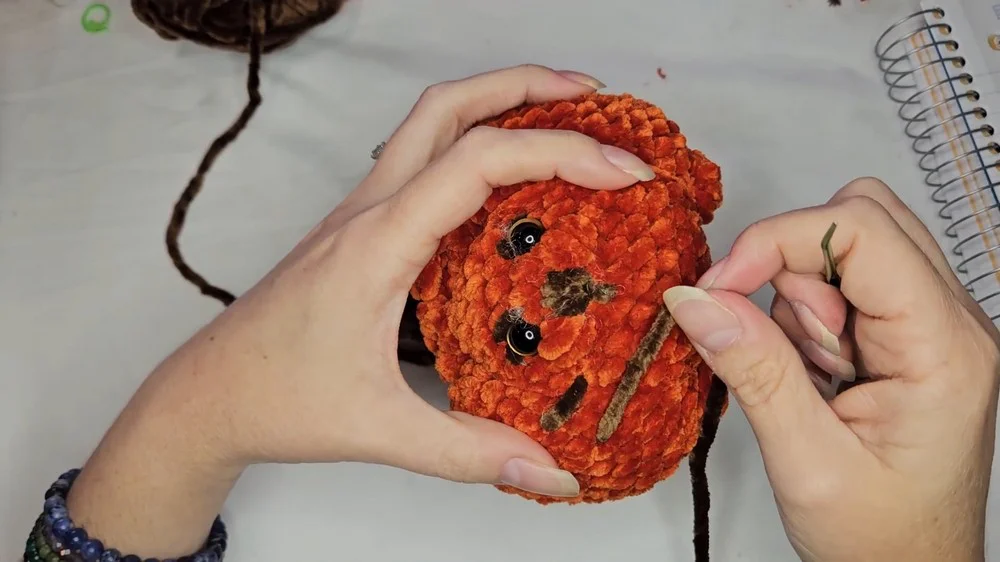
Face Embroidery
Cheeks:
- With orange or pink, embroider several (4–6) “over-under” stitches down at an angle beneath each eye, forming the muzzle/pad. Fluff up with needle.
Eye Outlines (optional):
- With brown yarn, embroider above and around eyes to accentuate.
Nose:
- With brown yarn, embroider an upside-down triangle for nose at bottom of cheeks.
Mouth & Whiskers:
- Extend a vertical line below nose for mouth, then out for whiskers (two per side).
Finishing:
- Tuck in all yarn tails, shape as needed.
Assembly & Finished Size
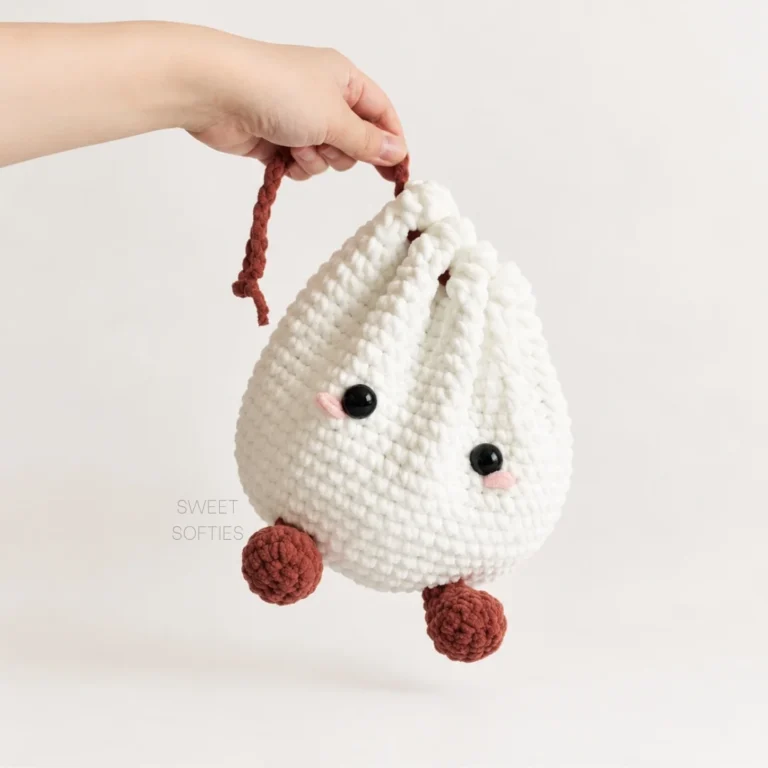
- Feet: Should protrude slightly; may be reshaped after stuffing.
- Ears: Align over eye and foot, 4 rows back from eyes.
- Tail: Whipstitch around base for stability.
- Face: Adjust shaping, pull cheeks and nose features for dimensionality.
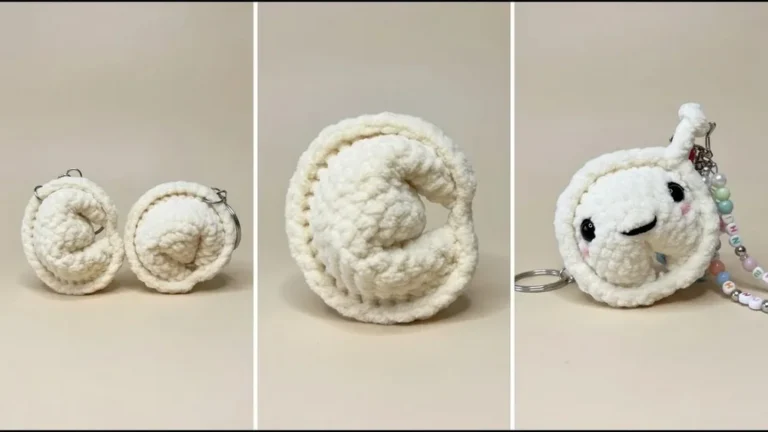
- Final: Kitty should stand squatty and proud—pumpkin-shaped center, four feet, cute ears, plush tail, chubby cheeks, and perky whiskers.