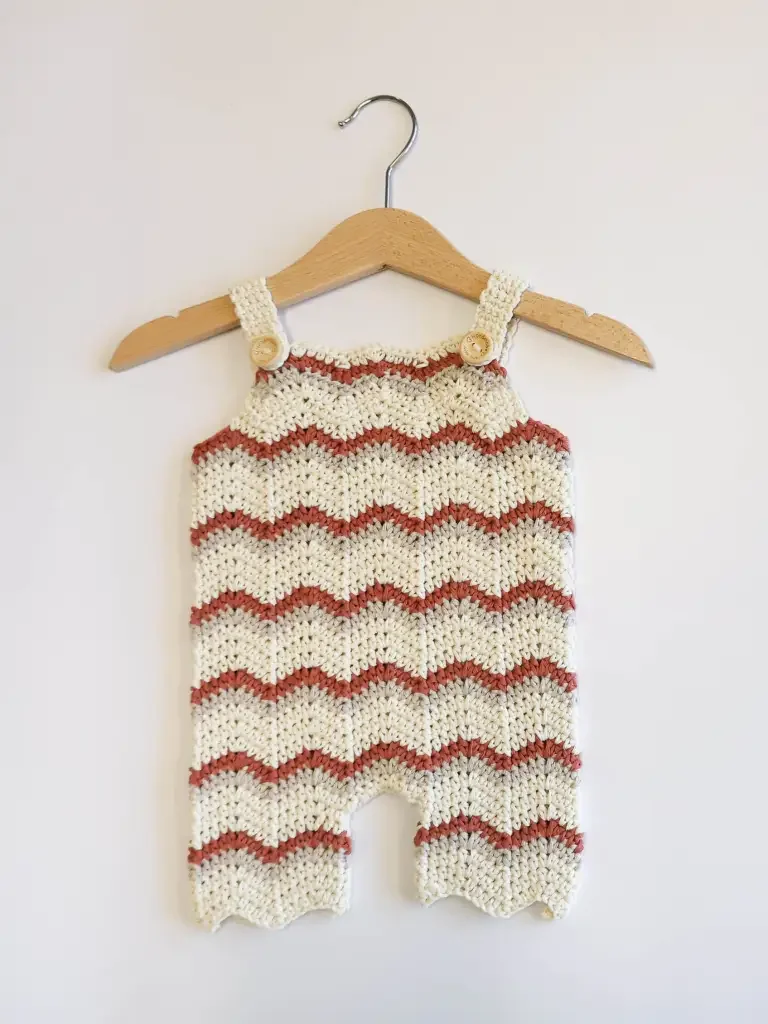
Crochet Tutorial – Zig Zag Romper
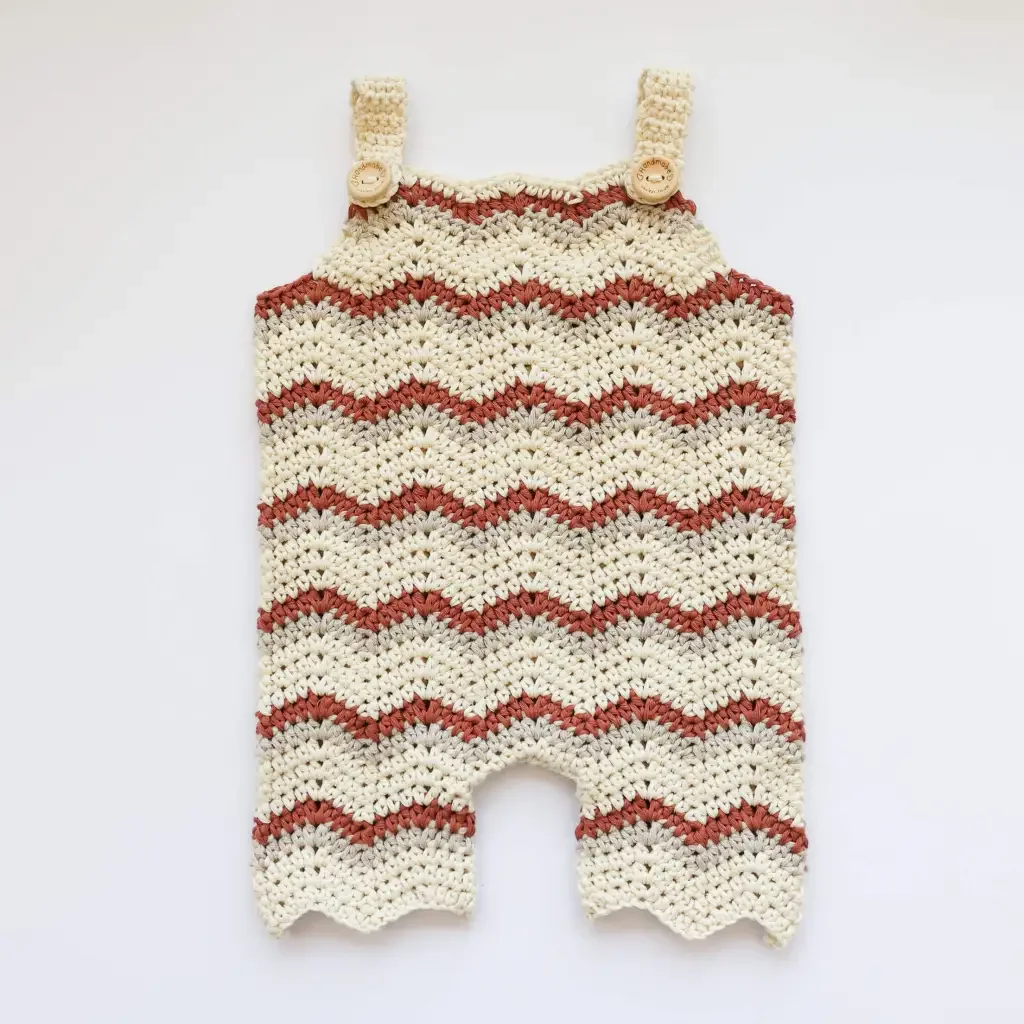
Welcome back to another delightful crochet project! Today, we have an absolutely stunning, wonderfully playful, and beautifully textured pattern for the littlest ones in your life: the Zig Zag Baby Romper! If you love crafting sweet nursery accessories that perfectly capture modern handmade charm while offering a beautifully seamless and delightfully zig-zag patterned design to keep baby cozy during playdates or nap times, this gorgeous little romper is going to be your next favorite make.
This fantastic baby romper pattern is wonderfully adaptable and perfect for unforgettable handmade baby shower gifts, allowing you to whip up beautiful, lovable baby garments in no time that will keep baby snug and be cherished as a family keepsake for years! While the instructions highlight a specific beautiful, textured look, you can easily adjust the color variations depending on the worsted weight yarn used—swap out classic neutrals for magical pastels, bright pinks, or vibrant bold hues to create a whimsical, personalized baby outfit! Grab your hooks, settle into your favorite crafting spot, and let’s dive into making this wonderfully playful, cozy little romper!
Materials
- YARN: DK weight – Drops Cotton Light. For this pattern, 3 colors are used (35 – rust, 01 – off white and 31 – pearl gray) 2 skeins of MC and 1 skein for each of CCs.
- CROCHET HOOK: 4.0 mm crochet hook, or the size needed to obtain the gauge.
- YOU WILL ALSO NEED: 2 stitch markers, a tapestry needle, scissors and 2 buttons (1.8 cm in diameter).
Gauge
Work 20 stitches and 12 rows in HDC using a 4.0 mm crochet hook and a DK weight yarn to measure 10 x 10 cm (5 x 5 inches).
Please check the gauge before you start crocheting the sweater. I know how tempting it is to start right away, but not checking that gauge might affect the size of the finished object.
Abreviations
- St/sts – stitch/stitches
- ch/chs – chain/chains
- ss – slip stitch
- hdc – half double crochet
- sc – single crochet
- hdc2tog – hdc two sts together
- MC – beige
- CC1 – light blue
- CC2 – dark blue
- A – hdc 1, ch 1, hdc 1 into the same stitch
- B – hdc2tog, skip one stitch in the middle
ZIG ZAG Stitch
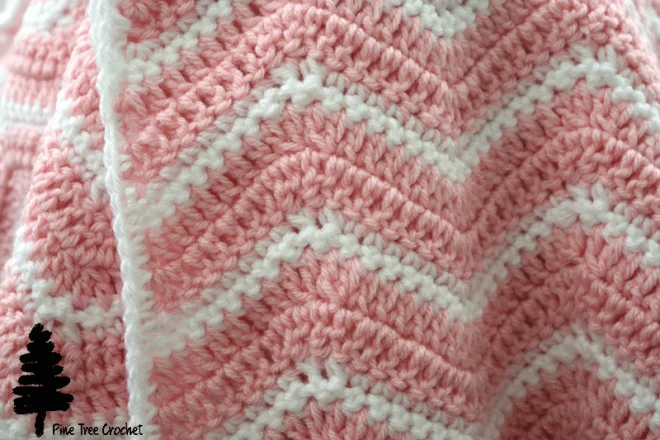
In this pattern, we’ll use a classic zigzag stitch. To create its shape, we need two key points: the lowest, which I call the ‘Valley,’ and the highest, the ‘mountain peak.’ Below, you’ll find how to make both special stitches used in this pattern.
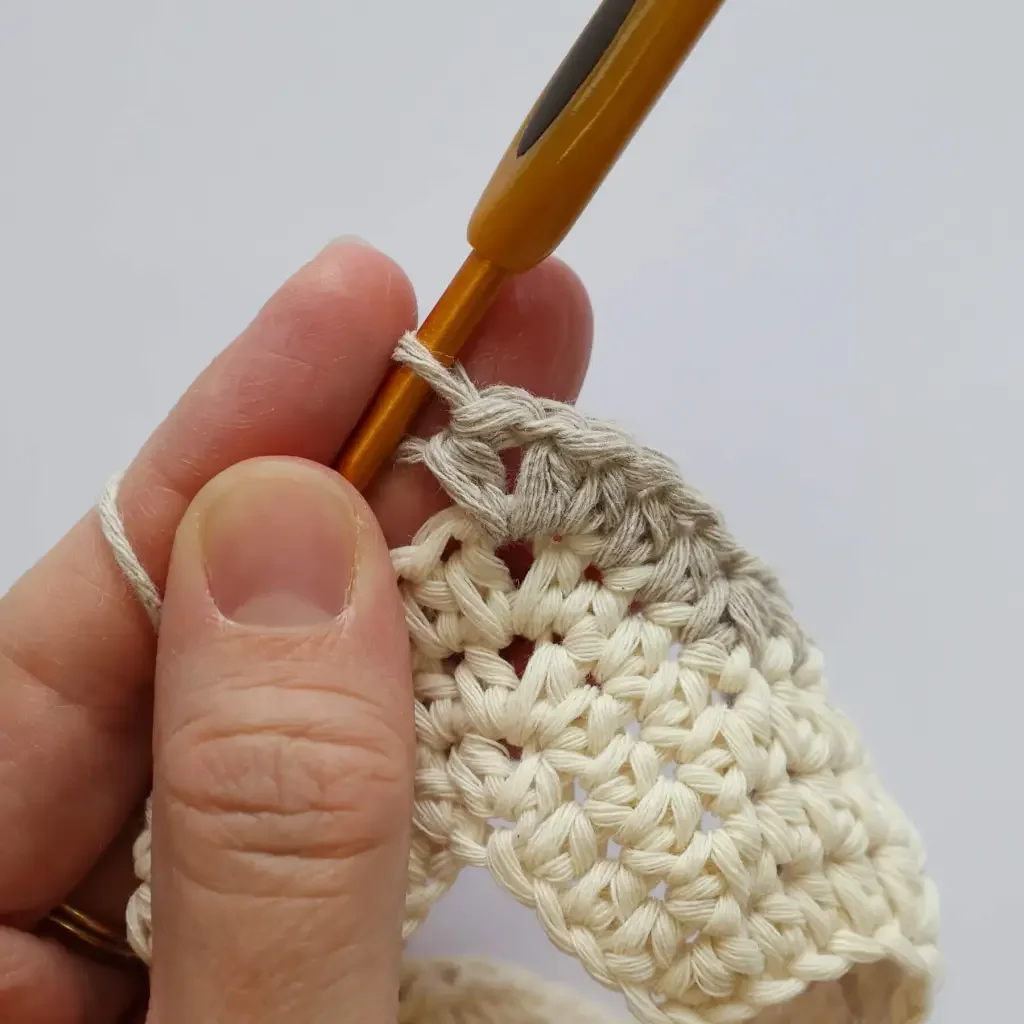
The Peak (referred to as A in this pattern) is created by working (1 hdc, ch 1, 1 hdc) into the same stitch. Except for the very first round, all following peaks are worked into the ch-1 space from the previous round.
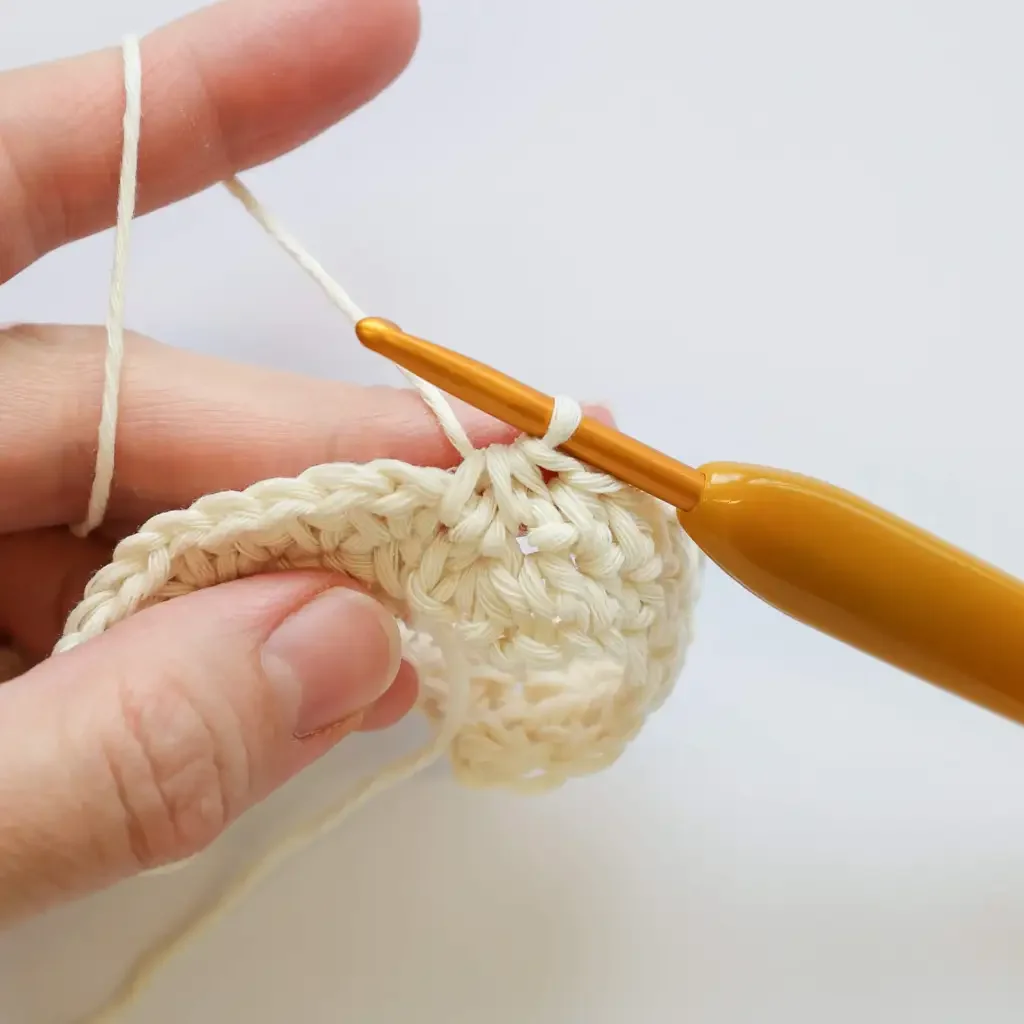
The Valley (referred to as B in this pattern)
It is created with a decrease. To form it, you’ll use the hdc2tog stitch to join three stitches into one, simply skipping he center stitch.
Pattern Notes
- For this crochet baby sweater pattern, you will need to know basic crochet stitches (sc, ss, and hdc).
- The chain at the beginning of the round, also called the turning chain, does not count as a stitch unless otherwise stated.
- Work everything in ( ) as a group and repeat it as many times as written in the pattern.
- All rows/rounds start in the first stitch of the row/round unless otherwise stated.
- This crochet pattern is written mainly in rounds. The exceptions are the ribbings around the yoke, waist, and wrists. Join each round with a slip stitch (ss) made into the first stitch of the round.
- Slip stitch does not count as a stitch in the pattern unless otherwise stated.
- The pattern for larger sizes is written in the [ ].
- If the number is written before the stitch: 3 hdc = work 3 hdc sts into the same stitch.
- If the number is written after the stitch: hdc 3 = work 1 hdc into each of the next 3 sts.
- The number of stitches at the end of each row/round is the total number of stitches in that row/round.
- The pattern is written in US crochet terms.
- The sweater is meant to have a comfortable fit.
- About the video: After testing, I made a small update to Row 6 of the upper front panel. I added one extra half double crochet (hdc) stitch on each side to create a cleaner edge and better balance. That means this section now has 5 hdc stitches instead of 4. The video tutorial was filmed before the update, so you’ll still see the older version with 4 hdc stitches. Don’t worry – the difference is very small and won’t affect the fit or final look. The written pattern (on the blog and in the PDF) includes the updated version. Feel free to follow whichever version works best for you! 😊
Measurements
Chest circumference for 0 – 6 months is 47.5 cm 18.7 inches.
Length of the body + legs for 0 – 6 months is 31.76 cm + 6,58 cm / 15.7 inches + 2,6 inches.
- You can find additional sizes in the PDF pattern. (0 – 6 months, 6 – 12 months, 12 – 18 months, and 18 – 24 months). Available here.
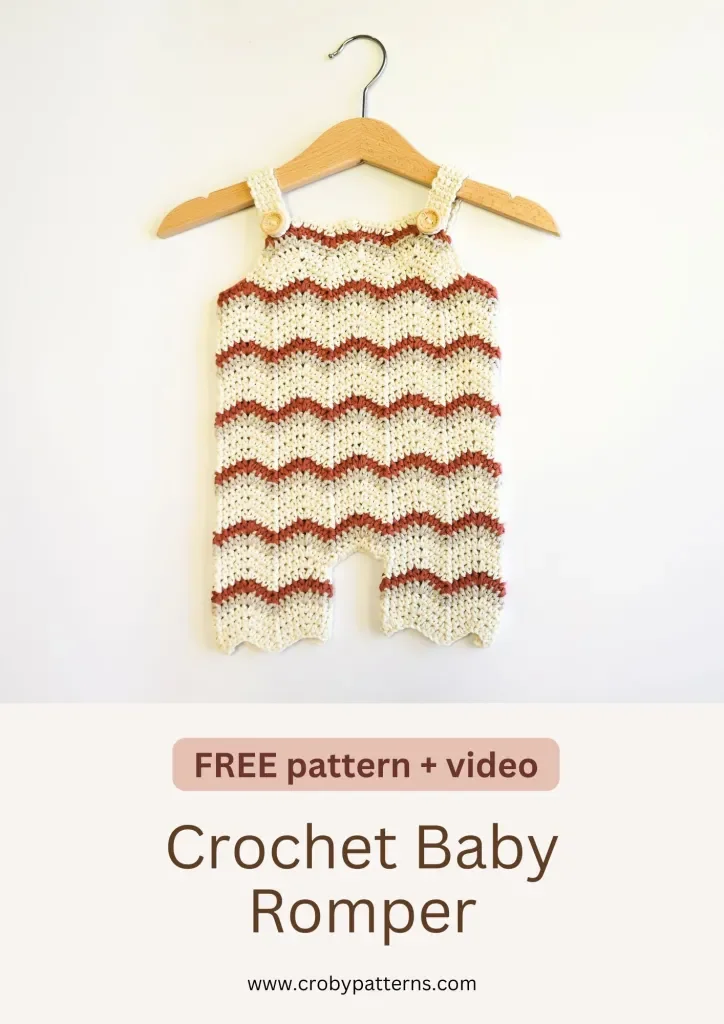
Pin the project to your favorite Pinterest board and save it for later when you have the right yarn, more time, or simply because your crochet hooks are way too busy right now. ❤️
PDF Crochet Pattern
The PDF crochet pattern is a great solution for those who prefer to work offline, need additional sizes, or just want to support my work. This beautifully designed PDF pattern can be found in shops on Etsy and Ravelry.
You can also join me on Patreon. The creative bug membership offers a new pattern every month and a peek behind the scenes at how the pattern was made, what materials I used, and why.
INSTRUCTIONS
Crochet Baby Romper Pattern – Zig Zag Romper
Please, read the instructions carefully. Don’t skip any parts of the pattern, and make sure you do not accidentally lose or add additional stitches to the pattern. That might affect the final look of your design.
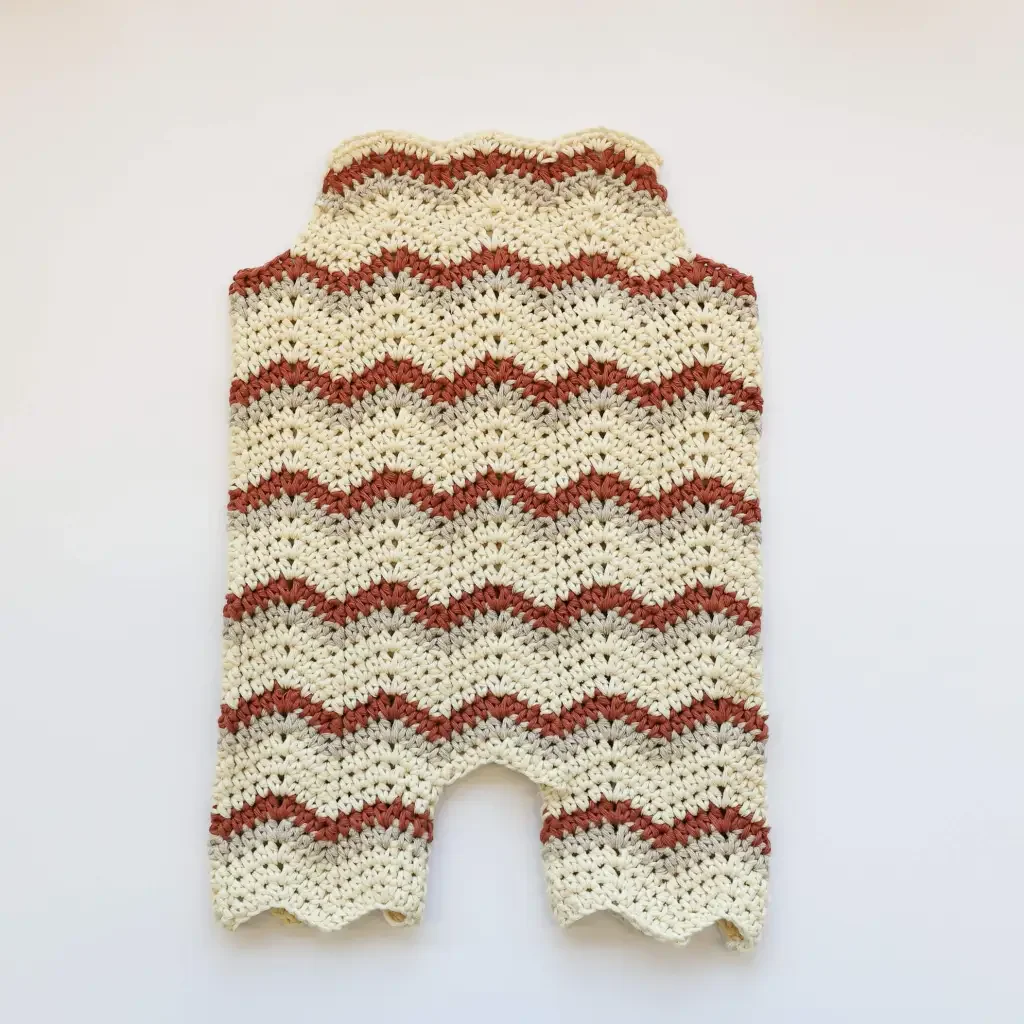
This crochet romper is worked from the bottom up. You’ll start by making one leg, then the second, and join them together to begin shaping the middle section of the romper.
Once the main body is complete, you’ll move on to the front upper section, which gradually decreases in width with each row. The final steps include crocheting the straps, which can be adjusted to your preferred length. These straps start at the back and end with a cute buttonhole in the front.
The last step is attaching the buttons—be sure to sew them on securely. And your romper is complete.
VIDEO
Instructions
Leg
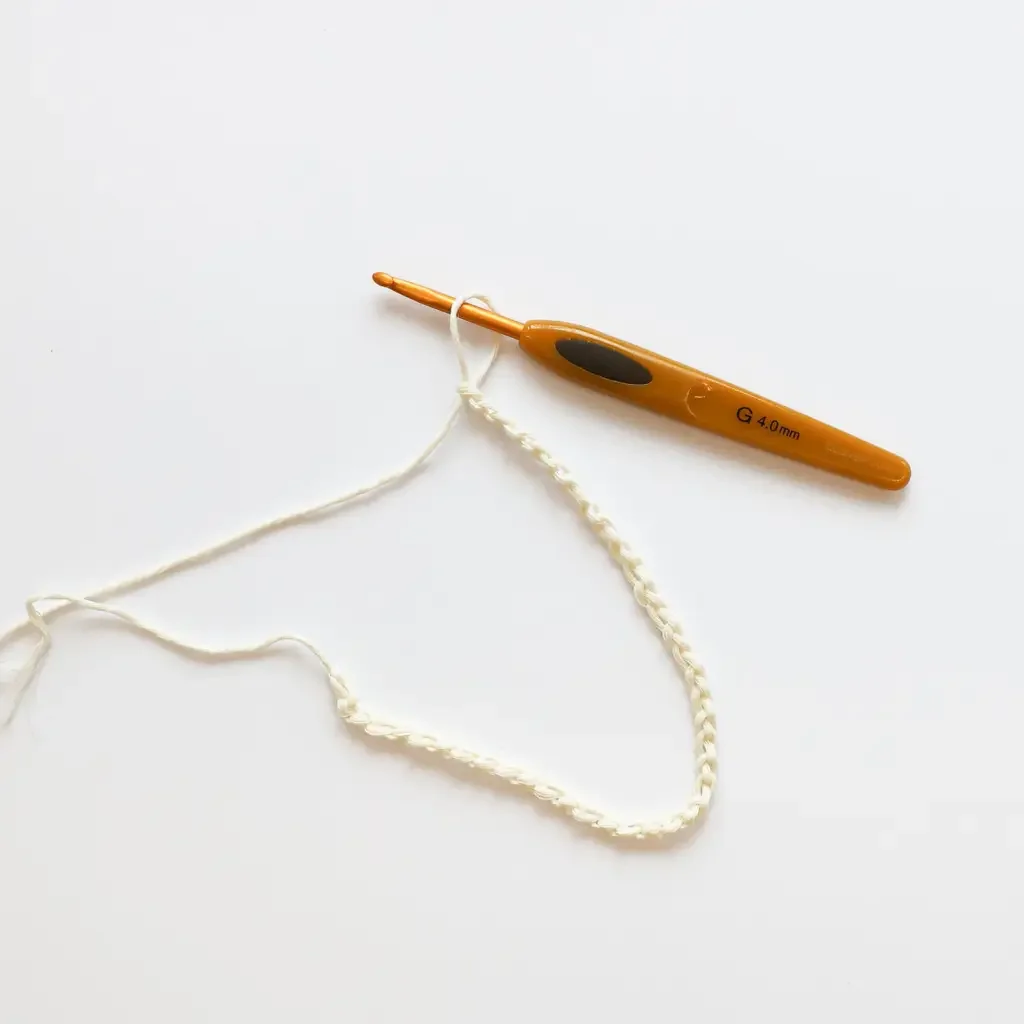
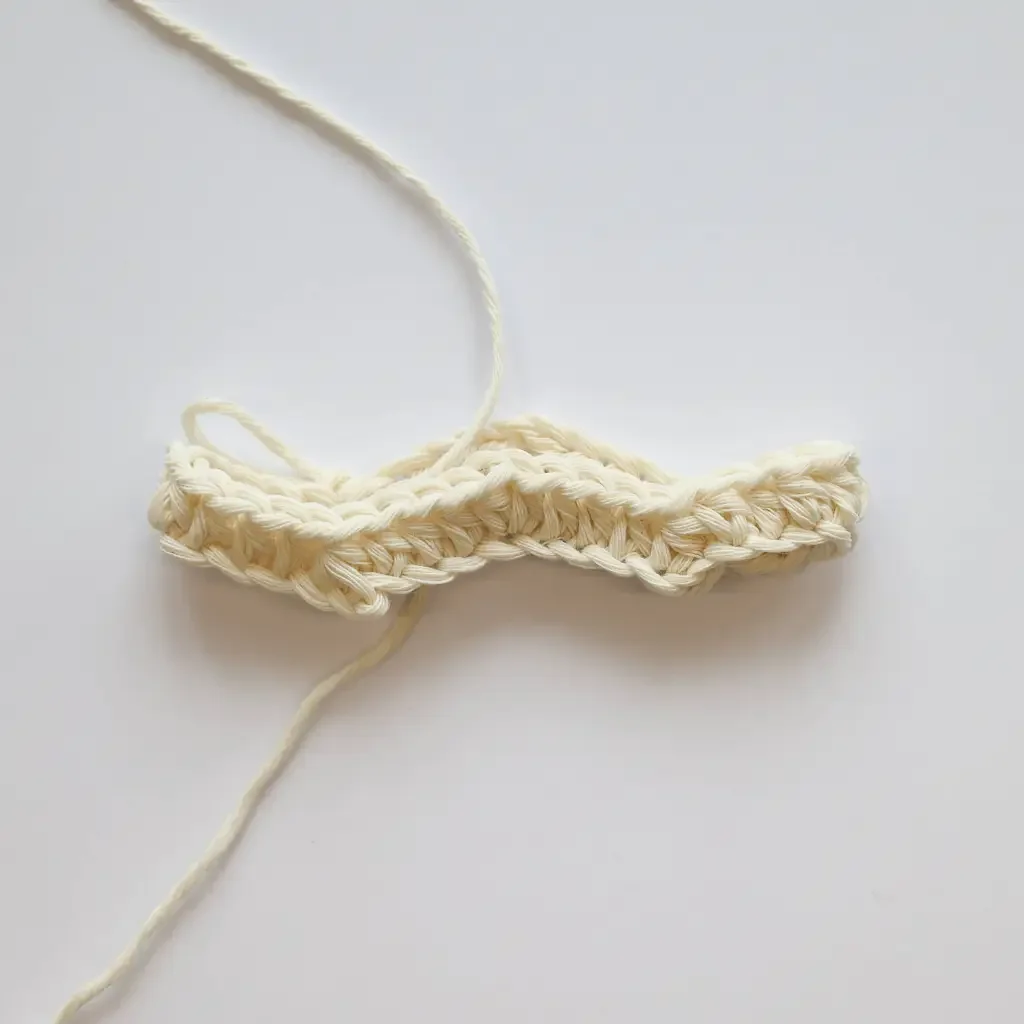
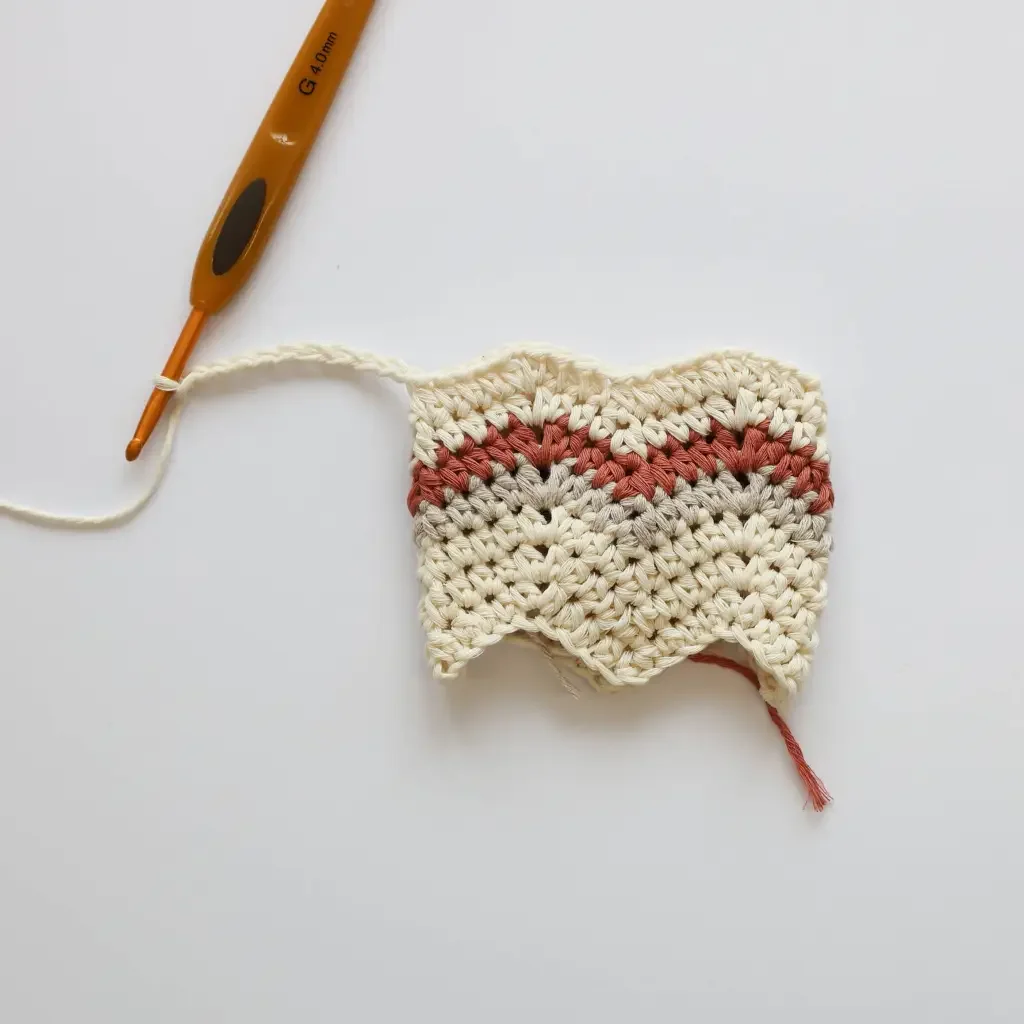
Use a 4.0 mm crochet hook and MC yarn and chain 40 [40, 60, 60] to create the foundation chain. Join the last chain to the first chain with a slip stitch (ss) to form a ring. Ensure the chain is not twisted before joining.
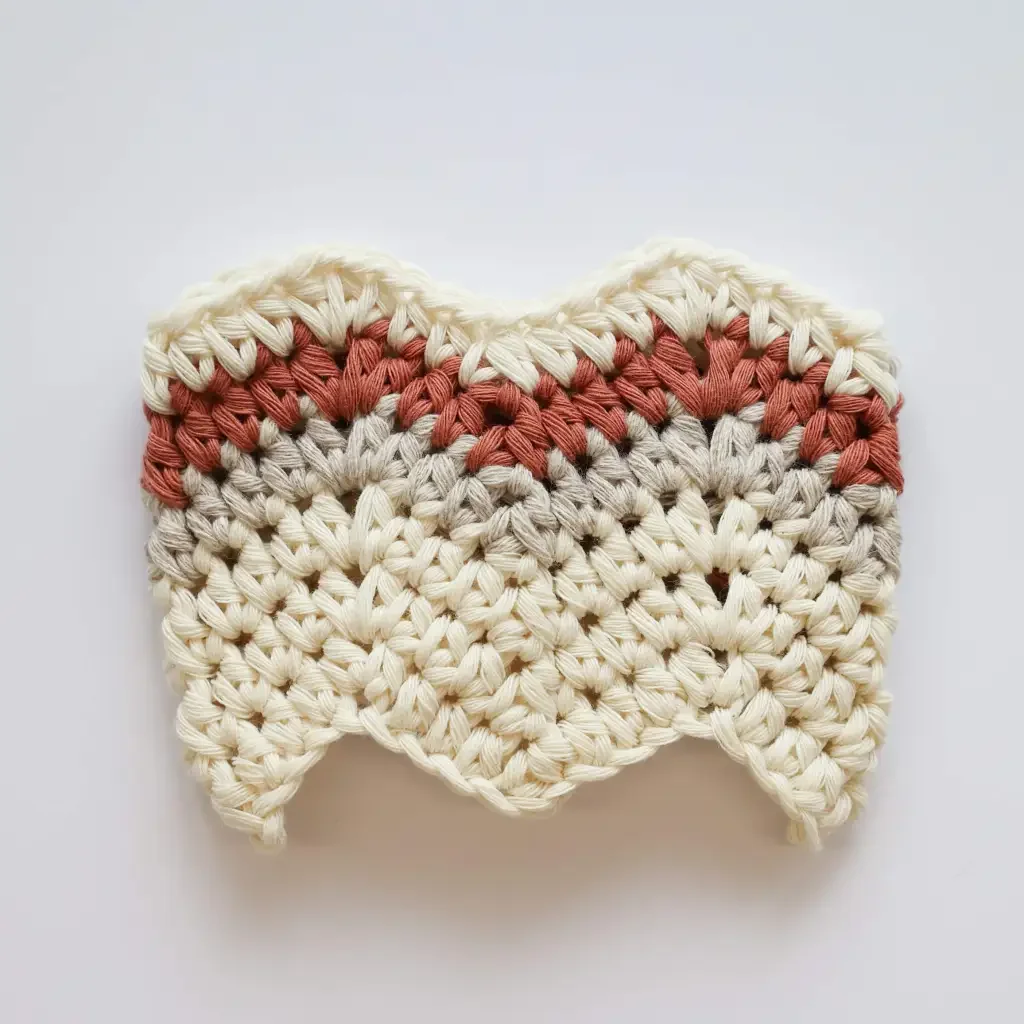
Work in rounds. Follow the color pattern: three rounds with MC (beige), one round with CC1 (brown), and one round with CC2 (burned orange).
Round 1: Ch 1. Repeat (hdc 3, A, hdc 3, B) 4 times. Join the round with ss.
Repeat round 1 five more times. Ensure you follow the color pattern as you proceed.
Cut the yarn and fasten off.
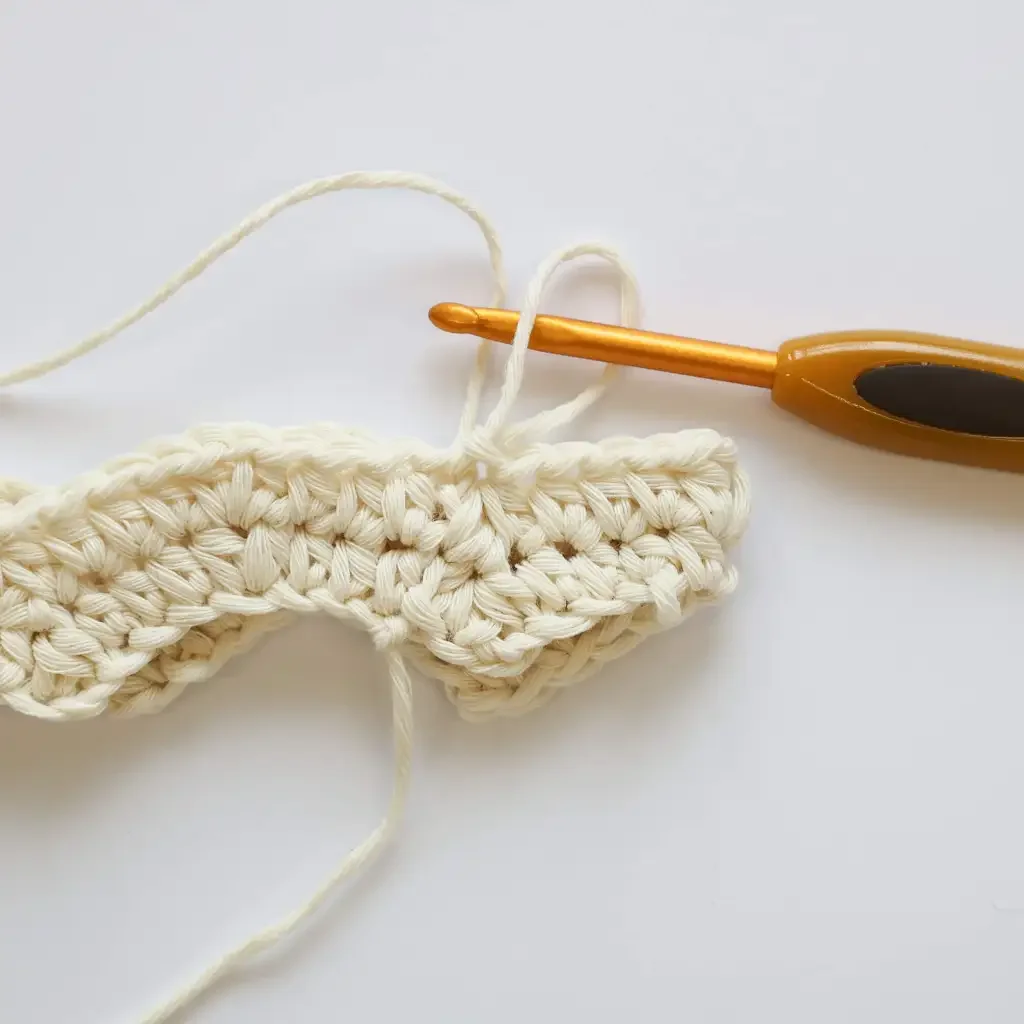
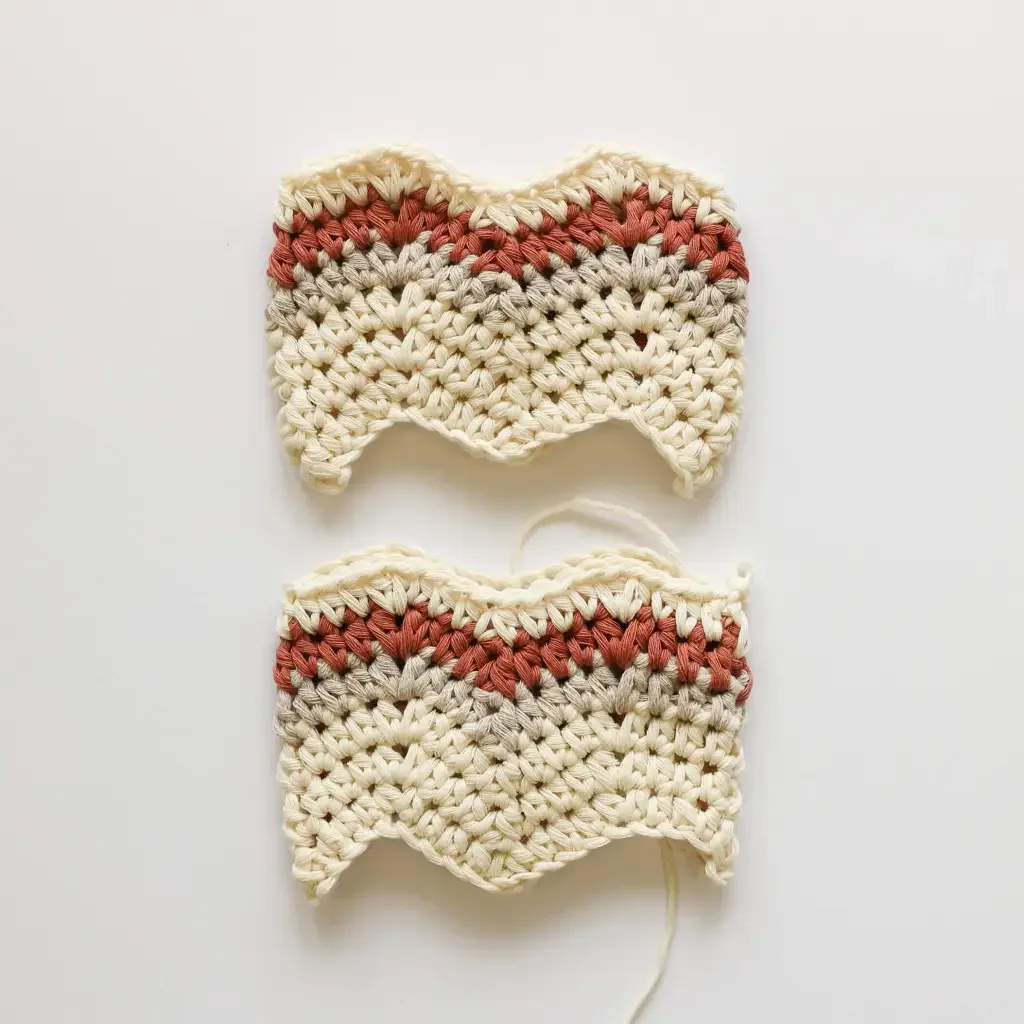
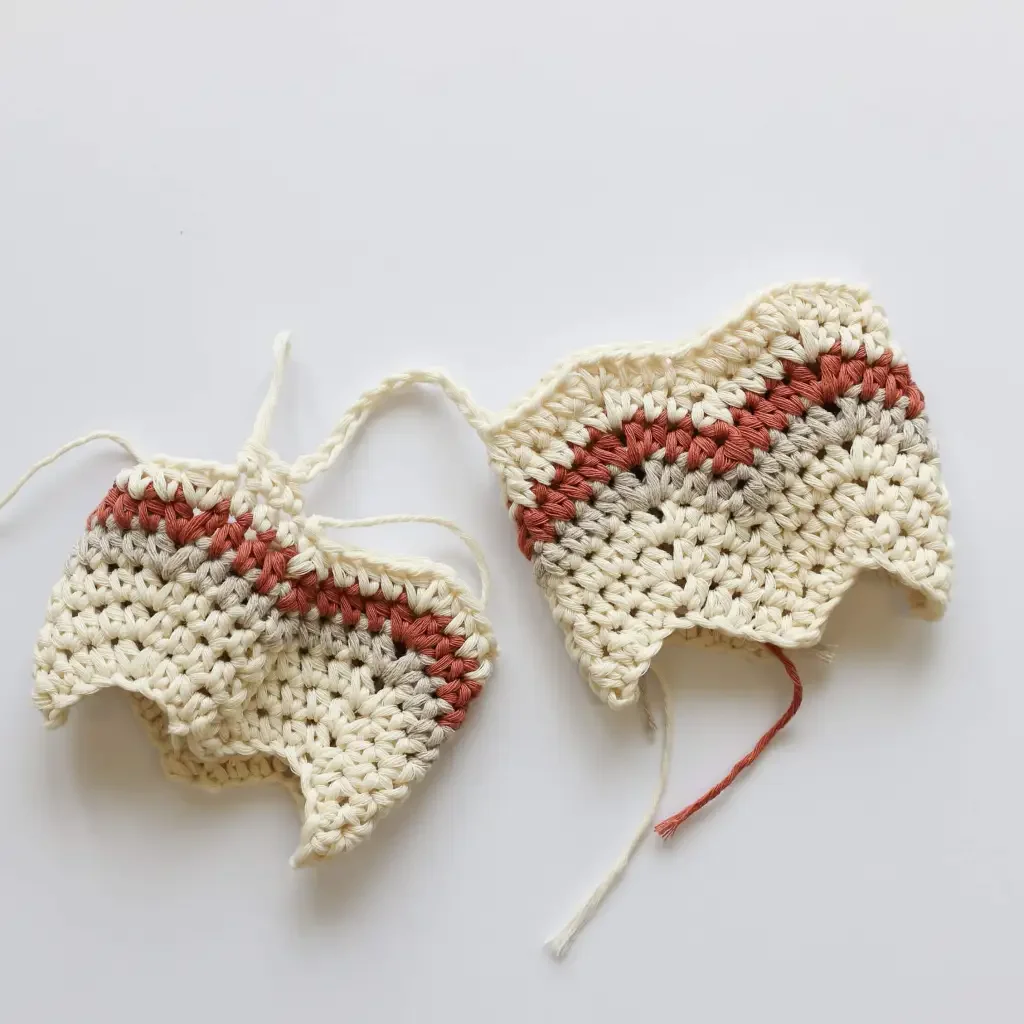
Create the second leg. This time, do not cut the yarn. Continue with the instructions for joining the legs.
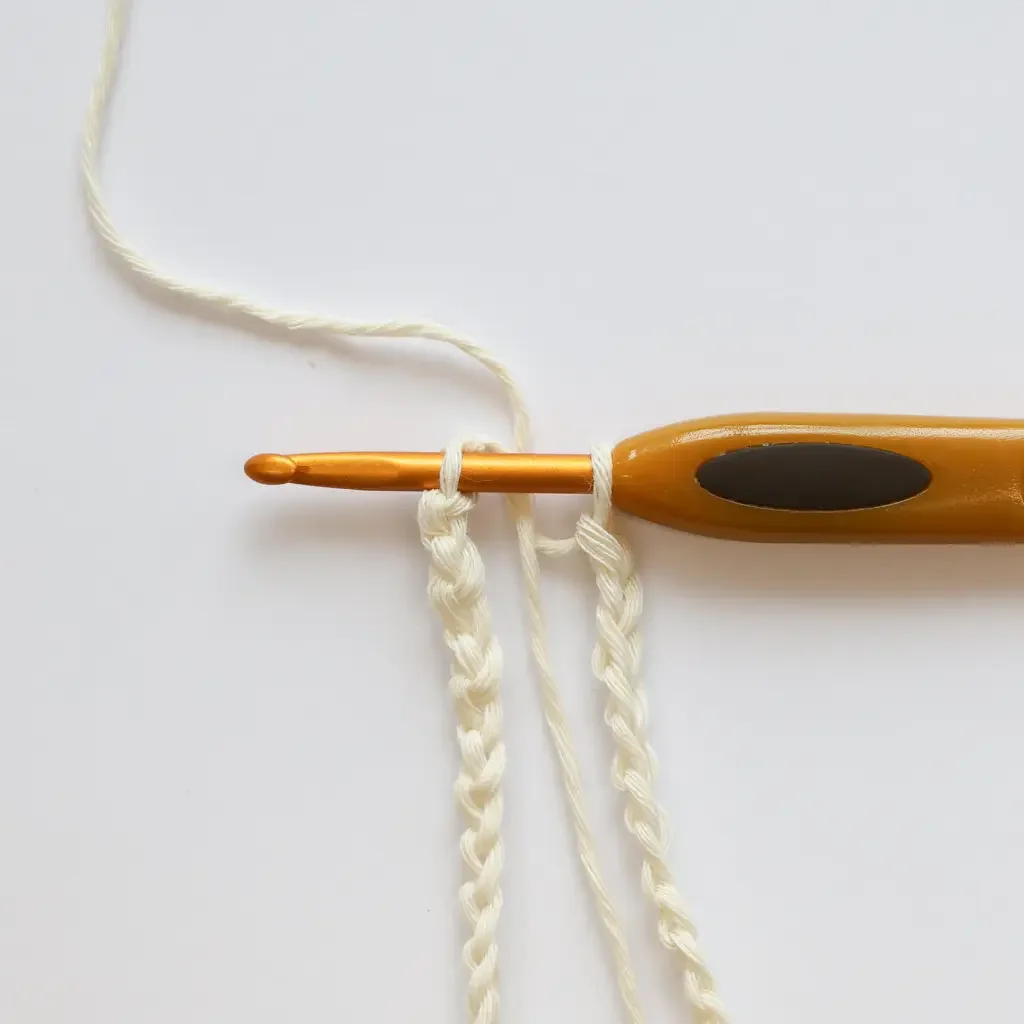
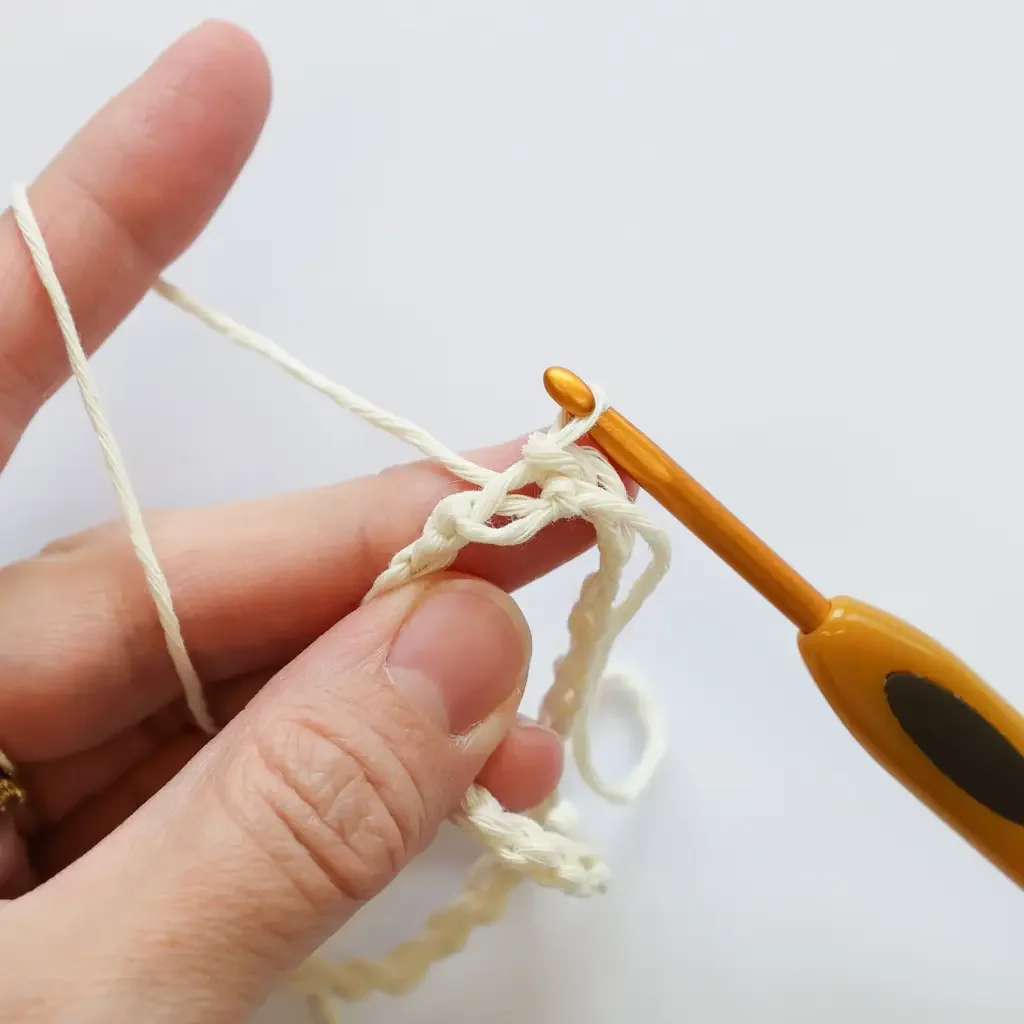
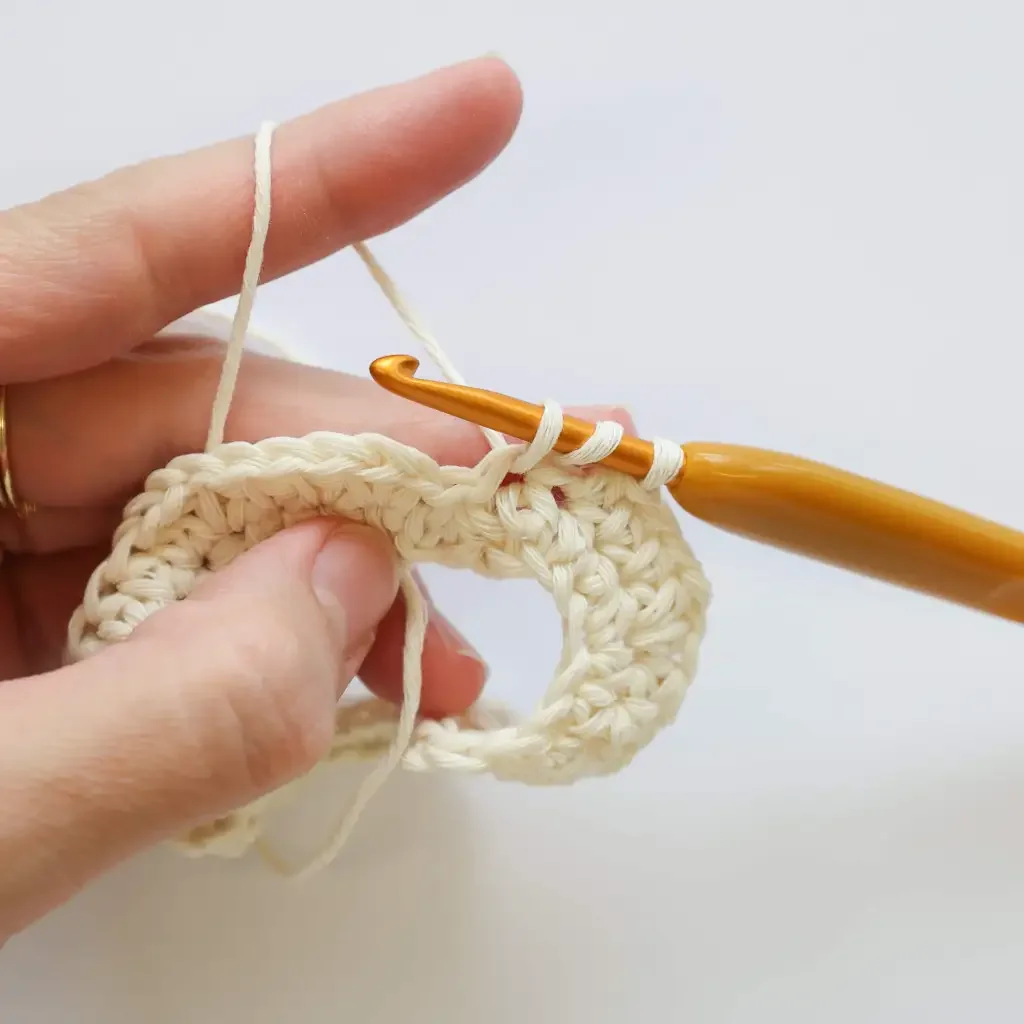
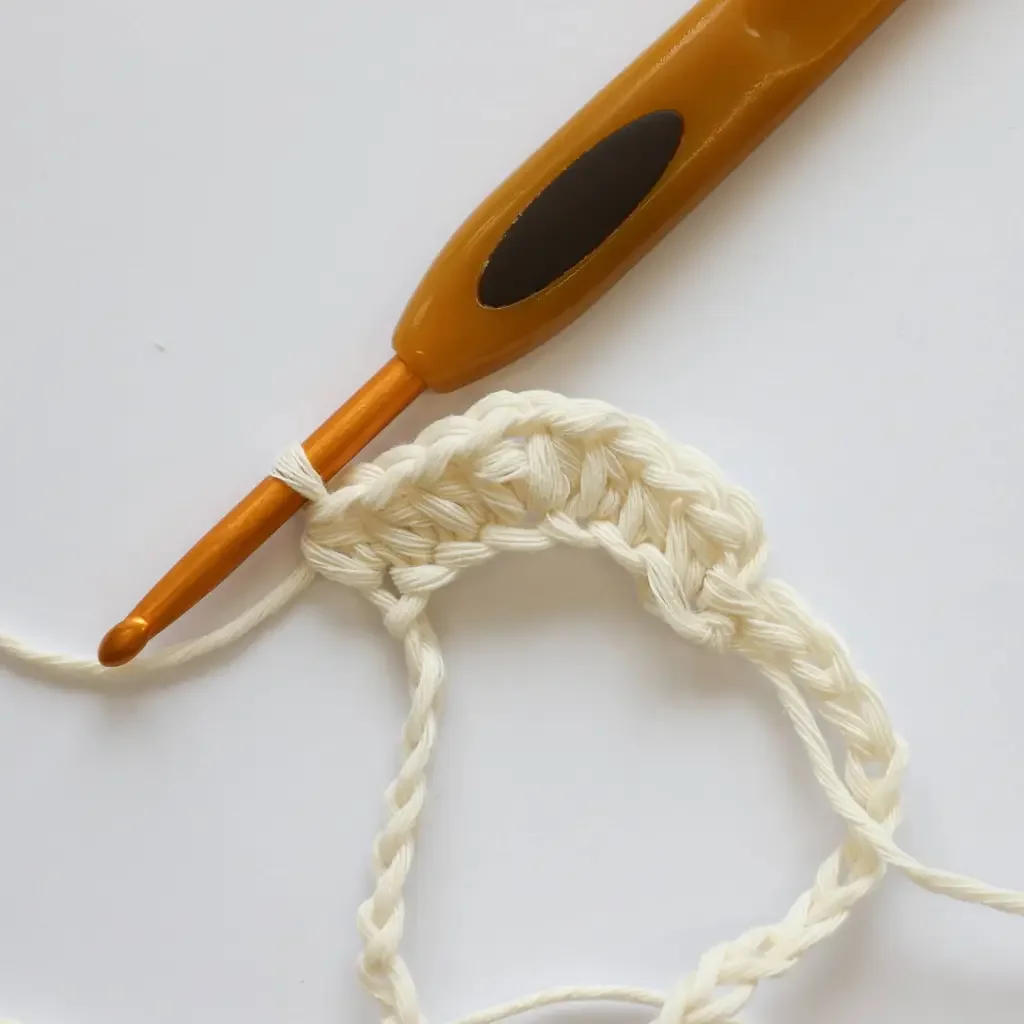
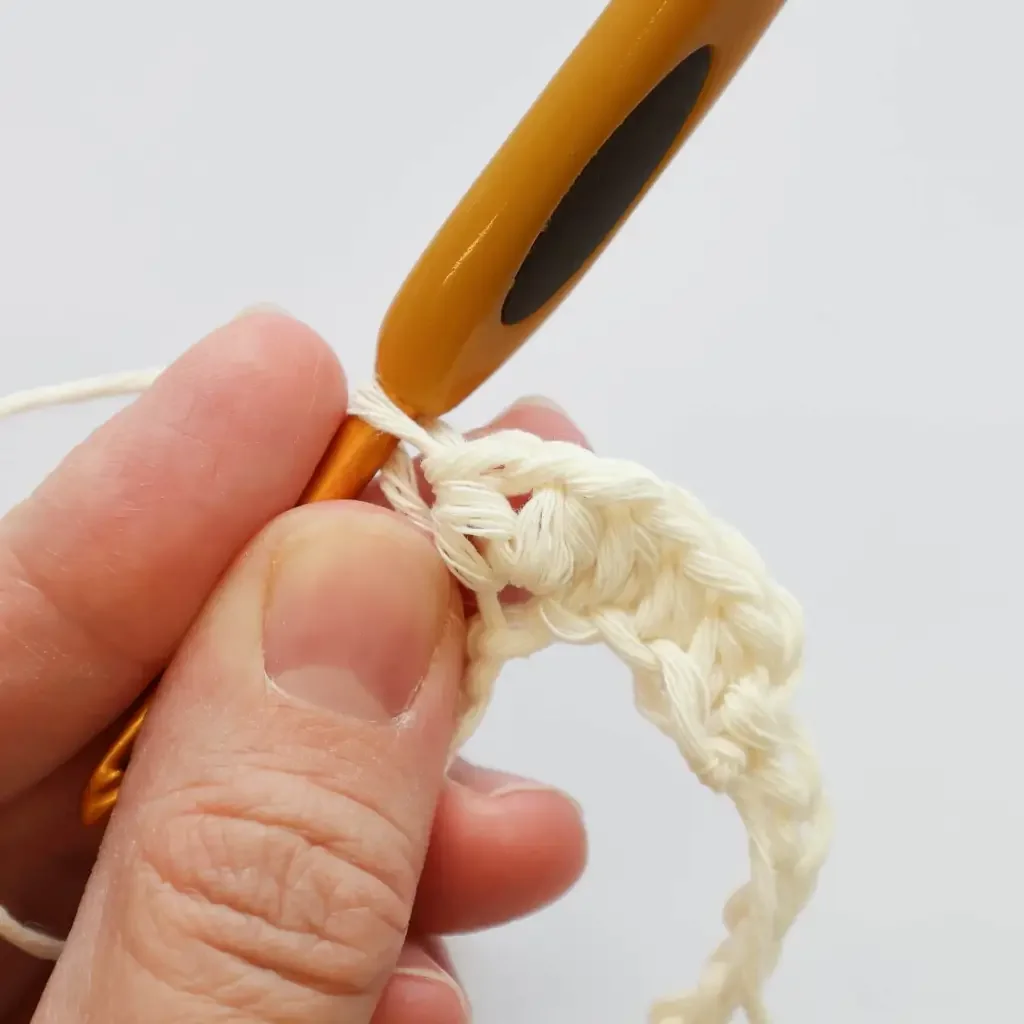
Joining
Important: This round must be worked in the same color as the following round to avoid a visible seam in the leg area.
Round 1: ch 1. Start in the same st. Repeat (hdc 3 A, hdc 3, B) 4 times. Ch 10. Repeat (hdc 3, A, hdc 3, B) 4 times. Hdc 10. Join the round with a ss.
Body
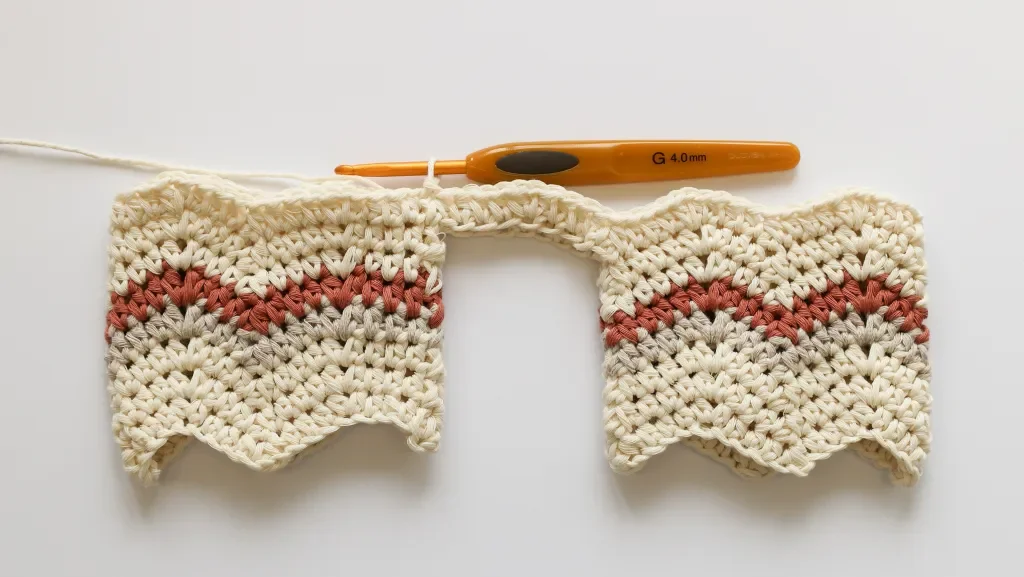
Round 2: Ch 1. Repeat (hdc 3, A, hdc 3, B) 10 times. Ss.
Repeat this round 22 more times.
Please follow the color pattern: three rounds of beige, one round of brown, and one round of orange.
Cut the yarn and fasten off.
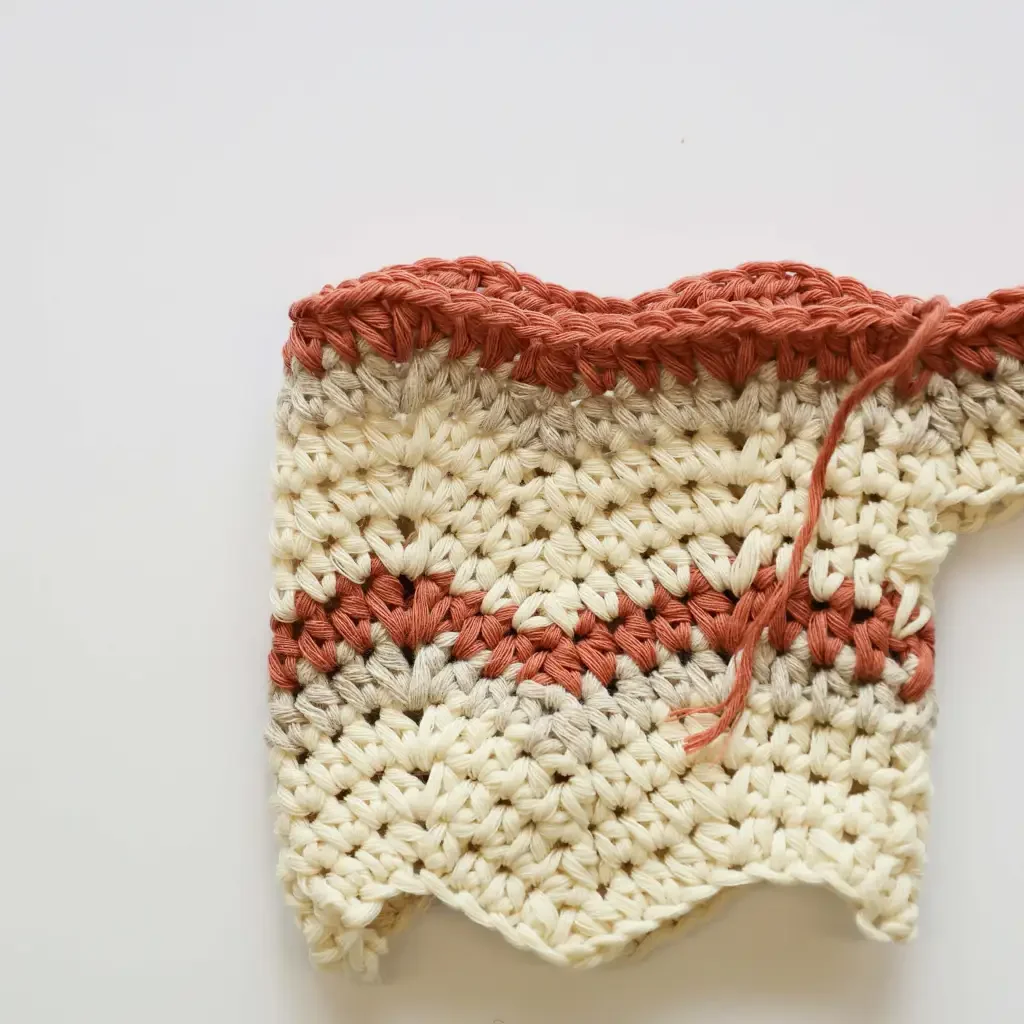
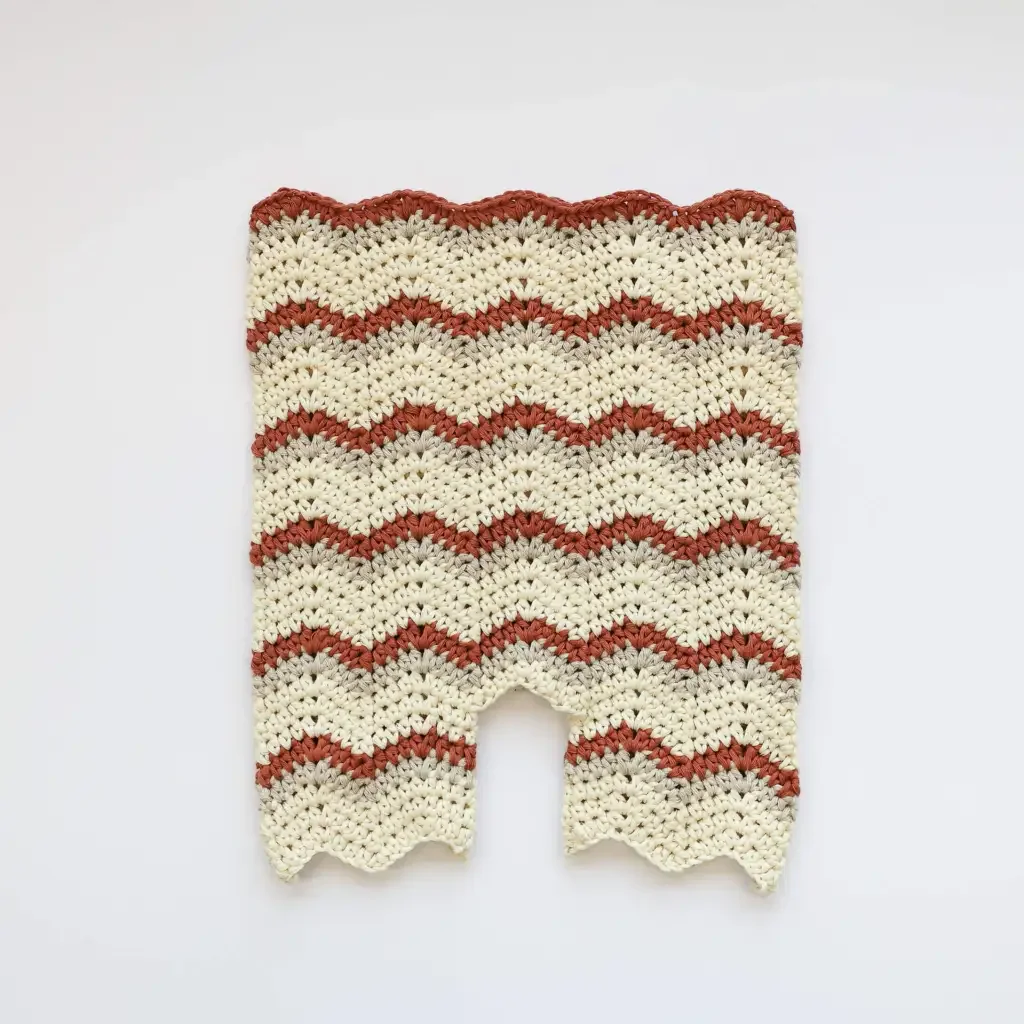
Important: Finish this segment with a round made with CC2 (burned orange).
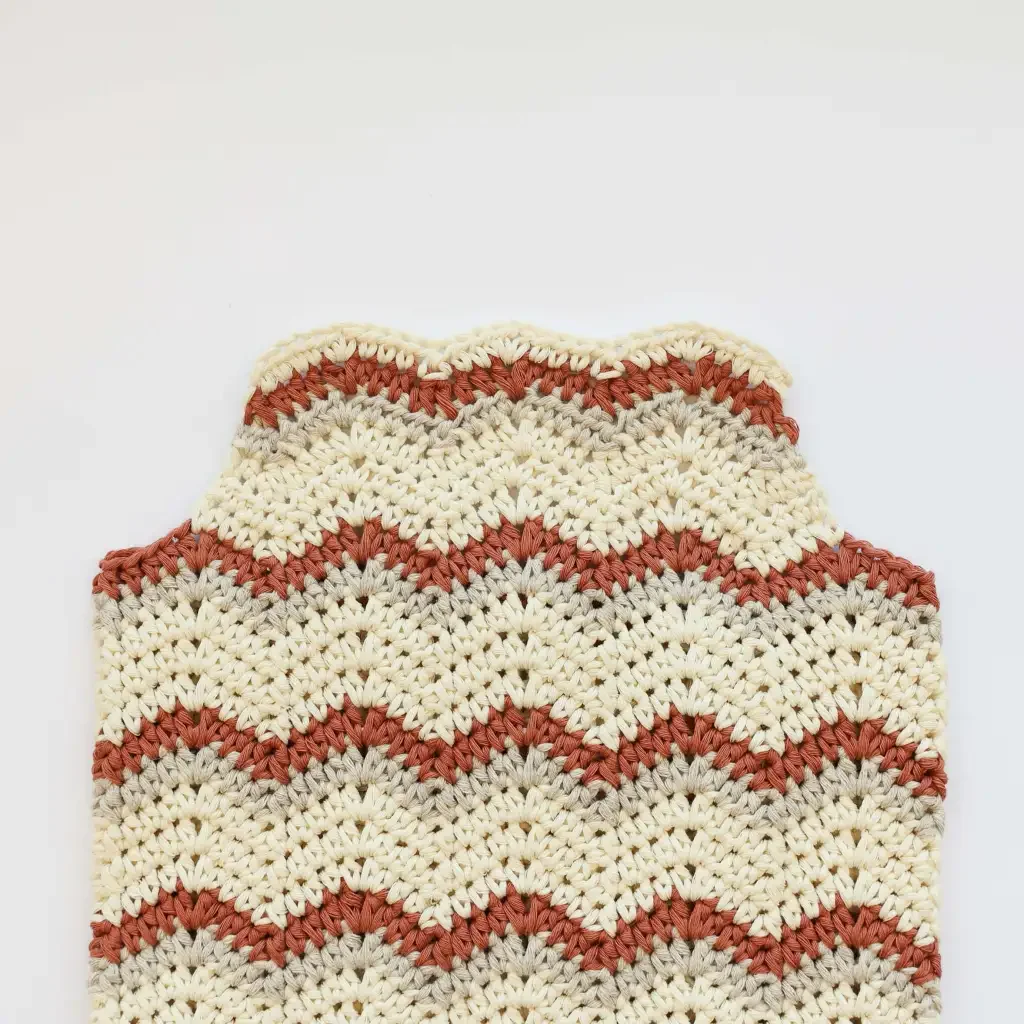
Upper Front
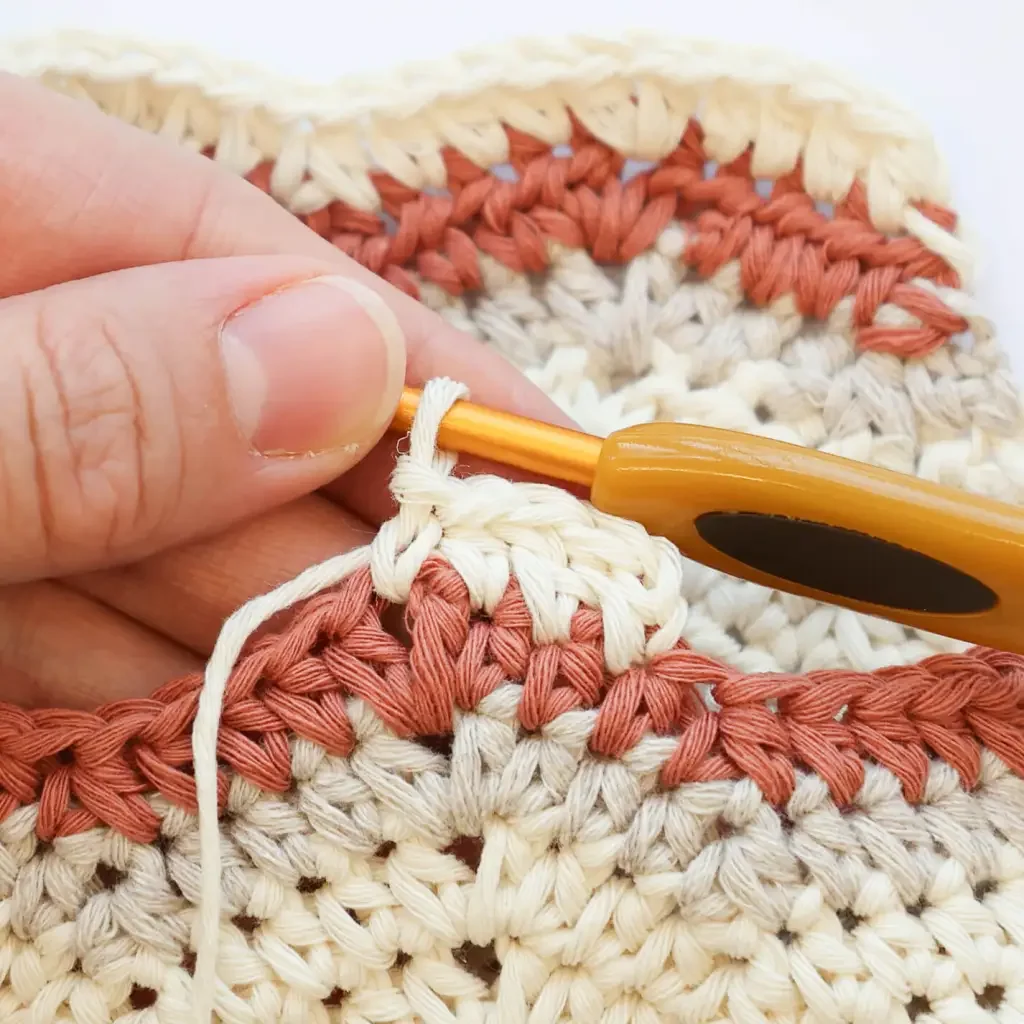
Skip 3 hdc sts on each side. Find the ch1 – space on the top of the peak and insert a stitch marker. Use the ch1-space as your starting point. Work in rows.
Row 1: Attach the yarn with ch 1. Start in the same hdc 4. Repeat (B, hdc 3, A, hdc 3) 3 times. B. Hdc 4.
Row 2: Ch 1. Turn. Hdc 3 . Repeat (B, hdc 3, A, hdc 3) 3 times. B. Hdc 3.
Row 3: Ch 1. Turn. Hdc 2. Repeat (B, hdc 3, A, hdc 3) 3 times. B. Hdc 2.
Row 4: Ch 1. Turn. Hdc 1. Repeat (B, hdc 3, A, hdc 3) 3 times. B. Hdc 1.
Row 5: Ch 1. Turn. Repeat (B, hdc 3, A, hdc 3) 3 times. B.
Row 6: Ch 1. Turn. Hdc 5. Repeat (B, hdc 3, A, hdc 3) 2 times. Hdc 5.
*Note: Row 6 was revisited and adjusted to the correct stitch count, so that the stitches and numbers match and the decrease in the fabric looks symmetrical and even.
Cut the yarn and fasten off.
Straps
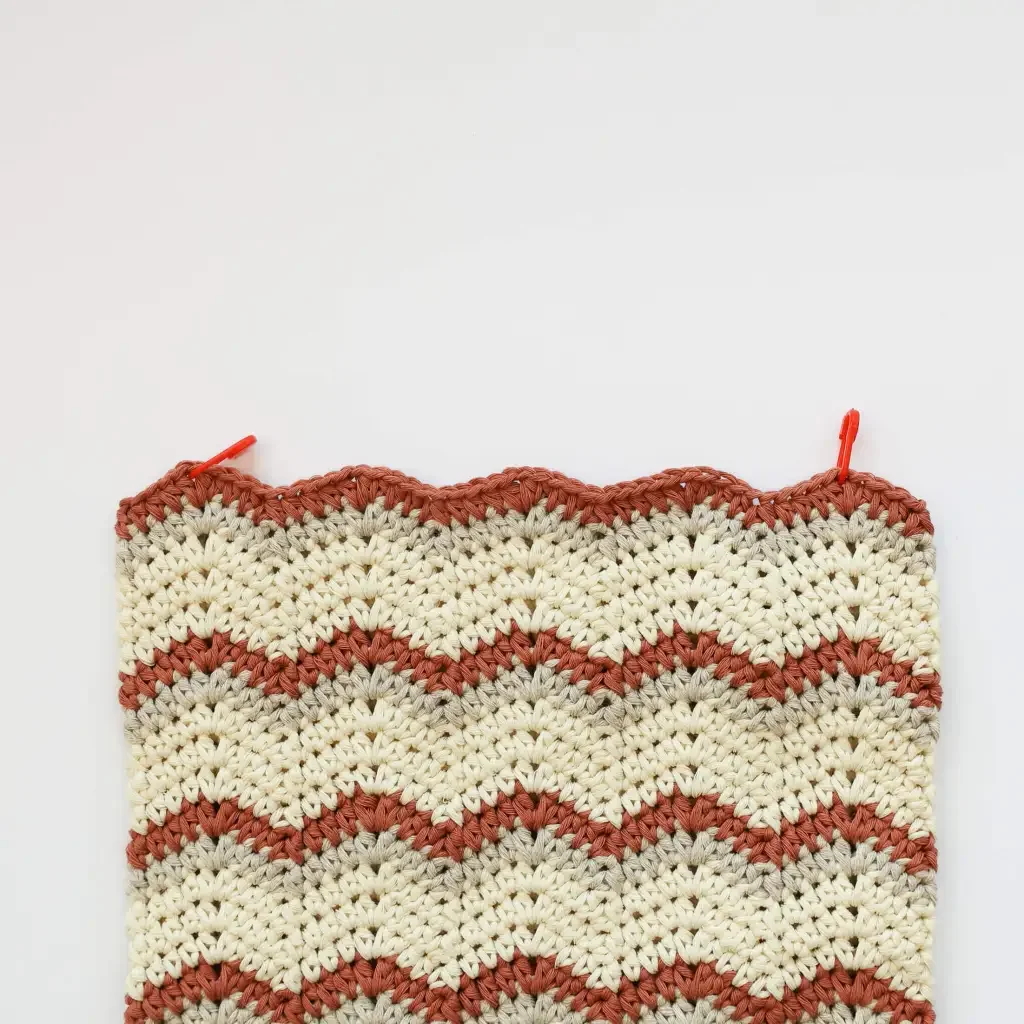
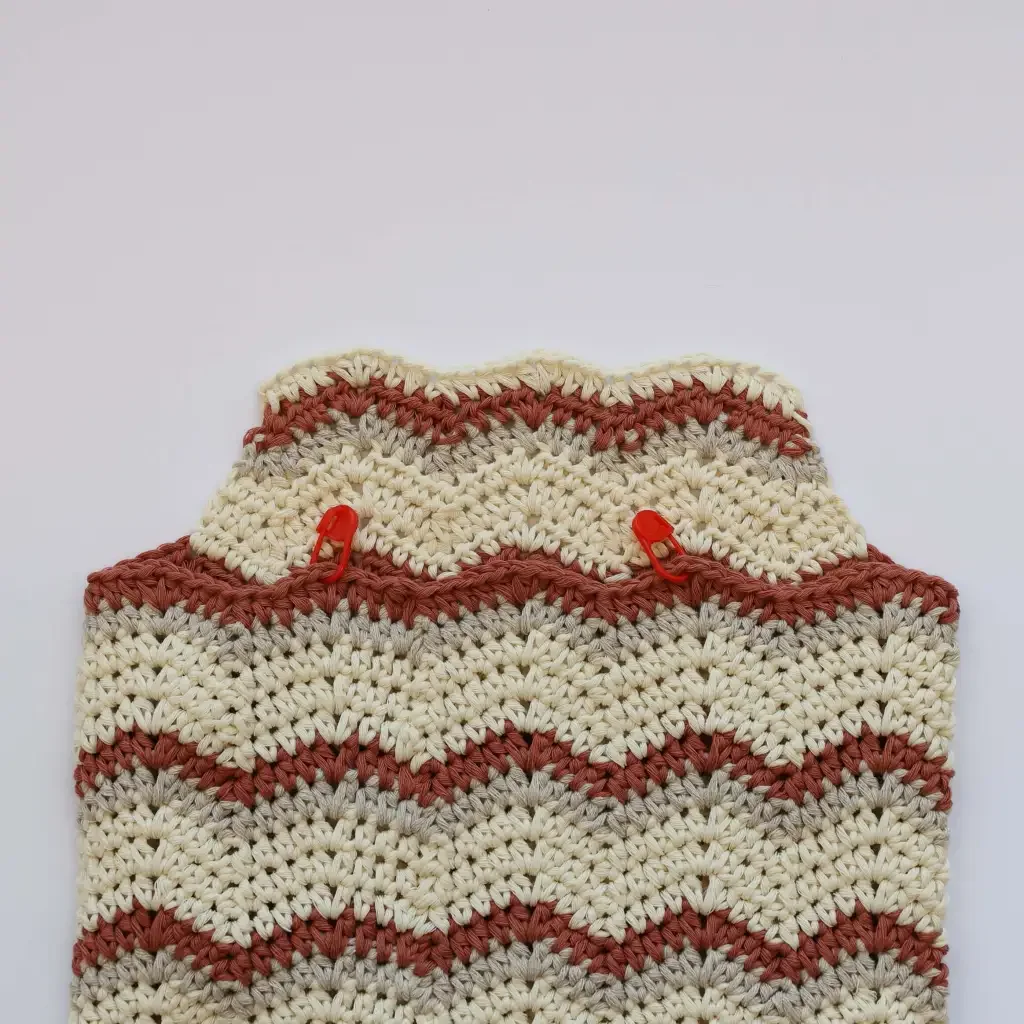
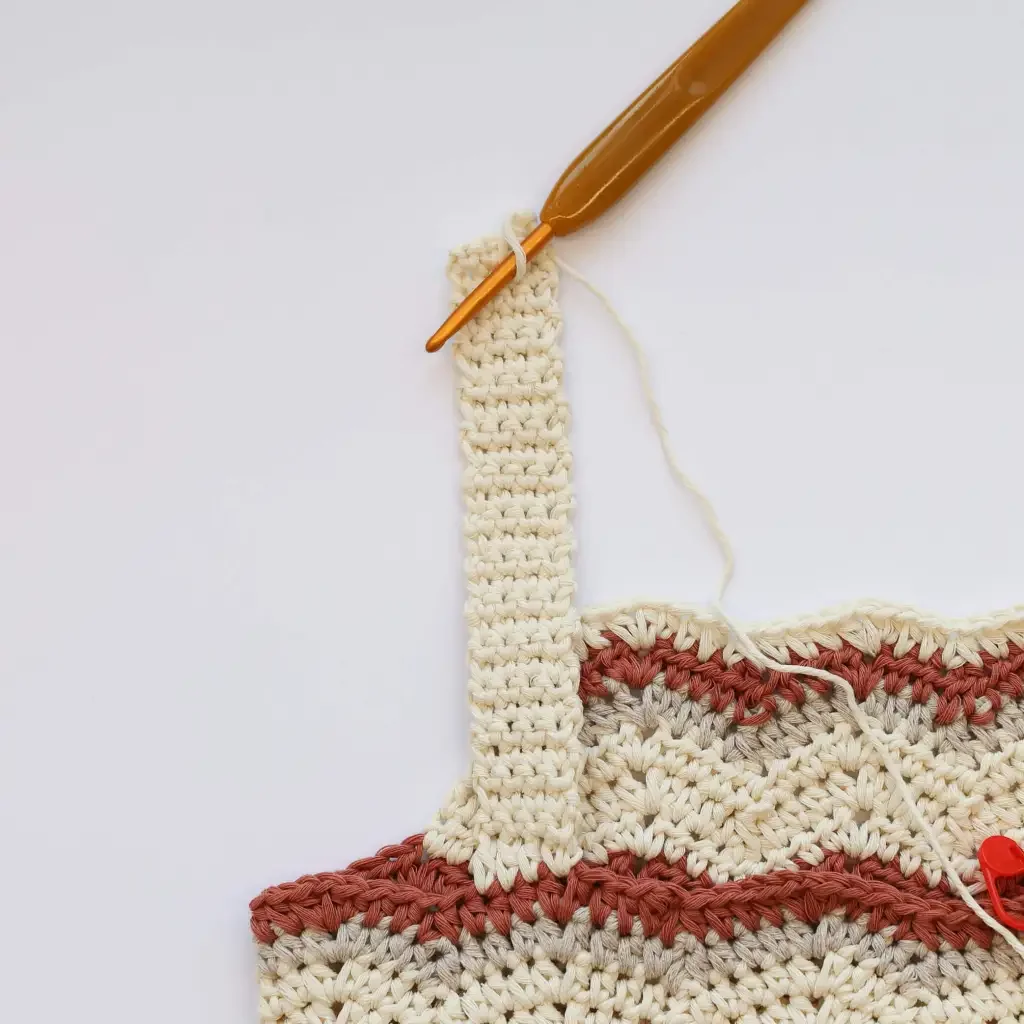
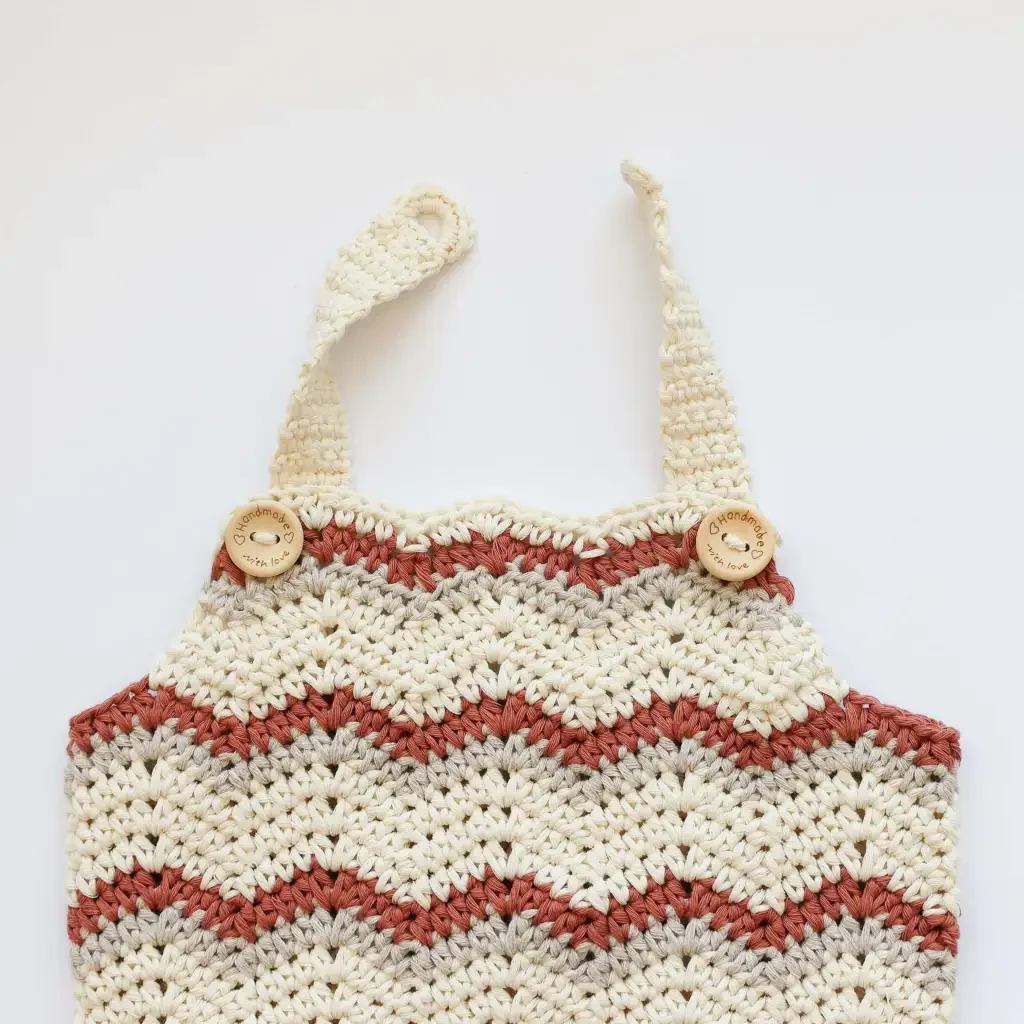
Place the romper on a flat surface. Make sure the back side is facing up.
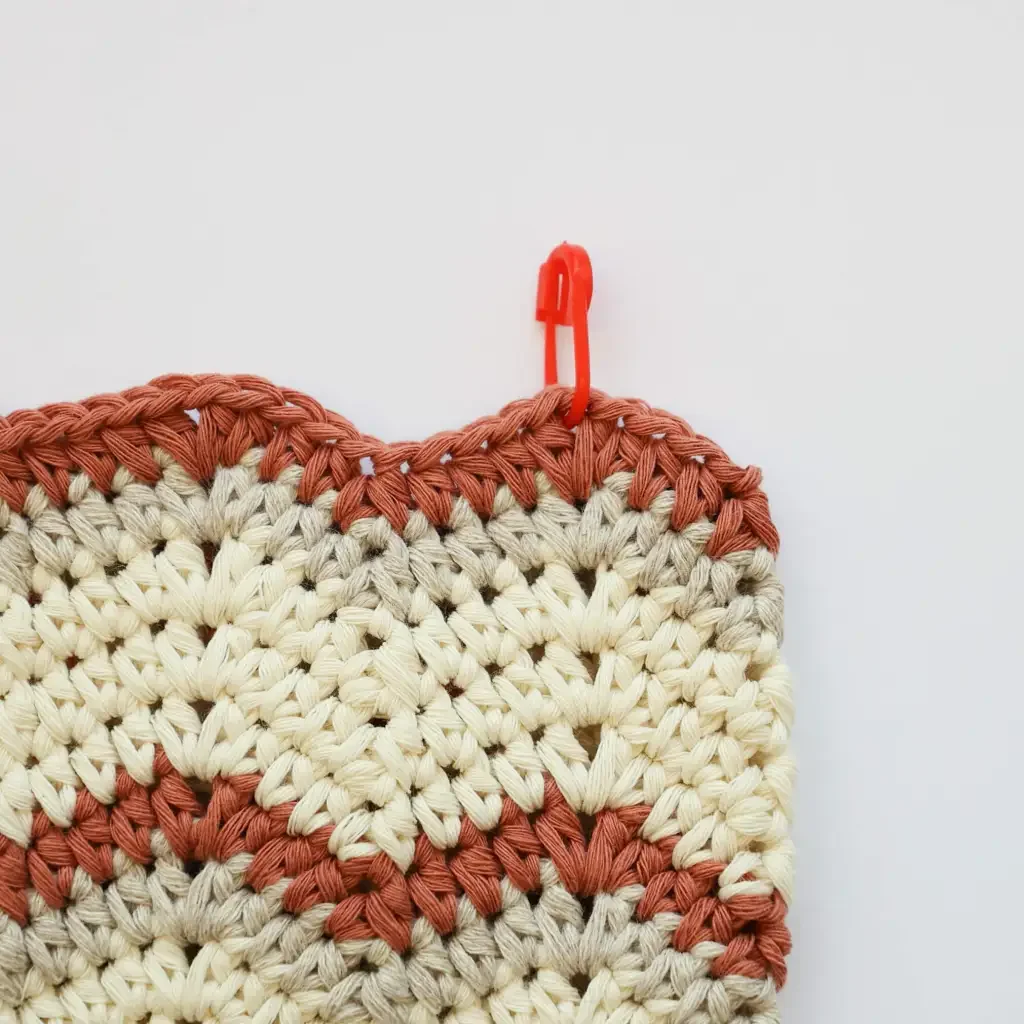
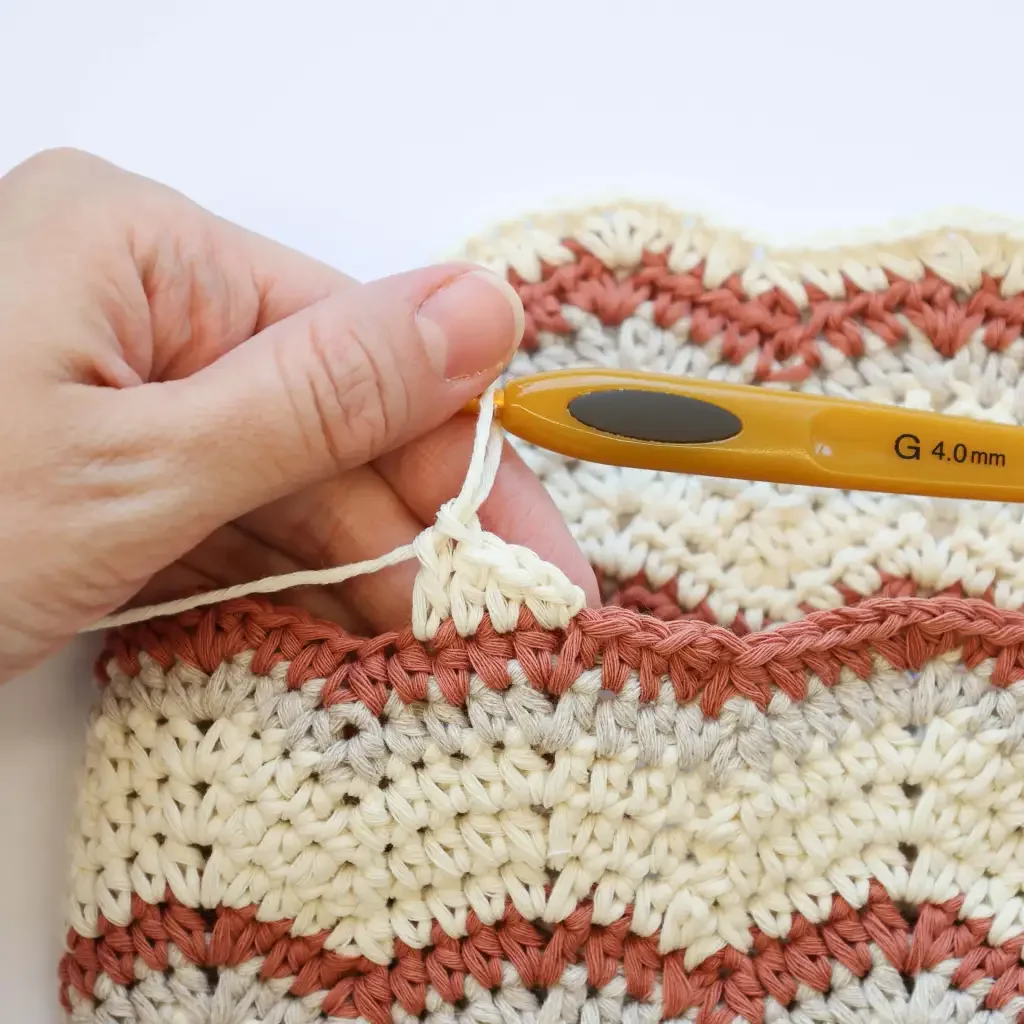
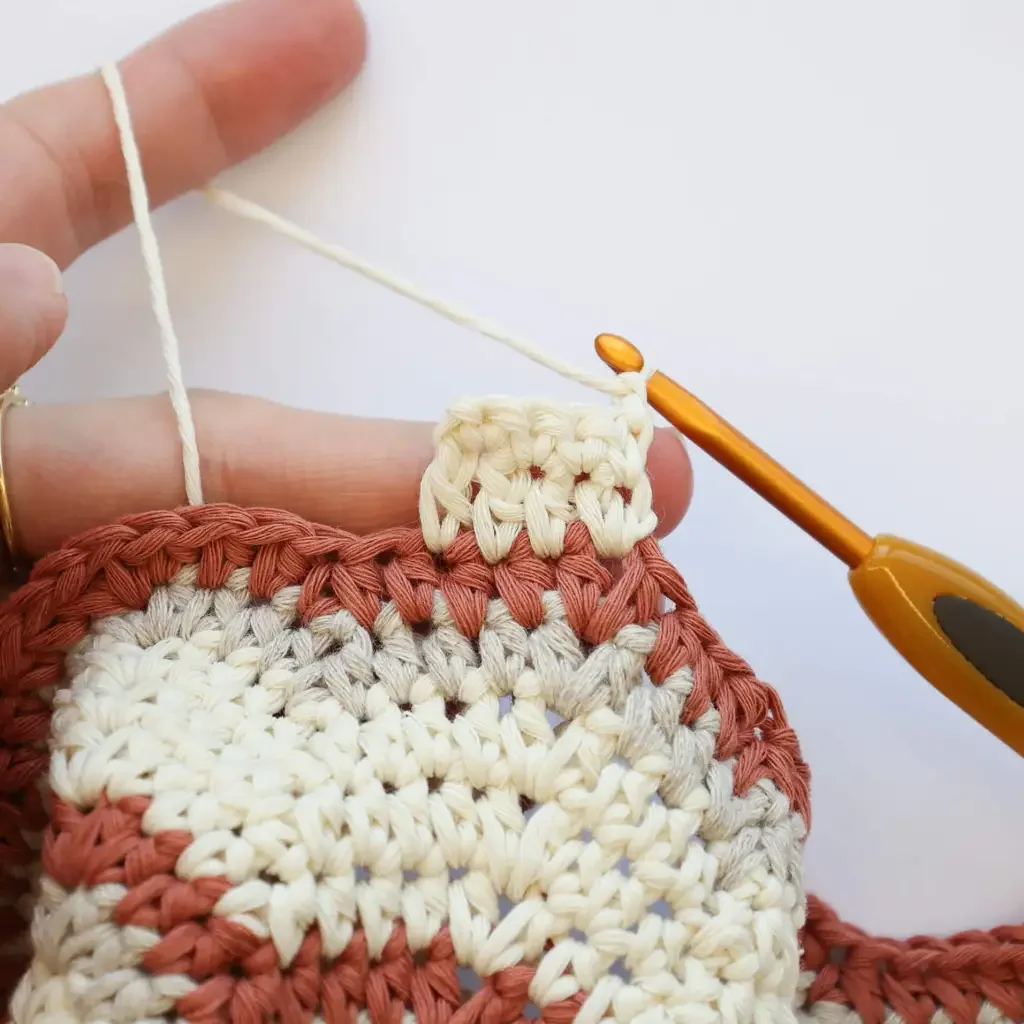
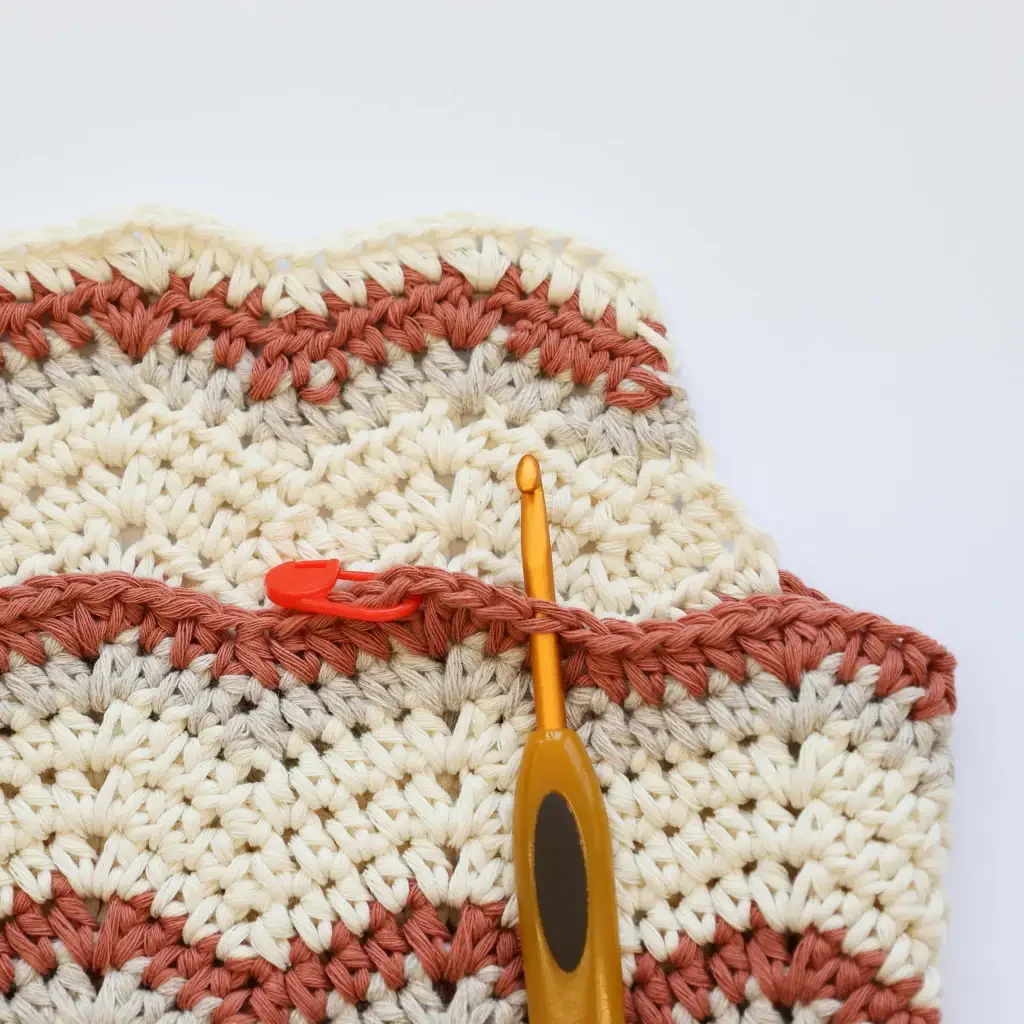
Take two stitch markers and mark 1.5 zigzags in on each side. Place the marker into the ch1-space.
Left
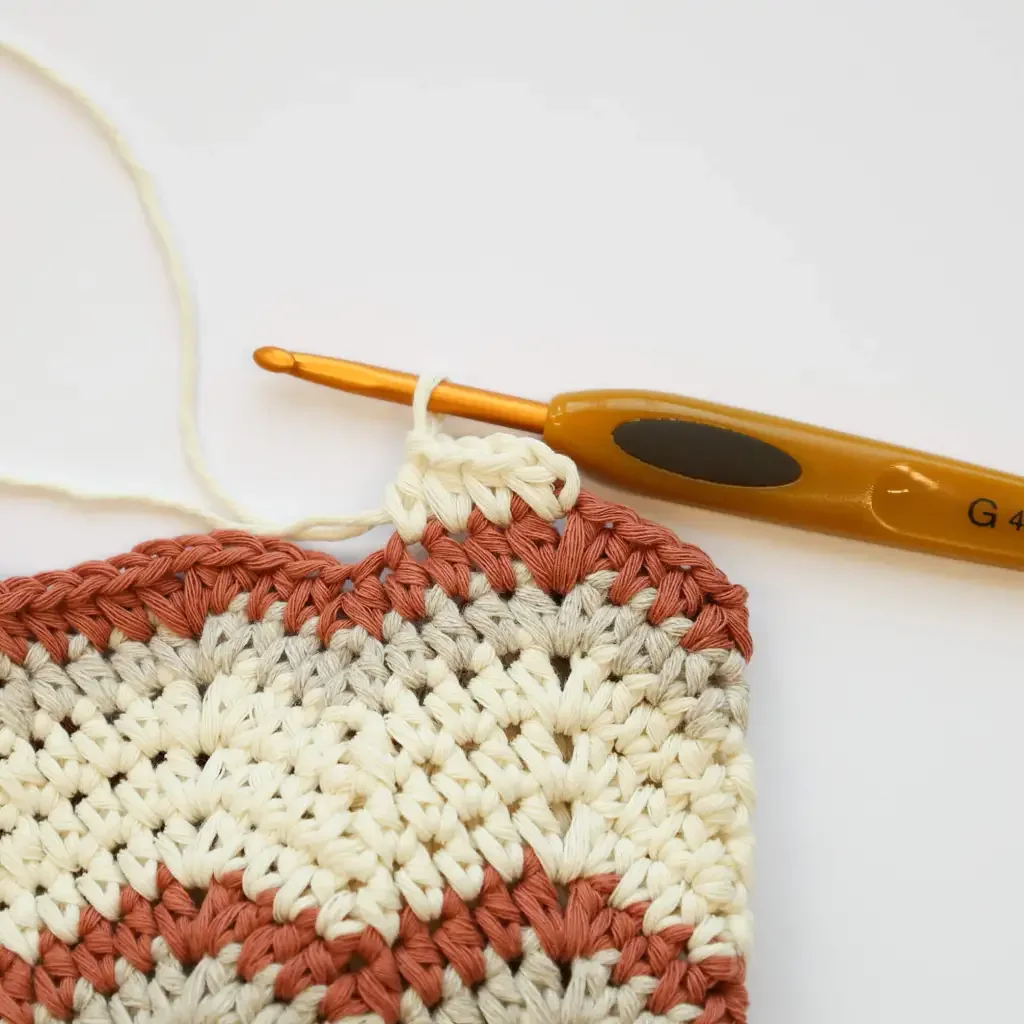
Work in rows, starting in the ch-1 space, approximately 1.5 zigzags in (refer to the photo for exact placement).
Row 1: Attach the yarn with ch 1. Start in the same st. Sc 1. Hdc into next 1. Dc 2. = 4 sts.
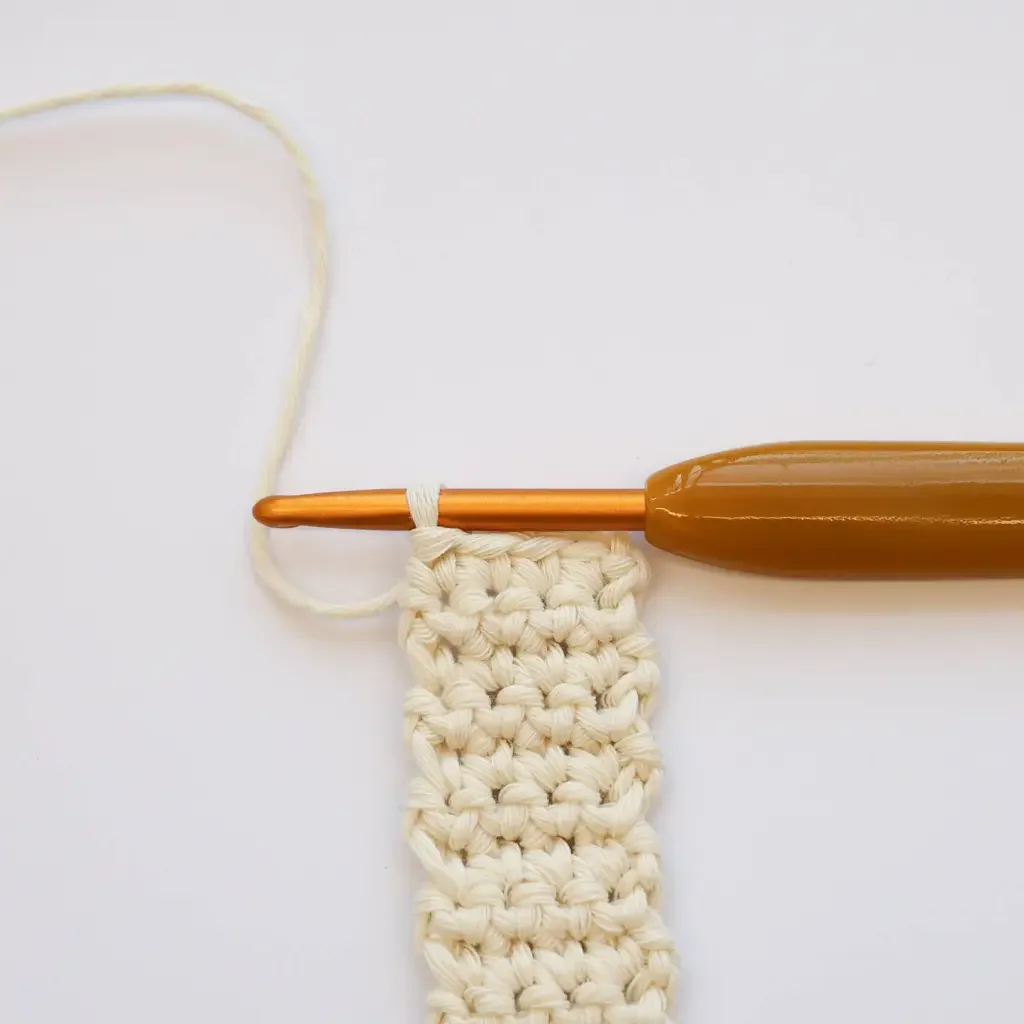
Row 2: Ch 1. Turn. Work 1 sc into each of the next 4 sts. = 4 sts.
Repeat row 2 27 more times, or as many times as needed to achieve the desired length of the strap.
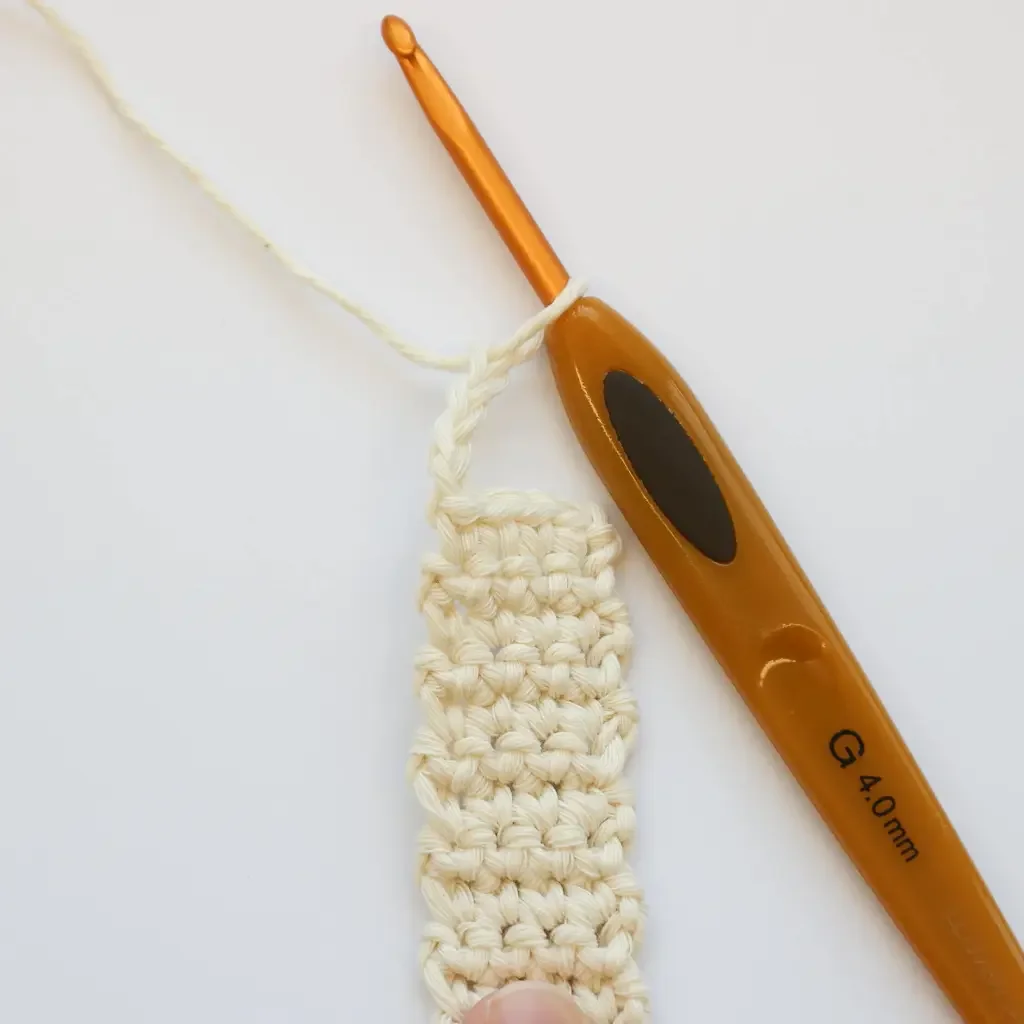
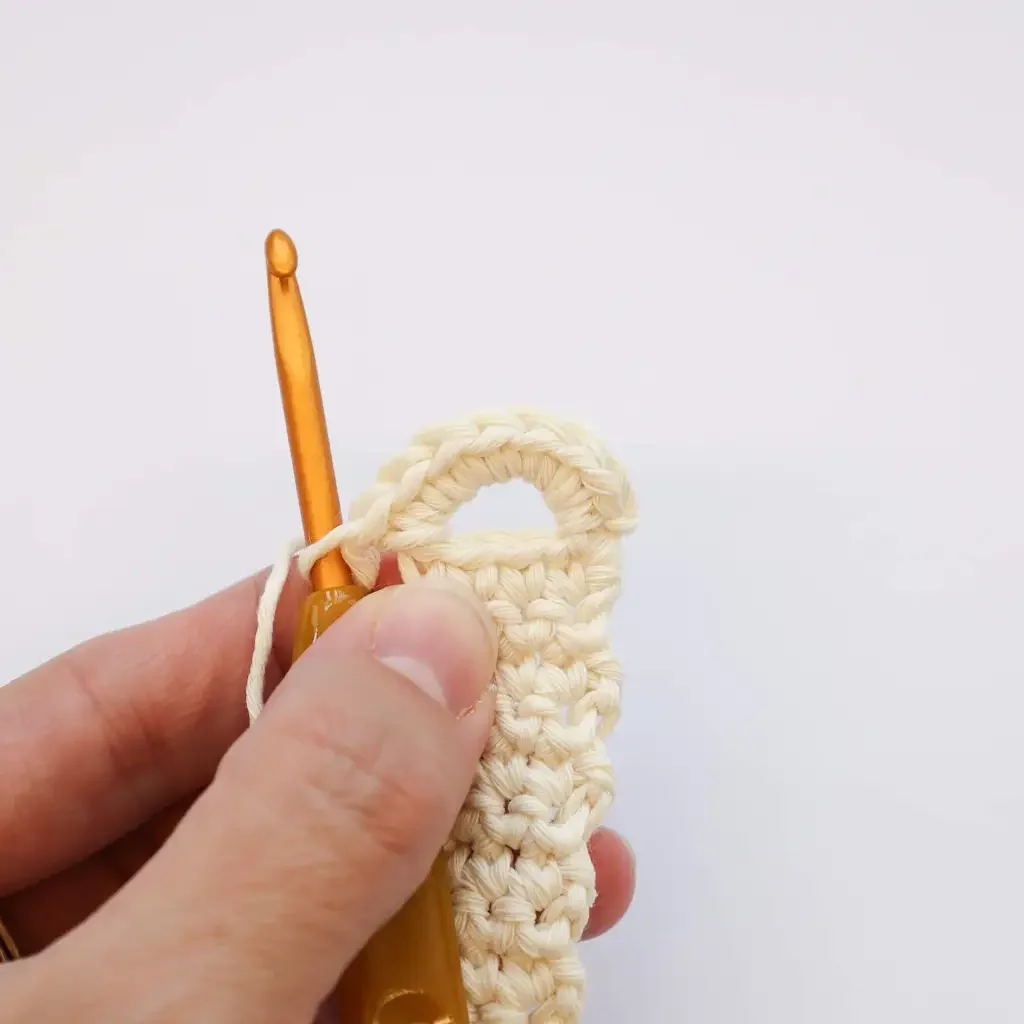
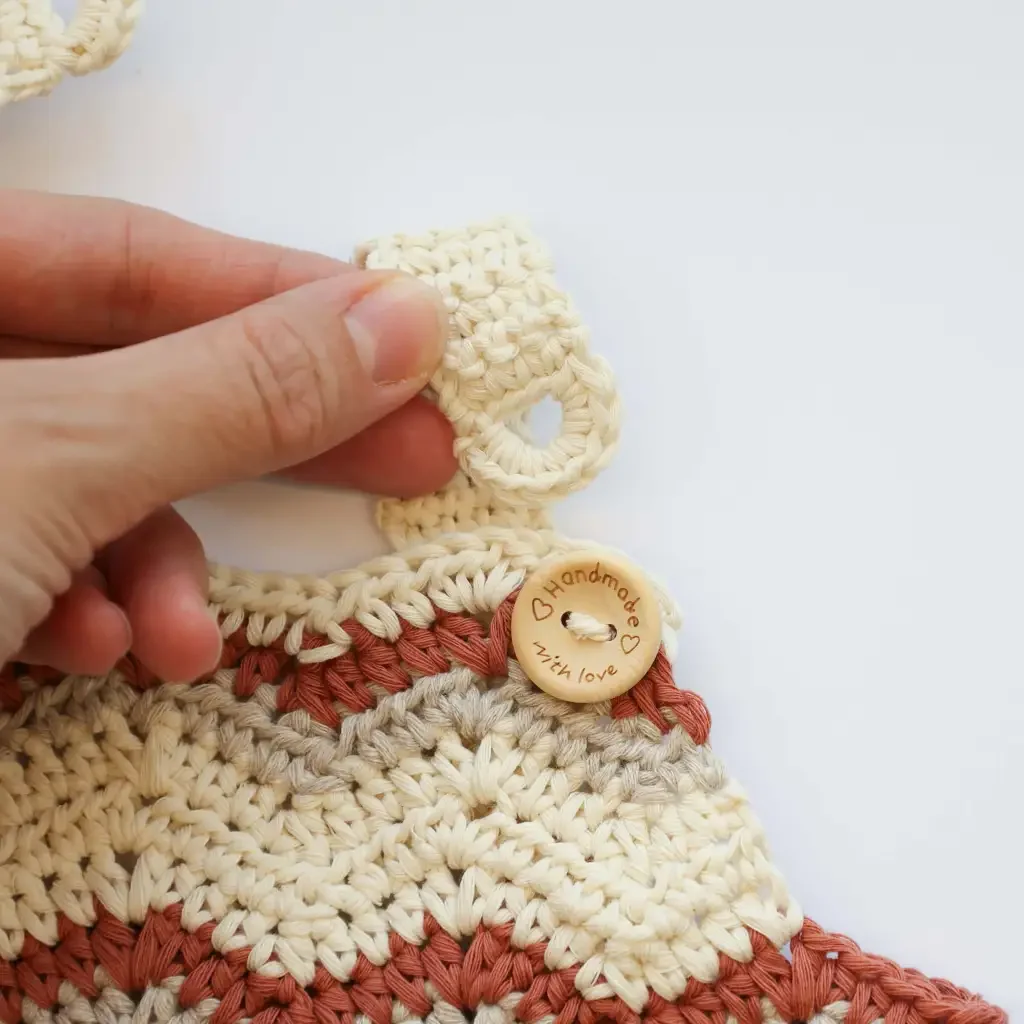
Buttonhole: Sc 4. Turn. Ch 4. Attach the chain on the other side, with ss. Turn. Sc 8 around the ch-4 space. Secure the row with a slip stitch into the side of the strap.
Right
Insert the hook into the 4 stitch from the ch-1 space, so that when row 1 is complete, your last stitch is made into the ch-1 space.
Row 1: Count 4 sts back – towards the armpit. Attach the yarn with ch 1. Start in the same stitch. Dc 2. Hdc into next 1. Sc 1. = 4 sts.
Row 2: Ch 1. Turn. Work 1 sc into each of the next 4 sts. = 4 sts.
Repeat row 2 27 more times or as many times as you need to reach the desired length of the strap.
Buttonhole: Sc 4 [4, 5, 5]. Turn. Ch 4. Attach the chain on the other side, with ss. Turn. Sc 8 around the ch-4 space. Secure the row with a ss into the side of the
strap.
Buttons
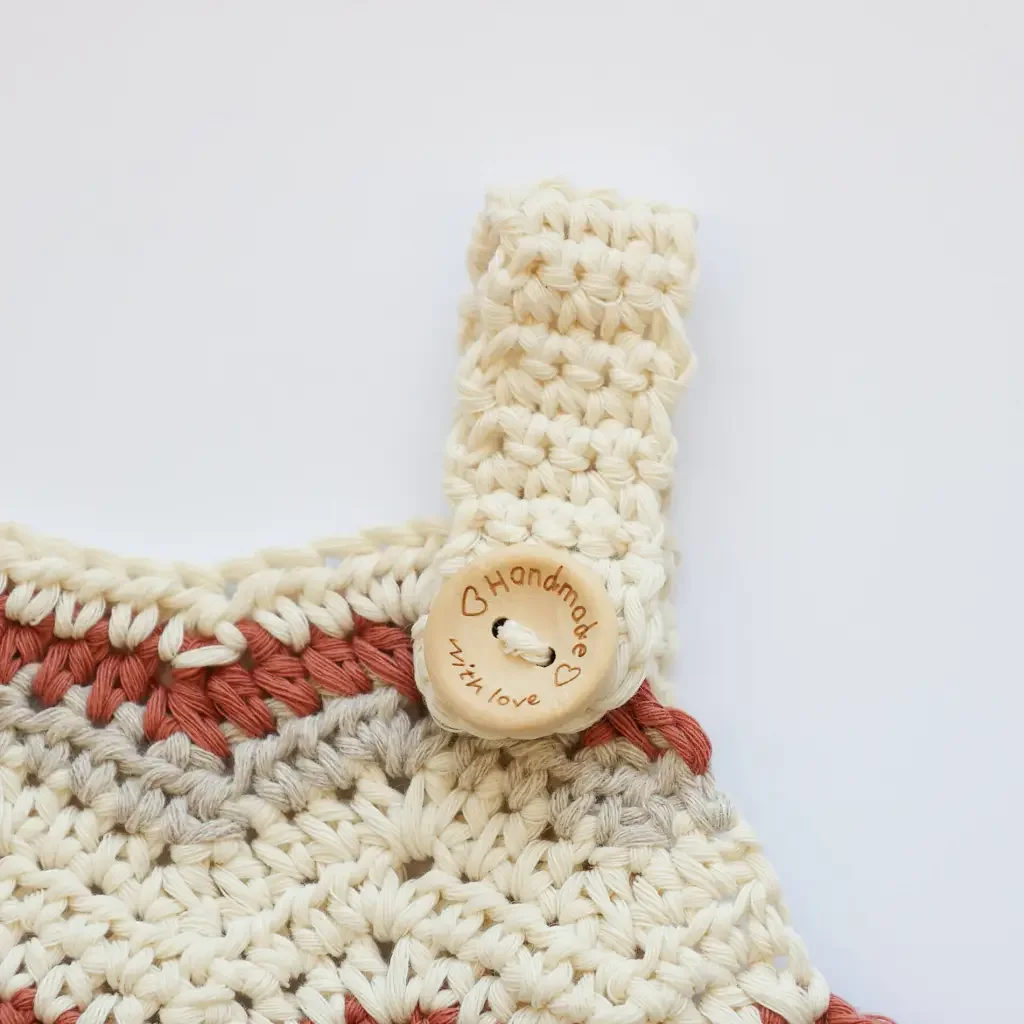
Attach two small buttons corresponding to the buttonholes, ideally one on each of the top of the upper part of the romper.
Finishing
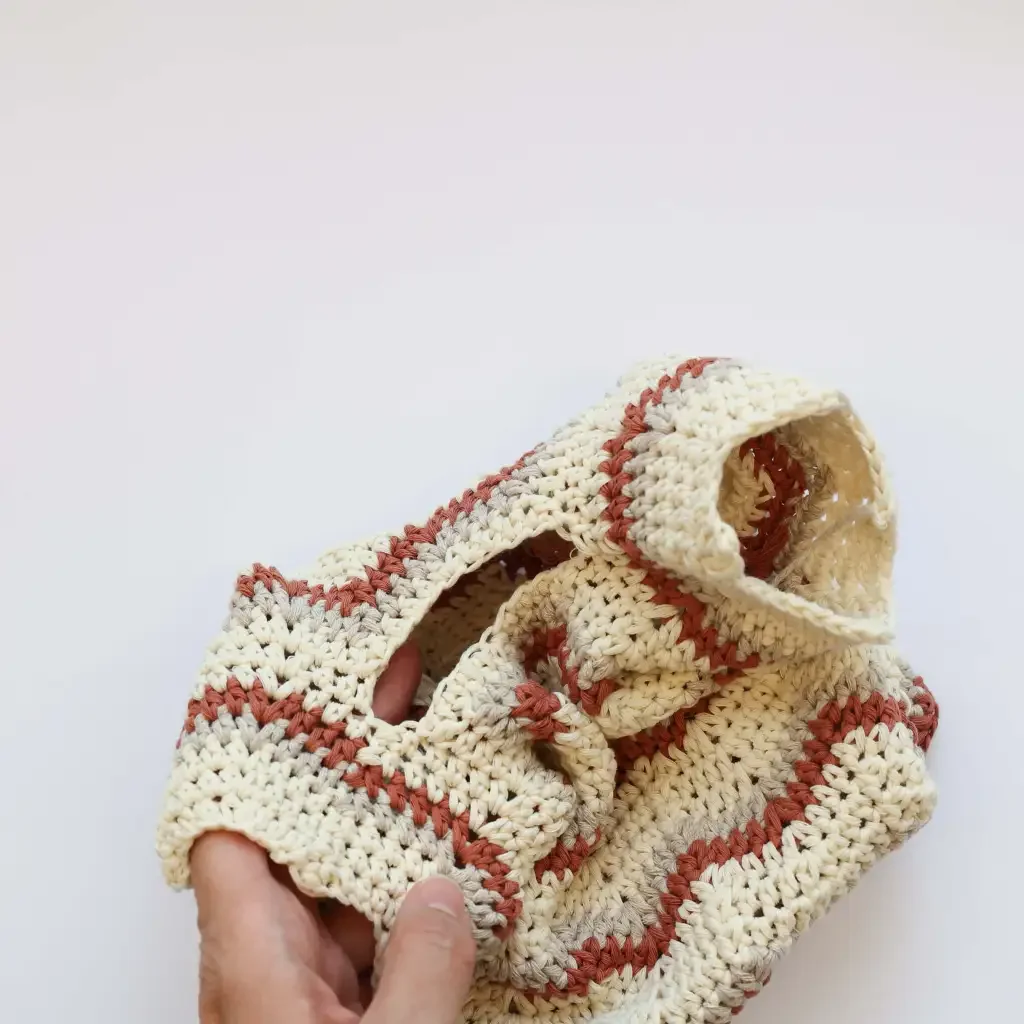
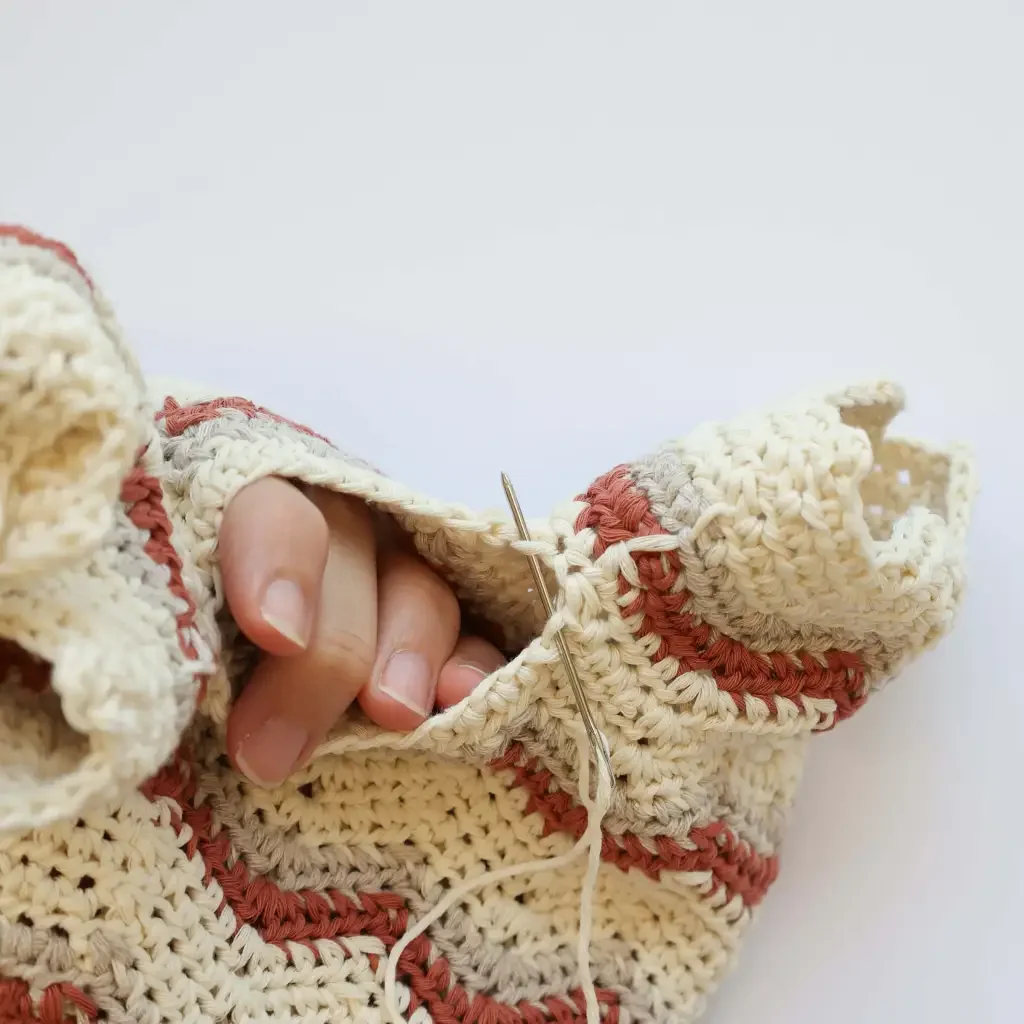
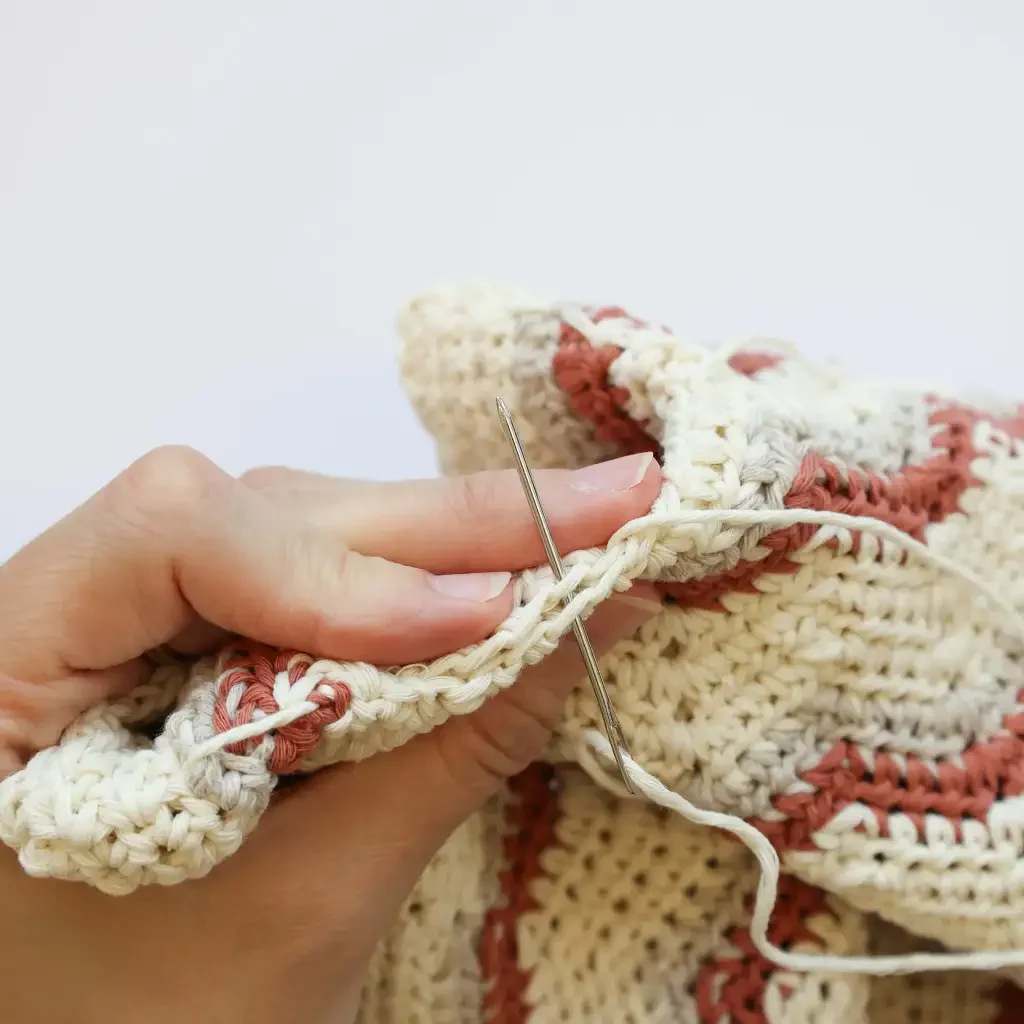
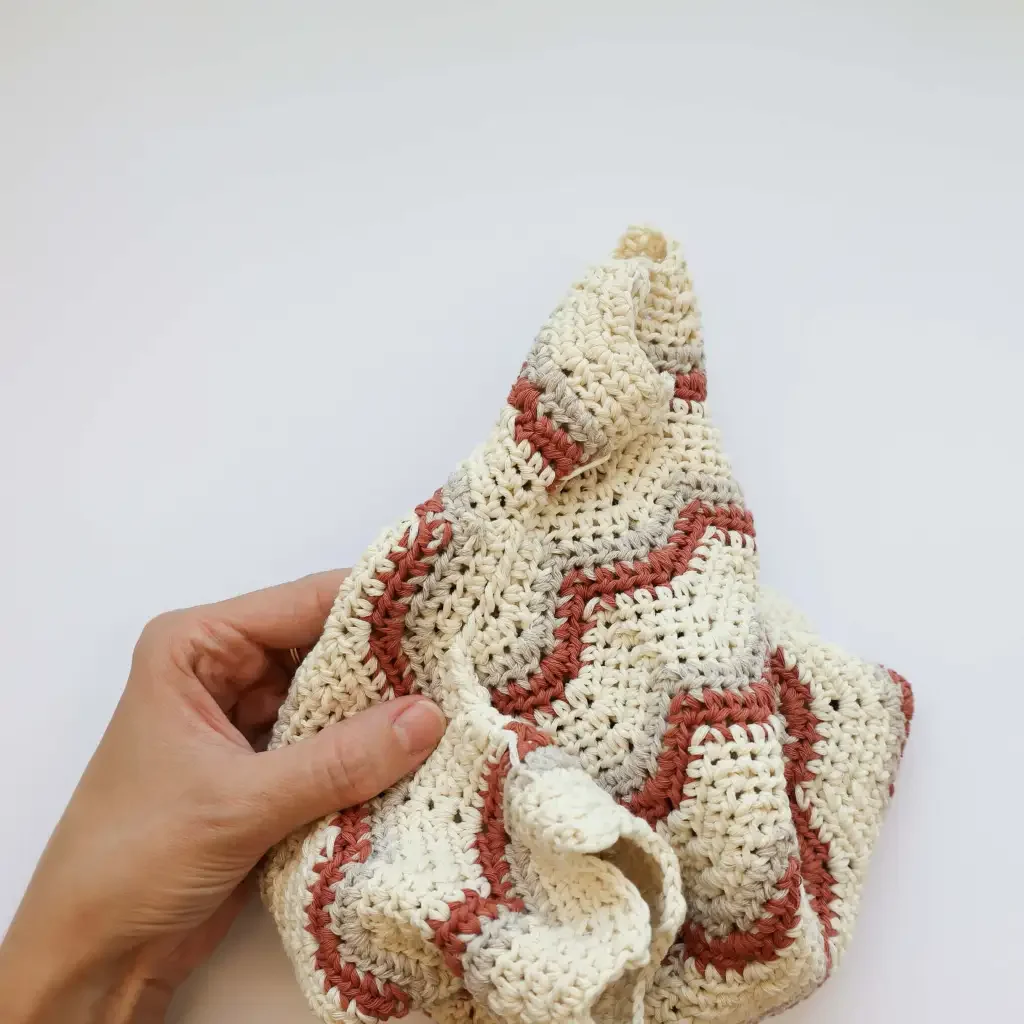
Thread a yarn needle with a small length of your main color yarn. Use a few simple stitches to close the opening between the legs. Don’t worry too much about using a special technique here. The goal is to secure the opening and tuck the yarn tails neatly between the stitches. If you’d like to see the method I used, you can check the video tutorial for a step‑by‑step look.
DID YOU TRY OUT THIS PATTERN?
I’d love to know how it turned out! Please let me know by leaving a comment below. Or snap a photo and share it on Instagram. Be sure to tag me @crobypatterns.