Best Easy Little Crochet Lamb Free Crochet Pattern
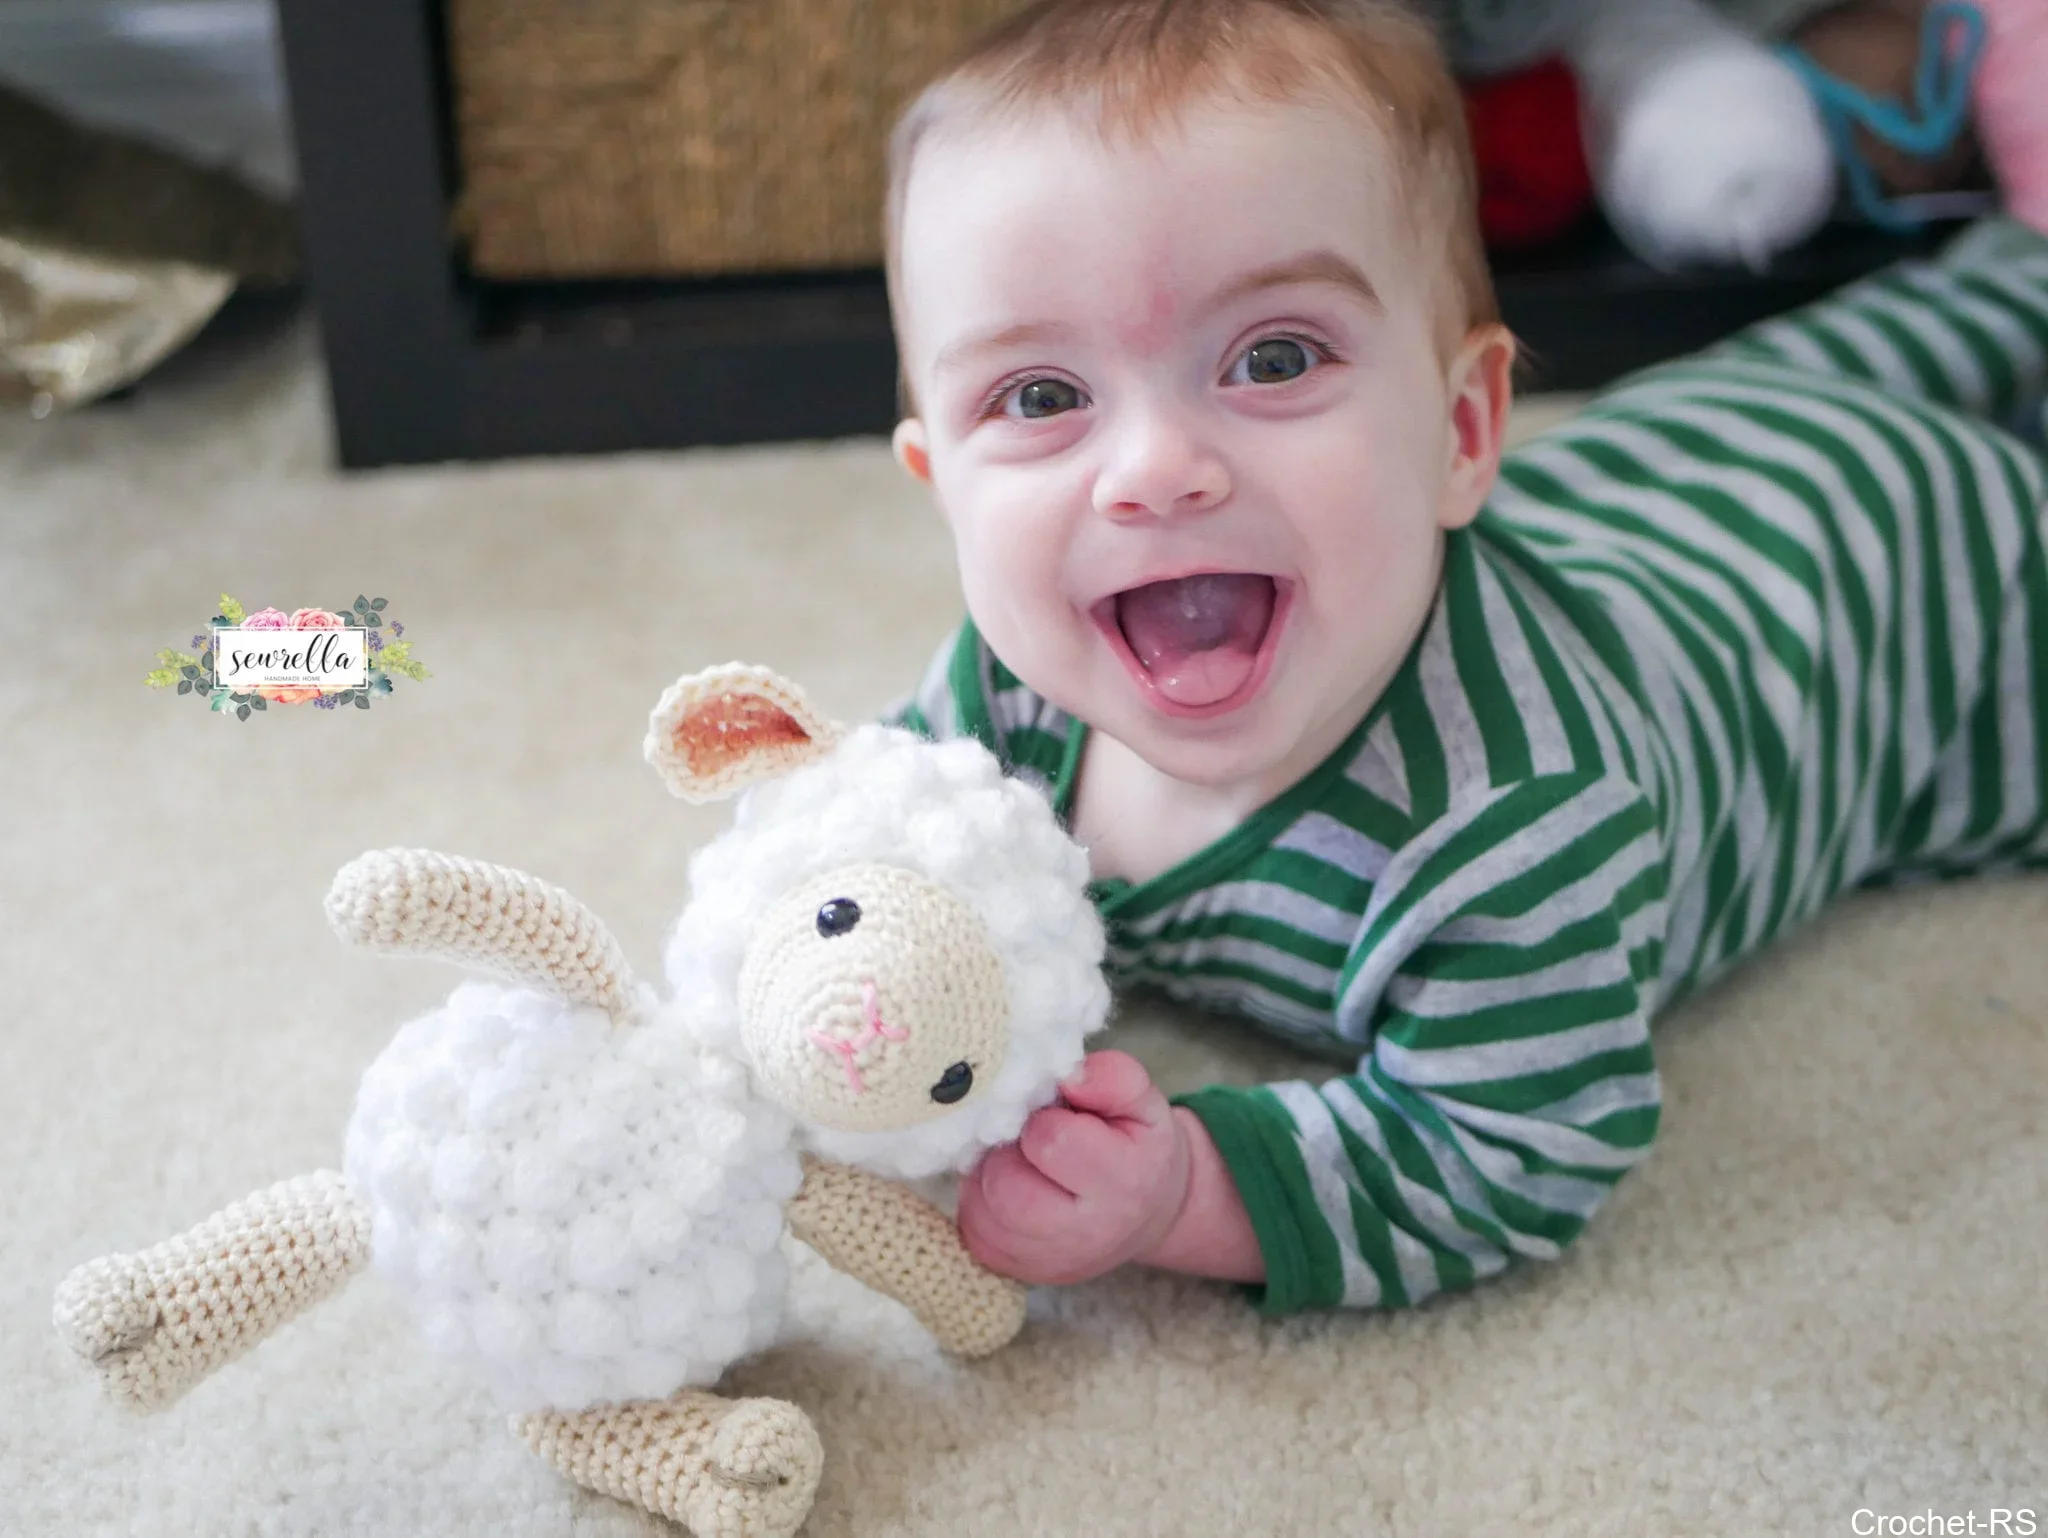
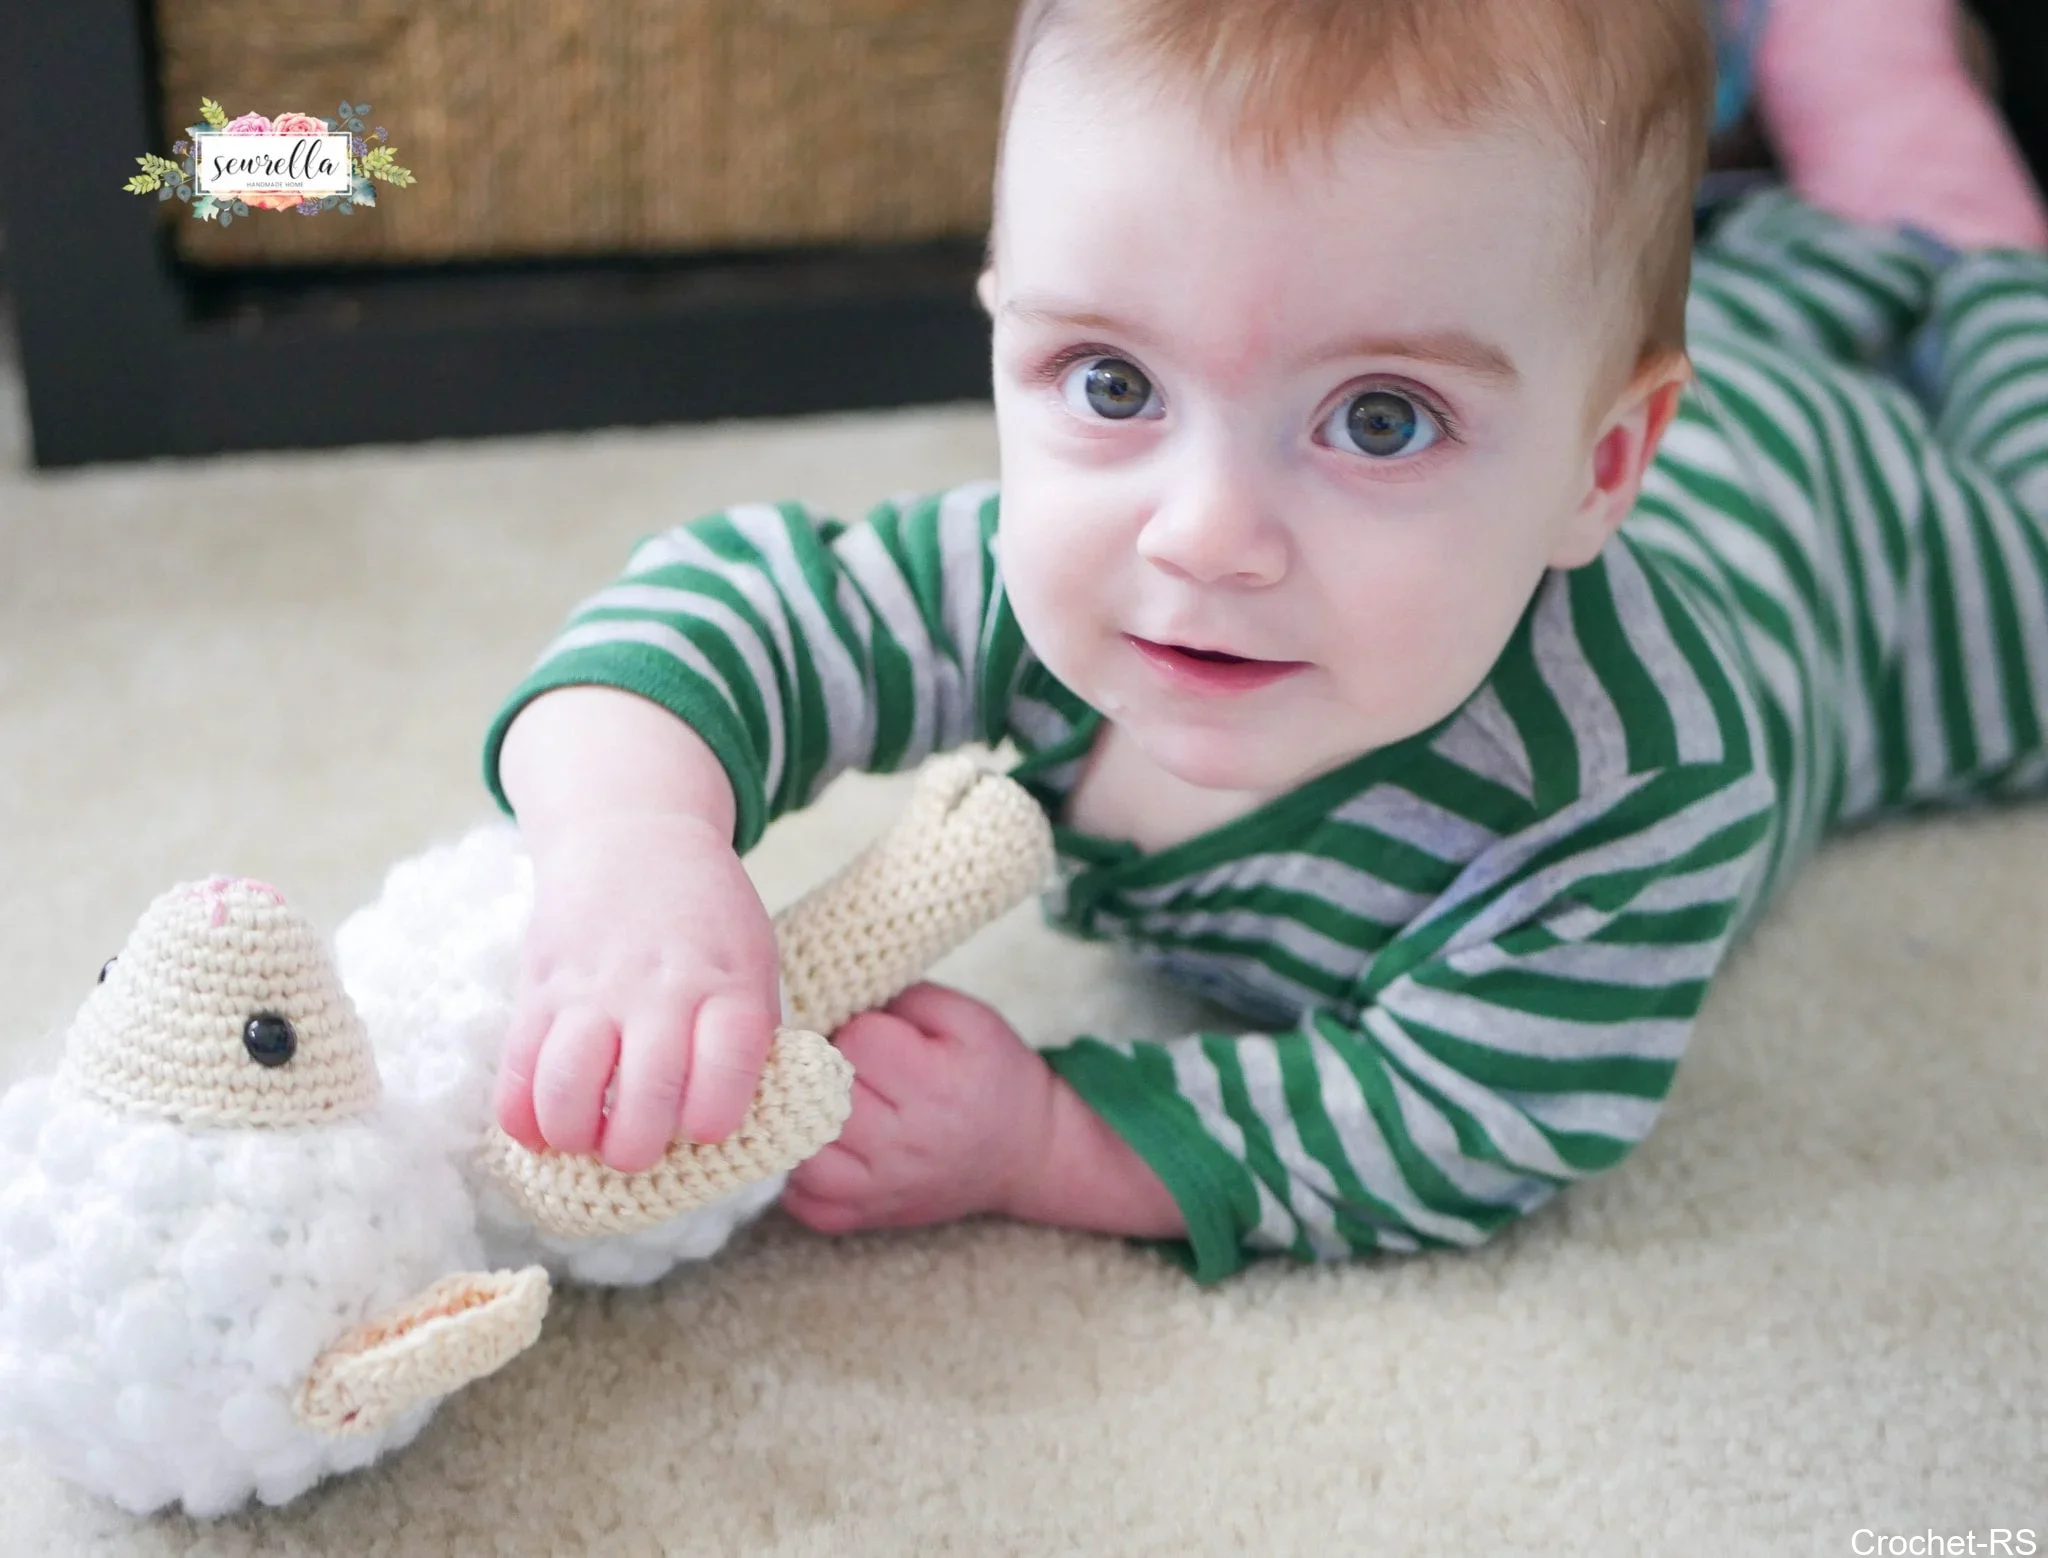
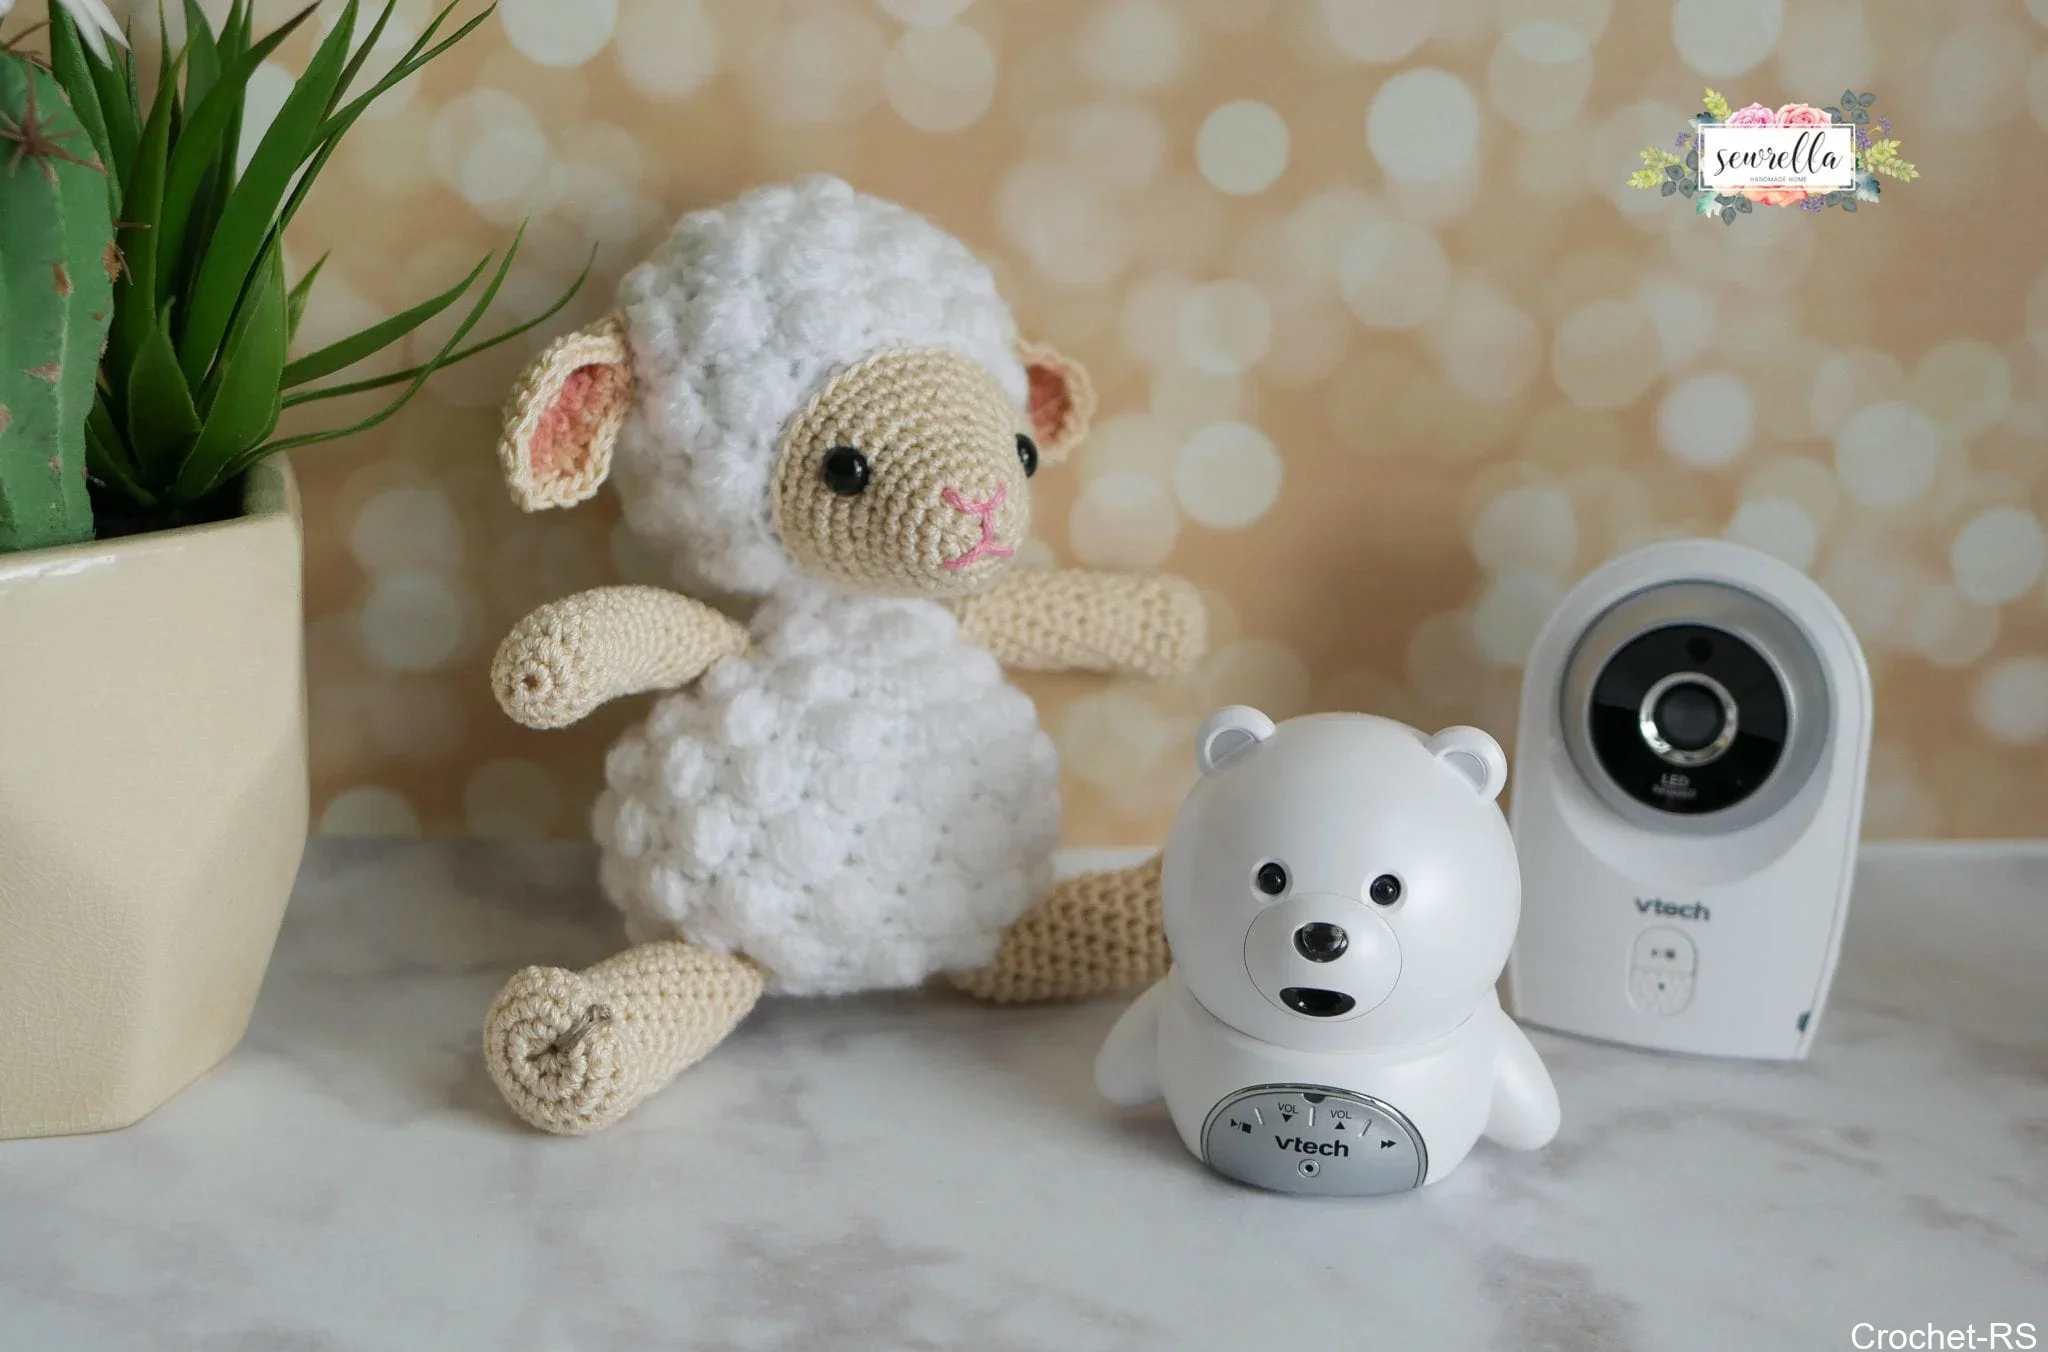
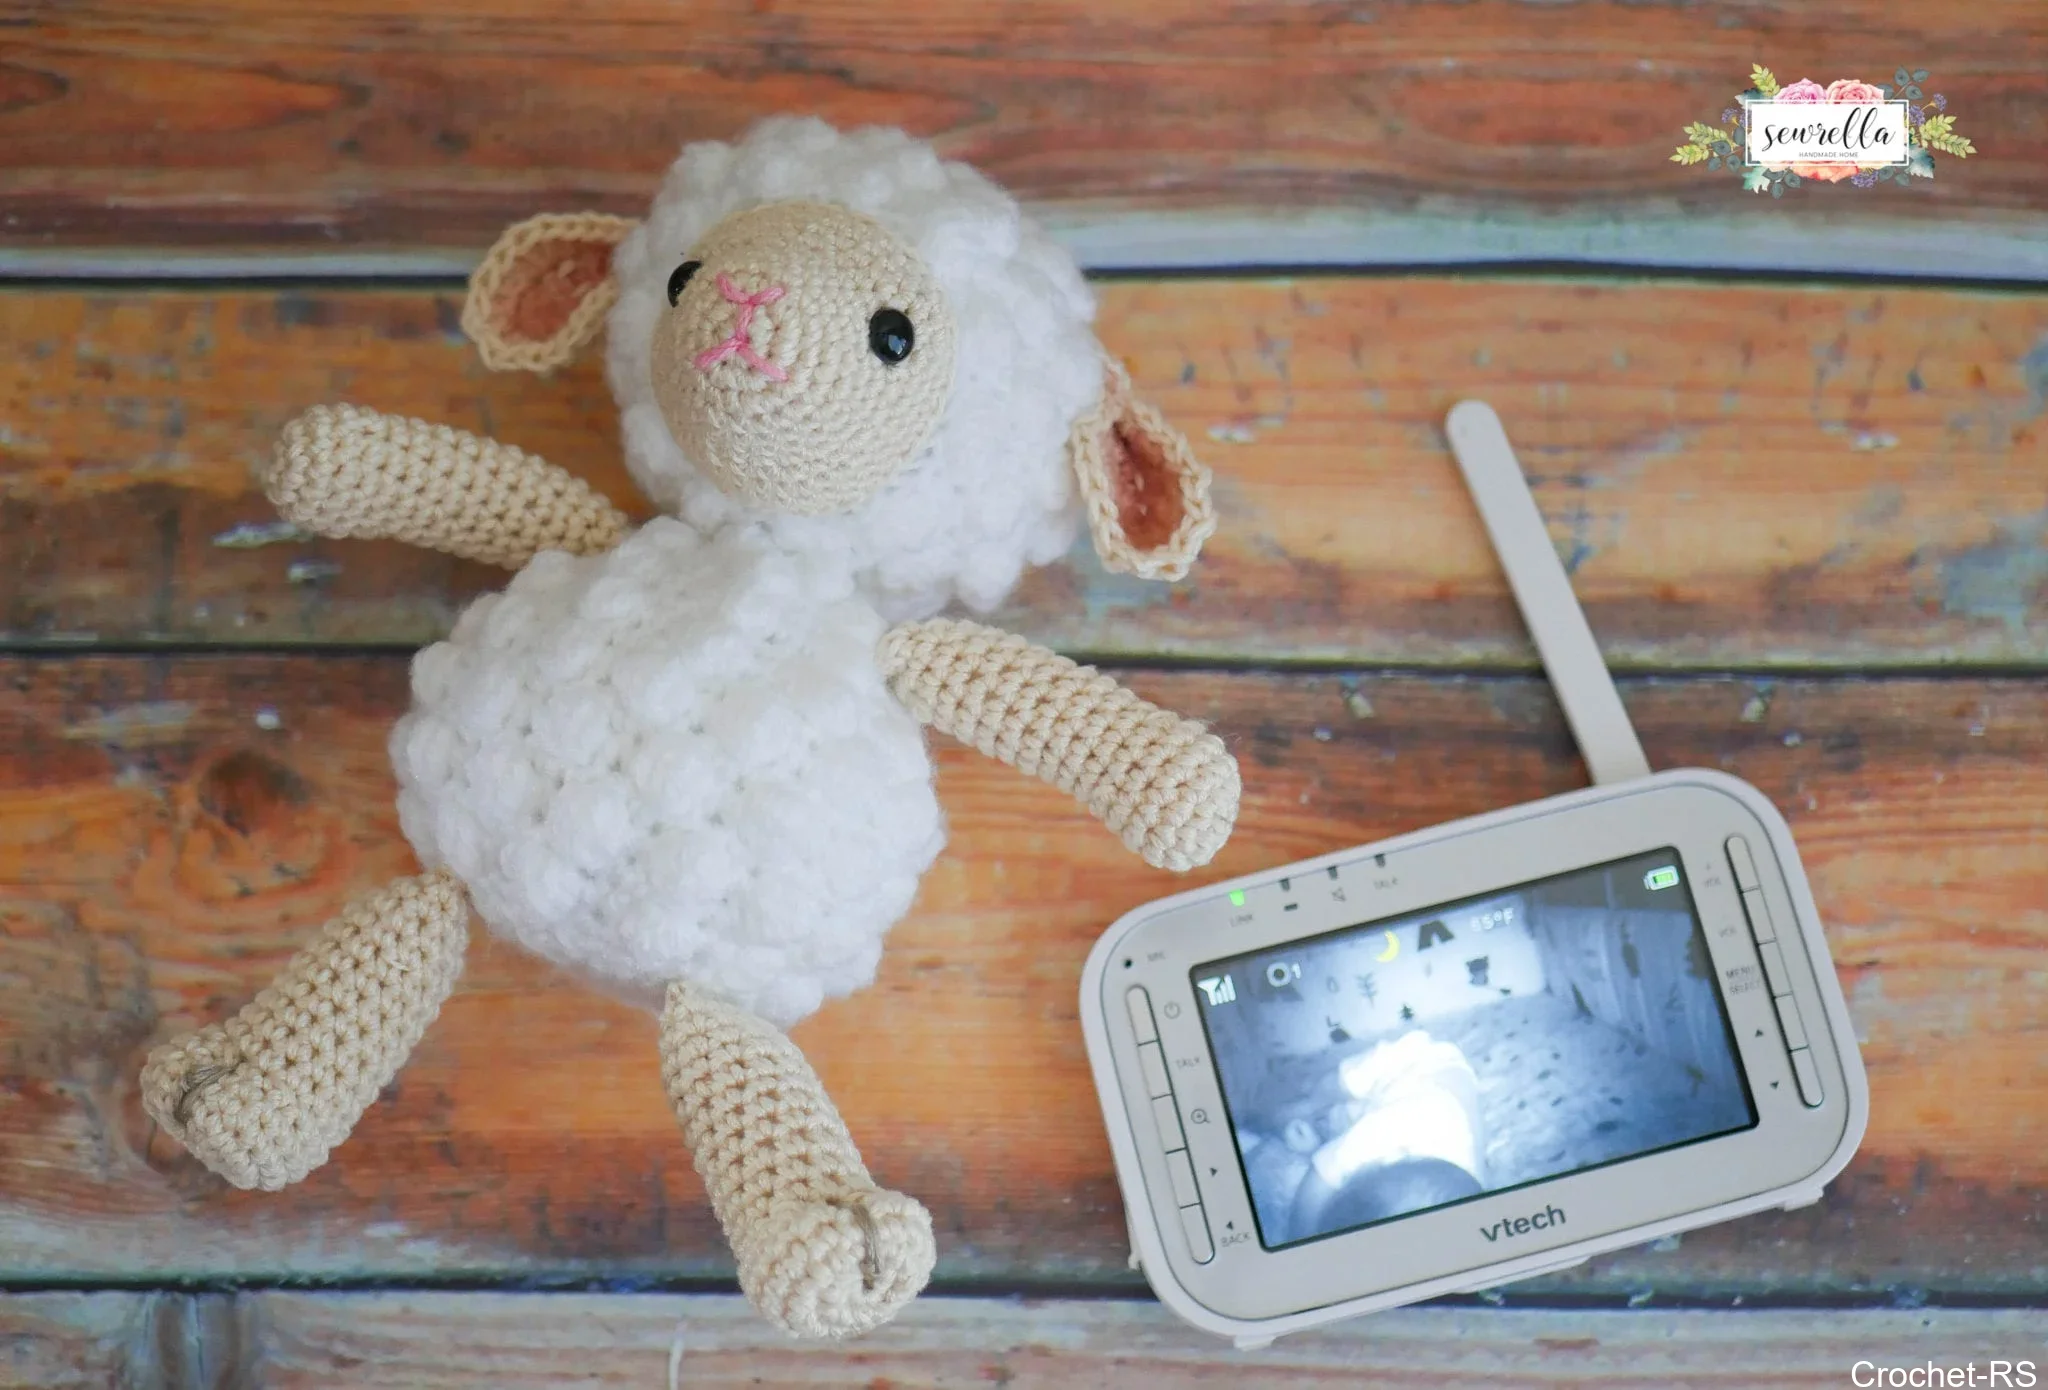
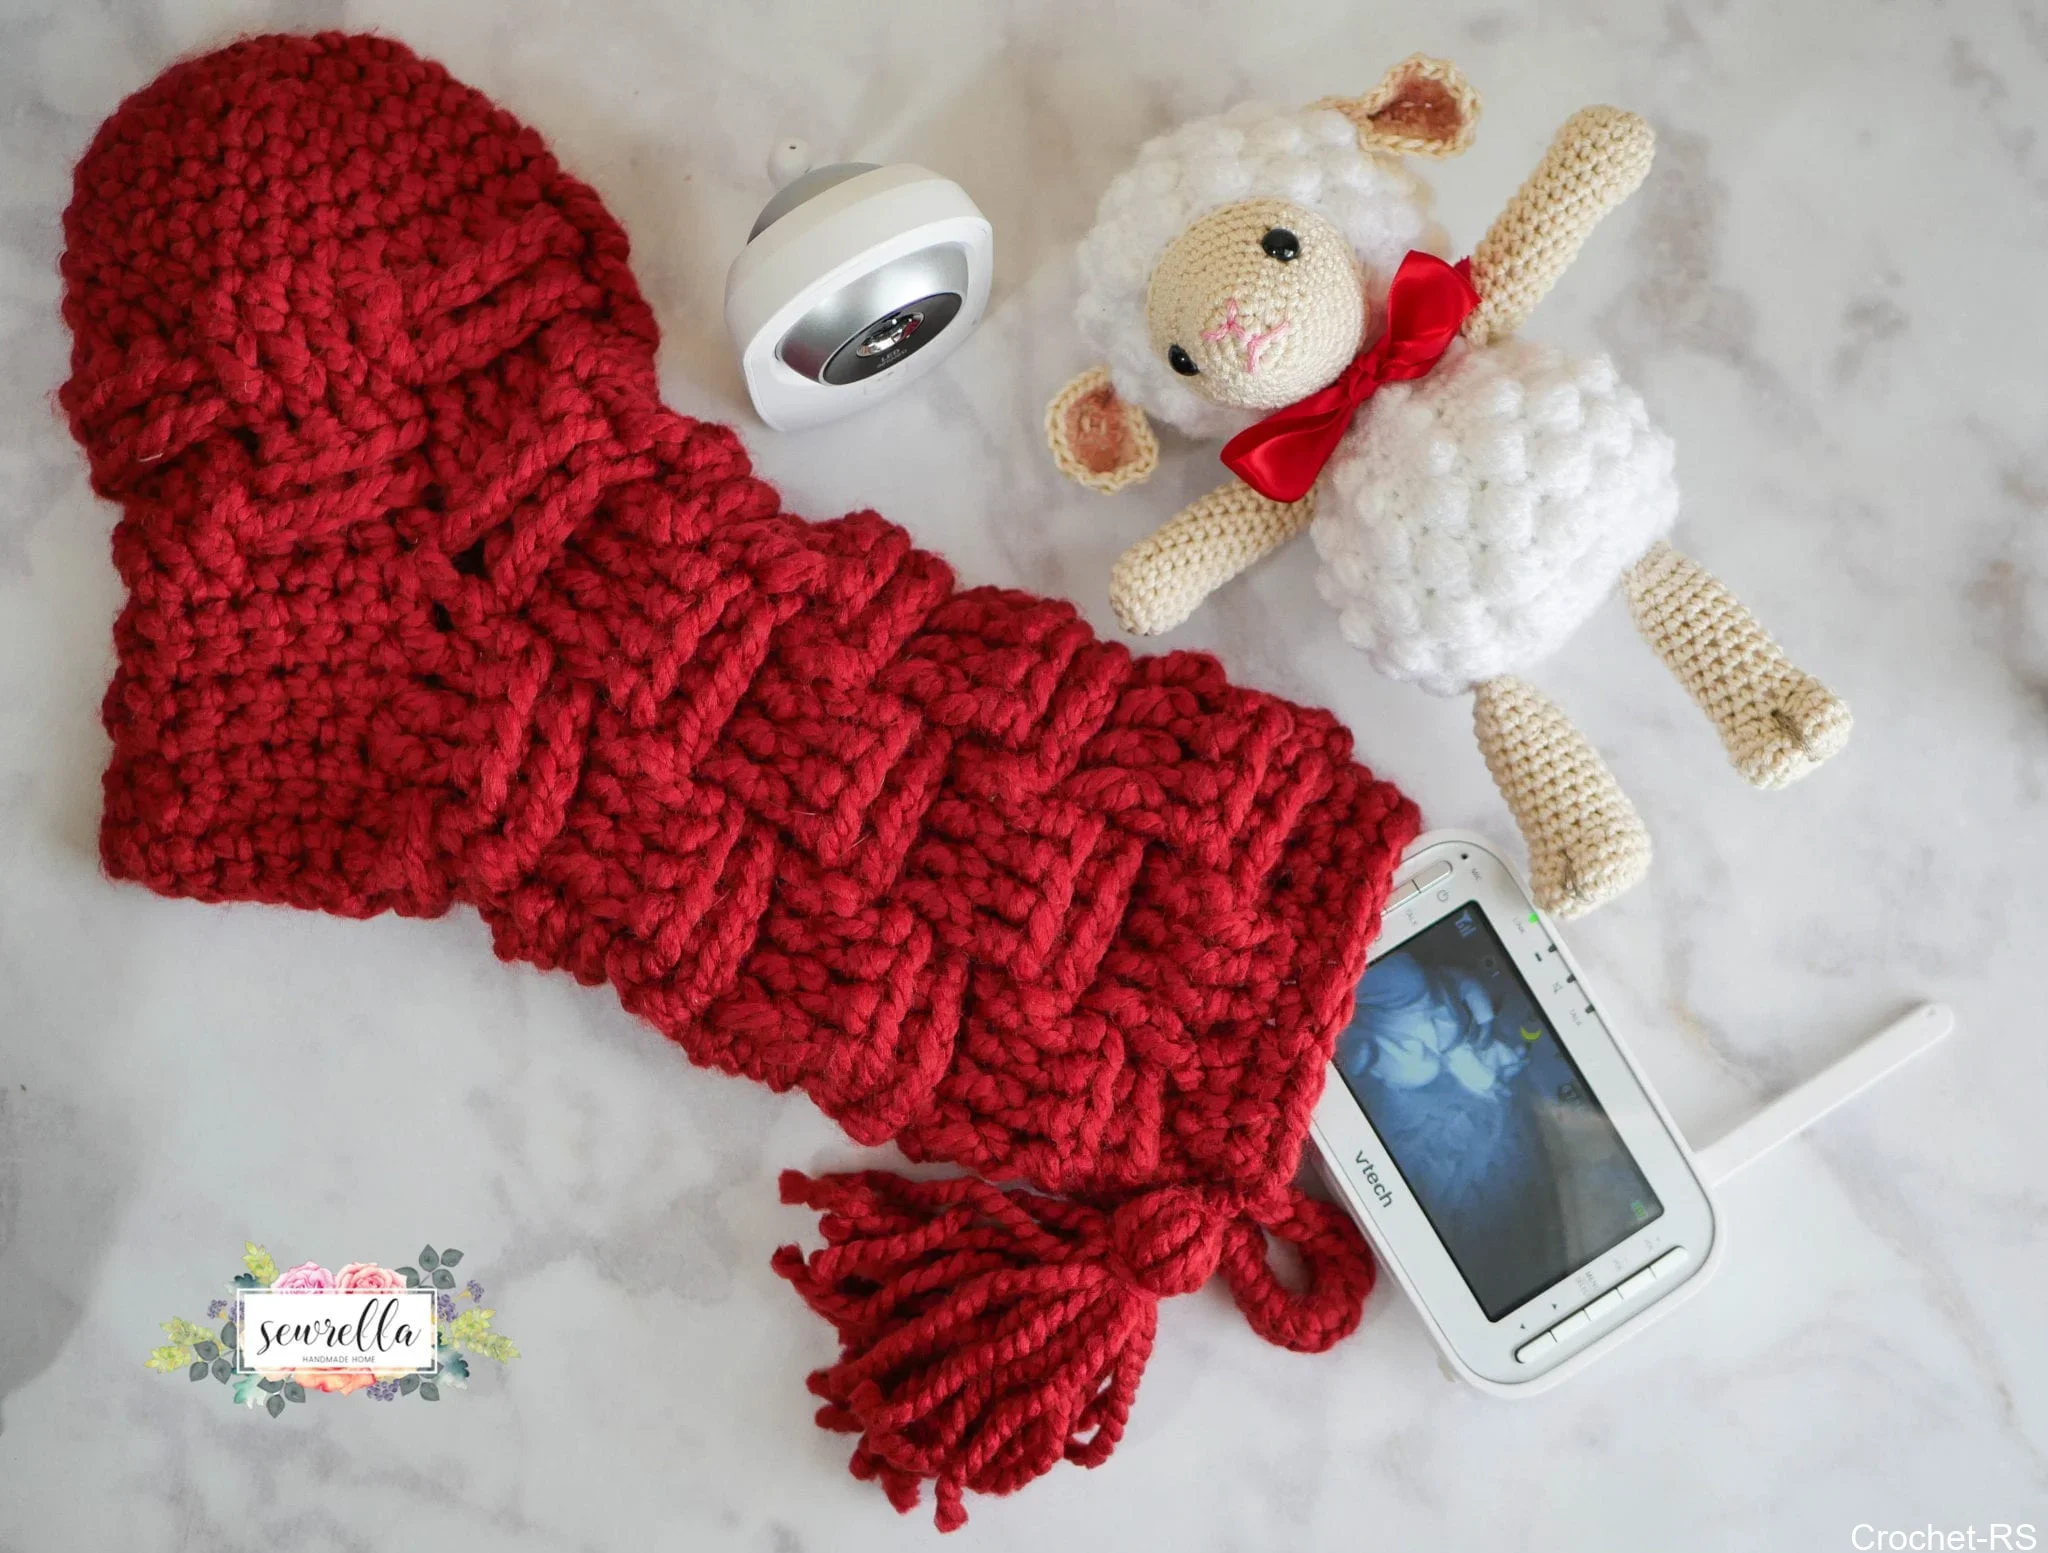
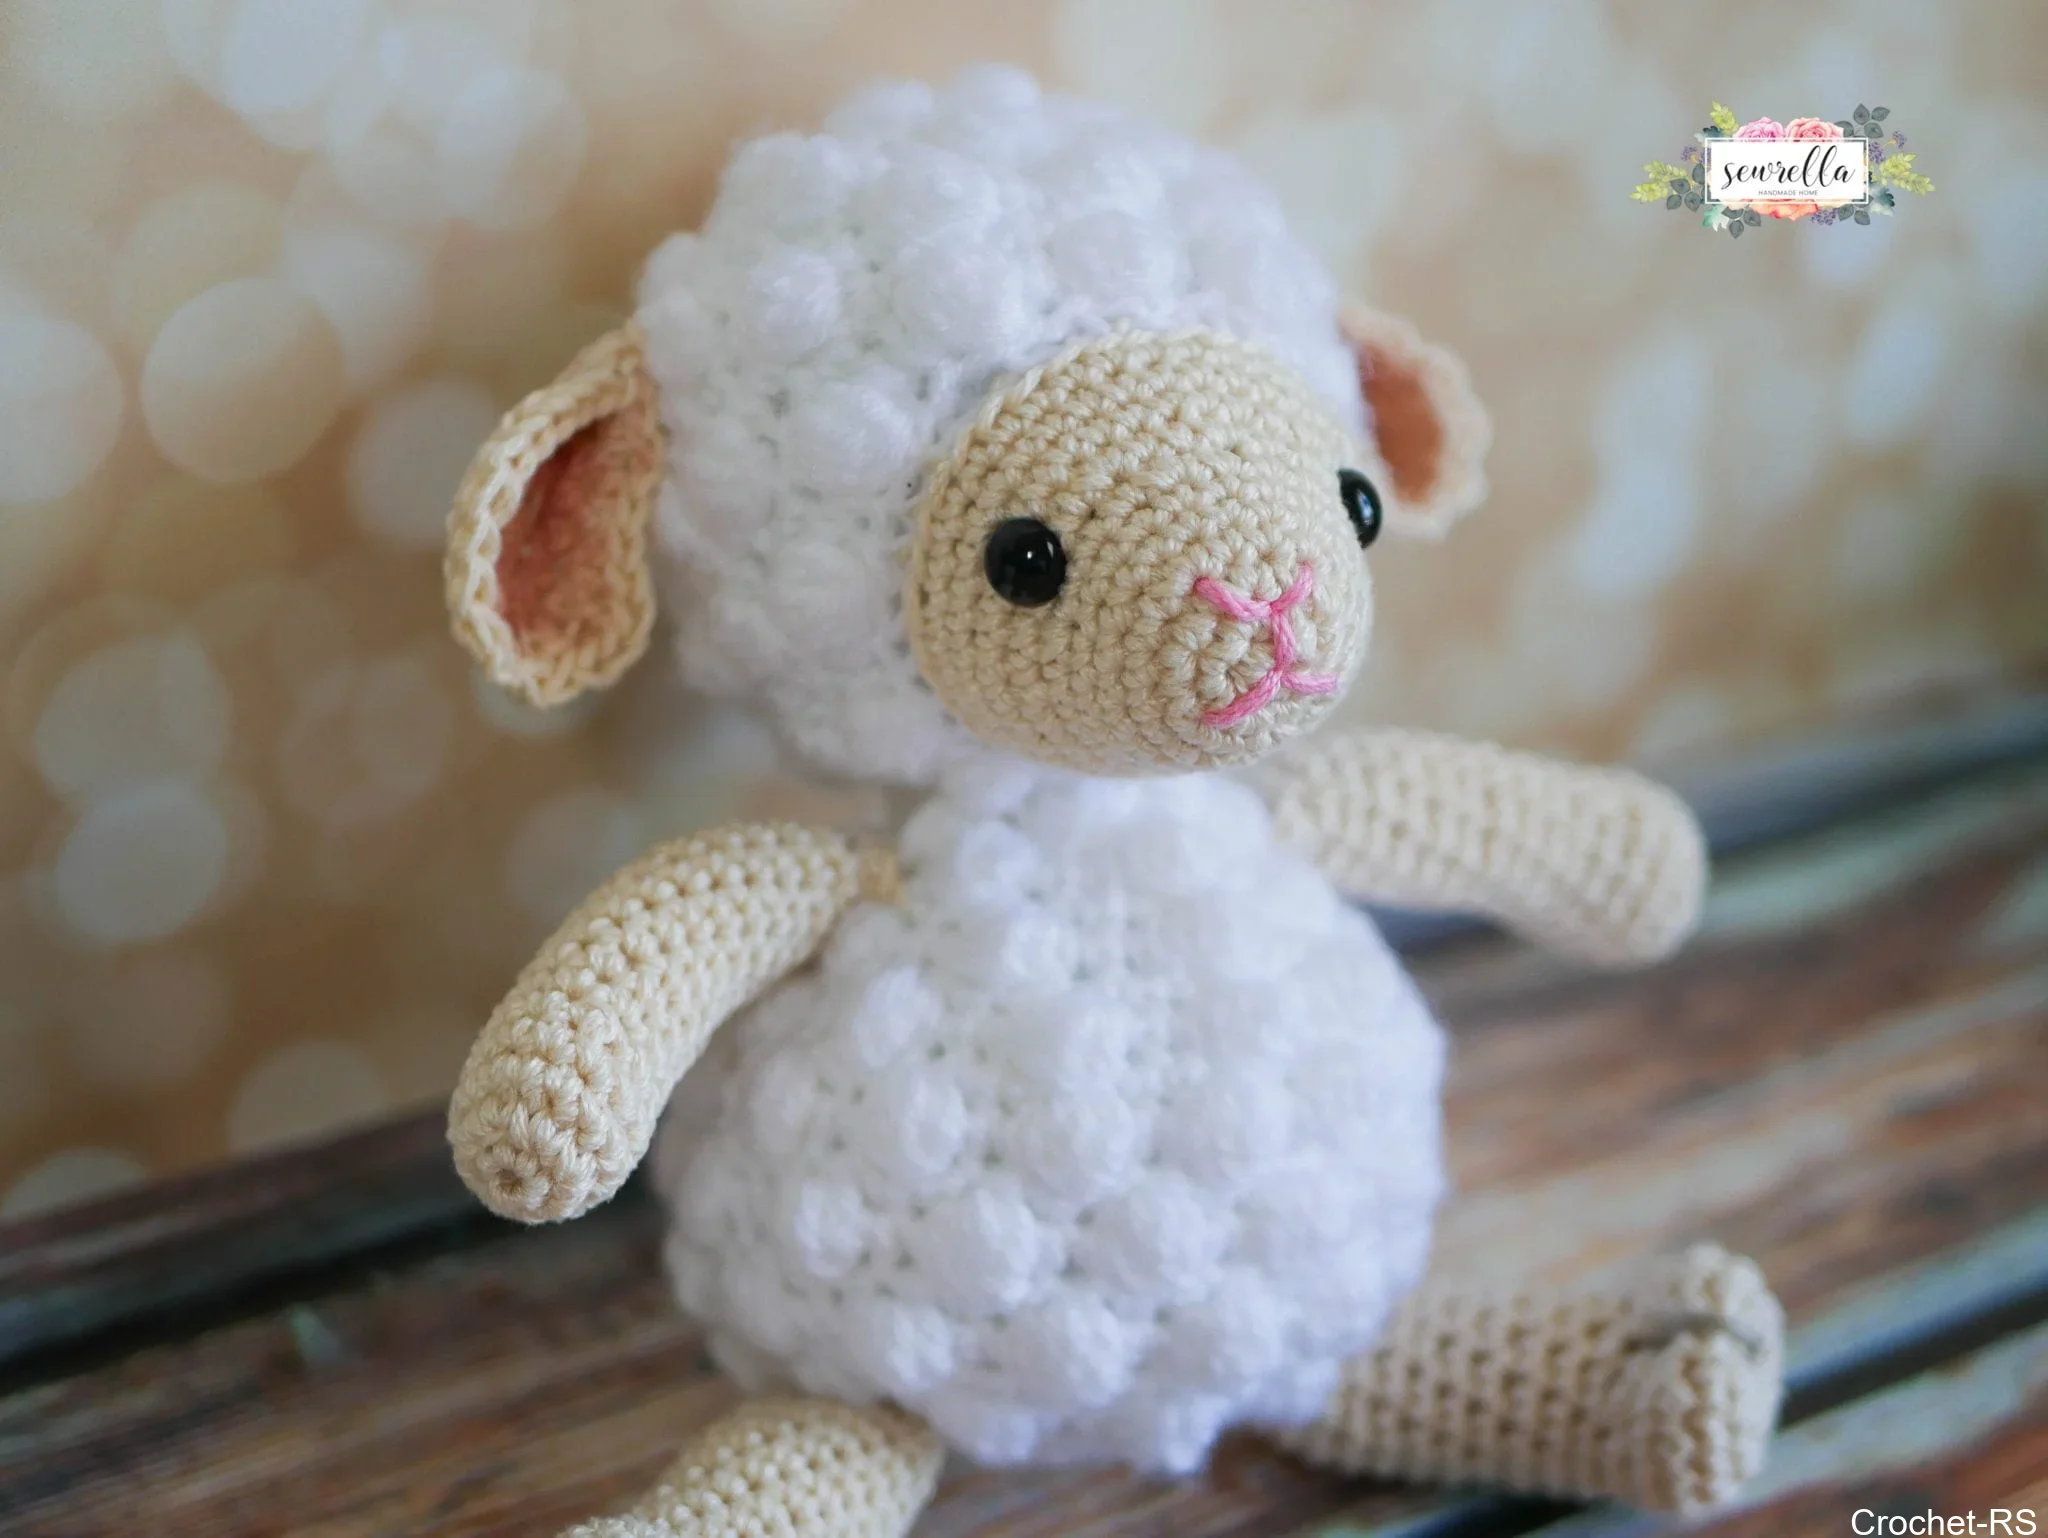
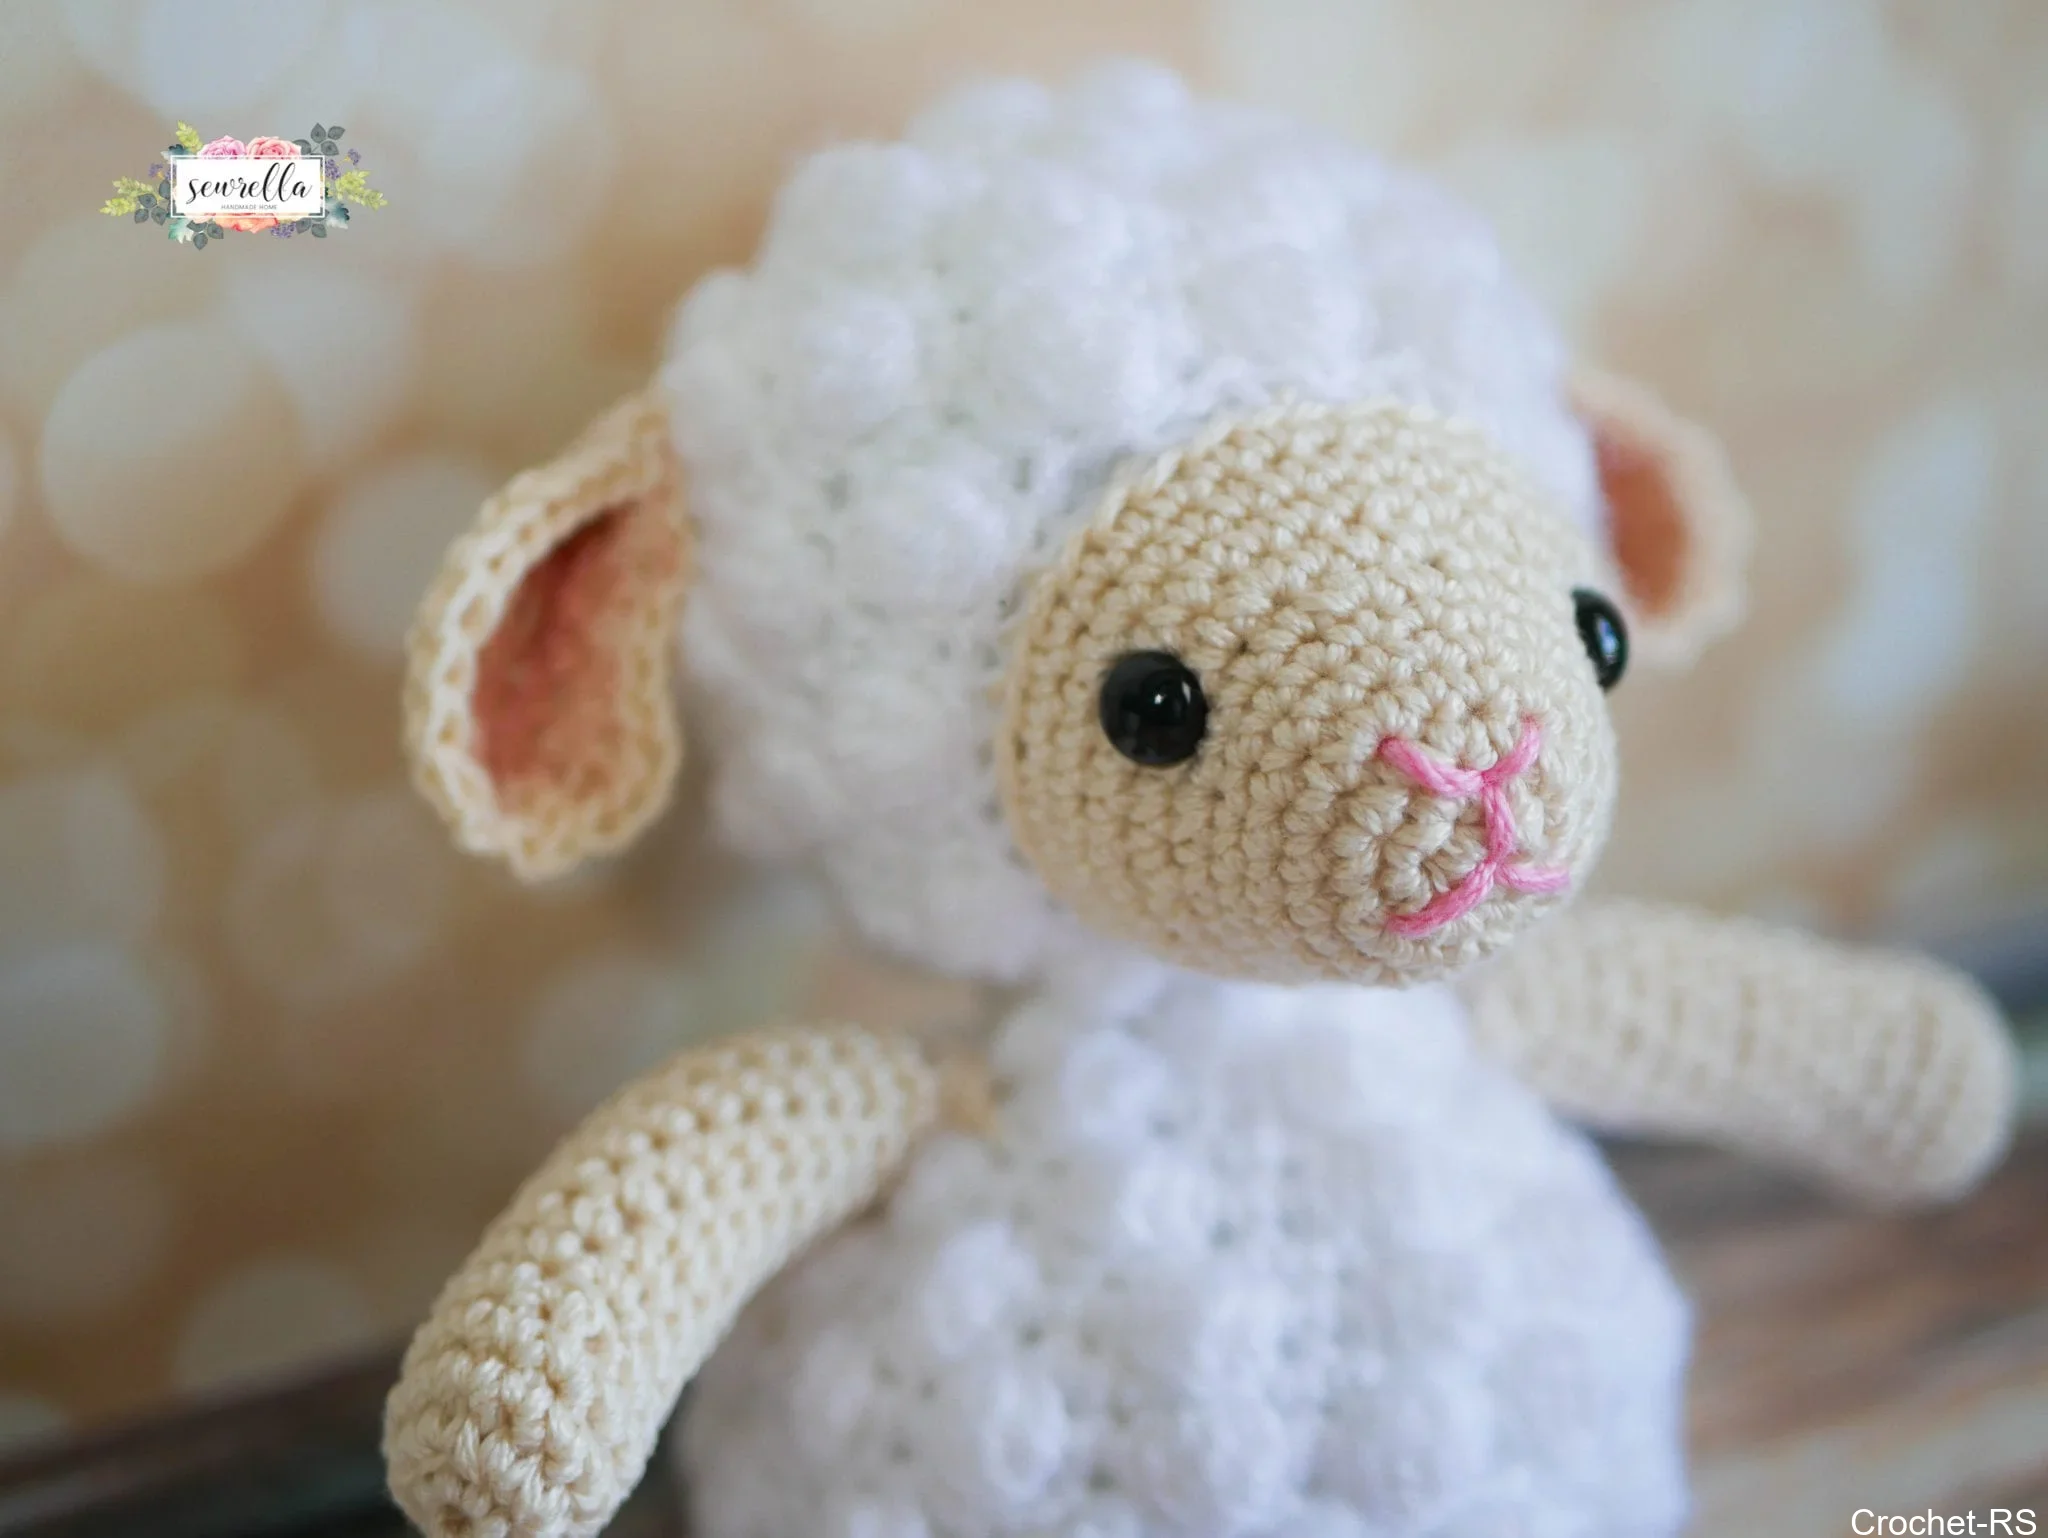
Are you looking for the absolute best free pattern for a little crochet lamb? You are in exactly the right place! We have discovered this top-rated, incredibly easy crochet design that is guaranteed to be a huge hit. Whether you want to make a quick handmade gift for a baby shower or create a beautiful keepsake, this project is fun, straightforward, and looks absolutely stunning when finished. Grab your softest yarn and let’s get started on your new favorite project!
PATTERNS I LOVE (& you should too)

1.Crochet Homemaker Gingham Throw/ 2.Crochet Everyday Cardigan/ 3.Crochet Le Nuage Wrap/Triangle Scarf
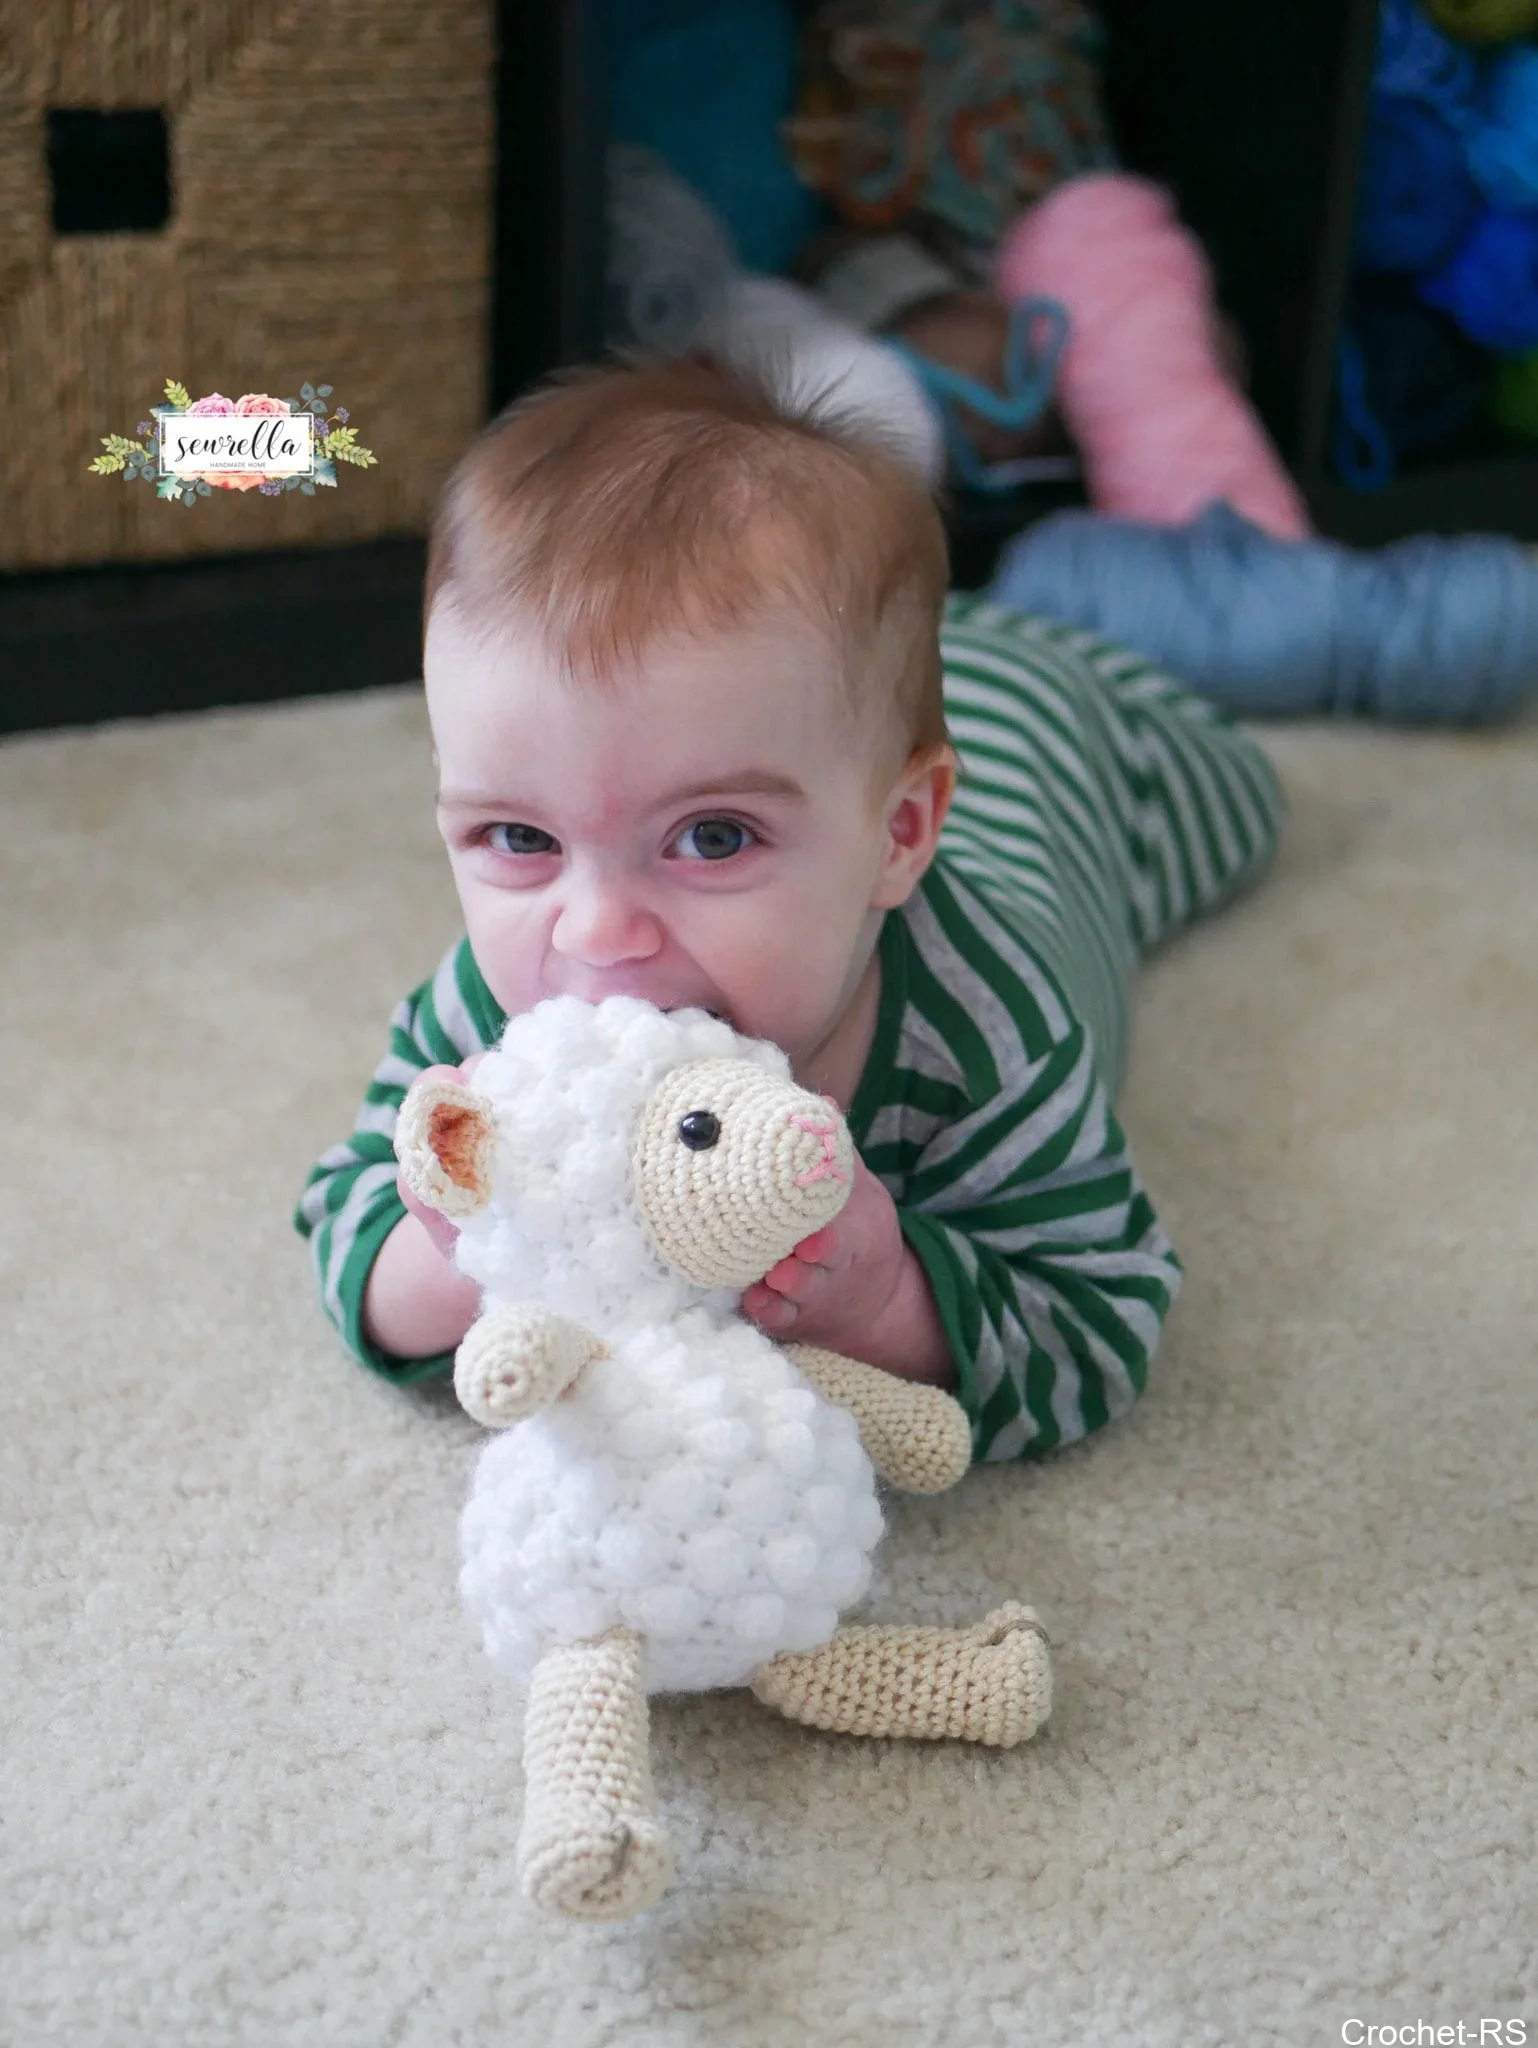
PATTERN
- PIN this pattern to your Pinterest boards for laterHERE.
- Grab the Ultimate Pattern Bundle that includes this pattern and 100+ others for under $30HERE.
Materials:
-Category 4 worsted weight yarn in ecru or beige, white, and small amounts of yarn in pink and taupe
Click HERE to grab the kit with everything you need from Lion Brand for under $10!
-Safety Eyes
-Sizes2mmandE crochet hooks
–Polyfil stuffing
–Tapestry needle
-Blush (optional)
Shop all my favorite tools & materials HERE!
*Don’t join rounds throughout this project unless otherwise stated
Face:
With ecru and 2mm crochet hook, make a magic ring, Ch 1, 6 Sc in ring (6)
Round 2: 2 Sc in each around (12)
Round 3: 2 Sc, Sc in next, repeat around (18)
Round 4: 2 Sc, Sc in next 5, repeat around (21)
Rounds 5-6: Sc in each around (21)
Round 7: 2 Sc, Sc in next 2, repeat around (28)
Round 8: 2 Sc, Sc in next 3, repeat around (35)
Rounds 9-14: Sc in each around (35)
-Finish off and weave ends.
-With pink yarn sew on nose and mouth. Add safety eyes.
-Proceed with head.
Head:
With white and E crochet hook, make a magic ring, Ch 1, 10 Sc inside ring (10)
Round 2: Sc in first, (bobble st, Sc) in next, repeat around (15)
Round 3: Sc in next 2, 2 Sc in next, repeat around (20)
Round 4: Sc in next, (bobble st, Sc) in next, repeat around (30)
Round 5: Sc around (30)
Round 6: (bobble st, Sc) in next, Sc in next, repeat around (45)
Round 7: Sc in next 4, 2 Sc in next, repeat around (54)
Round 8: Sc in next 2, bobble st in next, repeat around (54)
Round 9: Sc around (54)
Round 10: bobble st, Sc, Sc decrease, repeat around until 2 sts left to work, bobble st, Sc (41)
Round 11: Sc around (41)
Round 12: bobble st, Sc in next 2, repeat around (41)
Round 13: Sc around (41)
Round 14: bobble st, Sc, Sc decrease, repeat around, Sc in last (31)
-Break yarn leaving a long tail for sewing
-Stuff with polyfil and sew head to face (sew through back loops only of Round 14 of face
-Weave ends
Ears:
*make 2
With ecru and 2mm hook, Ch 8, Hdc in 2nd from hook and across, make 2 Hdc in last st of the row, turn the work to Hdc in each stitch up the other side of the foundation Ch, sl st to first st of the round to join, Ch 2 (14)
Round 2: 2 Dc in next 3, 2 Hdc in next, 2 Sc in next 6, 2 Hdc in next, 2 Dc in next 2, sl st to join, finish off leaving a long tail.
-Using a makeup brush and cheap blush, apply softly to the inner part of the ear just over Round 1
-Pinch the wide end closed and sew onto the head (the pinched part of the ear should be sewn about halfway down the head)
Body:
With white and E hook, make a magic ring, 6 sc in ring (6)
Round 2: 2 Sc in each around (12)
Round 3: (Bobble st, Sc) in each around (24)
Round 4: Sc around (24)
Round 5: (Bobble st, Sc) in next, Sc in next, repeat around (36)
Round 6: Sc around (36)
Round 7: (Bobble st, Sc) in next, Sc in next 2, repeat around (48)
Round 8: Sc around (48)
Round 9: (Bobble st, Sc) in next, Sc in next 2, repeat around (64)
Round 10: Sc around (64)
Round 11: Bobble st, Sc in next 2, repeat around (64)
Round 12: Sc around (64)
Round 13: Bobble st, Sc in next 2, repeat around (64)
Round 14: Sc around (64)
Round 15: Bobble st, Sc in next 2, repeat around (64)
Round 16: Sc decrease, Sc next 2, repeat around (48)
Round 17: Bobble st, Sc next 2, repeat around (48)
-Stuff with polyfil to desired firmness
Round 18: Sc decrease, Sc next 2, repeat around (36)
Round 19: Sc decrease, Sc next 2, repeat around (27)
Round 20: Sc decrease, Sc, repeat around (18)
Round 21: Sc decrease around (9)
-Finish off leaving a long tail, sew bottom closed and weave ends
Legs:
*make 2
With ecru and a 2mm hook, make a magic ring, Ch 1, 6 Sc inside ring (6)
Round 2: 2 Sc around (12)
Round 3: 2 Sc, Sc in next, repeat around (18)
Rounds 4-5: Sc around (18)
Round 6: Sc decrease, Sc next, repeat around (12)
-Start adding polyfil every few rounds from here on
Rounds 7-19: Sc around (12)
-Finish off leaving a long tail for sewing
-Smoosh Round 19 flat and whip stitch closed, then sew to Round 18 of body
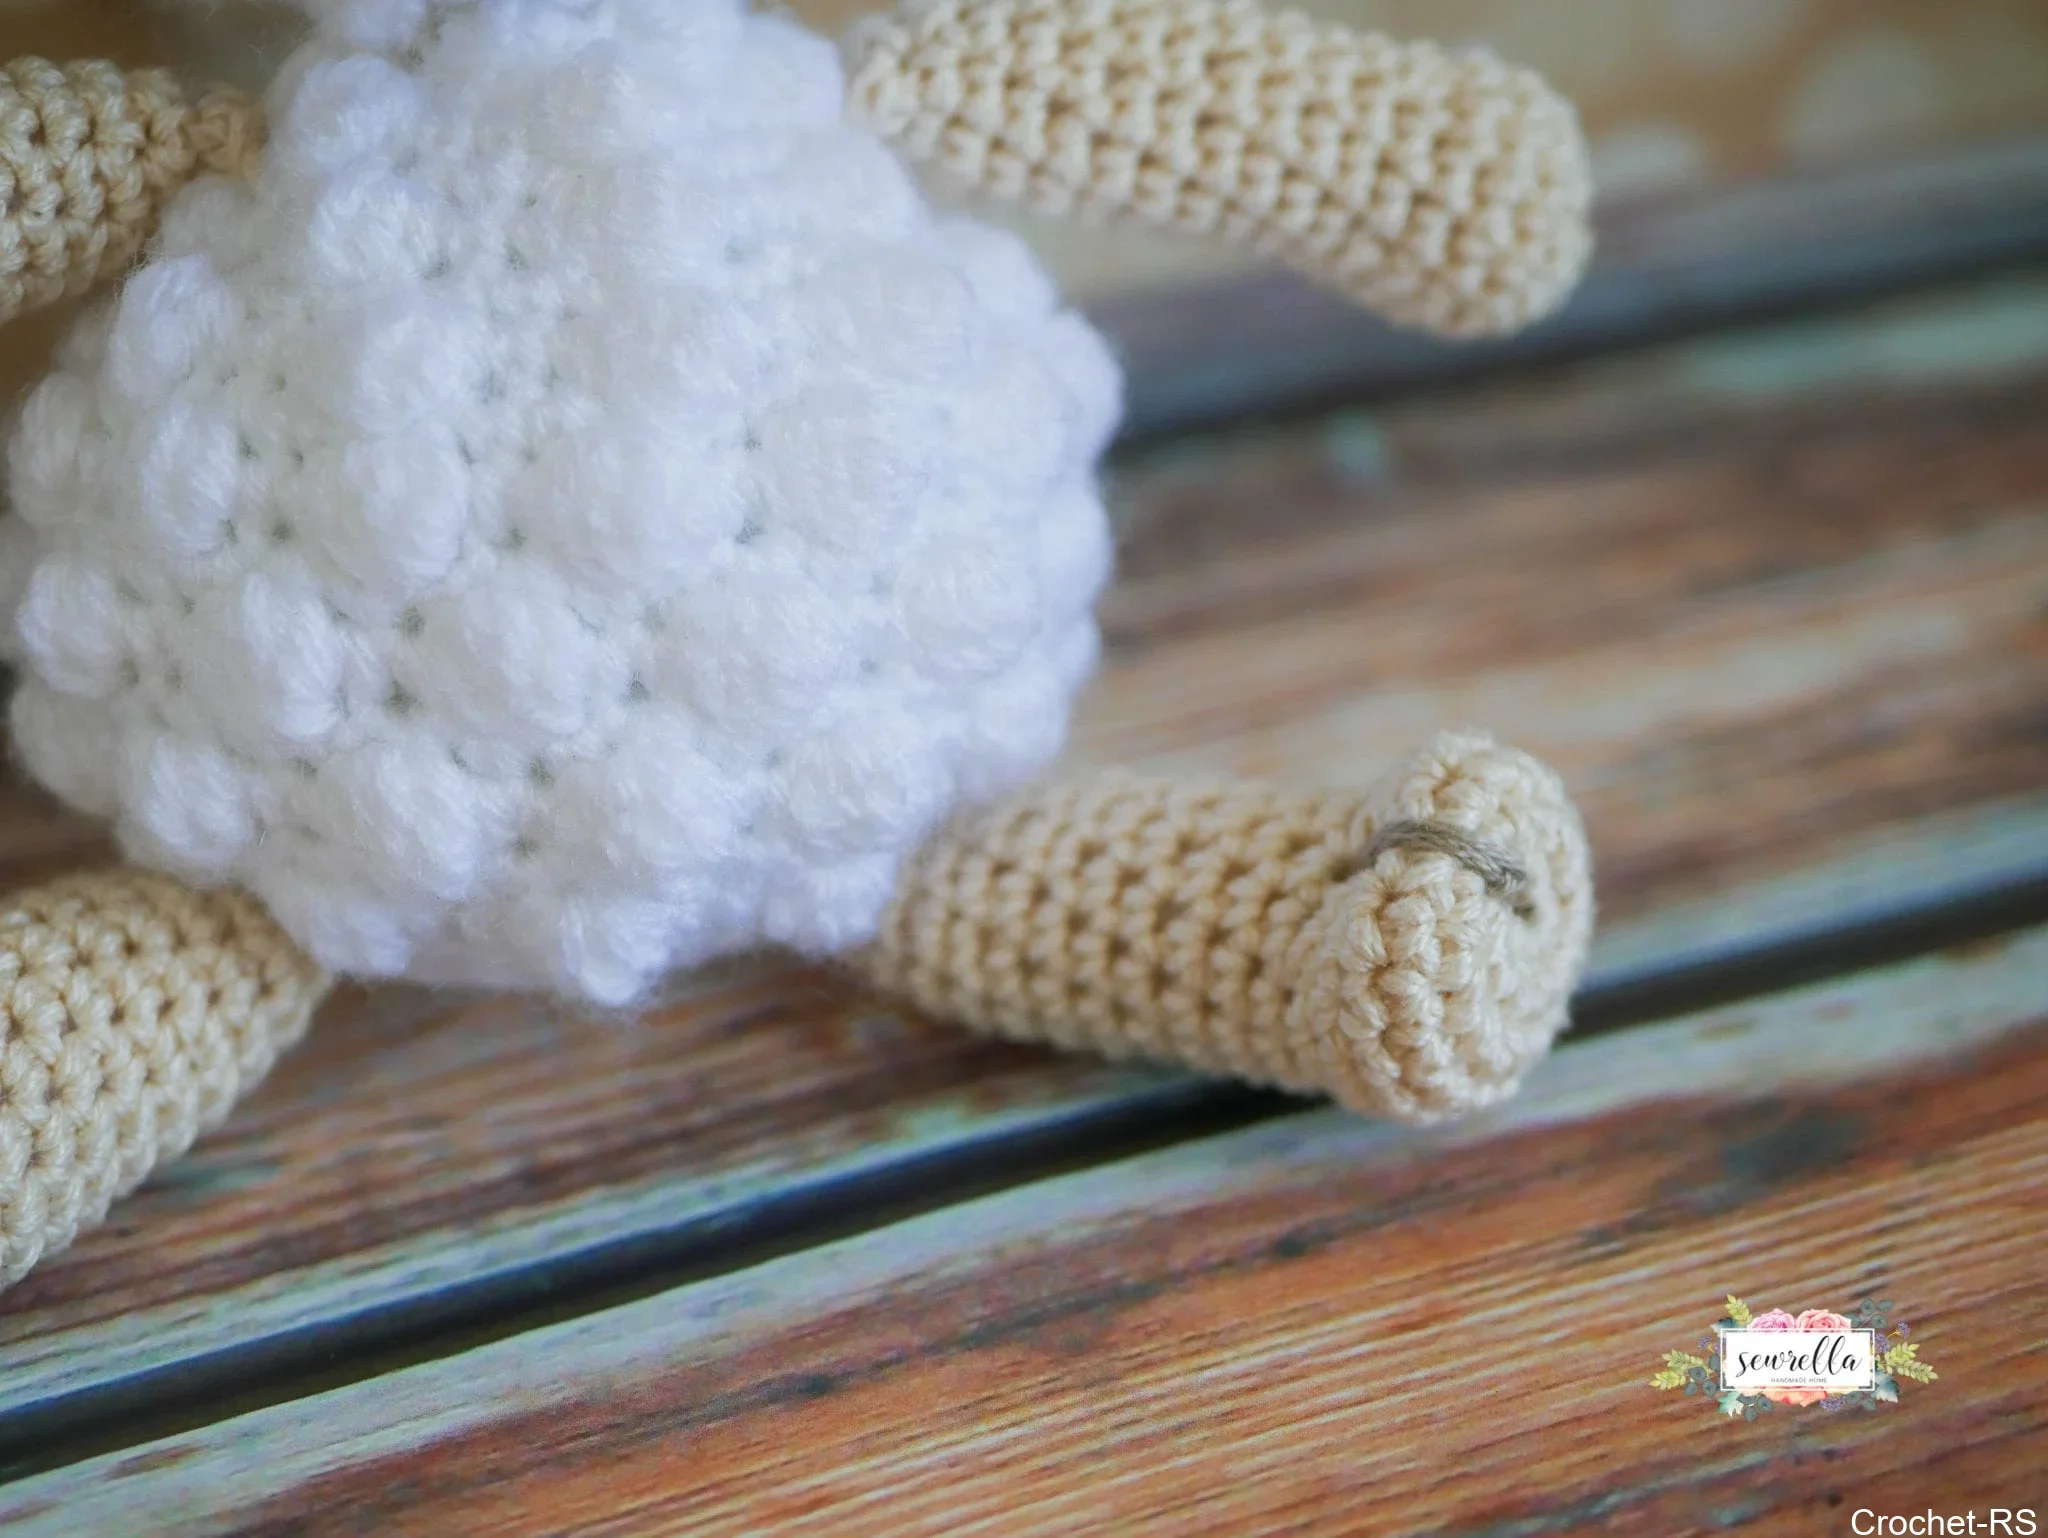
-With a small piece of taupe or brown yarn, sew through magic ring of each leg and back out through Round 7 a few times and pull tight (to create a “hoof). Repeat on other leg.
Arms:
*make 2
With ecru and a 2mm hook, make a magic ring, Ch 1, 6 Sc inside ring (6)
Round 2: 2 Sc around (12)
Round 3-4: Sc around (12)
Round 5: Sc decrease, Sc next, repeat around (9)
-Start adding polyfil every few rounds from here on
Rounds 6-18: Sc around (9)
-Finish off leaving a long tail for sewing
-Smoosh Round 18 flat and whip stitch closed, then sew to Round 4 of body
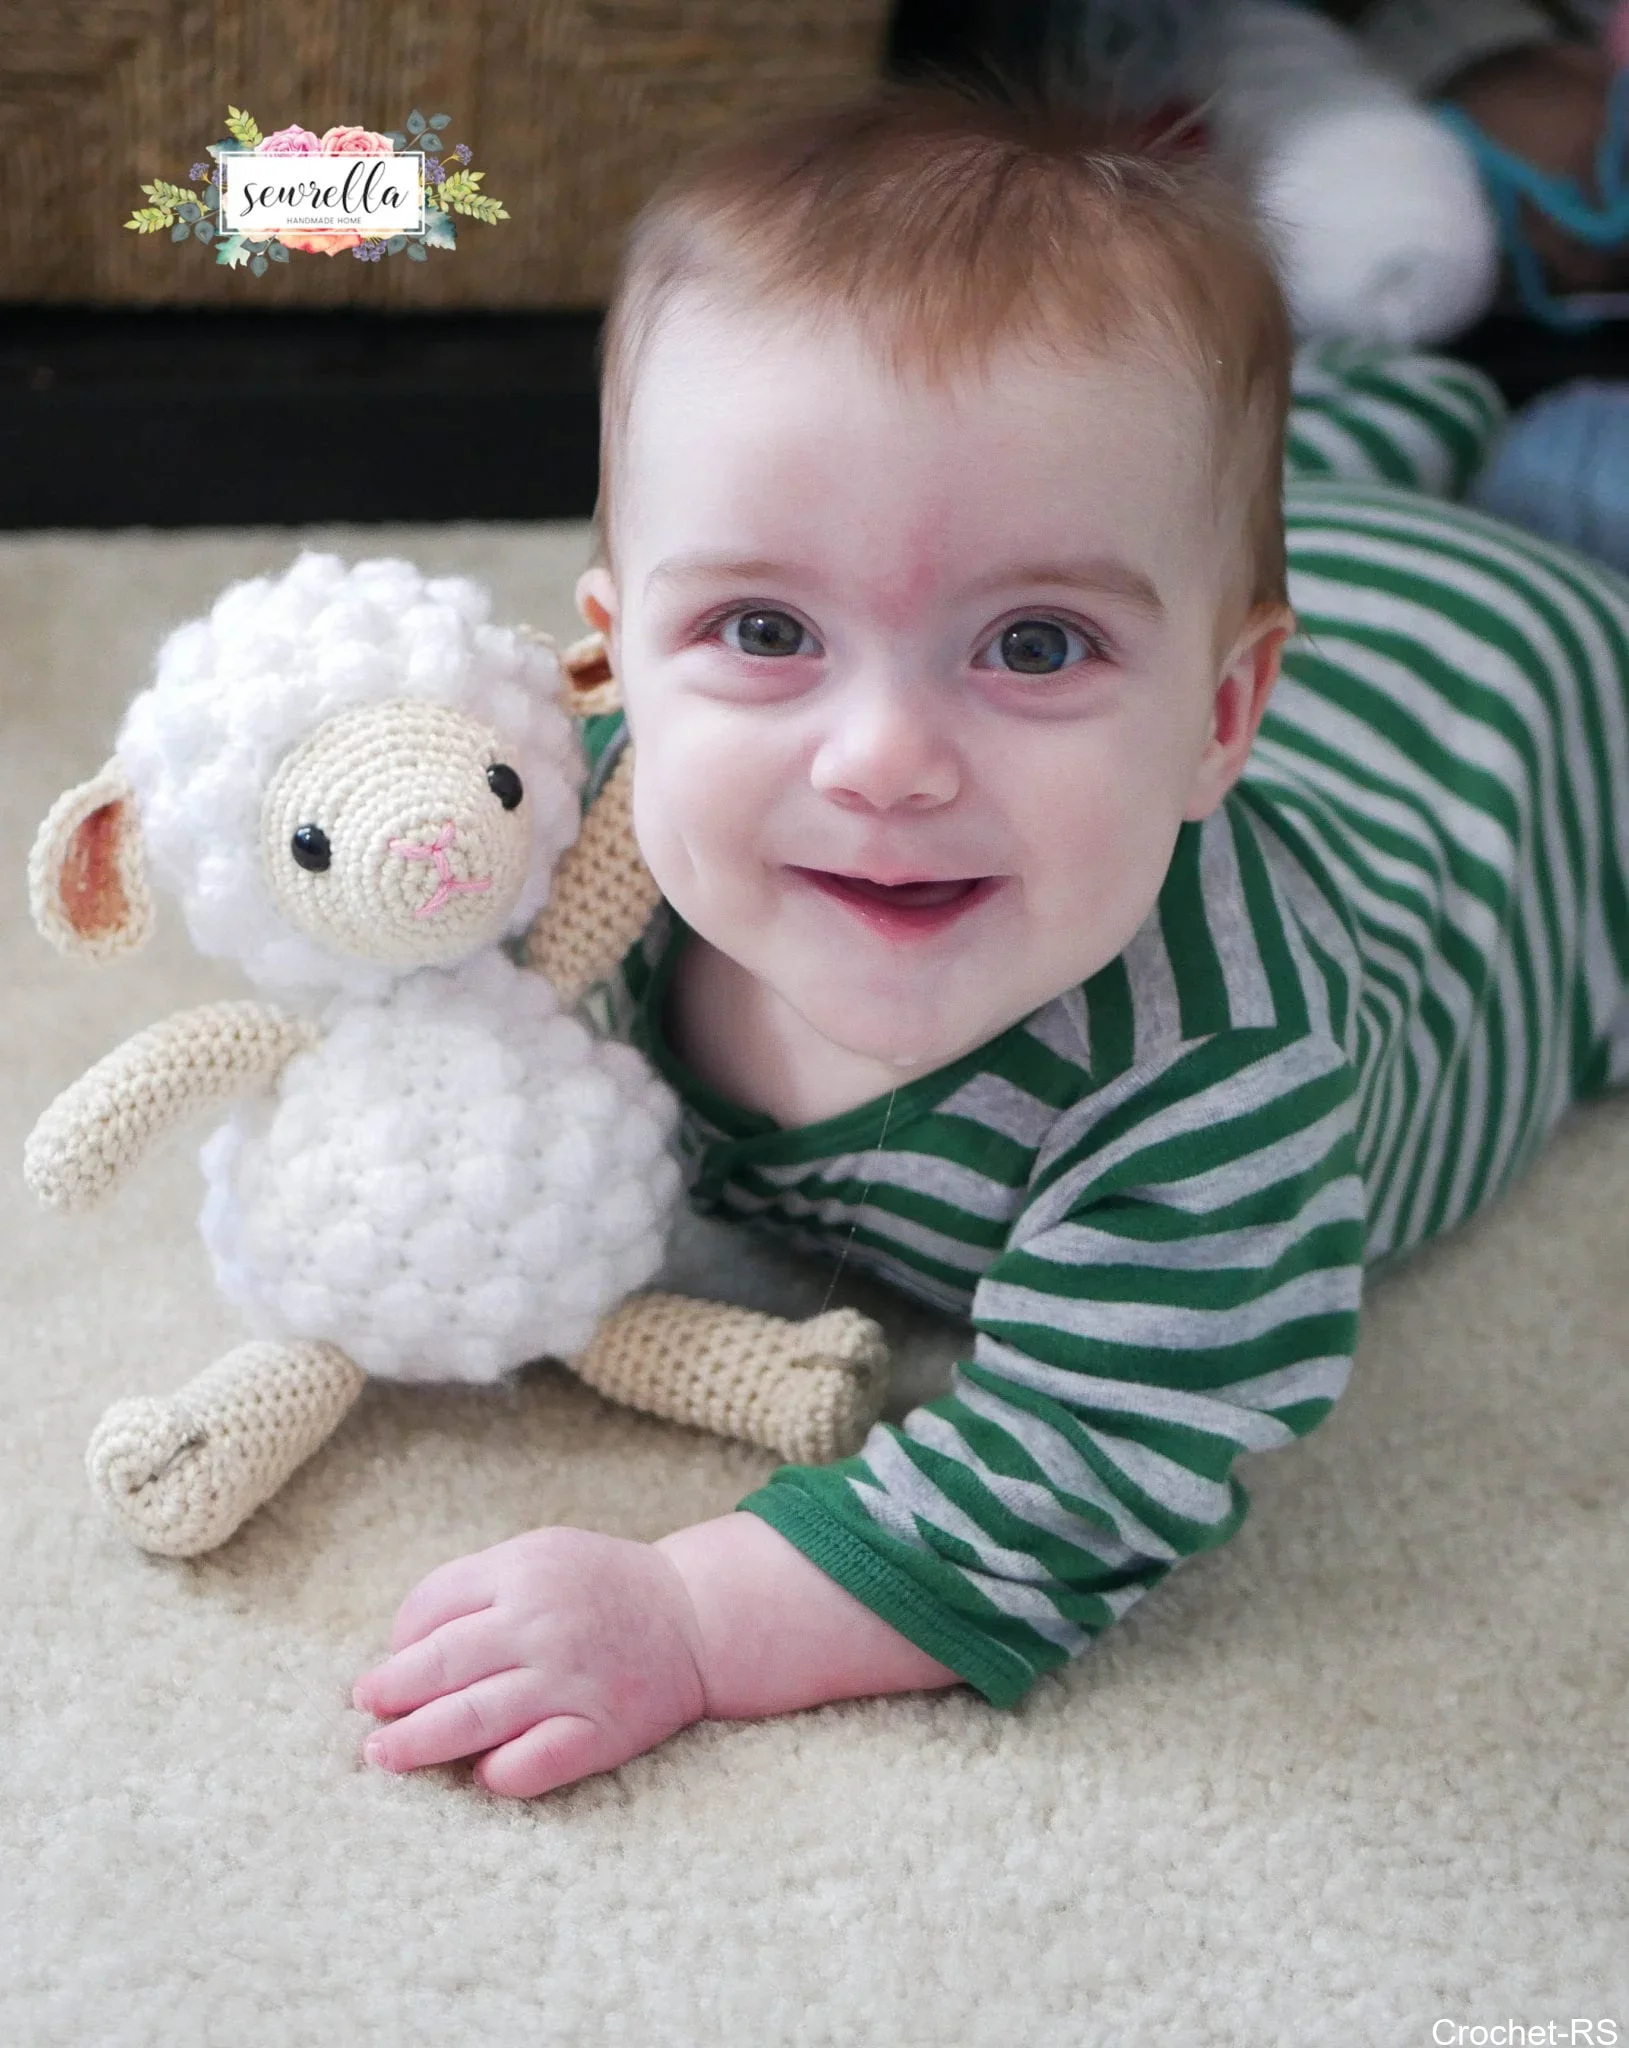
Don’t forget to PIN this project to your Pinterest boards!
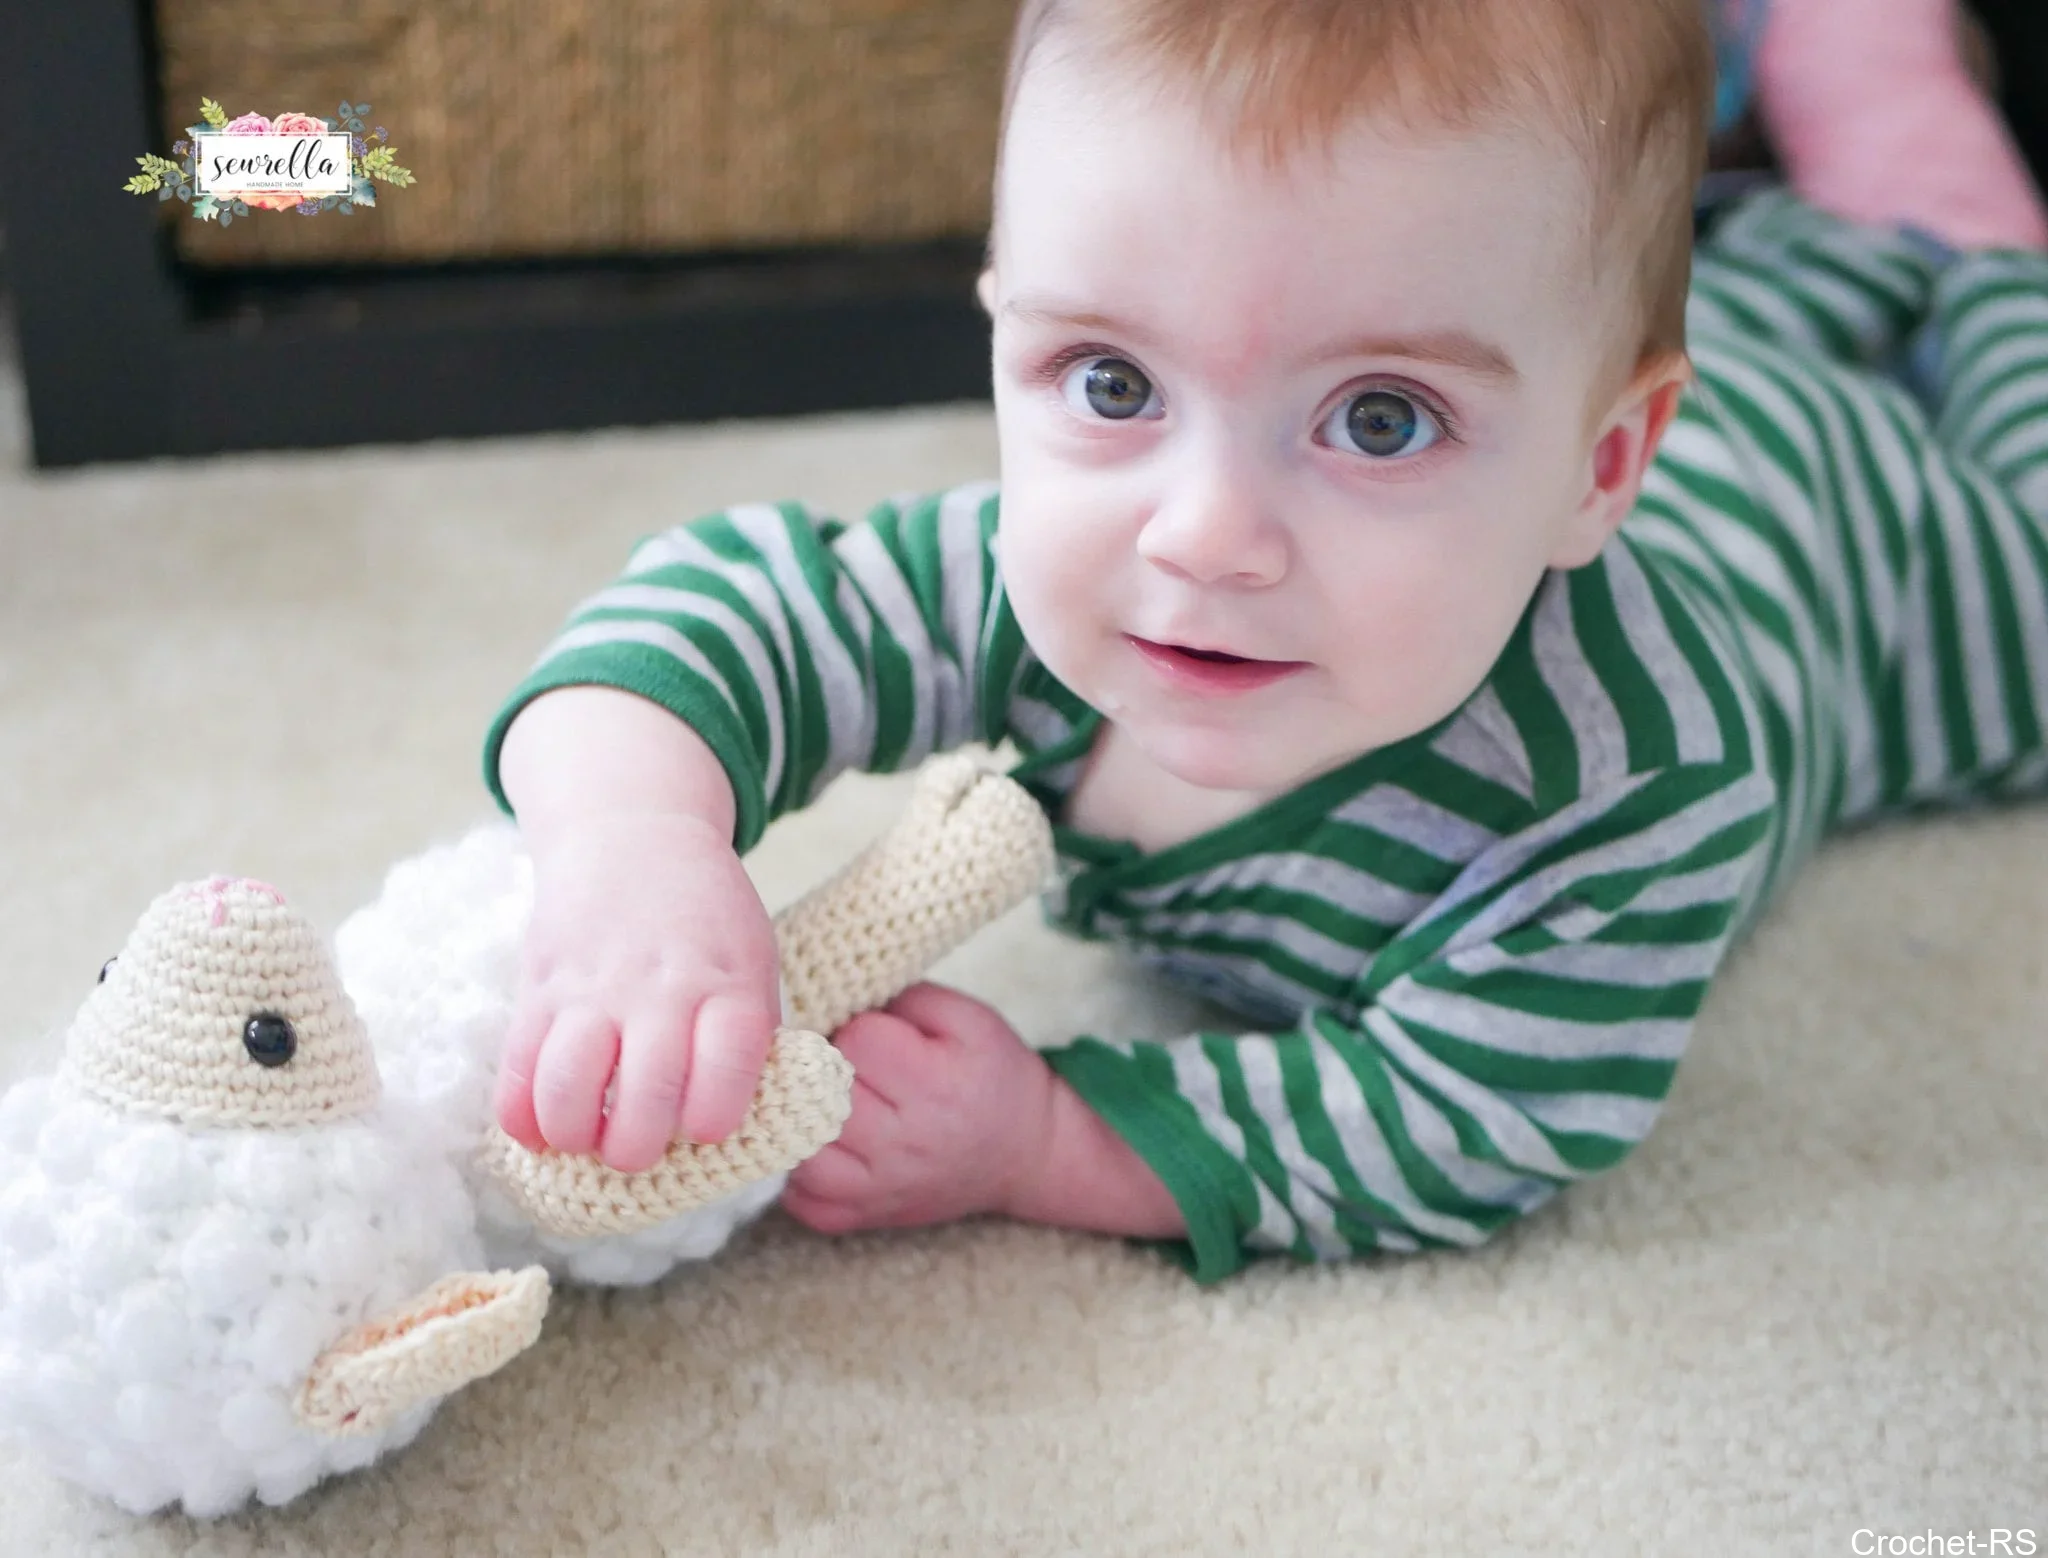
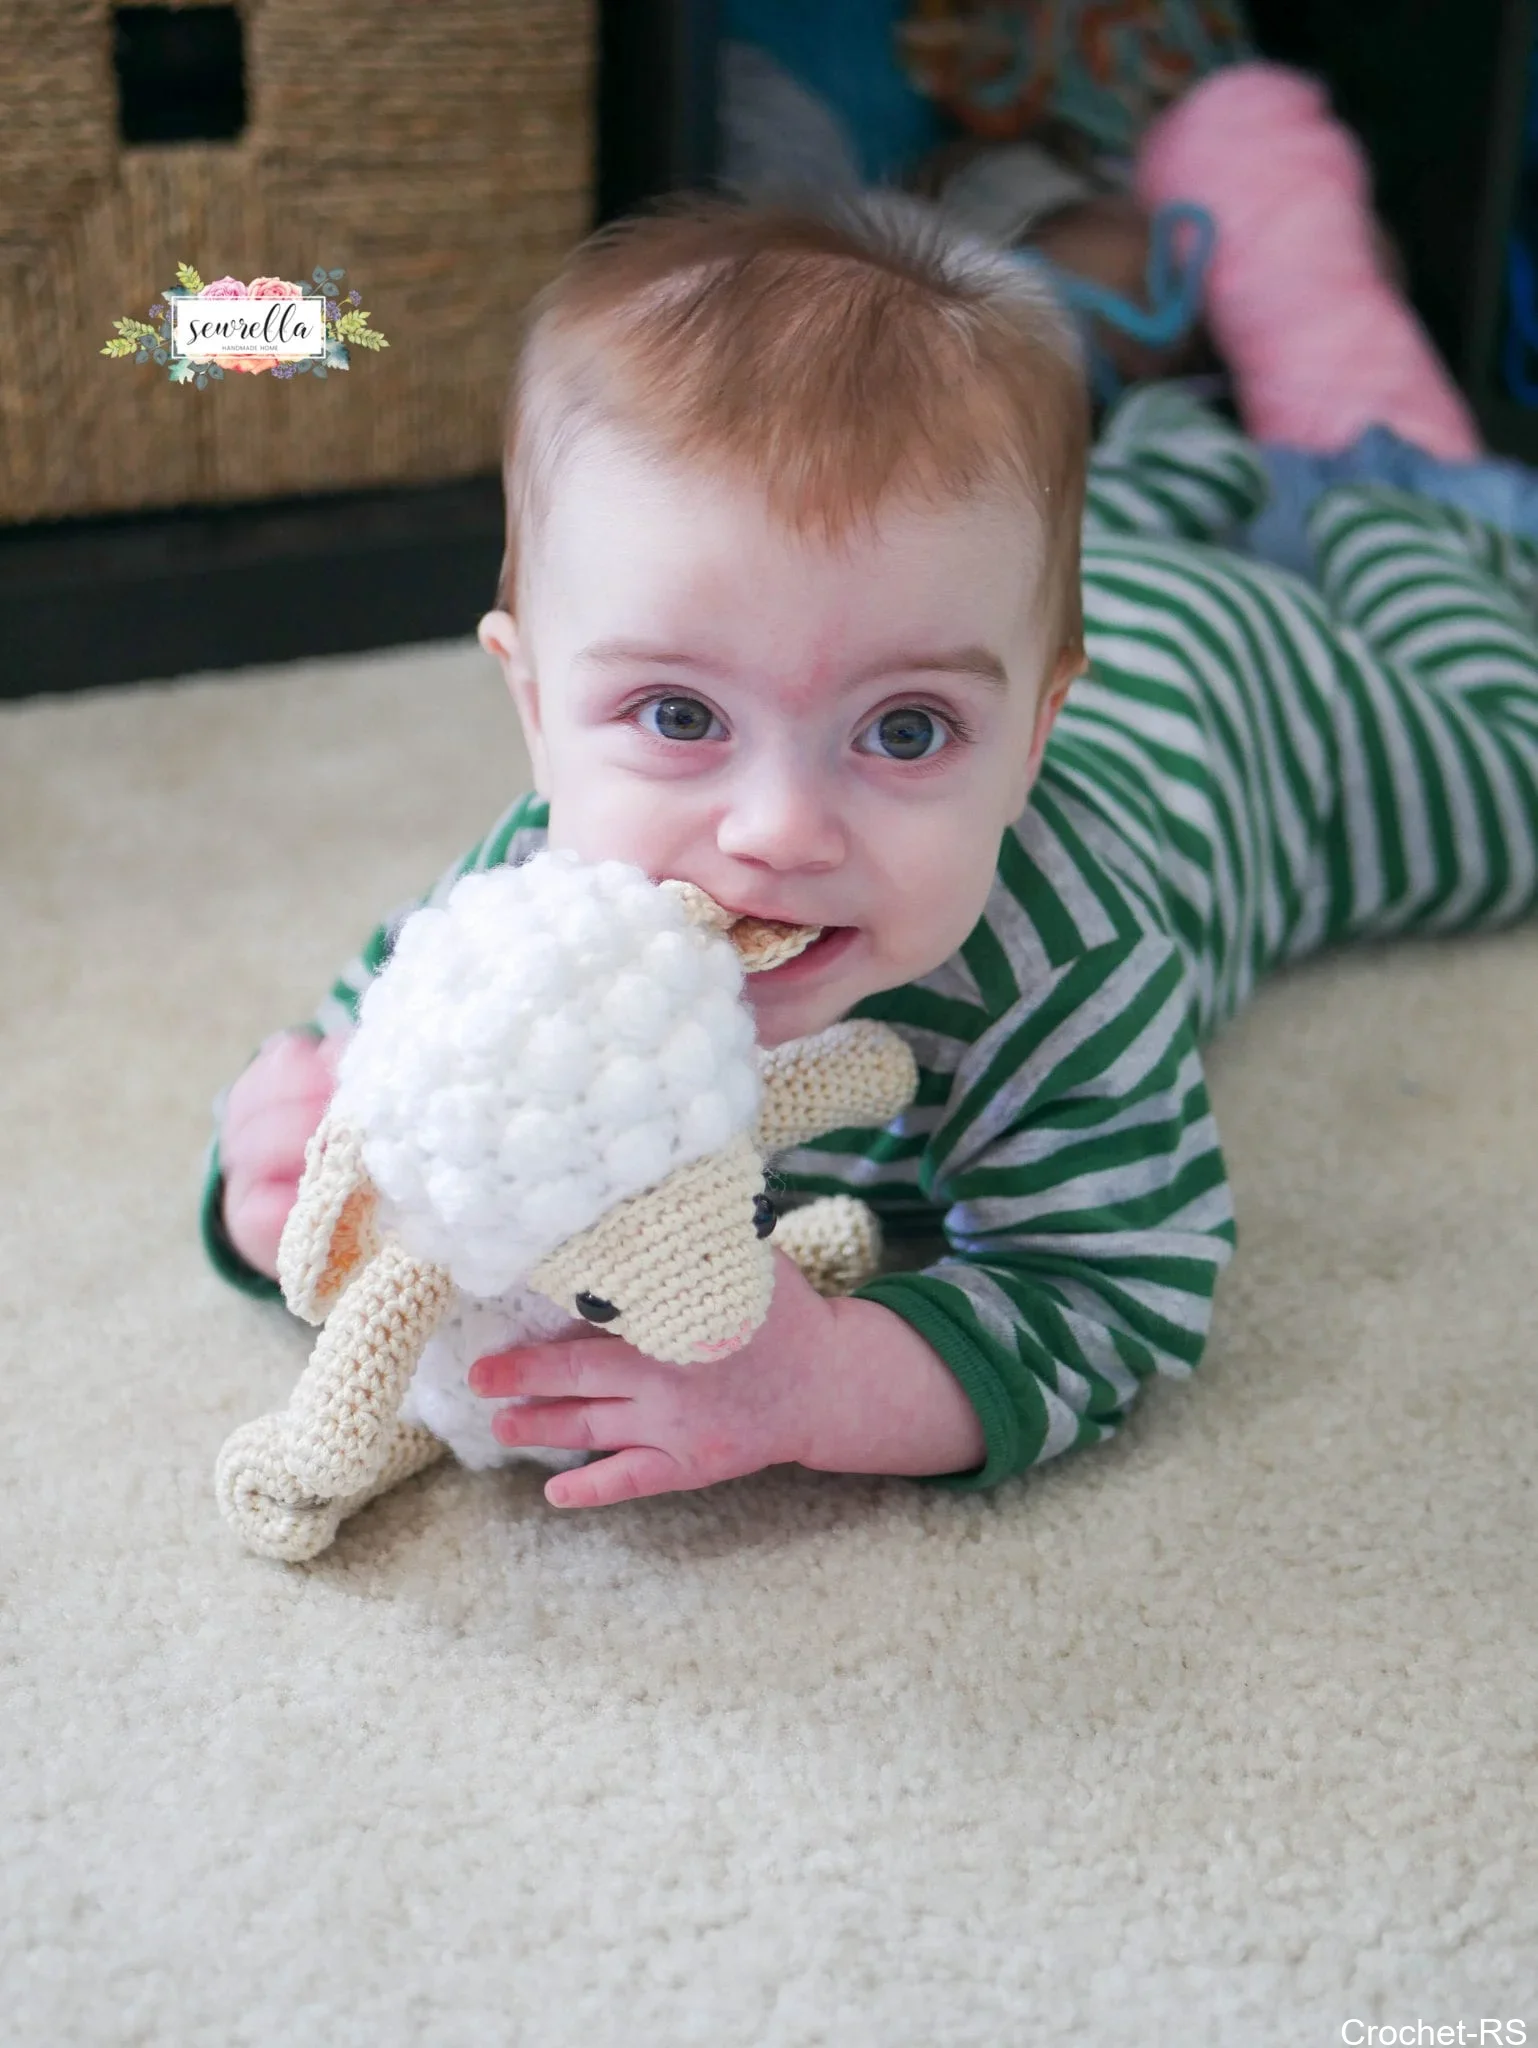
Who will you be gifting this little lamb toy to? Comment below!
Earning a Living with my Handmade Home
If you love crocheting and knitting, you should think about starting a blog! I’ll help you get started to turn your hobby into a money-making career withmy free “Start a Blog” guide.
Or you can check outmy latest income reportto see how this blog earned over $10,000 last month!
[wprm-recipe id=”2476″]