Adorable Free Crochet Mini Duck Pool Float Pattern + Tutorial
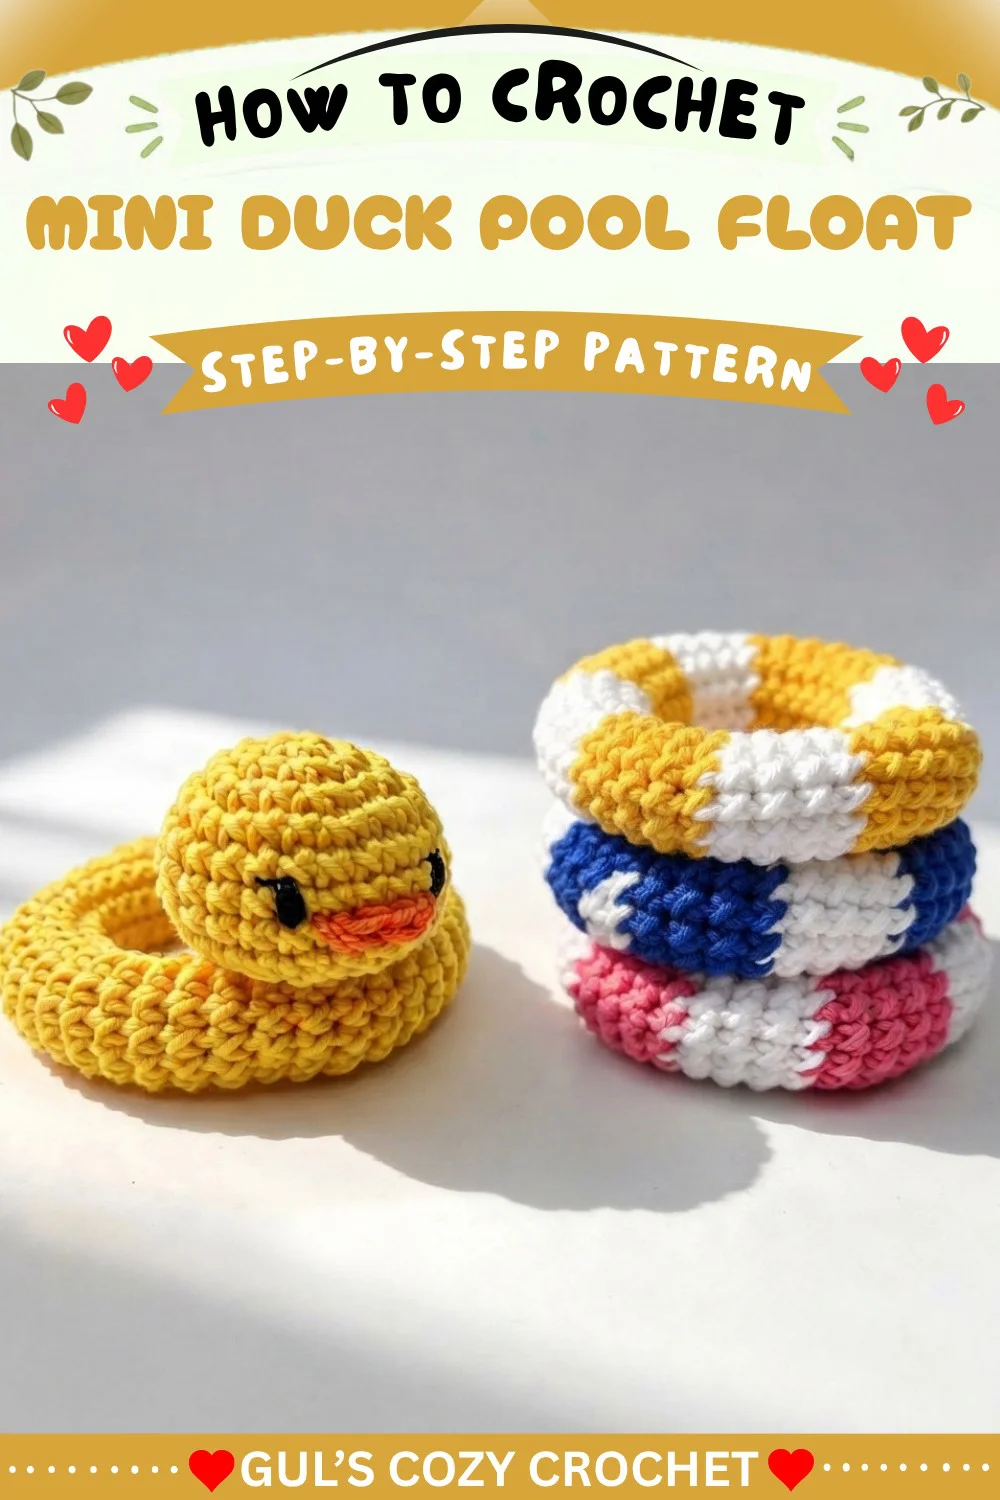
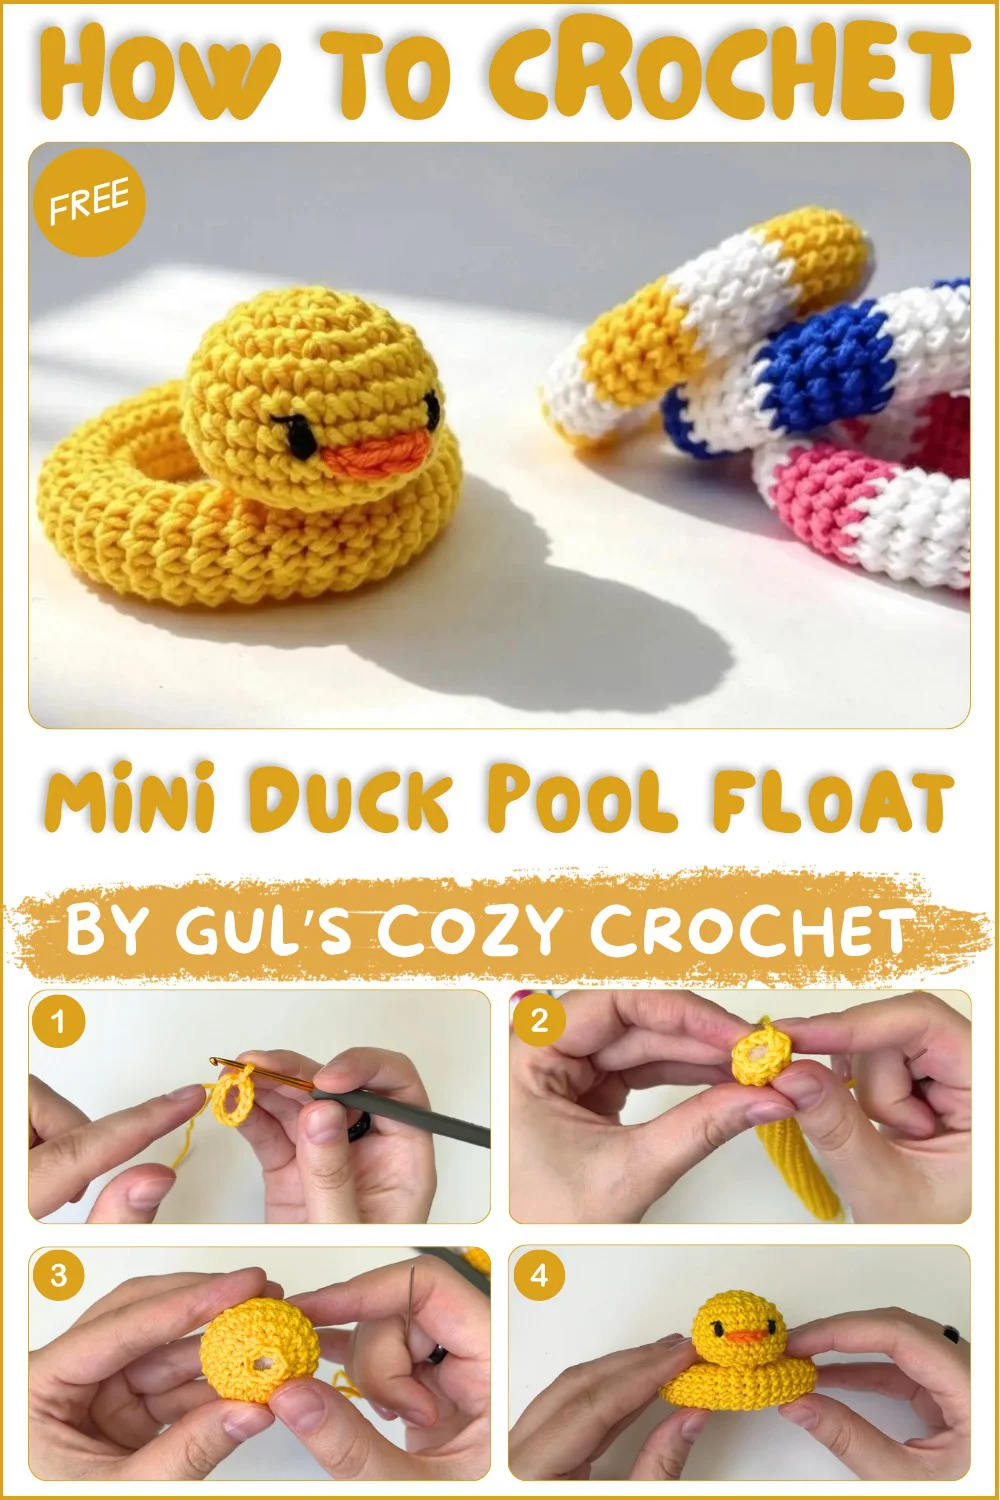
Welcome back to another delightful crochet project! Today, we have an absolutely adorable, wonderfully quirky, and perfectly charming amigurumi pattern for you to try: the sweetest Mini Duck Pool Float! If you love crafting beautiful handmade toys that perfectly capture classic plush charm while offering a beautifully detailed, lovable design to keep you engaged, this gorgeous little summer make is going to be your next favorite project.
This fantastic amigurumi pattern is wonderfully adaptable and perfect for unforgettable handmade gifts, allowing you to whip up beautiful, lovable companions in no time that will be cherished as family keepsakes for years! While the instructions highlight a specific beautiful, vibrant look, you can easily adjust the color variations depending on the worsted weight yarn used—swap out classic pool float colors for magical brights, soft neutrals, or vibrant bold hues to create a whimsical, personalized plush! Grab your hooks, settle into your favorite crafting spot, and let’s dive into making this wonderfully cuddly, completely adorable crochet Mini Duck Pool Float!
Skill Level
Confident Beginner to Intermediate. Pattern includes working in continuous spirals, color changes, invisible finishing, and amigurumi shaping with simple increases and decreases.
Materials
- DK (Light #3) weight cotton blend yarn (yellow for duck, and additional colors for stripes as preferred; orange for beak, black for eyes)
- 2.5 mm crochet hook
- Fiberfill stuffing (just a small amount)
- Yarn needle
- Stitch marker
- Scissors
Gauge
- Gauge is not critical; work tightly to prevent stuffing showing.
- Tube uses single crochet in the round; duck head employs single crochet with basic amigurumi increases and decreases.
Sizing
- Finished tube diameter: approx. 5–6 cm (2–2.5”)
- Duck head: approx. 2.5–3 cm (1–1.25”) tall
- The float fits a 3–4” (7.5–10 cm) plushie or similarly sized toy
Stitch Abbreviations
- ch = chain
- sl st = slip stitch
- sc = single crochet
- inc = increase (2 sc in same stitch)
- dec = invisible decrease (sc2tog through front loops only)
- BLO = back loop only
- MR = magic ring
Magic Ring (MR): Make an adjustable ring and work stitches into it to start amigurumi in the round.
Invisible Finish (for tube seam): With yarn tail, insert needle under the second stitch, then back through the center of the last stitch, for a seamless join.
Color Change: In the final yarn over of the last stitch before the color change, pull new color through to complete the stitch, then continue with new color.
Step-by-Step Pattern
1. The Tube (Float Base)
Foundation:
- Make a slip knot.
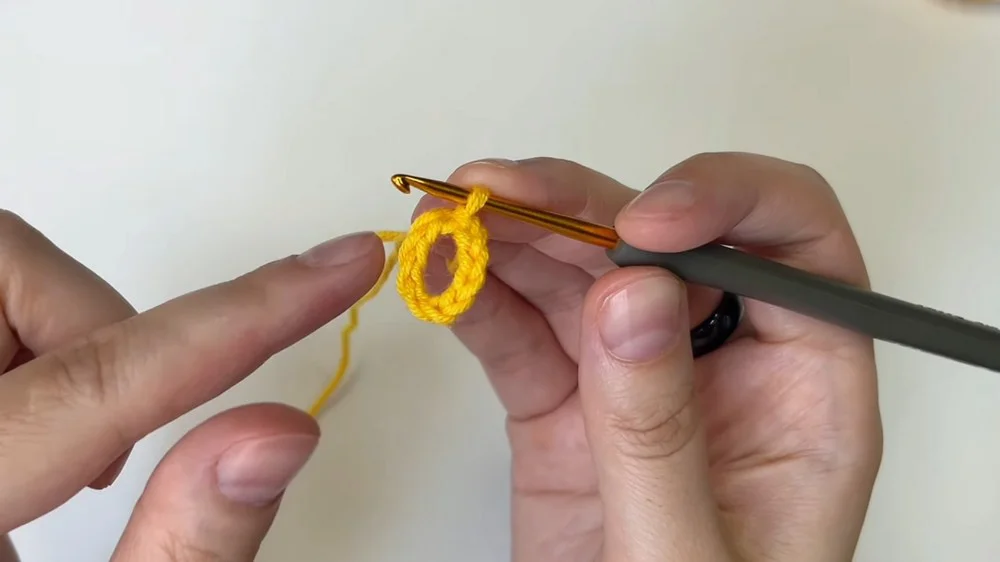
- Ch 10. Bring ends together; join with a sl st into the first chain to form a ring. Take care not to twist.
Round 1:
- Work 1 sc into each chain around. (10 sc)
- Place a stitch marker in your first stitch for continuous rounds.
Rounds 2–40:
- Continue working in spirals, making 1 sc into every stitch around for a total of 40 rounds.
- As you work, stuff very lightly with fiberfill—just enough to hold a soft, flat tube shape. Do not over-stuff.
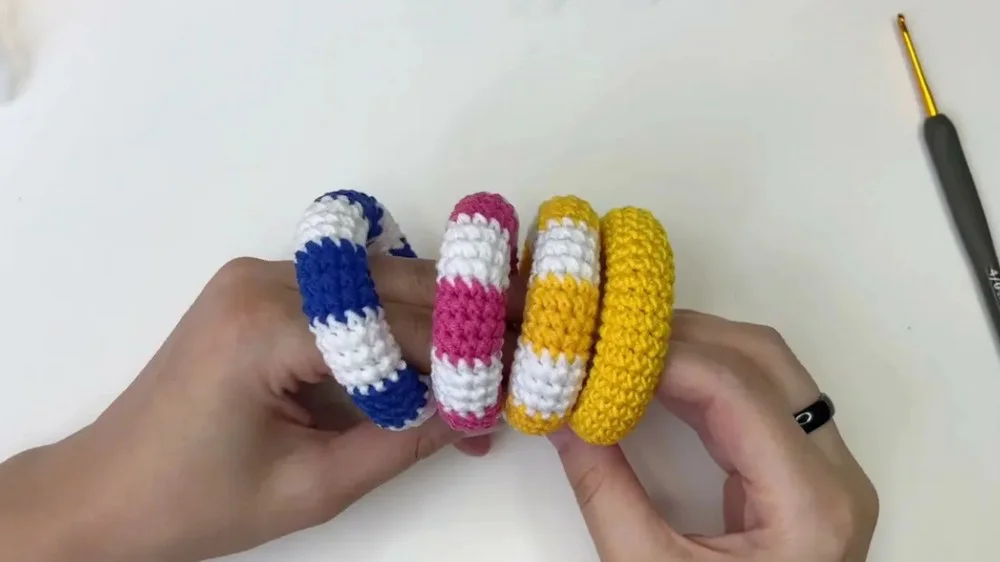
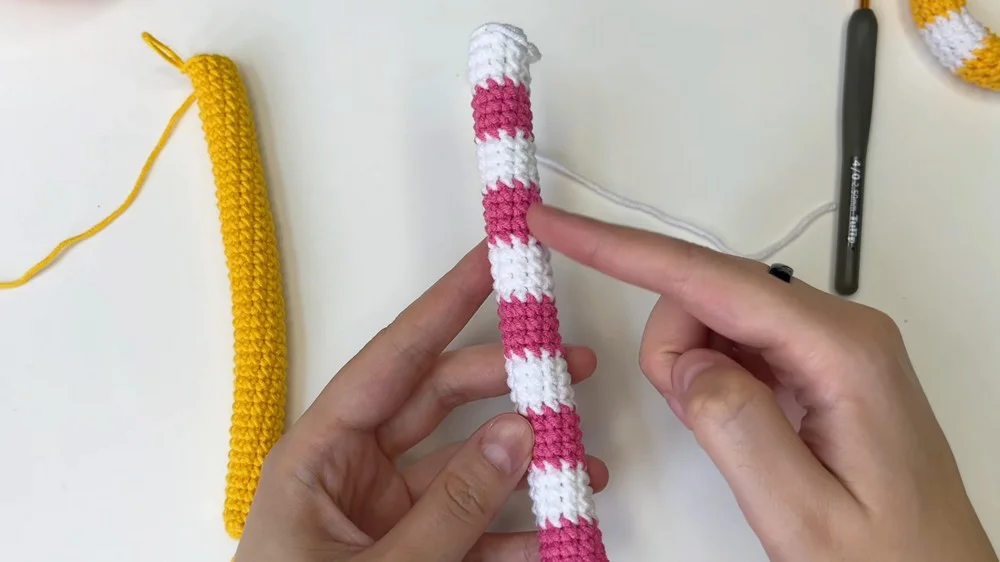
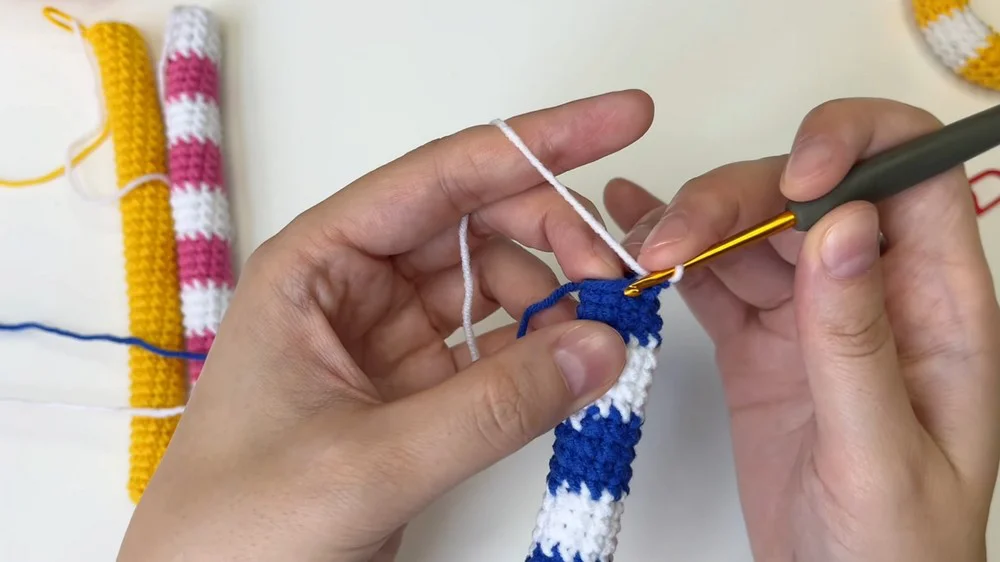
- For a striped float: Change colors every 4 rounds by pulling the new yarn color through the last loop of the final stitch of the fourth round, then continue as before.
Finishing:
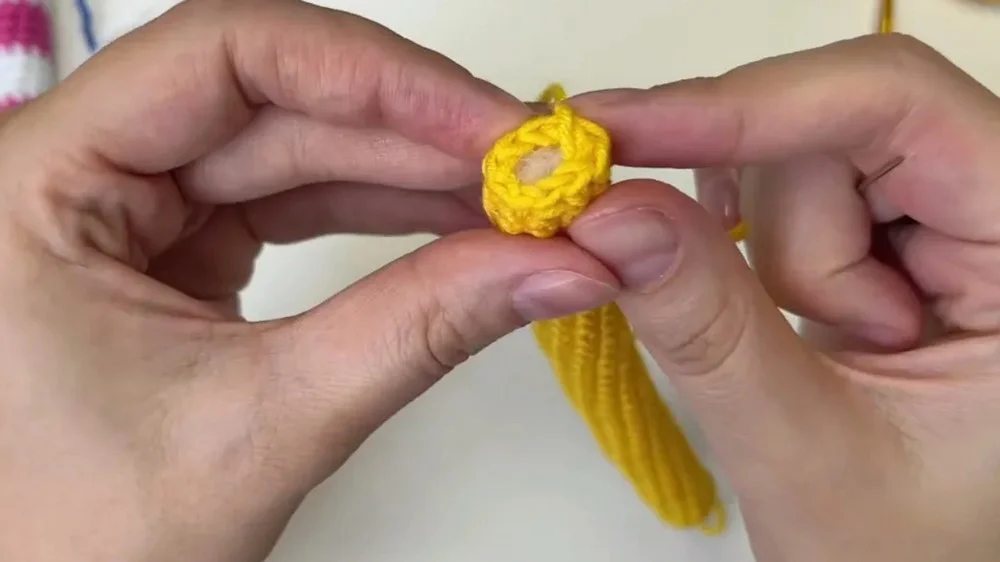
- At end of round 40, leave a long tail for sewing (about 15–20 cm).
- To close the ring into a donut shape, bring ends together and join using the invisible finish technique: Thread tail on a yarn needle, insert under the second stitch and back through the center of the last stitch to mimic the other stitches, giving a seamless seam.
- Weave in tail ends neatly inside the tube.
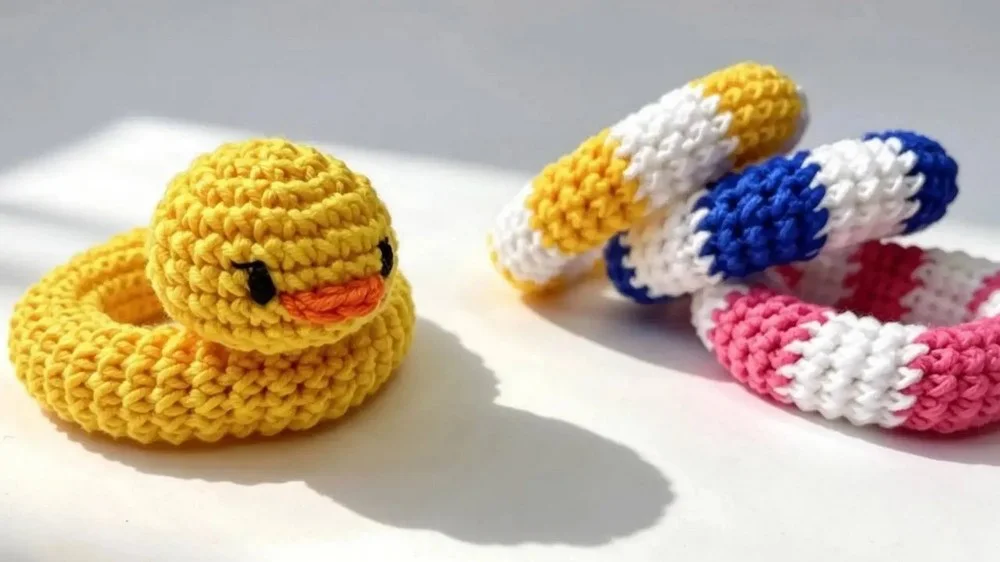
Optional color change tube.
- (white and red)
- (white and blue)
2. The Duck Head
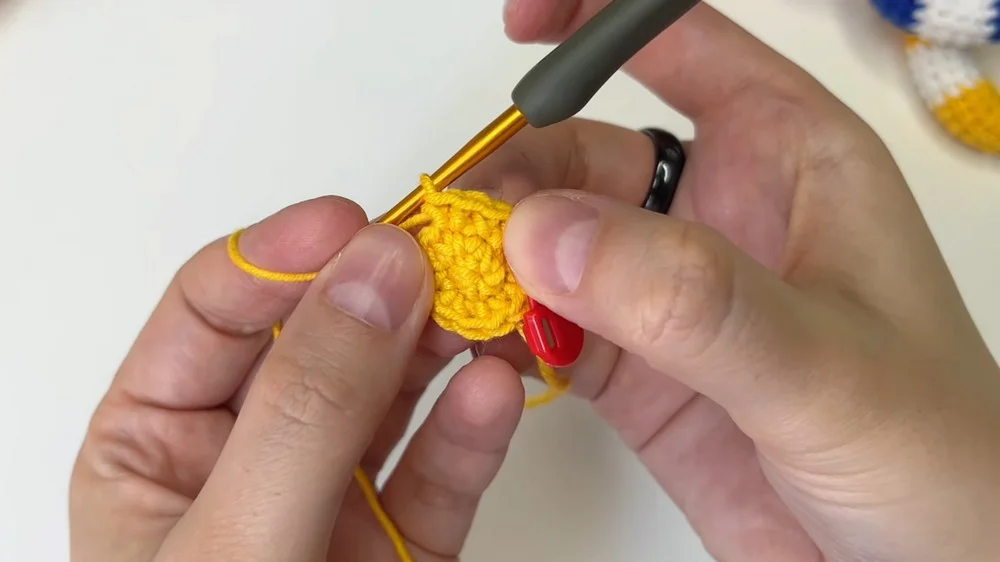
Round 1 (MR):
- With yellow yarn, make a magic ring.
- Work 6 sc into the magic ring. (6 sc)
Round 2:
- Inc in each stitch around. (12 sc)
Round 3:
- (1 sc, inc) repeat around. (18 sc)
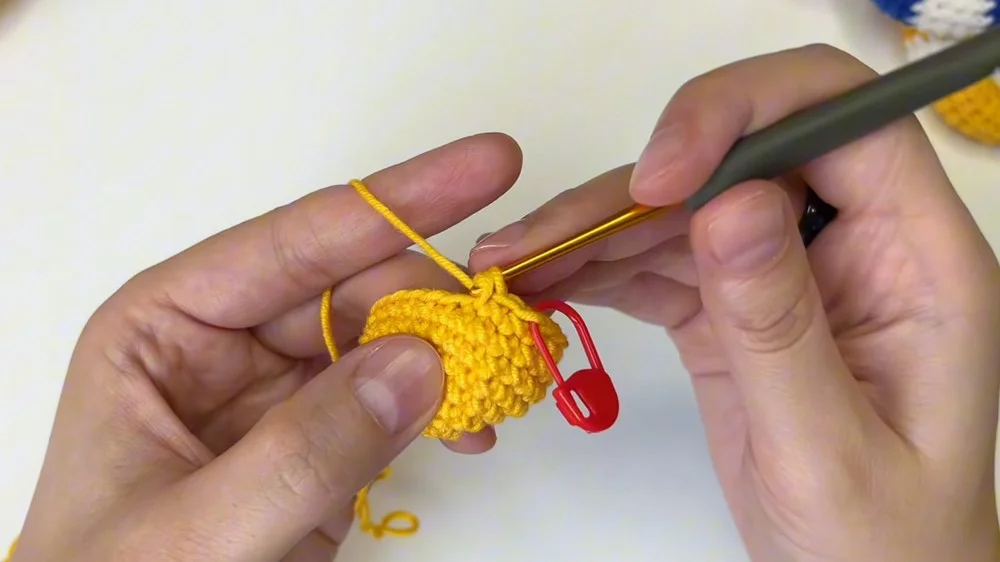
Round 4:
- (2 sc, inc) repeat around. (24 sc)
Rounds 5–6:
- 1 sc in every stitch (24 sc per round)
Round 7:
- 10 sc, 4 sc in BLO, 10 sc (24 sc)
- Mark the BLO stitches (these will be used for the beak later).
Round 8:
- 1 sc in every stitch (24 sc)
Round 9:
- (1 sc, dec) repeat around. (16 sc)
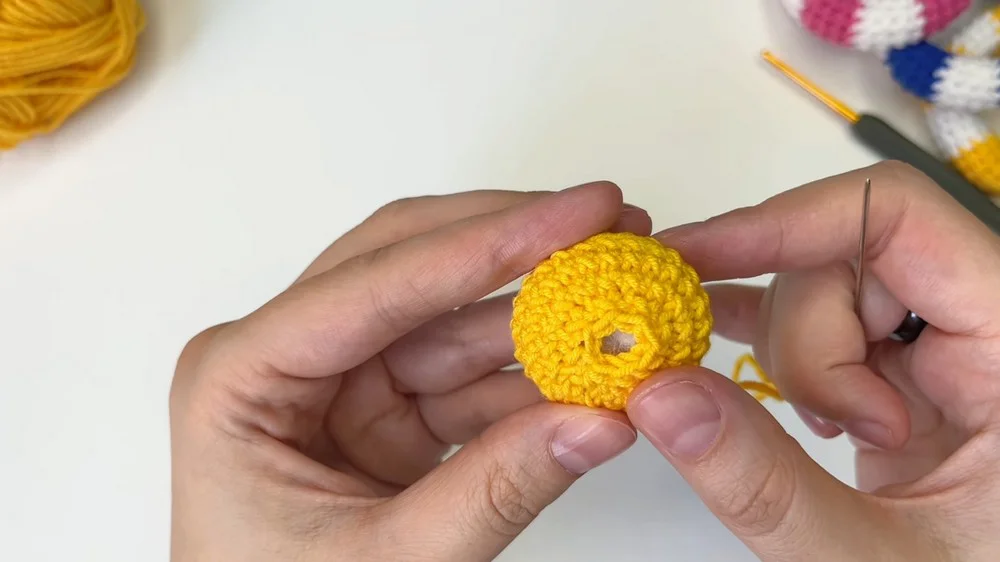
Round 10:
- 8 dec (8 sc)
- Stuff the head well with fiberfill before closing.
- Fasten off and weave in the end.
3. Beak and Features
Beak:
- Attach orange yarn to the first unworked front loop of Round 7.
- Ch 1.
- 1 sc in each of the next 2 front loops.
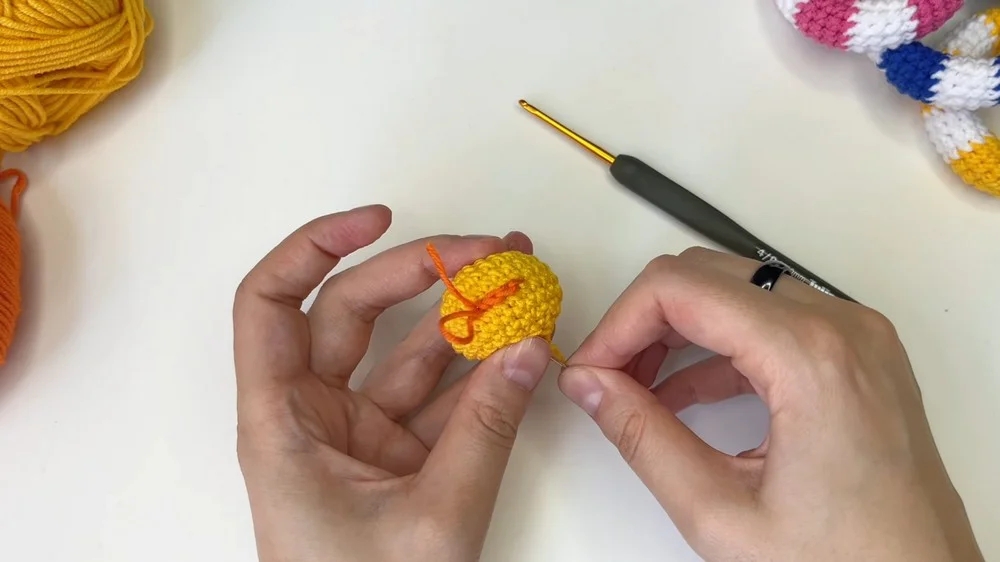
- Sl st to finish, fasten off, and weave in tail.
Eyes:
- Thread a short piece of black yarn on a needle.
- Embroider two tiny stitched eyes above the beak, evenly spaced.
4. Assembly
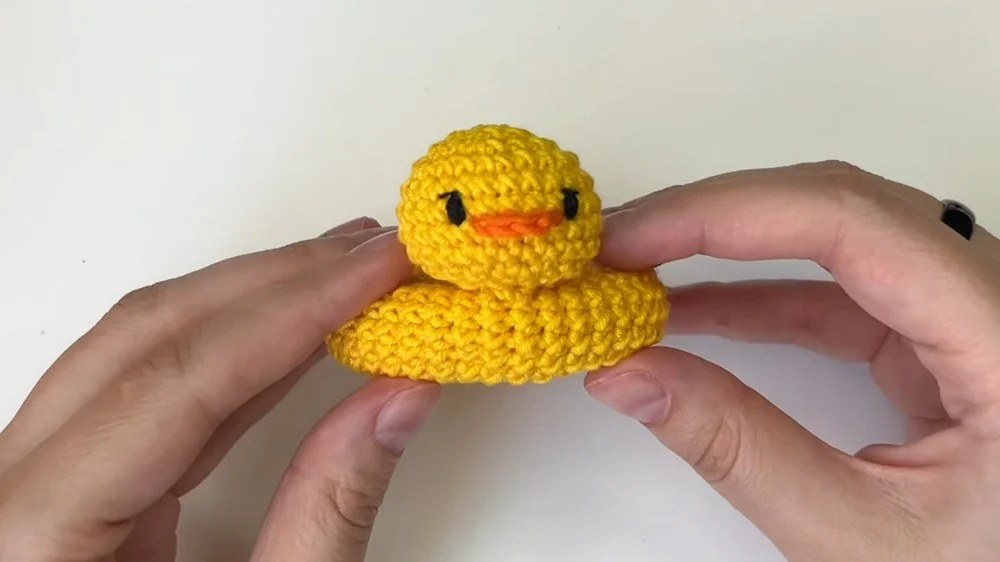
- Sew the completed duck head securely onto the top (inside edge) of the closed tube float. Position so the beak is facing straight out over the float’s opening.
- Stitch head firmly for durability; weave yarn tails inside and secure.
Conclusion
This mini pool float pattern is a playful project highlighting bright summer colors and classic amigurumi shaping. The tube’s seamless stripes and the precisely shaped duck head work together for a joyful, charming result perfect for gifting, desktop décor, or imaginative play. Using small amounts of yarn and basic stitches, the float comes together quickly and offers the satisfaction of creative detail in a compact, delightful finished piece. Experiment with alternate animal heads, bold patterns, or themed embellishments for even more fun using the same reliable construction steps.