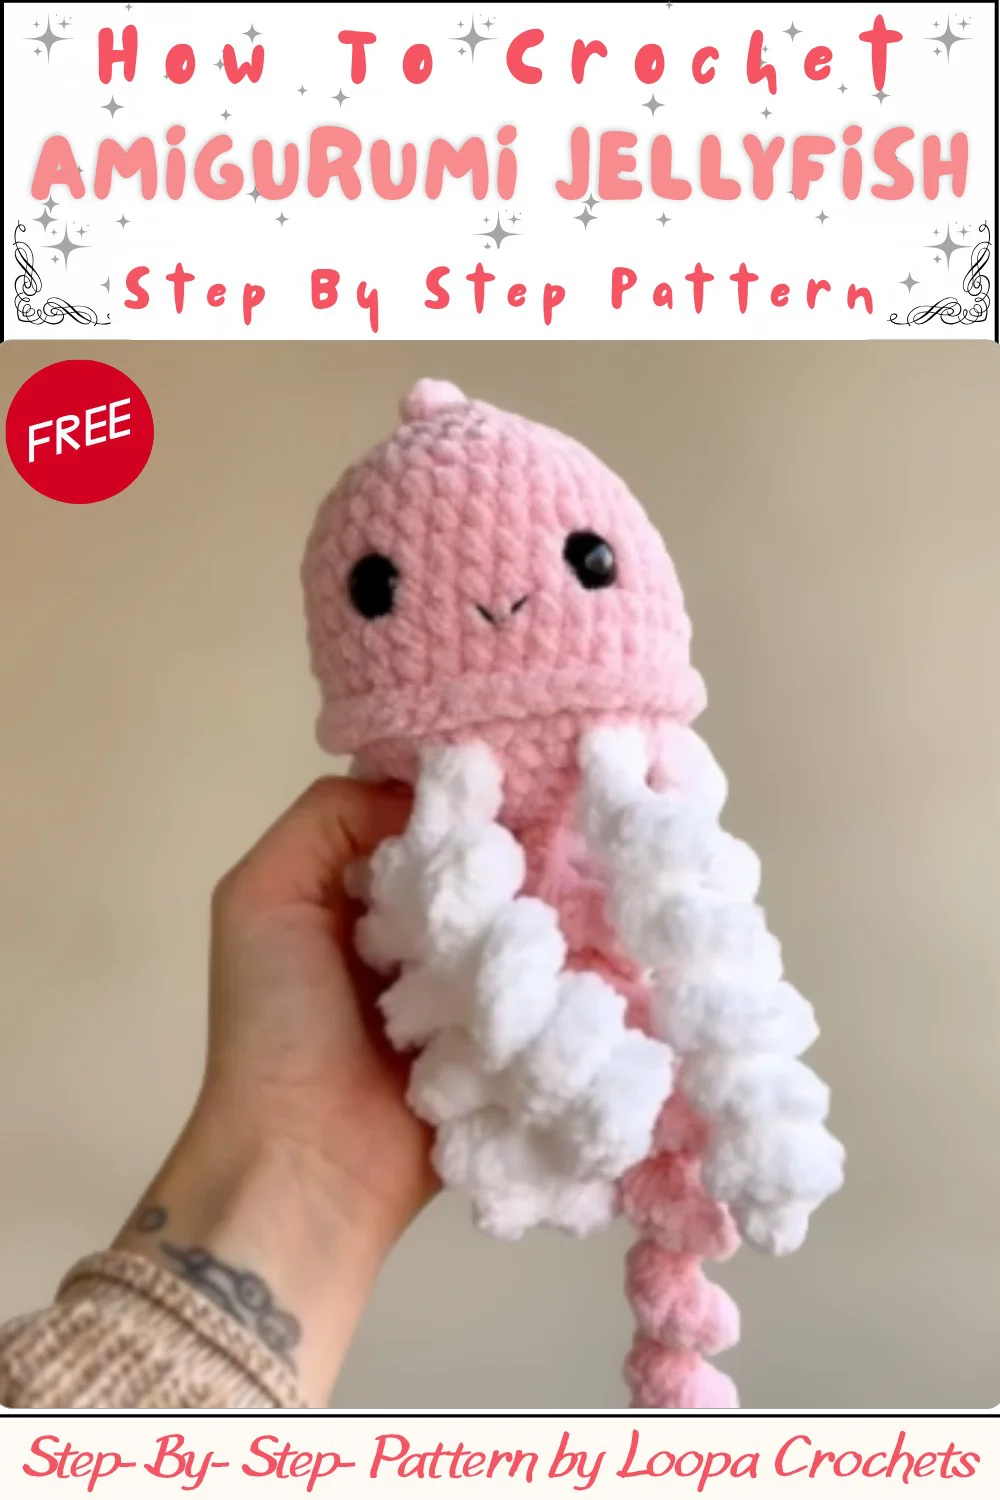
Free Mini Jellyfish Amigurumi Crochet Pattern for Keychains
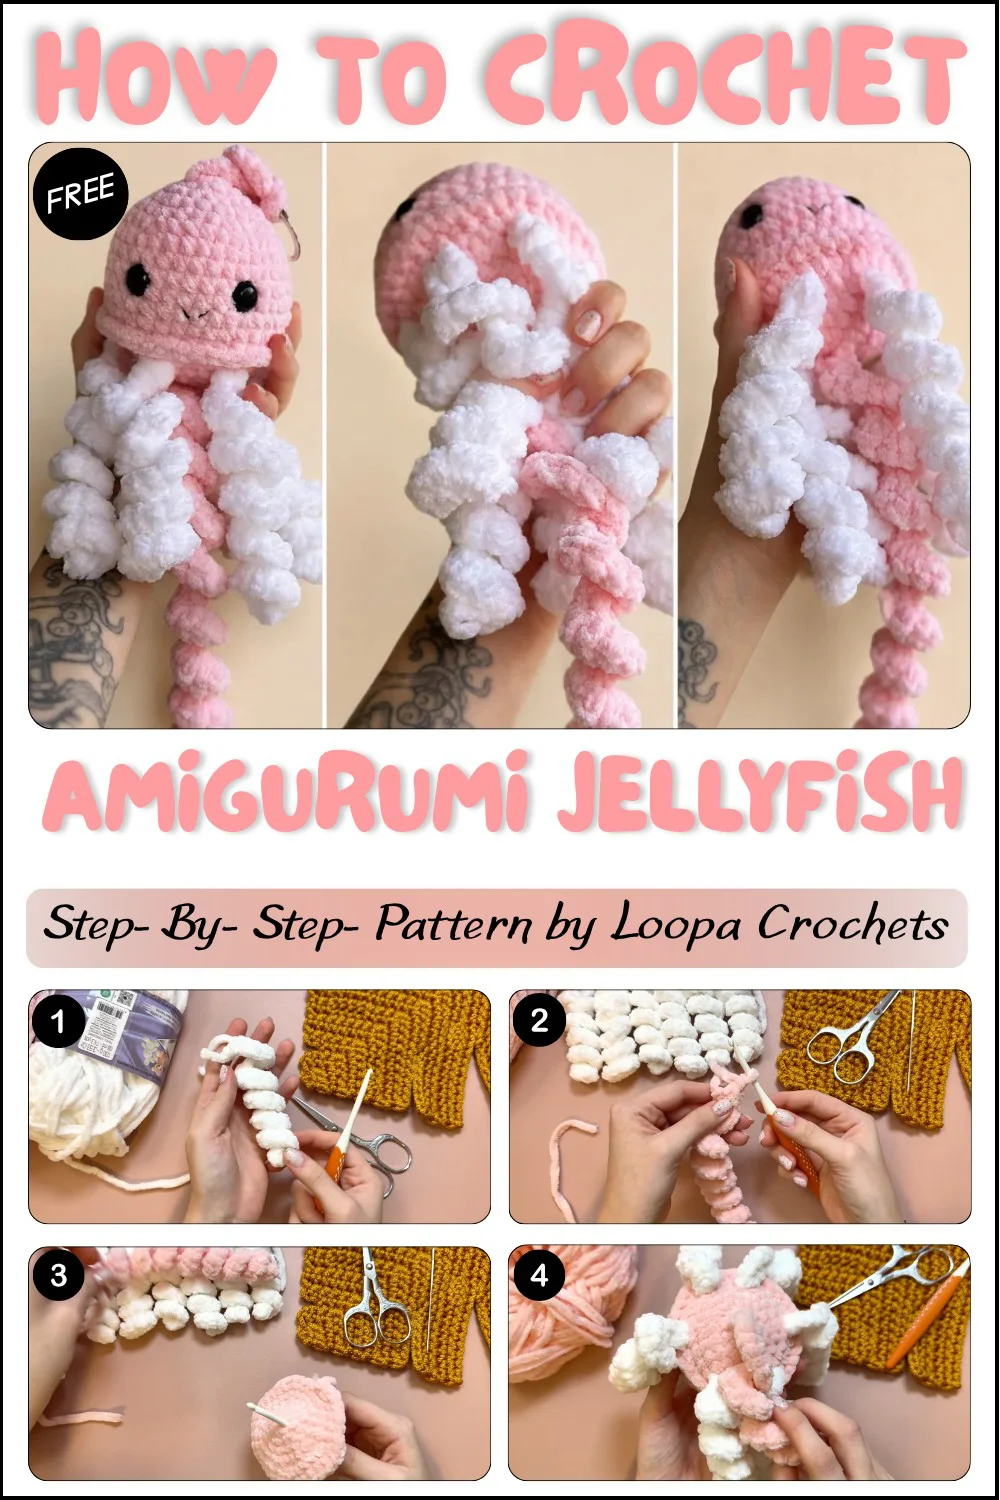
Welcome back to another delightful crochet project! Today, we have an absolutely adorable, wonderfully quirky, and perfectly charming amigurumi pattern for you to try: the sweetest Mini Jellyfish! If you love crafting beautiful handmade toys that perfectly capture classic plush charm while offering a beautifully detailed, lovable design to keep you engaged, this gorgeous little sea creature is going to be your next favorite make.
This fantastic amigurumi pattern is wonderfully adaptable and perfect for unforgettable handmade gifts, allowing you to whip up beautiful, lovable companions in no time that will be cherished as family keepsakes for years! While the instructions highlight a specific beautiful, vibrant look, you can easily adjust the color variations depending on the worsted weight yarn used—swap out classic ocean colors for magical brights, soft neutrals, or vibrant bold hues to create a whimsical, personalized plush! Grab your hooks, settle into your favorite crafting spot, and let’s dive into making this wonderfully cuddly, completely adorable crochet Mini Jellyfish!
Skill Level
Beginner-Friendly
This amigurumi uses elementary stitches, simple rounds, and basic increases, with assembly that’s straightforward for new makers. Experience with sewing or weaving parts together is helpful but not required.
Materials
- Yarn: Alice Voluto or similar plush/velvet yarn in color of choice
- Hook: 4.5 mm crochet hook (or appropriate size for yarn)
- Eyes: 10 mm safety eyes
- Stuffing: Fiberfill/polyester
- Notions: Scissors, tapestry/yarn needle
Measurements / Sizing
- Finished Diameter: Approximately 8–10 cm (3–4 in) across for the jellyfish body, variable depending on yarn and tension
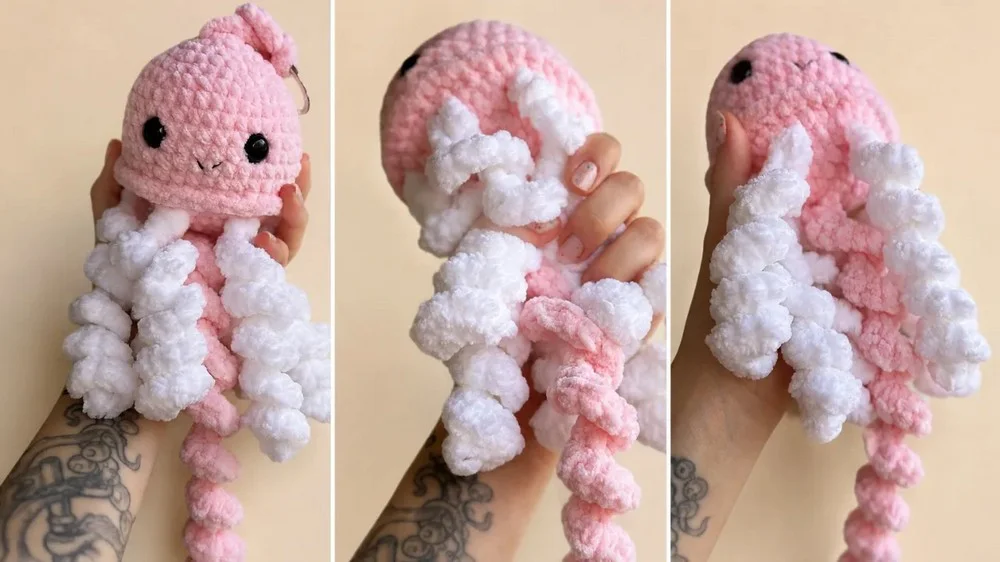
- Tentacle Length: Small tentacles ~6 cm (2.3 in), Large tentacle ~10 cm (4 in) curled
Gauge and Stitch Pattern
- Gauge is not critical since the shape is dictated by the stitch counts, but stitches should be close/tight so stuffing is not visible.
- Recommended: 7 single crochet stitches x 7 rows ≈ 4 cm square with 4.5 mm hook in main yarn.
- All pieces are worked in continuous spirals unless slip stitch or chaining is specifically indicated.
Stitch Abbreviations
- ch: chain
- sc: single crochet
- inc: increase (2 sc in the same stitch)
- sl st: slip stitch
- st(s): stitch(es)
- mr: magic ring
Special Stitches
- Magic Ring (mr): Wrap yarn around fingers to create a loop, insert hook and pull up a loop, then work stated number of sc in the ring, pulling yarn tail to close.
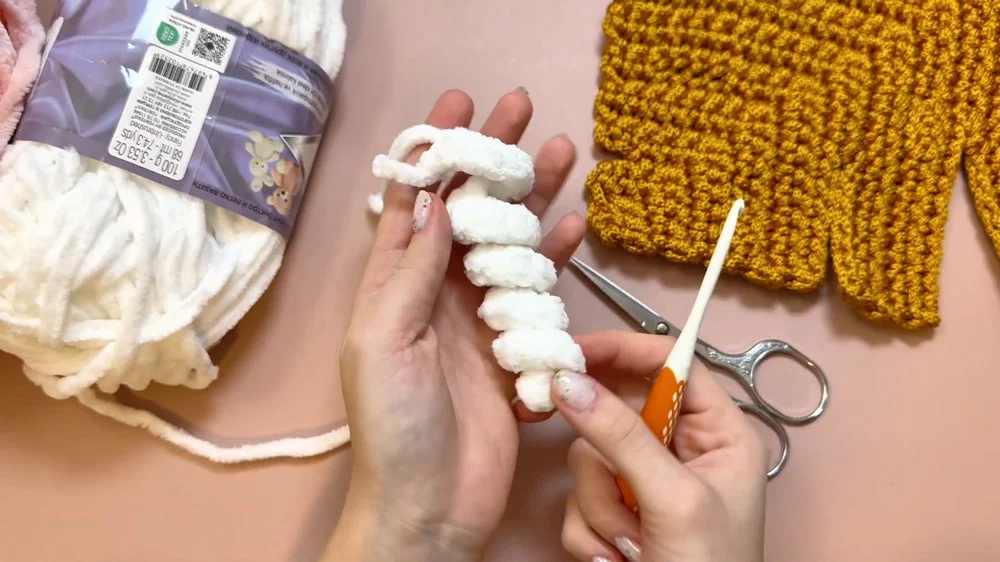
- Tentacle Spiral: Work 2 sc (or more) in each chain to create a curling effect.
Complete Pattern with Rounds
Small Tentacles (Make 6)
- Ch 26.
- Beginning in 2nd chain from hook, work 2 sc in each chain across (25 inc).
- Fasten off and leave a tail for sewing.
Large Tentacle (Make 1)
- Ch 41.
- Beginning in 2nd chain from hook, work 2 sc in each chain across (40 inc).
- Fasten off and leave a tail for sewing.
Body Bottom
- Begin with a magic ring (mr), chain 1.
- Round 1: 6 sc in magic ring. (6)
- Round 2: 2 sc in each st (inc) around. (12)
- Round 3: 1 sc, 1 inc—repeat around. (18)
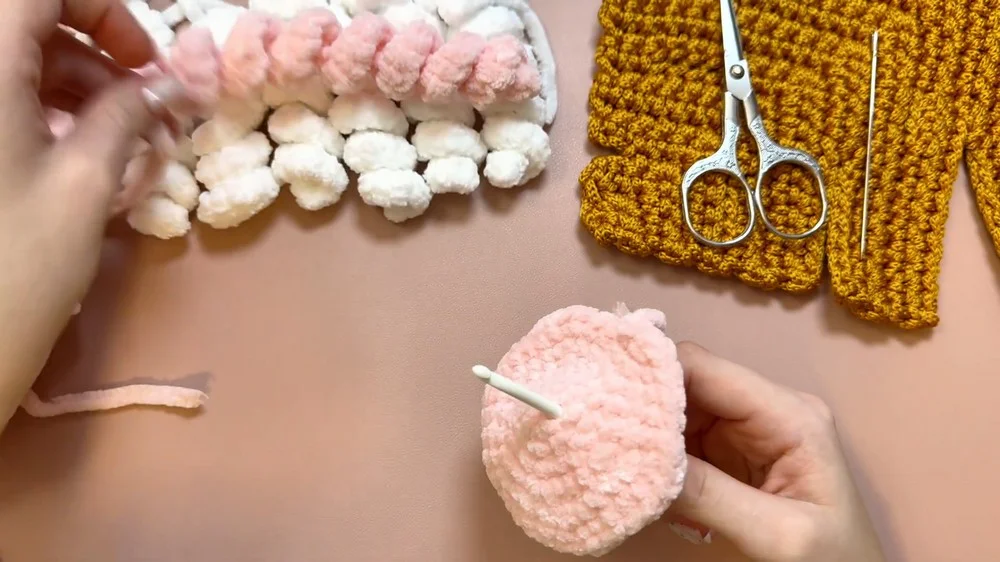
- Round 4: 2 sc, 1 inc—repeat around. (24)
- Round 5: 3 sc, 1 inc—repeat around. (30)
- Round 6: 4 sc, 1 inc—repeat around. (36)
- Slip stitch to finish and fasten off.
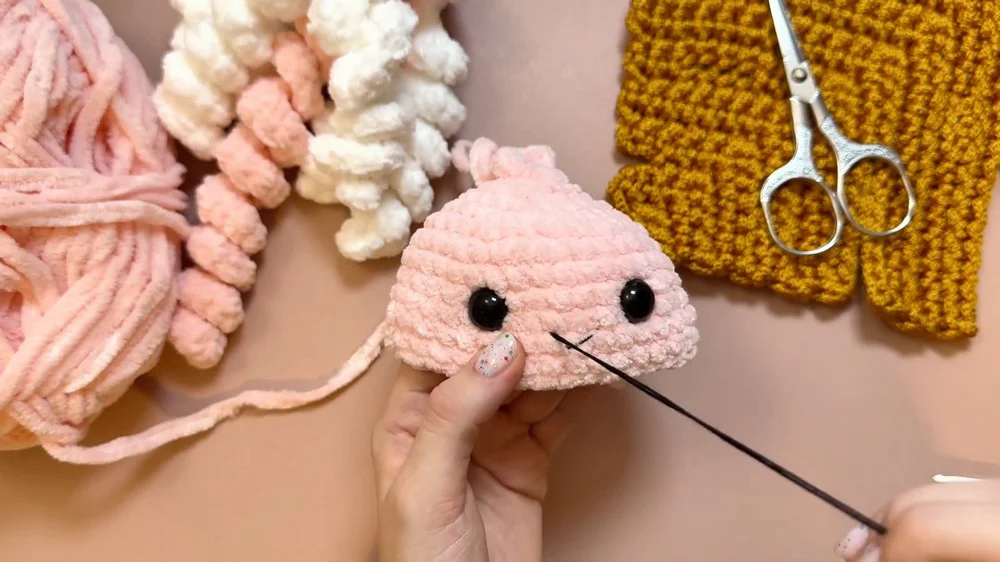
Assembly (Tentacles and Keychain Loop)
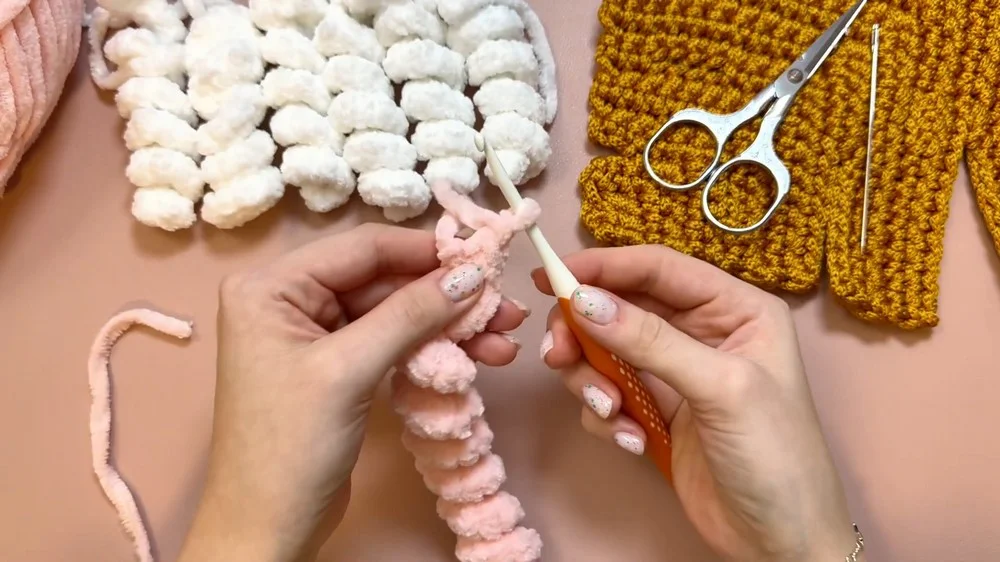
- Attach Large Tentacle: Sew the large tentacle to the very center of the bottom piece (inside foundation magic ring).
- Attach Small Tentacles: Evenly space and sew the 6 small tentacles to the bottom piece between rounds 5 and 6, spacing approximately every 5 stitches around the edge.
- (Optional) Keychain Loop: If desired, ch 50; sew or knot securely through a stitch at the top center of the body bottom or main body for a hanging loop.
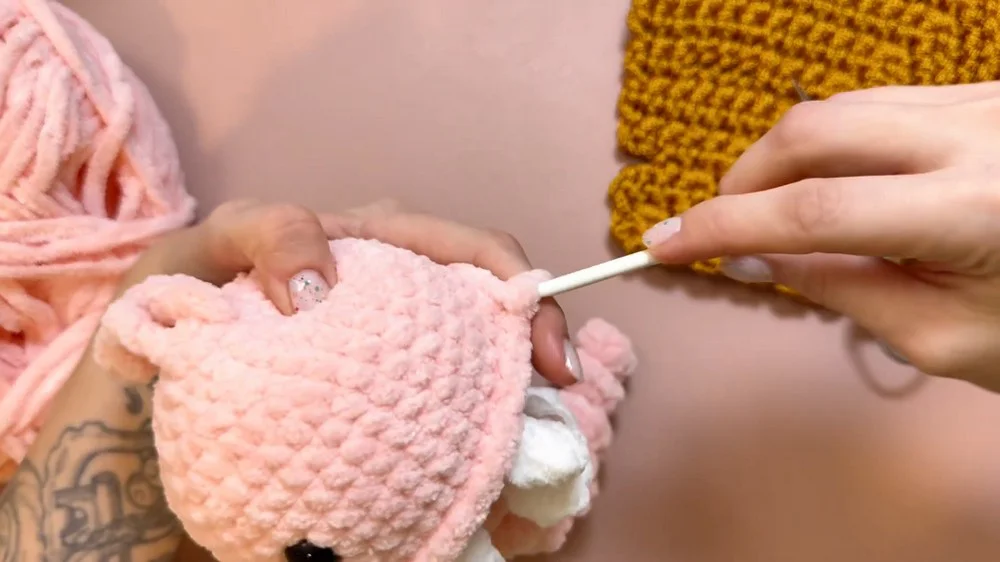
Main Body (Top)
- Repeat rounds 1–6 as for Body Bottom (36 sc at end).
- Rounds 7–12: 1 sc in each st around. (36 per round; total 6 rounds)
- Do not fasten off.
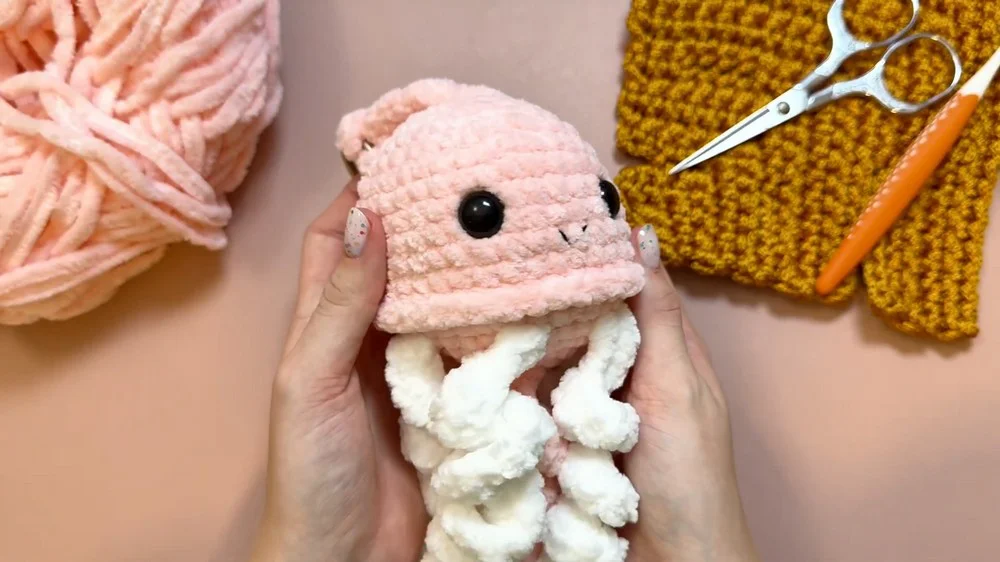
Final Assembly and Finishing
- Insert Safety Eyes: Place the 10 mm safety eyes between rounds 9 and 10 of the main body, about 5 stitches apart. Attach washers inside.
- Embroider Mouth: With a needle and contrasting yarn, stitch a small smile at round 11 between the eyes.
- Join Body Pieces: Hold main body and bottom together, right sides out. Align stitches.
- Round 13: Starting from the same position, sc through both layers (top and bottom) all the way around (36 sc total), inserting the hook through a st in each disc at once.
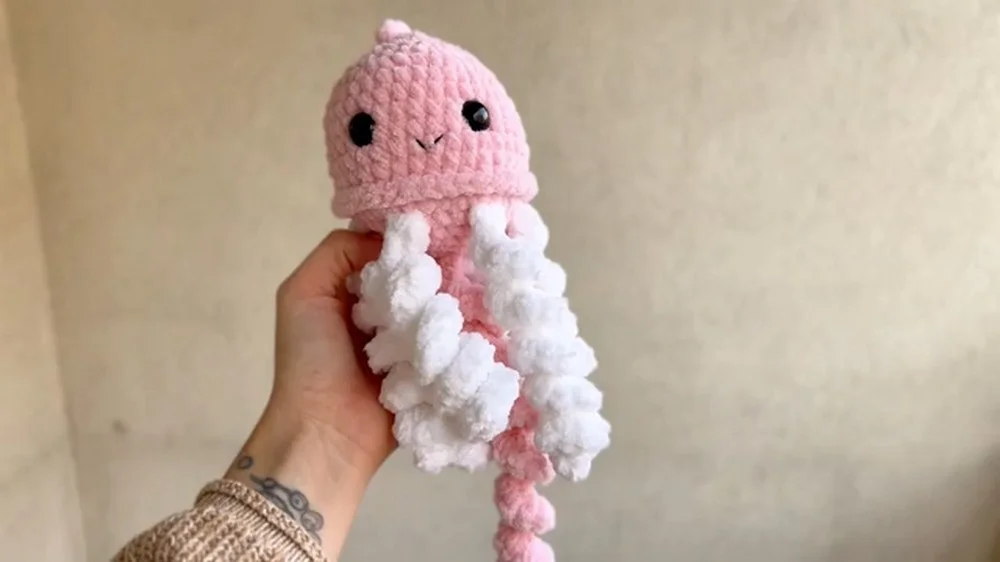
- Round 13: Starting from the same position, sc through both layers (top and bottom) all the way around (36 sc total), inserting the hook through a st in each disc at once.
- Stuff Firmly: Before closing the final stitches, add fiberfill to shape.